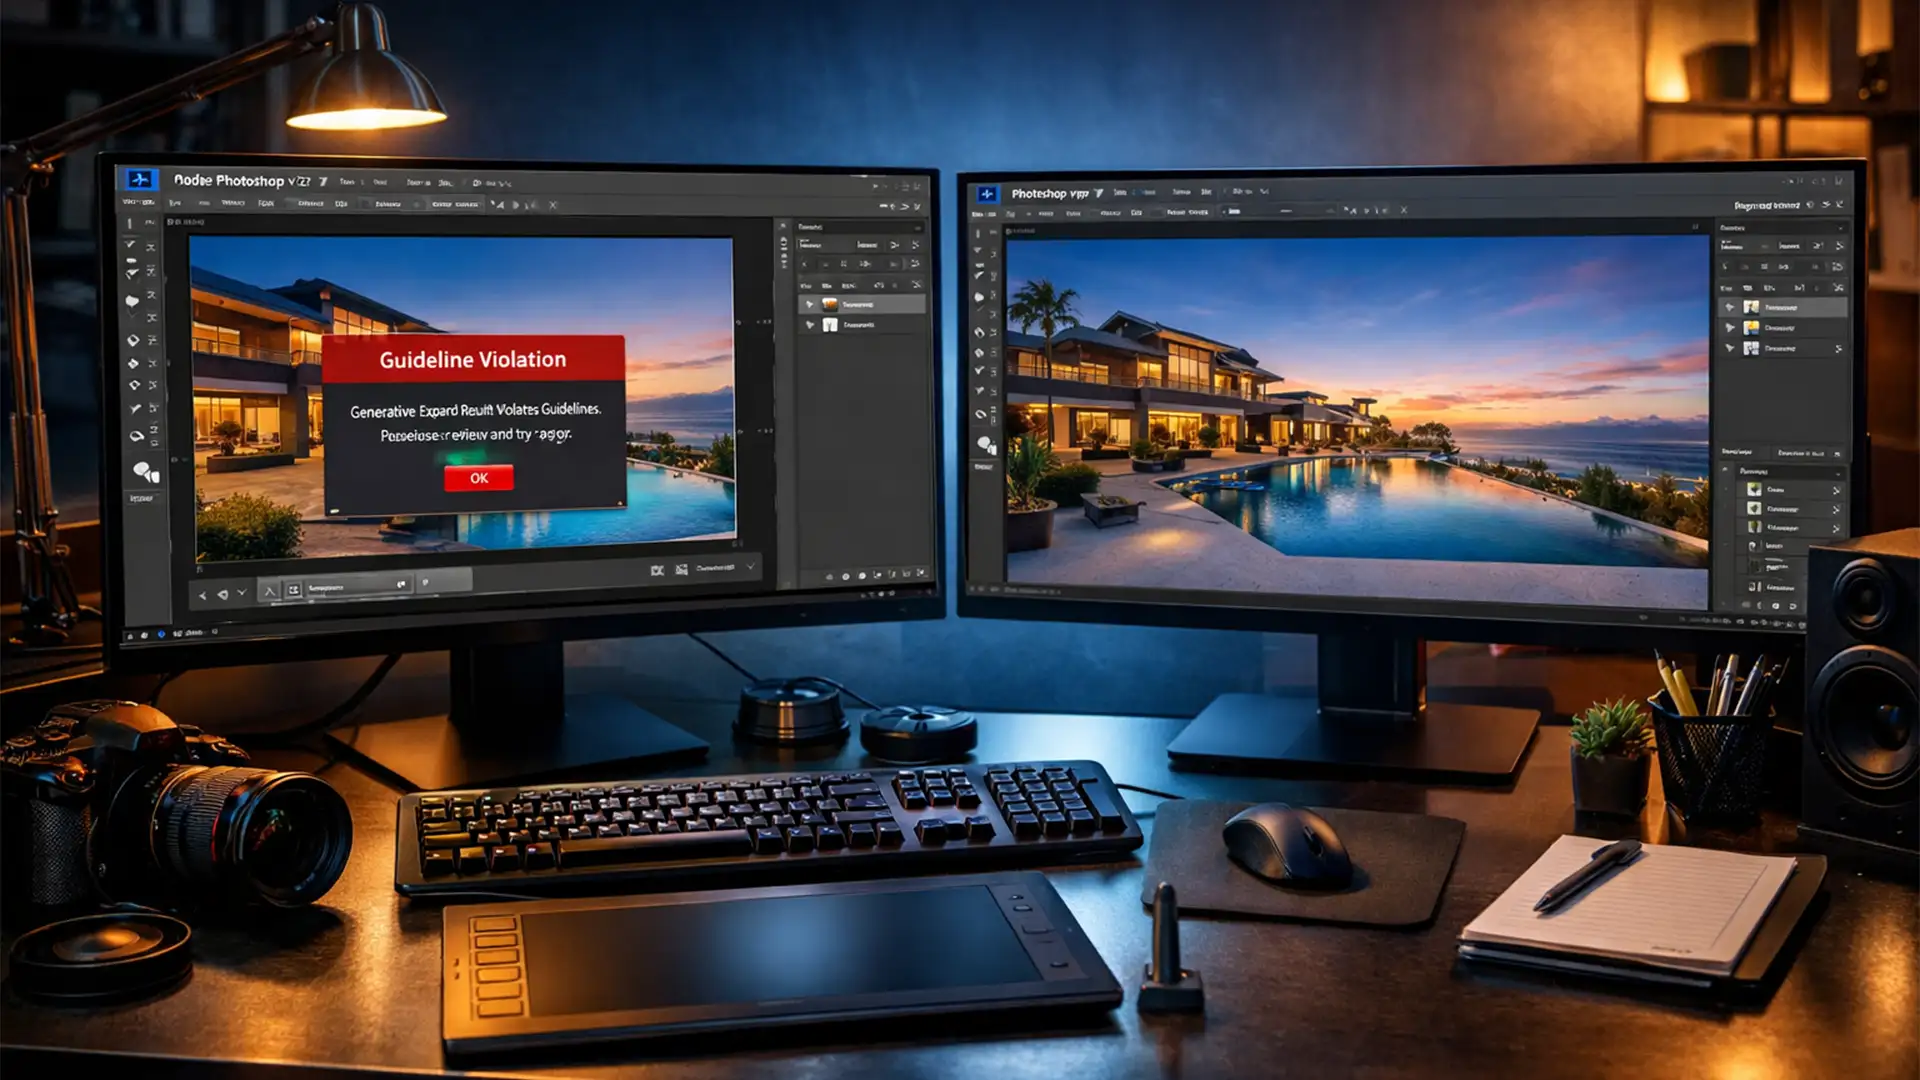
You are on a tight deadline to deliver a property gallery, but you are stuck because Photoshop AI Expand is not working for real estate photos. Instead of a beautifully extended living room or a perfectly widened exterior, you are hit with a frustrating “Guideline Violation” or “Generative Fill is currently unavailable” error. Why does Adobe Firefly AI flag empty rooms or architectural reflections as policy violations? If you are tired of cloud-based rendering failures and false-positive safety triggers ruining your editing workflow, you are in the right place. Let’s explore how to bypass these frustrating errors and get your real estate edits back on track.
Why Does Generative Expand Fail on Property Photos?
In Adobe Photoshop v25.0 and newer (including v25.5), Adobe integrated the powerful Adobe Firefly AI directly into the Crop Tool. While Generative Expand is marketed as a magic bullet for aspect ratio adjustments, real estate photo editors frequently run into roadblocks.
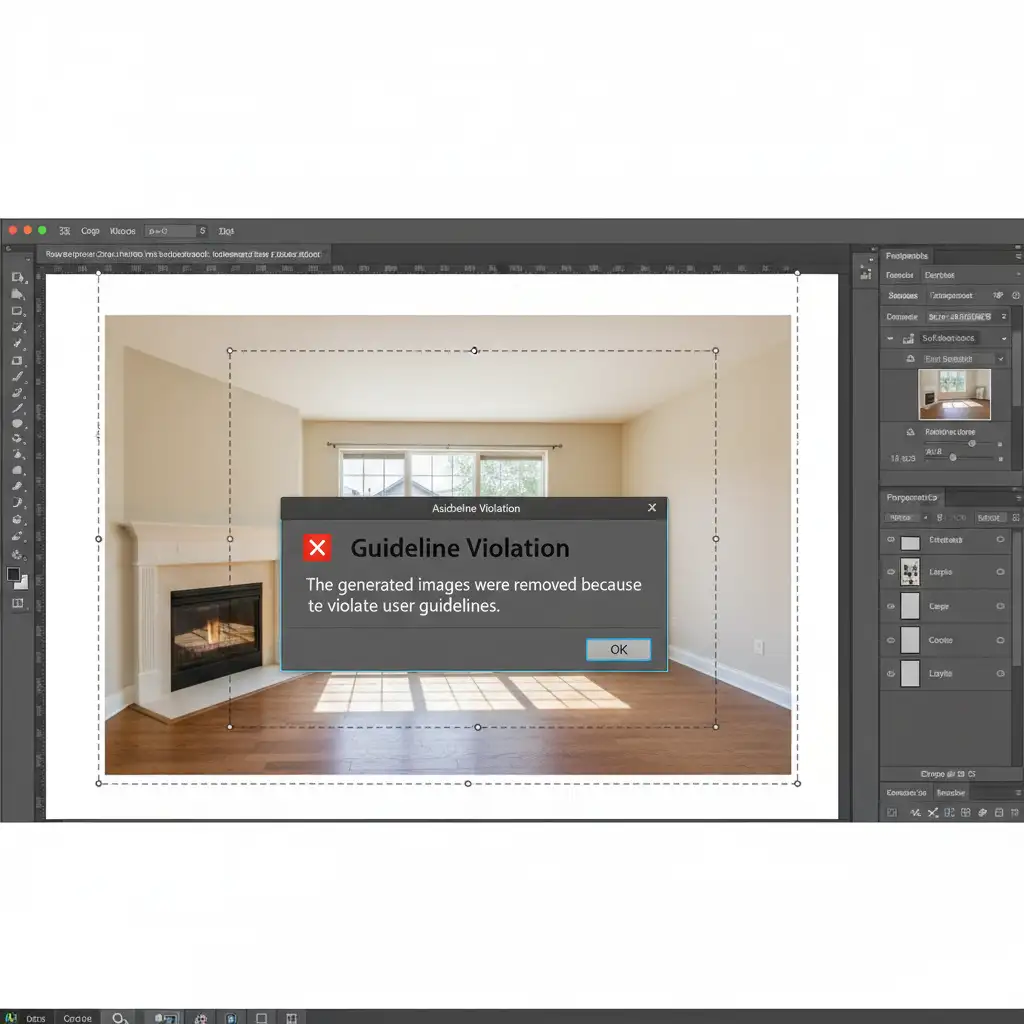
The core issue lies in how the AI model interprets architectural imagery. Empty rooms, stark exterior property boundaries, and complex reflections in windows are often falsely flagged by Adobe’s safety filters, triggering a hard Guideline Violation error. Furthermore, because Generative Expand relies on cloud-based rendering, a low-resolution source file, a spotty internet connection, or an API endpoint timeout will completely break the tool, leaving you with transparent pixels instead of generated walls or skies.
How to Fix AI Expand Errors in Real Estate Editing
When the AI refuses to cooperate, professional editors need reliable fallbacks. Here are three methods to bypass these errors, ranging from quick prompt hacks to traditional manual retouching techniques.
Method 1: The Quick Fix (Prompt Modification)
By default, most editors leave the prompt box blank when using Generative Expand, allowing the AI to guess the context. When dealing with strict safety filters, a blank prompt is more likely to be flagged.
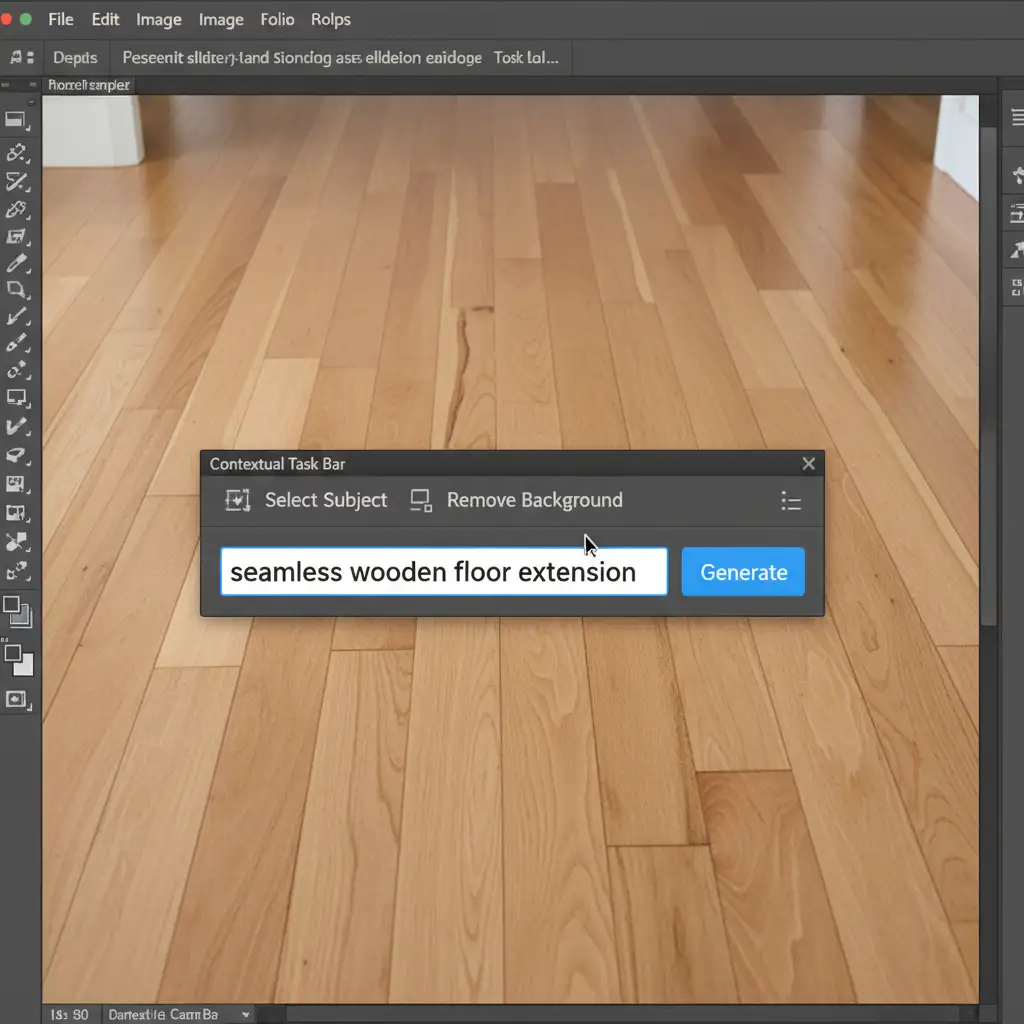
Instead of leaving it empty, you need to steer the AI away from safety triggers using specific descriptions in the Contextual Task Bar.
- Select the Crop Tool and drag your boundaries outward.
- In the Contextual Task Bar, do not leave the text field blank. Type explicit, safe architectural terms like “empty wall”, “wooden floor”, or “clear blue sky”.
- Pro Tip: If you still get an error, adjust your crop boundary inward or outward by just 1-2 pixels. This slight shift forces the Adobe Firefly AI to recalculate the bounding box, often bypassing the previous error trigger.

Method 2: The Pro Workaround (Manual Extensions)
When Generative Expand consistently fails, or when it introduces severe wide-angle distortion to your property lines, you must bypass the AI entirely. Traditional tools are often faster and more accurate for architectural geometry.
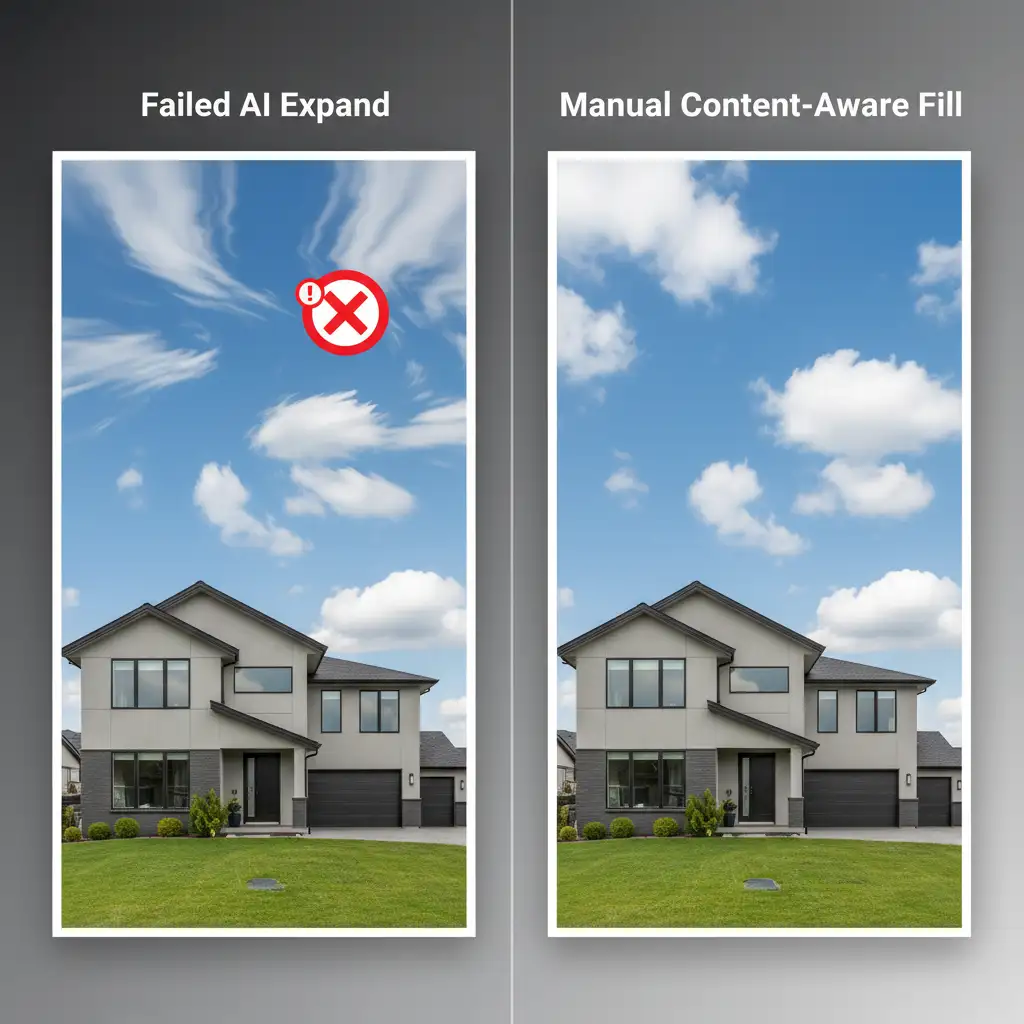
For Exterior Skies: Do not rely on AI to generate a sky. Instead, use Content-Aware Fill. Make a selection of the empty canvas space above your roofline, expand the selection by 2 pixels so it overlaps the existing sky, and apply Content-Aware Fill. It perfectly handles simple gradients and cloud patterns without pinging a cloud server.
For Complex Interiors: AI struggles with baseboards, crown molding, and straight architectural lines.
- Create a new blank layer.
- Select the Clone Stamp tool (set to Sample: All Layers).
- Manually extend the architectural lines into the expanded crop area. This guarantees that your baseboards remain perfectly straight and free of the warped, melting look that AI often produces.
Method 3: The Technical Deep-Dive (Software & API Optimization)
If you are receiving constant “Generative Fill is currently unavailable” messages, the issue is likely technical rather than prompt-related.
- Rasterize Your Layers: Generative AI struggles with Smart Objects and complex adjustment layers. Before expanding, merge your visible layers or right-click and choose Rasterize layer.
- Clear the Cache: Go to Edit > Purge > All to clear out corrupted temporary files that might be bottlenecking the tool.
- Check Network Endpoints: Generative Expand requires a constant connection to Adobe’s servers. Check your firewall settings to ensure it isn’t blocking Adobe Firefly server endpoints, which causes an API endpoint timeout.
- Update Creative Cloud: Always ensure you are running the latest patch of Photoshop v25+ via the Creative Cloud desktop app, as Adobe frequently pushes silent updates to patch API communication errors.
Stop Fighting the AI: Outsource Your Real Estate Edits
Dealing with “Photoshop AI Expand not working for real estate” errors wastes valuable time. When you have dozens of property galleries to deliver, you cannot afford to troubleshoot API timeouts, fight guideline violations, or manually rebuild distorted baseboards pixel by pixel.
Image Work India and Cloud Retouch provide the ultimate solution. Struggling with unreliable AI edits slowing down your workflow? Outsource your real estate photo editing to our dedicated team. Our expert retouchers utilize advanced manual techniques to deliver flawless, natural property extensions, sky replacements, and perspective corrections without the hassle of AI errors.
Focus on shooting more properties and closing more clients. Let Image Work India and Cloud Retouch handle the heavy lifting of your post-production. Contact us today to streamline your real estate editing workflow.


