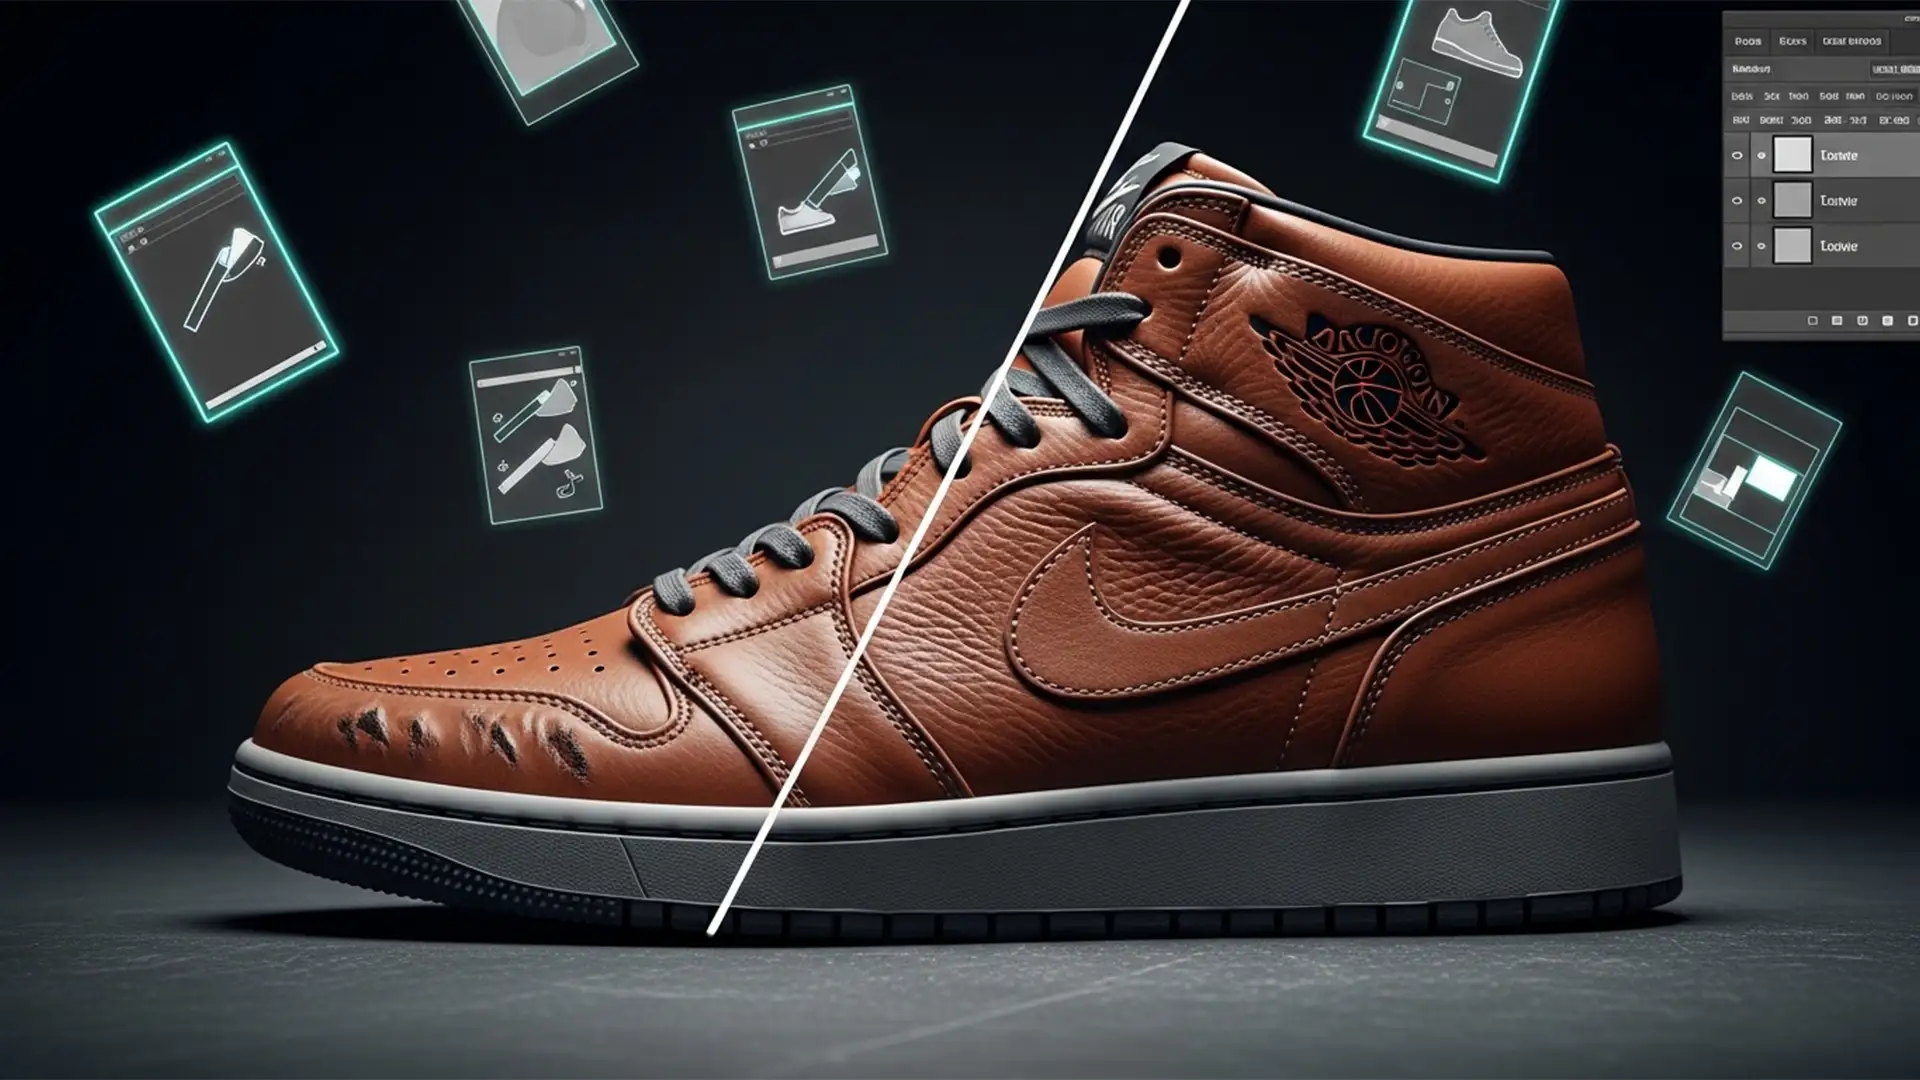
Have you ever tried to remove shoe creases in Photoshop without losing texture, only to end up with footwear that looks like it’s made of cheap, melted plastic? You’re not alone. Amateur retouchers often rely on the basic Spot Healing Brush or standard blurring tools, which completely destroy the natural micro-contrast of leather grain and suede nap.
In high-end sneaker retouching, preserving that tactile, premium feel is non-negotiable. A crease is simply a shadow (the valley) and a highlight (the peak). To fix it professionally, you must decouple the material’s texture from the underlying lighting.
Today, we are diving into the professional Photoshop v25.x (2024) workflows that allow you to flatten ugly creases while keeping 100% of the material’s authentic texture intact.
The Problem: Why Basic Tools Destroy Leather Grain
When a shoe bends, it creates a physical fold. Standard clone stamping or healing tools attempt to sample nearby pixels to cover this fold. The problem? Leather and suede have intricate, high-frequency details. When you force Photoshop to calculate a patch over a large crease, it averages out the pixels. The result is a loss of micro-contrast, leaving a blurred, unnatural patch on an otherwise textured shoe.
To achieve non-destructive editing that meets e-commerce standards, we need to use advanced separation techniques.
Method 1: The AI Quick Fix – Photoshop 2024 Generative Fill
If you are working on a tight deadline and the crease isn’t overly complex, Photoshop’s native AI can be a massive time-saver.
- Select the Lasso Tool (L).
- Draw a loose selection around the creased area on the shoe.
- Click on the Contextual Task Bar and select Generative Fill.
- Type the prompt: “smooth leather texture” (or “smooth suede nap” depending on the material).
- Hit Generate and cycle through the variations.
While Generative Fill is incredibly powerful in Photoshop v25.x, it can sometimes generate textures that don’t perfectly match the surrounding grain. When absolute precision is required, you need to step up to manual frequency separation.

Method 2: The Pro Standard – Frequency Separation
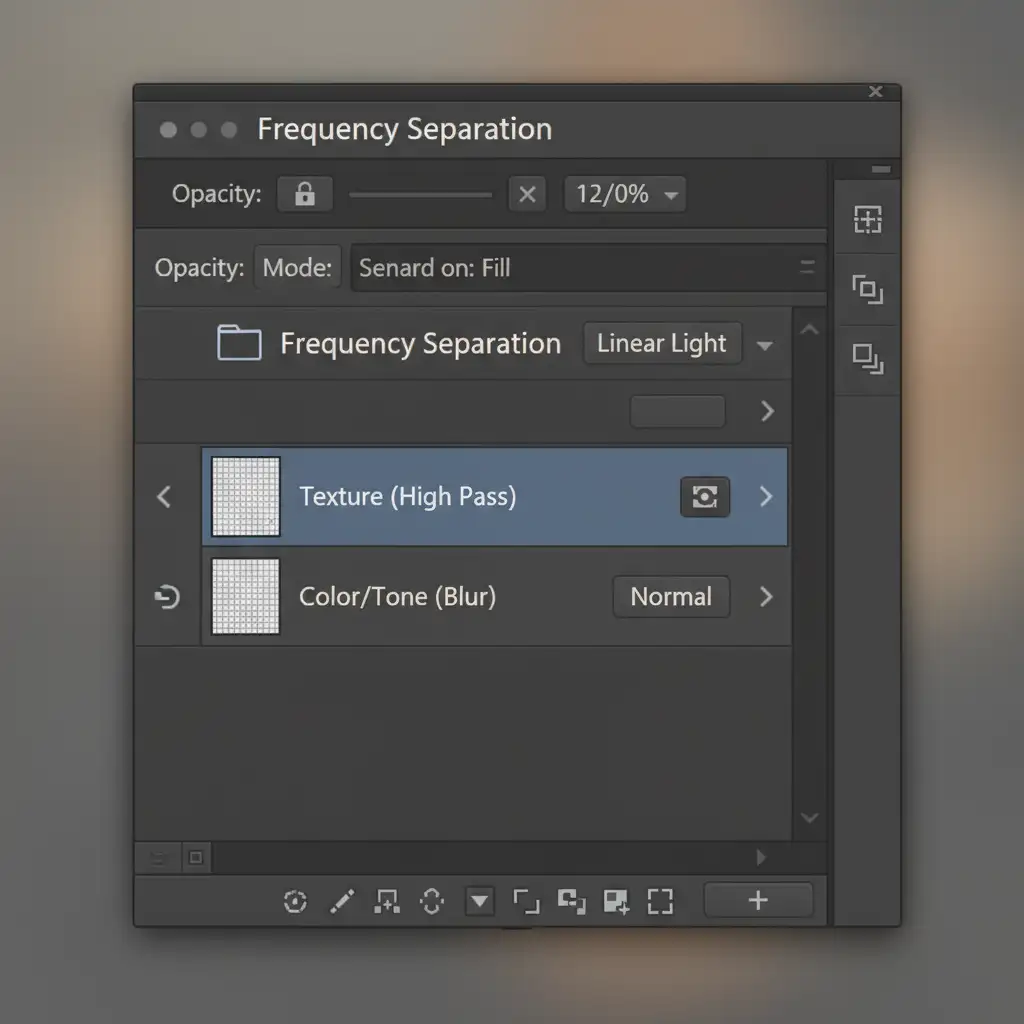
Frequency Separation is the industry-standard technique for high-end sneaker retouching. It splits your image into two distinct layers: a Low-Frequency Layer (containing color, shadows, and light) and a High-Frequency Layer (containing only the texture).
Setting Up Your Layers
- Duplicate your base image layer twice (Ctrl/Cmd + J).
- Name the bottom duplicate “Color/Tone” (Low-Frequency) and the top duplicate “Texture” (High-Frequency).
- Hide the Texture layer. Select the Color/Tone layer, go to Filter > Blur > Gaussian Blur, and adjust the radius until the leather grain just disappears (usually between 3px and 6px).
- Unhide and select the Texture layer. Go to Image > Apply Image.
- Set the Layer to “Color/Tone”, Blending to “Subtract”, Scale to 2, and Offset to 128. Click OK.
- Change the Blend Mode of the Texture layer to Linear Light.

Smoothing the Crease with the Mixer Brush Tool
Now that the texture is safely isolated on the top layer, you can manipulate the shadows of the crease without harming the grain.
- Select the Mixer Brush Tool.
- In the top toolbar, set the brush to a “Clean Brush” after every stroke. Set Wet to 10%, Load to 10%, Mix to 10%, and Flow to 10%.
- Select your Color/Tone (Low-Frequency Layer).
- Gently brush along the shadow of the crease, blending the dark pixels into the surrounding midtones.
Because you are only moving the color and light, the High Pass Filter texture on the layer above remains completely untouched.
Method 3: The Technical Deep-Dive – Dodge and Burn with Blend If
For the absolute highest level of control—often used for hero images and billboard campaigns—professionals rely on precise Dodge and Burn combined with Luminosity Masking principles.
Non-Destructive 50% Gray Layer
Instead of blurring the base layer, we are going to manually paint away the shadow of the crease by adding light, and paint away the highlight of the fold by adding shadow.
- Create a new layer (Ctrl/Cmd + Shift + N).
- Name it “Dodge/Burn”, check the box that says “Fill with Overlay-neutral color (50% gray)”, and set the Blend Mode to Overlay.
- Select a soft round Brush tool with a very low Flow (1-2%).
- Paint with White (Dodge) over the dark valley of the crease to lighten it.
- Paint with Black (Burn) over the bright peak of the crease to darken it.
Targeting Midtones with Blend If
The risk with Dodge and Burn is that you might accidentally lighten the deep pores of the leather, which ruins the texture. To prevent this, we use Blend If.
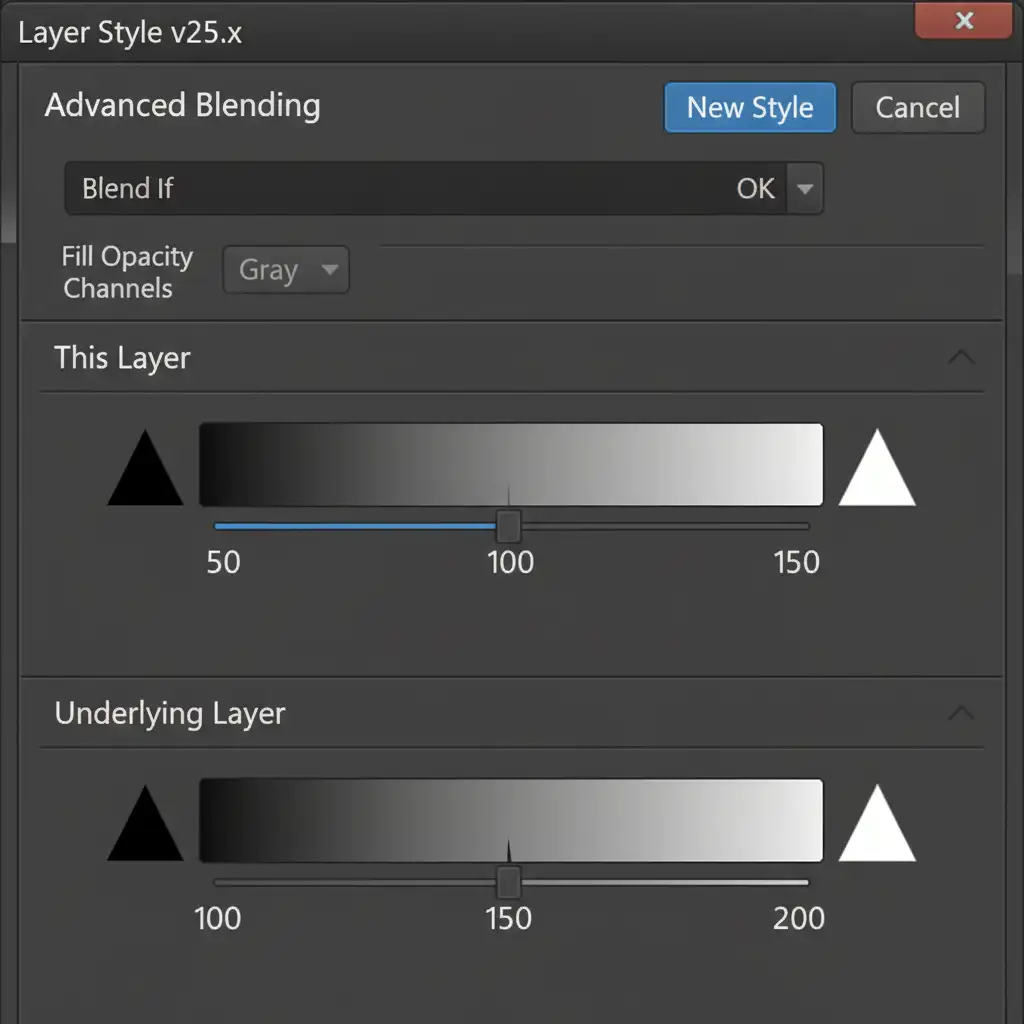
- Double-click your “Dodge/Burn” layer to open the Layer Style dialog.
- Look at the “Underlying Layer” gradient at the bottom.
- Hold Alt/Option and click the black slider on the left to split it. Drag the right half toward the center (e.g., 0 / 45).
- Hold Alt/Option and split the white slider on the right, dragging the left half toward the center (e.g., 200 / 255).
By splitting these sliders, you are telling Photoshop to restrict your Dodge and Burn brush strokes strictly to the midtones. The deep, dark pores of the leather and the brightest specular highlights of the grain are protected, resulting in flawless crease removal.
Need Flawless E-Commerce Product Photos?
Learning how to remove shoe creases in Photoshop without losing texture takes time, patience, and a deep understanding of advanced retouching mechanics. While Frequency Separation and Blend If techniques yield stunning results, executing them across an entire catalog of hundreds of footwear SKUs is incredibly time-consuming.
You don’t have to do it alone.
At Image Work India and Cloud Retouch, our team of expert retouchers specializes in high-volume, high-end e-commerce product editing. We understand the nuances of preserving leather grain, suede nap, and canvas weaves while delivering flawless, crease-free apparel and footwear imagery.
Stop settling for plastic-looking products that hurt your conversion rates. Let us elevate your visual standards. Contact Image Work India today to get a custom quote for your next product retouching project!


