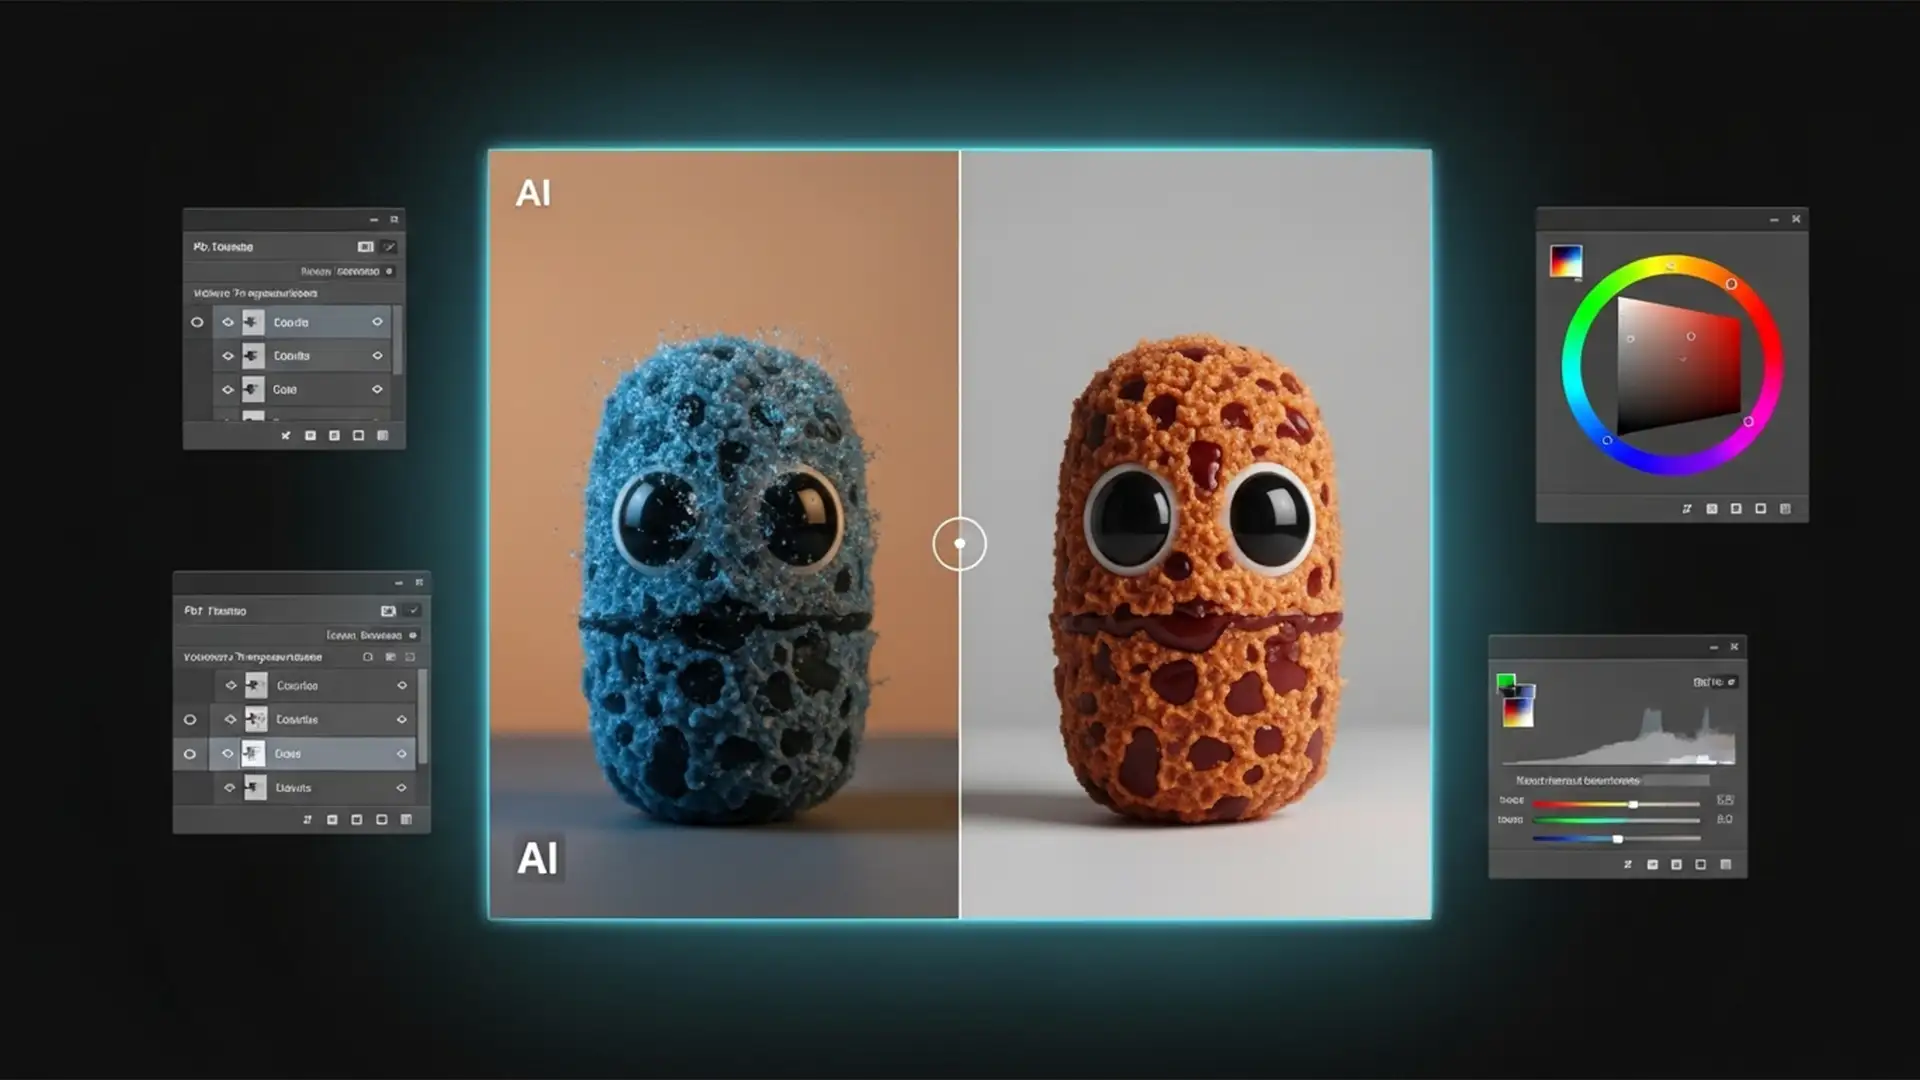
You wait for the loading bar to finish, thrilled that the Firefly AI engine has synthesized the exact pixels you requested. But there is a glaring problem: the generated addition looks like a cheap sticker. The color temperature is completely off, the contrast is flat, and the tint clashes with your original plate.
If you are looking for a reliable Photoshop Generative Fill color mismatch fix, you are not alone. This frustrating error happens to professional retouchers and casual users alike.
In this guide, we will break down exactly why Adobe Photoshop v25.0+ struggles with these localized pixel artifacts and provide five professional techniques to blend your AI-generated layers flawlessly.
Why Does Photoshop Generative Fill Produce Mismatched Colors?
Before applying a fix, it helps to understand why the mismatch occurs. The Firefly AI engine operates under specific parameters that do not always align with your local document. The most common culprits include:
- Color Profile Conflicts: Firefly often defaults to an sRGB behavior. If your host document is working in a wider gamut like Adobe RGB or ProPhoto RGB, the generated pixels will look washed out or incorrectly tinted when placed into your workspace.
- Pre-Generation Color Grading: Applying heavy Color Grading to your base layer before running Generative Fill confuses the AI model. It attempts to match the lighting of the unedited source data rather than your graded adjustments.
- Complex Environmental Lighting: The AI occasionally misinterprets mixed lighting scenarios, resulting in incorrect shadow contrast or midtone color temperatures.
How to Fix Generative Fill Color Mismatch in Photoshop
Here are the most effective methods to correct AI color discrepancies, ranging from quick visual tweaks to deep-level technical settings.

Method 1: The Quick Fix with Clipped Adjustment Layers
When the AI output is only slightly off, manual correction is the fastest route. By using a Clipping Mask, you ensure your color corrections only affect the AI-generated pixels, leaving the background untouched.
- Select your Generative Layer in the Layers Panel.
- Click the half-moon icon at the bottom of the panel to add a new Adjustment Layer (choose Curves or Color Balance).
- Hold Alt (Windows) or Option (Mac) and click directly on the line between the Adjustment Layer and the Generative Layer. A small downward arrow will appear, indicating the layer is now clipped.
- Tweak the midtones and white balance until the generated area visually matches the surrounding plate.
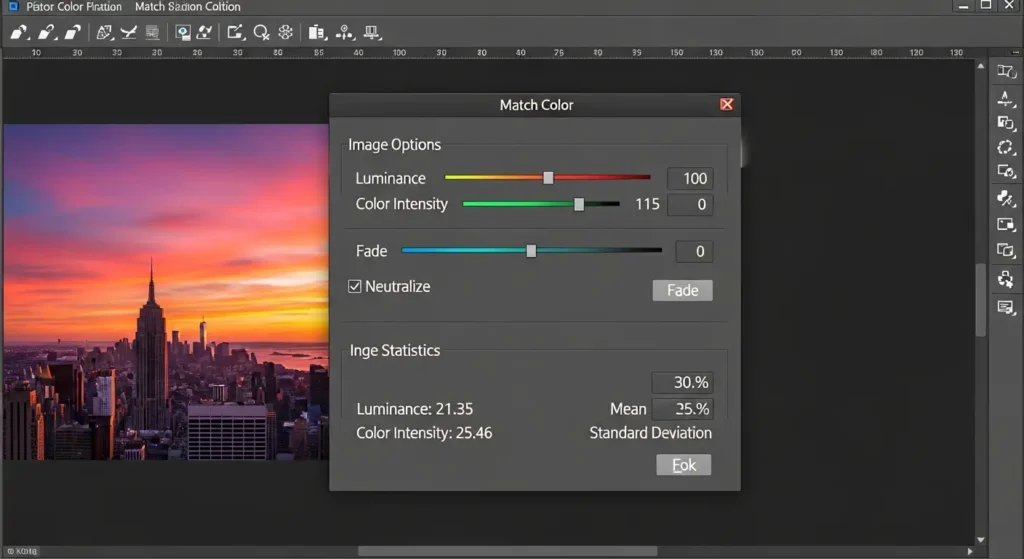
Method 2: The Pro Workaround Using “Match Color”
If manual adjustment isn’t giving you perfect results, let Photoshop’s mathematical algorithms do the heavy lifting using the Match Color tool.
- Duplicate your Generative Layer and rasterize it (Right-click > Rasterize Layer).
- With the rasterized layer selected, navigate to Image > Adjustments > Match Color.
- In the dialog box, look under the Image Statistics section at the bottom.
- Set the Source to your current document.
- Set the Layer dropdown to your original Background layer (or your merged base plate).
- Adjust the Luminance and Color Intensity sliders at the top until the pixels blend seamlessly.

Method 3: Blending with a Gradient Map
For complex lighting mismatches, a Gradient Map can unify the tones of your composite.
Create a Gradient Map adjustment layer and sample the darkest shadow and brightest highlight from your original background image. Clip this Gradient Map to your Generative Layer and change the blending mode to Color. If the effect alters the brightness too much, switch to Luminosity blending to preserve the AI’s original contrast while inheriting the background’s exact color palette.
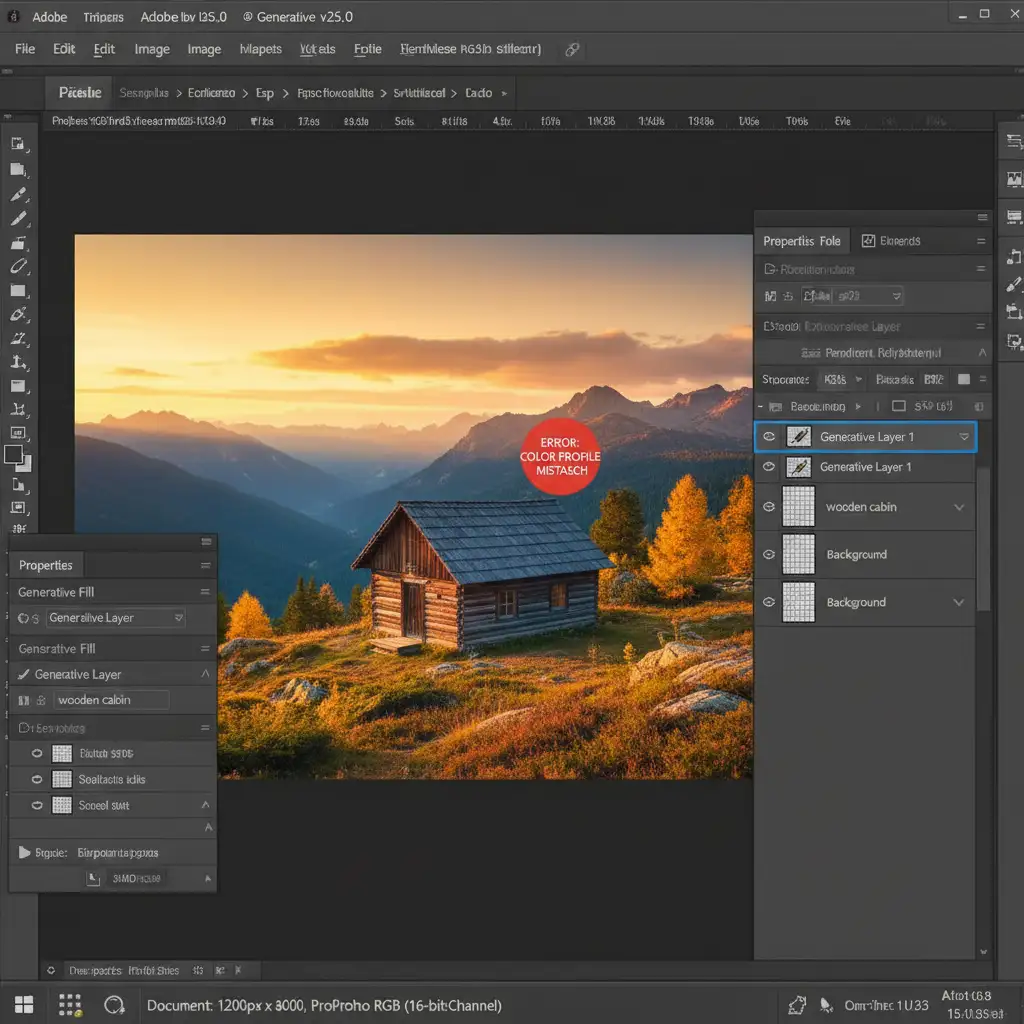
Method 4: Standardizing Your Color Profiles (The Technical Fix)
If you consistently experience a Photoshop Generative Fill color mismatch fix requirement on every single generation, your workspace settings are likely misconfigured.
- Go to Edit > Color Settings (Shift + Ctrl + K).
- Ensure your Color Profile Working Spaces (specifically RGB) match the profile of the document you are editing.
- Check your document bit depth by navigating to Image > Mode. Convert your document uniformly to 8-bit or 16-bit before generating. The Firefly engine can sometimes struggle to output correct colors when forced into mismatched or overly complex bit depths.
Method 5: Purging Cache and Toggling GPU Compositing
Sometimes, Photoshop’s rendering engine simply glitches, displaying colors incorrectly on the canvas even if the underlying data is fine.
- Clear the Cache: Go to Edit > Purge > All. This forces Photoshop to dump temporary data and re-render the canvas.
- GPU Compositing: Navigate to Edit > Preferences > Performance. Try toggling GPU Compositing off, click OK, and restart Photoshop. If the color mismatch disappears, your graphics card driver may need an update.
Beyond AI: When to Rely on Professional Retouching
While these steps provide a reliable Photoshop Generative Fill color mismatch fix, AI is still not flawless. For high-end commercial photography, e-commerce catalogs, and professional real estate imagery, relying on automated pixel generation can lead to costly quality control issues, bizarre pixel artifacts, and hours wasted on tedious corrections.
Struggling to get seamless results from AI tools? Let the experts at Image Work India and Cloud Retouch handle your complex post-production. Our dedicated teams specialize in flawless manual retouching, precise color correction, and perfect compositing that AI simply cannot replicate.
Contact us today to elevate your images with professional, pixel-perfect retouching services tailored to your exact specifications.


