
You’ve just received a stunning beauty editorial, but the model’s skin is flushed. Your first instinct? Drop a global Hue/Saturation adjustment or tweak the Camera Raw Color Mixer to dial back the reds. But there’s a massive problem: the moment you neutralize the skin, the vibrant red lipstick, delicate blush, and warm eyeshadows lose their punch. You’ve fixed the flush but ruined the makeup.
In high-end beauty retouching, isolating the exact chromaticity of unwanted skin redness from intentional cosmetic pigments is a critical hurdle. Today, we’ll show you how to master neutralizing skin redness without affecting makeup using advanced, non-destructive Photoshop techniques.
Why Global Redness Reduction Fails in Beauty Retouching
In modern retouching workflows (specifically using Photoshop v24.x to v25.x), global redness reduction is a common failure point. When editors attempt to fix rosacea, heat redness, or general skin flushing, they often rely on broad sliders. Because makeup pigments and flushed skin share similar hex code neighborhoods in the red/magenta spectrum, global adjustments cannot differentiate between an unwanted blemish and an expensive Chanel lipstick.
To maintain cosmetic integrity, you must rely on non-destructive editing techniques that utilize precise channel targeting, advanced layer masking, and specialized blending algorithms. Here are three professional methods to achieve flawless skin while protecting the makeup artist’s work.
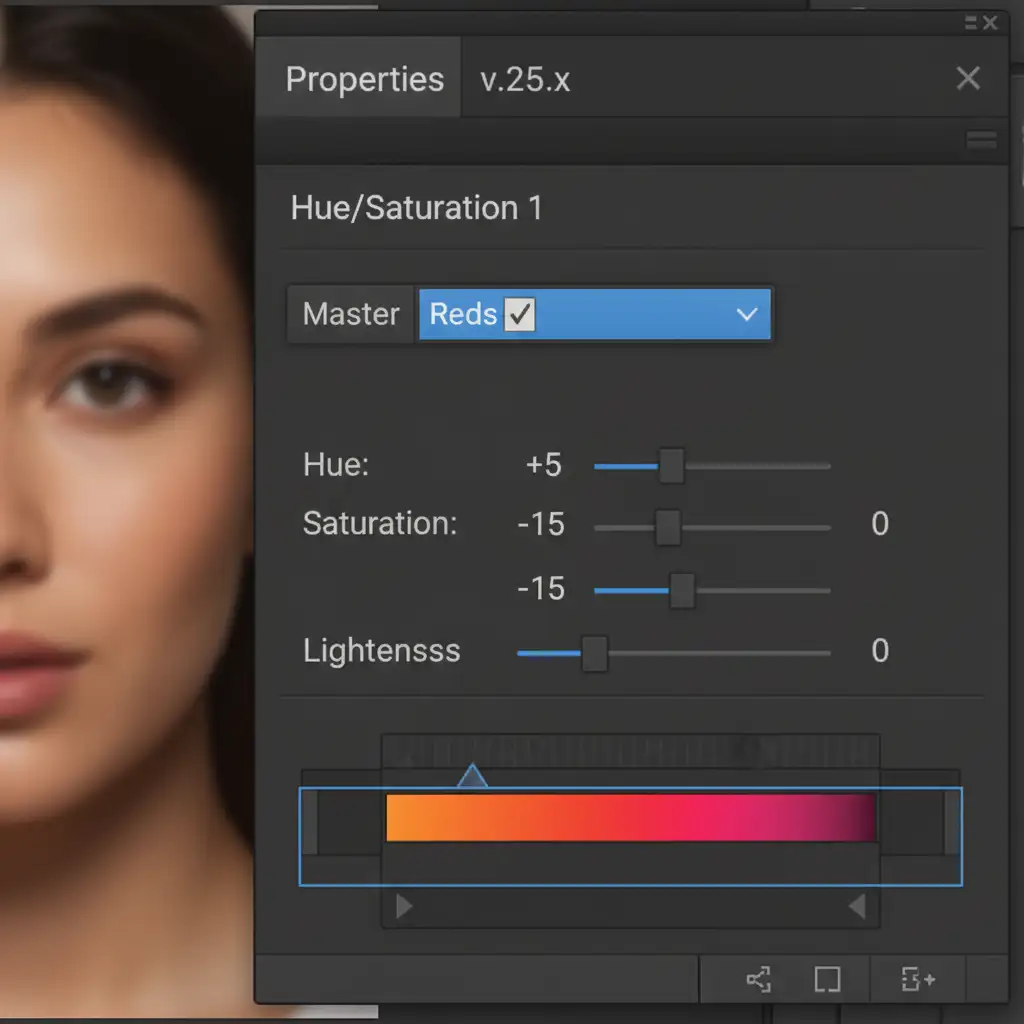
Method 1: The Quick Fix Using Hue/Saturation Masking
For minor flushing, a targeted Hue/Saturation adjustment is your fastest route to clean skin tones. The secret lies in isolating the specific red hues and controlling the application through manual layer masking.
Step-by-Step Application
- Create a Hue/Saturation Adjustment Layer.
- Select the Targeted Adjustment Tool (the hand icon with arrows) from the properties panel.
- Click directly on the skin redness you want to remove. Photoshop will automatically isolate the specific red channel.
- Slightly shift the Hue slider towards yellow/green and drop the Saturation until the redness neutralizes.
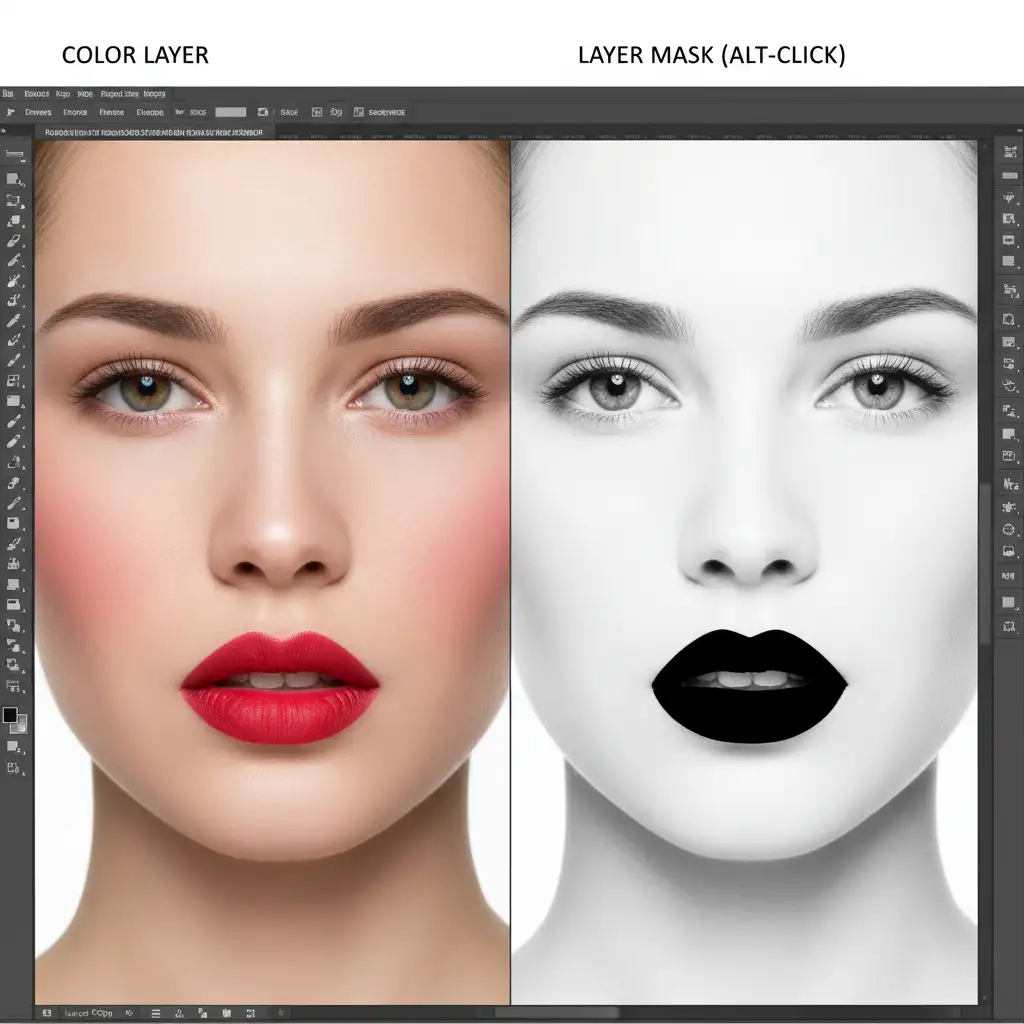
- The crucial step: Press Ctrl+I (Cmd+I) to invert the layer mask to black, hiding the effect.
- Select a soft round brush, paint with white at a low opacity, and gently brush the correction only onto the flushed skin, carefully avoiding the blush and lips.
Method 2: The Pro Workaround with Selective Color and Blend If
When dealing with complex lighting where redness bleeds into the shadows, the Selective Color adjustment paired with Blend If offers unparalleled tonal control.
Advanced Channel Targeting
- Add a Selective Color adjustment layer.
- Target the Reds channel from the dropdown menu.
- Increase the Cyan slider (which introduces green/blue to cool down the red) and decrease the Magenta slider to pull out the pink flush.
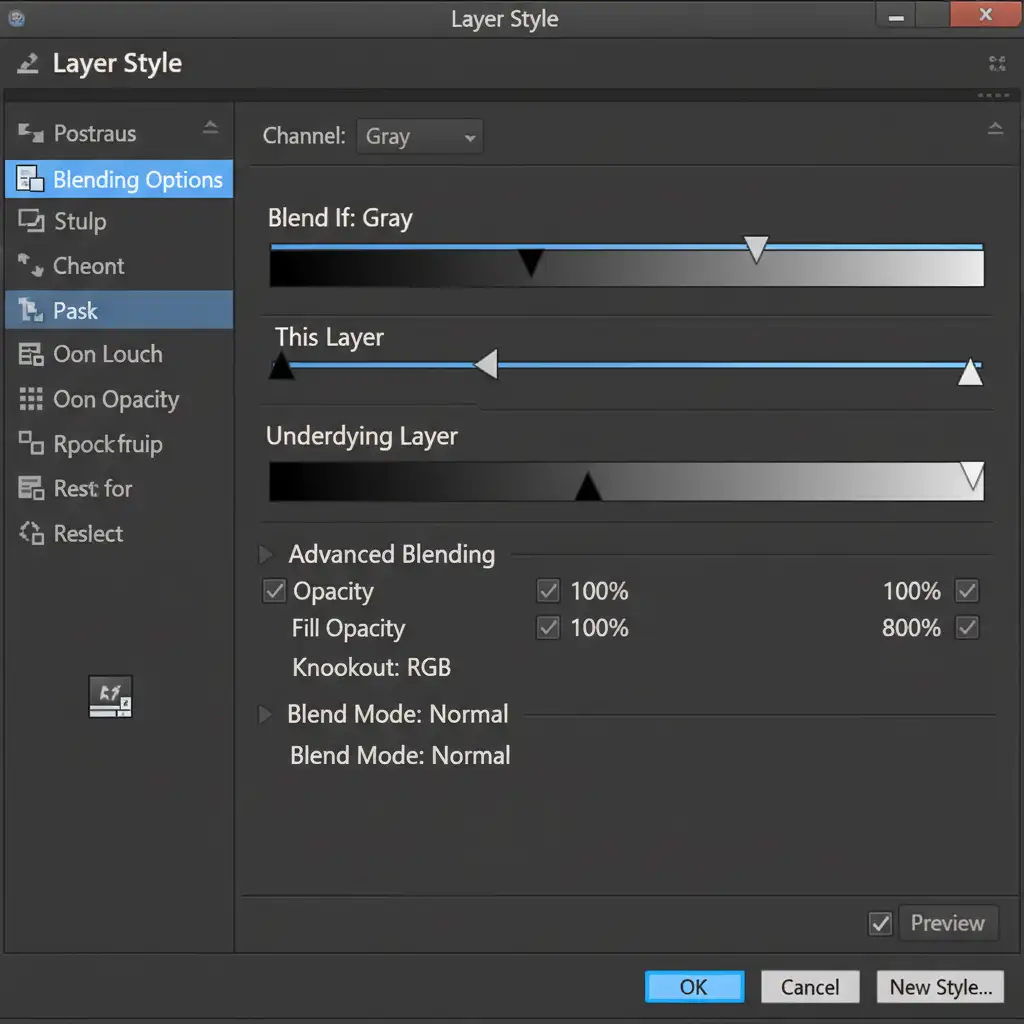
- Double-click the adjustment layer to open the Layer Style dialog box.
- Navigate to the Blend If section at the bottom. Using the Underlying Layer slider, hold Alt (Option) to split the black and white triangles. Drag them inward to smoothly transition the color correction out of the deepest shadows and brightest highlights.
- Finally, add a layer mask and paint black over the lips and cosmetic blush to protect their vibrant chromaticity.
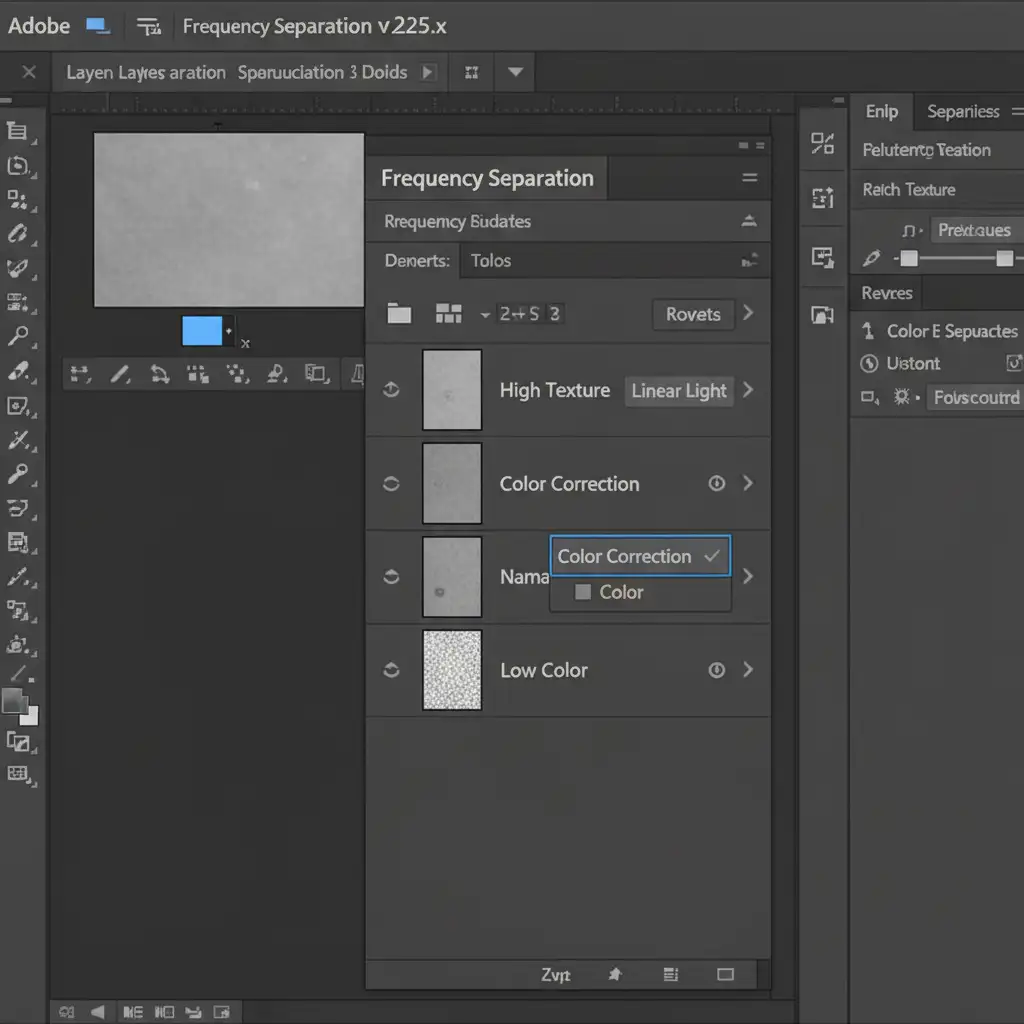
Method 3: The Technical Deep-Dive Using Frequency Separation
For the most stubborn redness—such as intense rosacea—you need to separate the skin’s texture from its color. Frequency Separation allows for foundational, pixel-level color correction without destroying skin pores or makeup texture.
Foundational Pixel-Level Correction
- Run your standard Frequency Separation action to split your image into a High (texture) and Low (color) layer.
- Create a blank new layer and place it between the High and Low layers.
- Change this new layer’s blend mode to Color.
- Select the Brush Tool, hold Alt (Option), and sample a clean, neutral skin tone right next to the red area.
- Set your brush flow to a very low 5 percent.
- Gently paint over the redness. Because the texture is protected on the High layer above, and you are only painting color, the redness vanishes. As long as you don’t paint over the lipstick or blush, you are successfully neutralizing skin redness without affecting makeup.
Why Outsource Your High-End Retouching?
Mastering the art of neutralizing skin redness without affecting makeup requires years of experience, an intimate understanding of color theory, and hours of meticulous masking. When you are managing high-volume editorial shoots, e-commerce campaigns, or wedding galleries, spending 20 minutes masking out a single pair of lips simply isn’t scalable.
Struggling to balance natural skin tones with vibrant cosmetic colors? Outsource your beauty and fashion editing to Image Work India and Cloud Retouch.
Our elite team of professional retouchers understands the delicate balance of high-end chromaticity. We guarantee pixel-perfect skin retouching, flawless Frequency Separation, and zero makeup bleed. Focus on shooting and growing your business while we deliver magazine-ready images that make your subjects—and their makeup artists—look their absolute best.


