
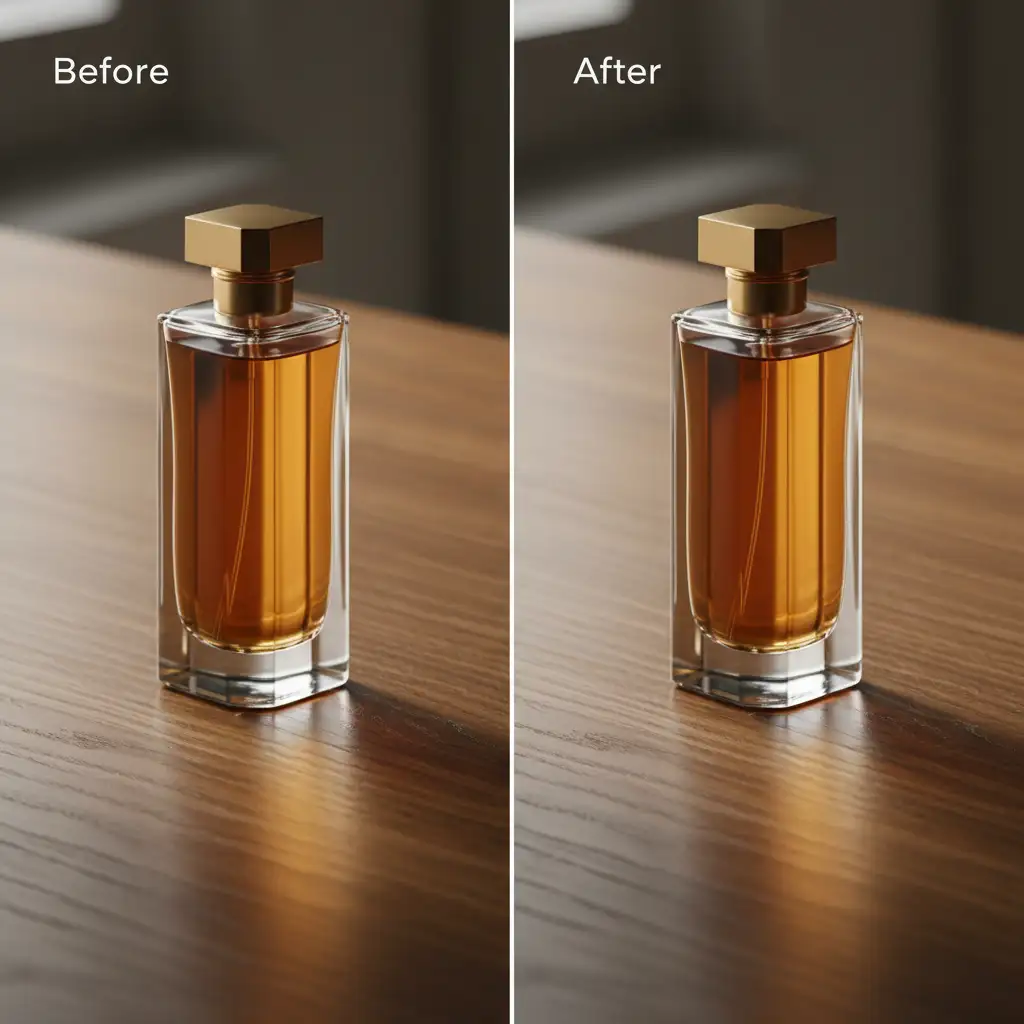
You have just generated a stunning product concept using Midjourney or Stable Diffusion. You drop it into a photographic background plate, and instantly, the illusion breaks. The product looks like a cheap sticker. It is hovering.
Welcome to “floating object syndrome.”
Ever since Adobe officially discontinued native 3D features in Photoshop v22.5, the beloved 3D Ground Plane and automated snapping tools are gone. For retouchers handling AI compositing, matching focal lengths and angles to anchor an object to a 2D floor has become a massive workflow bottleneck.
You do not need deprecated 3D meshes to fix this. In this guide, we will break down how to achieve flawless ground plane matching for AI composites using mathematical vanishing points, perspective warping, and displacement maps.
The Post-3D Challenge in AI Compositing
When combining AI-generated elements with real-world photographic plates, the biggest giveaway of manipulation is a mismatched horizon line. Without the native 3D ground plane to automatically calculate orthographic projection and depth, cast shadows and reflections often run parallel to the canvas rather than receding into the background.
To fix this, modern editors must rely on 2D-to-3D spatial alignment techniques. Here are three distinct methods to ground your composites, ranging from a quick fix to a mathematically perfect technical workflow.
Method 1: The Quick Fix (Free Transform & Perspective Warp)
If you are working with a relatively flat surface and a straightforward camera angle, manual transformation is often the fastest route to a passable reflection.
Step-by-Step Alignment
- Duplicate and Flip: Duplicate your AI product layer and flip it vertically (Edit > Transform > Flip Vertical).
- Anchor the Base: Move the flipped layer down so the bases of the original and the reflection touch.
- Apply Perspective: Press Ctrl+T (Windows) or Cmd+T (Mac) to bring up the Free Transform bounding box. Right-click inside the box and select Perspective.
- Match the Visual Floor Angle: Drag the bottom corner handles outward to widen the base of the reflection, mimicking how the object would naturally spread as it gets closer to the camera.
- Blend: Lower the opacity to 15-30%. Add a layer mask, grab the Gradient Tool, and drag from the bottom up to create a smooth fade.
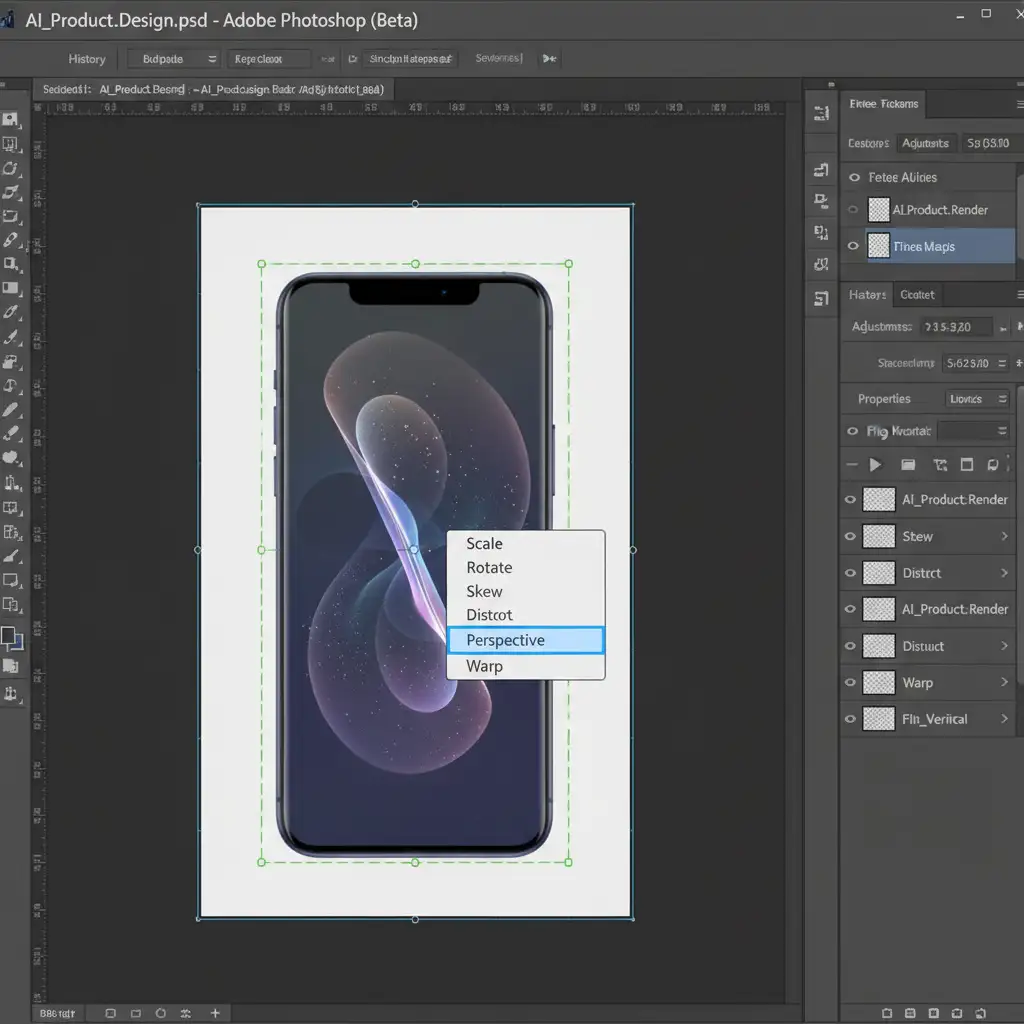
Pro Tip: If the object has a complex base, switch from Perspective to Perspective Warp (Edit > Perspective Warp) to define a precise grid around the object before manipulating it.
Method 2: The Pro Workaround (Vanishing Point Filter)
When dealing with complex focal length matching, eyeballing the perspective will not cut it. The Vanishing Point filter is the most powerful alternative to the retired 3D ground plane, allowing you to mathematically snap reflections to a specific plane.
How to Map the Grid
- Prepare the Reflection Layer: Create your reflection layer (flipped vertically), rasterize it, and copy it to your clipboard (Ctrl+C / Cmd+C). Turn off the visibility of this layer.
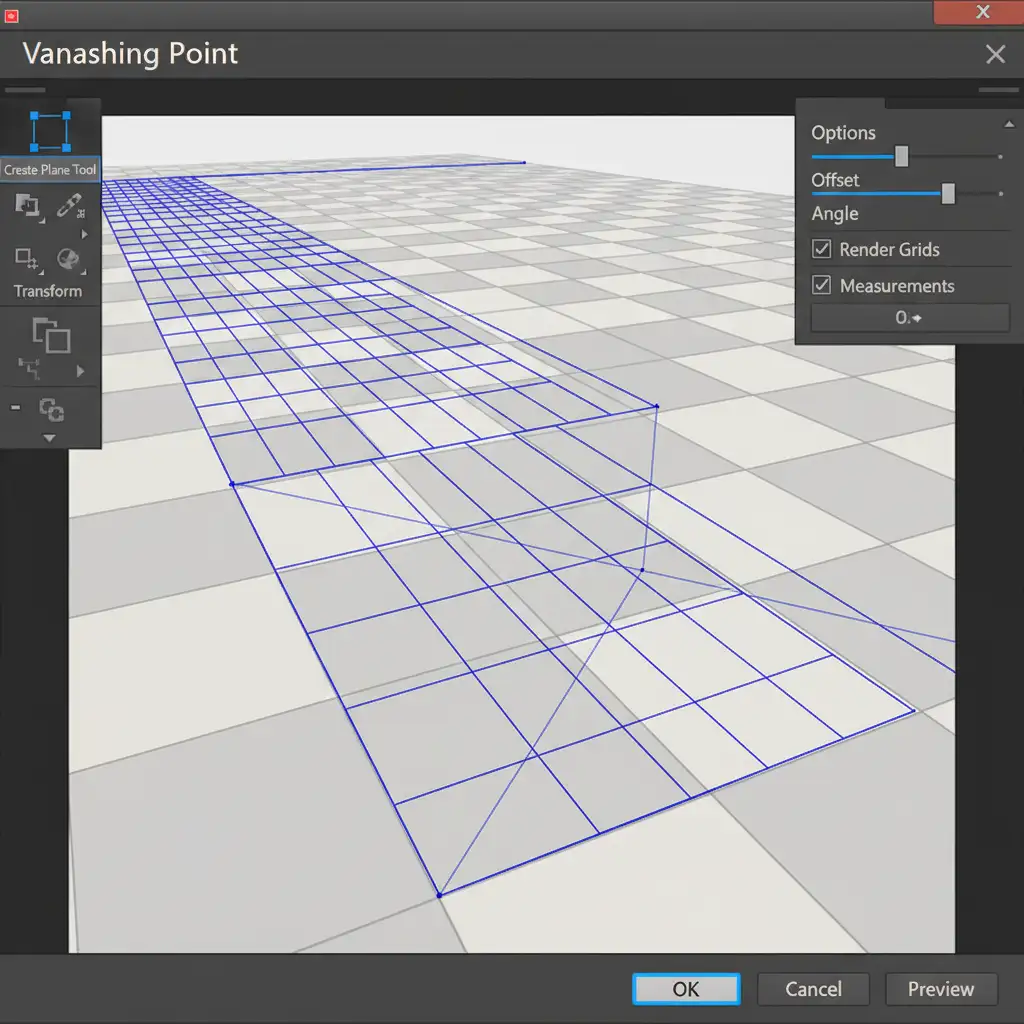
- Open Vanishing Point: Create a new blank layer. Go to Filter > Vanishing Point.
- Define the Plane: Use the Create Plane Tool to map out the perspective of your background scene. Look for floor tiles, baseboards, or architectural spatial cues to draw your four points. Once connected, Photoshop will generate a blue grid.
- Paste and Snap: Press Ctrl+V (or Cmd+V) to paste your copied reflection into the dialog box. Drag the reflection into the blue grid. It will immediately snap to the correct perspective plane.
- Final Adjustments: Scale the reflection using the Transform tool inside the dialog box, then click OK. Apply a clipping mask or gradient mask to finalize the blend.
Method 3: The Technical Deep-Dive (Displacement Maps)
Methods 1 and 2 work perfectly for smooth surfaces like glass, polished concrete, or studio cyc walls. However, if your ground plane is textured (e.g., asphalt, rough wood, rippled water), a perfectly straight perspective warp will look fake.
To achieve ultimate realism, you must force the reflection to wrap around the micro-textures of the ground plane using a Displacement map.
Creating the Texture Map
- Isolate the Floor: Duplicate your background plate. Desaturate it so it is entirely black and white.
- Boost Contrast: Use a Curves adjustment to heavily boost the contrast. The dark areas will tell Photoshop where to recess the reflection, and the light areas will tell it where to raise it.
- Save as PSD: Save this high-contrast, black-and-white file as a separate .psd document (e.g., floor_displacement.psd).
Applying the Displacement
- Smart Objects are Mandatory: Apply your reflection using Method 1 or 2. Right-click the reflection layer and select Convert to Smart Object. This ensures your displacement is non-destructive.
- Apply the Filter: Go to Filter > Distort > Displace.
- Set the Scale: Set the Horizontal and Vertical scales (usually between 5 and 15, depending on image resolution). Click OK.
- Select Your Map: Photoshop will prompt you to select a file. Choose the floor_displacement.psd you saved earlier. Your reflection will instantly warp and distort, perfectly matching the bumps and grooves of the floor beneath it.

Bring Your Composites to Life
Mastering ground plane matching for AI composites requires a solid understanding of spatial geometry, lighting, and advanced Photoshop filters. While the native 3D tools are gone, these 2D workarounds ensure your composites remain mathematically accurate and visually flawless.
Need pixel-perfect AI product composites without the headache? Stop fighting the perspective grid. Let the experts at Image Work India and Cloud Retouch handle the complex perspective math, flawless cast shadows, and displacement mapping for you. Whether you are building an ecommerce catalog or integrating Stable Diffusion assets into high-end advertising campaigns, our professional retouching team guarantees your products will never suffer from floating object syndrome again. Contact us today to scale your visual content.


