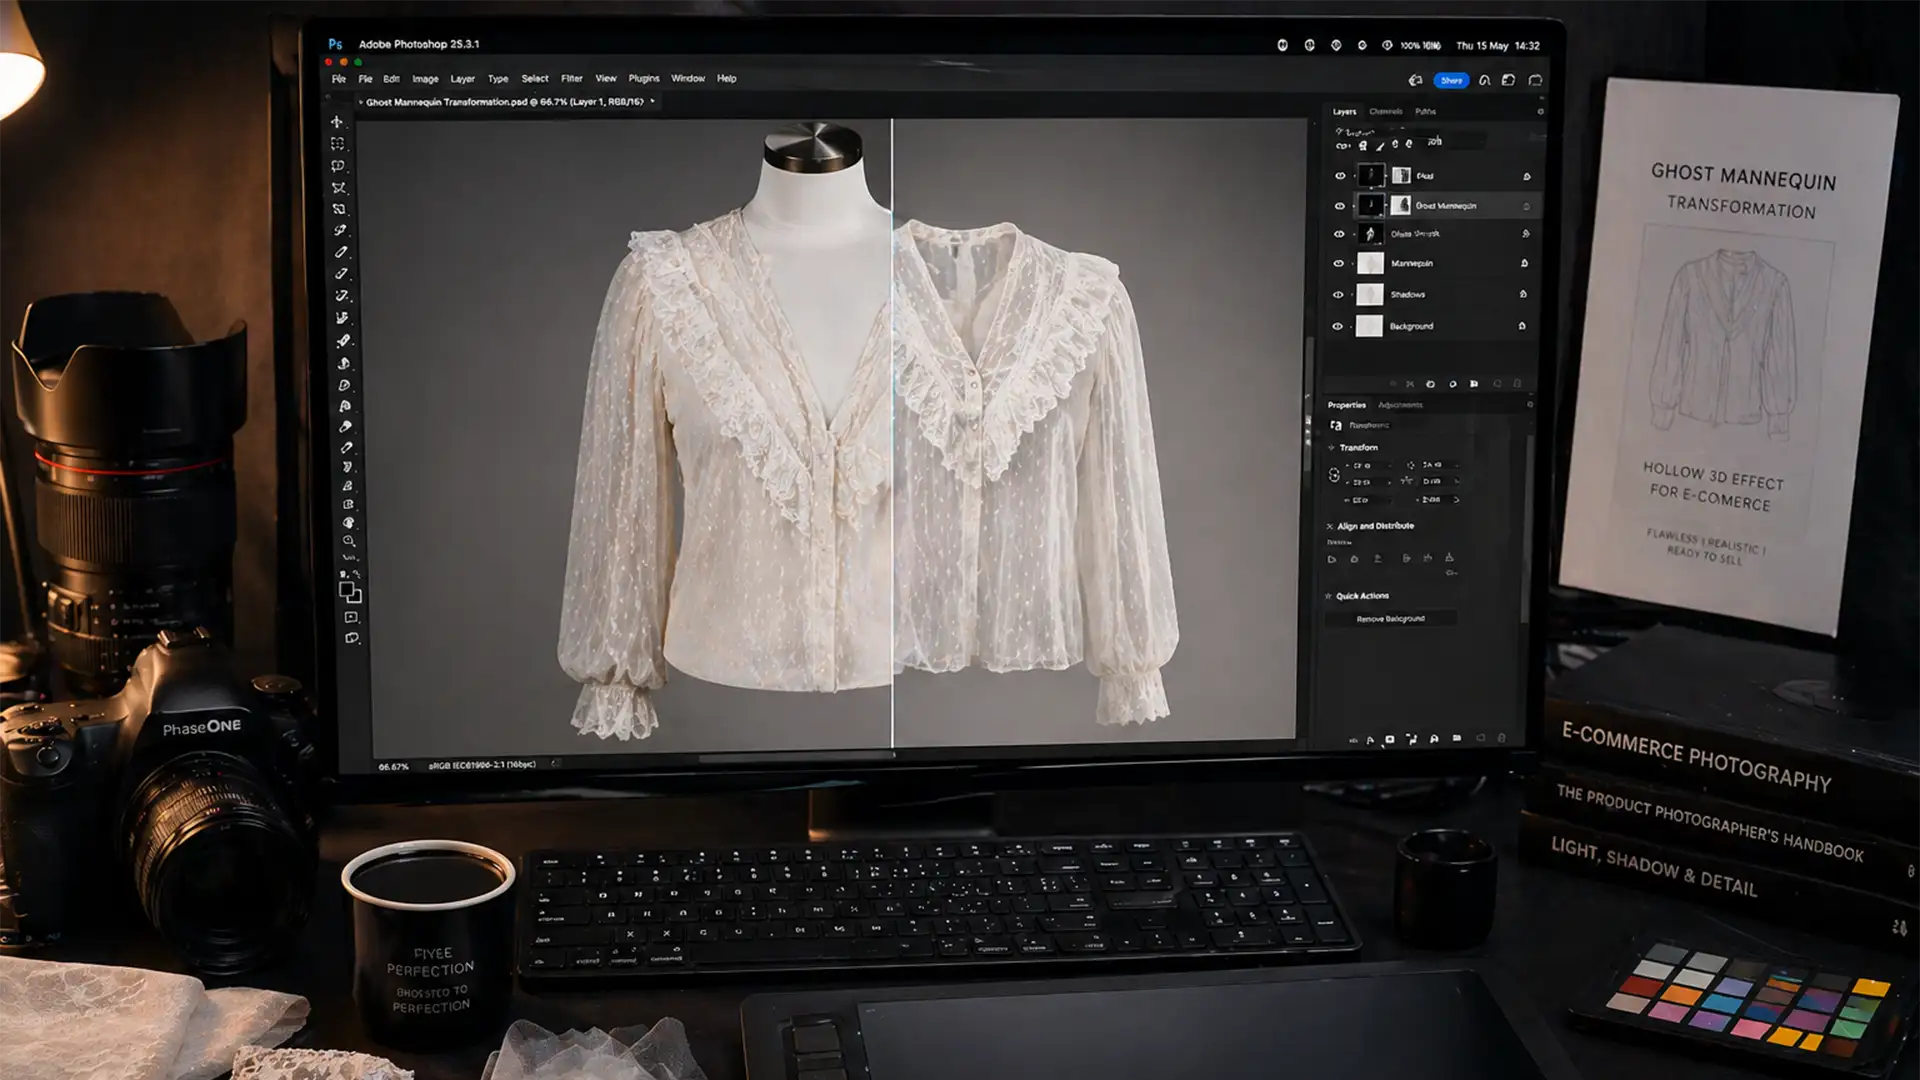
If you run an e-commerce apparel store, you know the nightmare of creating a ghost mannequin for sheer lace fabrics. In Adobe Photoshop v25.x and newer, AI-based tools like Object Selection and Select Subject are incredible—until you feed them translucent garments like lace, tulle, or mesh. Suddenly, these automated tools fail miserably. They cannot differentiate between the rigid plastic mannequin body and the delicate, semi-transparent fabric overlay, leaving you with jagged edges, harsh halos, or a complete loss of the sheer effect. If you are tired of ruining expensive apparel shots, this guide will show you exactly how to separate the mannequin without destroying your fabric’s natural translucency.
Why Automated Tools Fail on Translucent Apparel
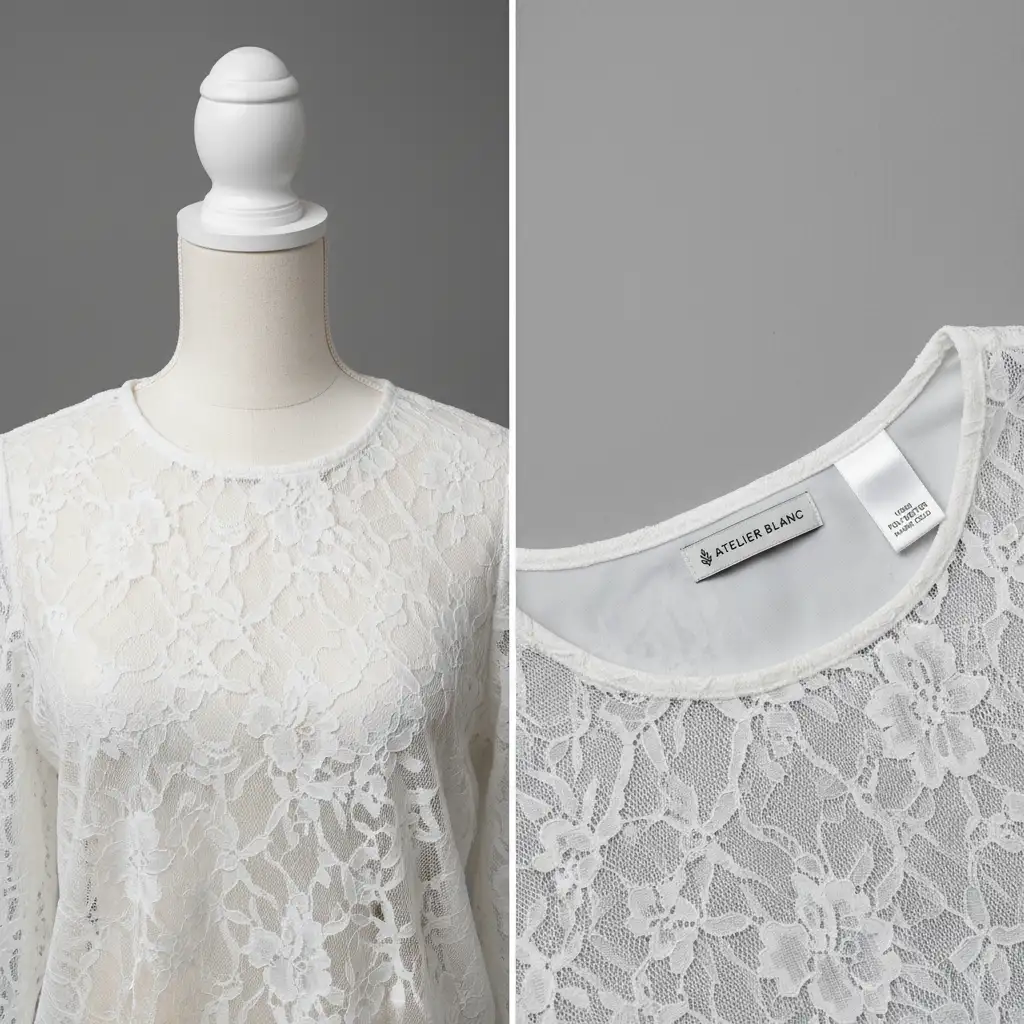
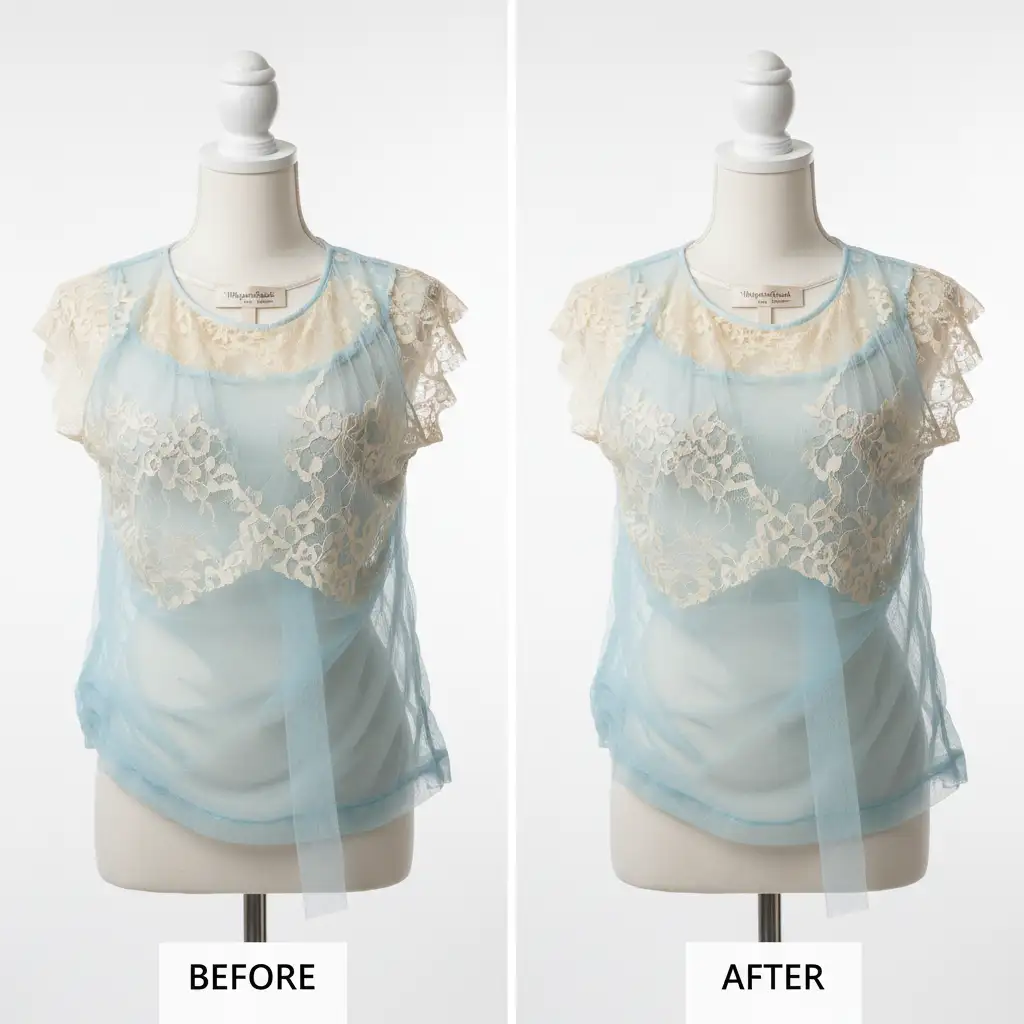
Creating a flawless 3D hollow effect requires merging two images: the front shot of the garment on the mannequin, and an inside-out shot of the back neck piece.
When dealing with opaque cotton or denim, the Pen Tool makes quick work of the edges. However, sheer and lace fabrics present a unique technical hurdle. You must remove the underlying mannequin body without deleting the translucent pixels of the fabric overlay. When automated AI tools attempt to isolate these garments, they either leave the mannequin’s skin tone bleeding through the mesh or erase the delicate lace loops entirely.
To fix this, we must abandon basic AI selections and utilize professional compositing techniques.
How to Create a Ghost Mannequin for Sheer Lace Fabrics
Depending on the complexity of the garment, there are three proven ways to tackle translucent apparel retouching.
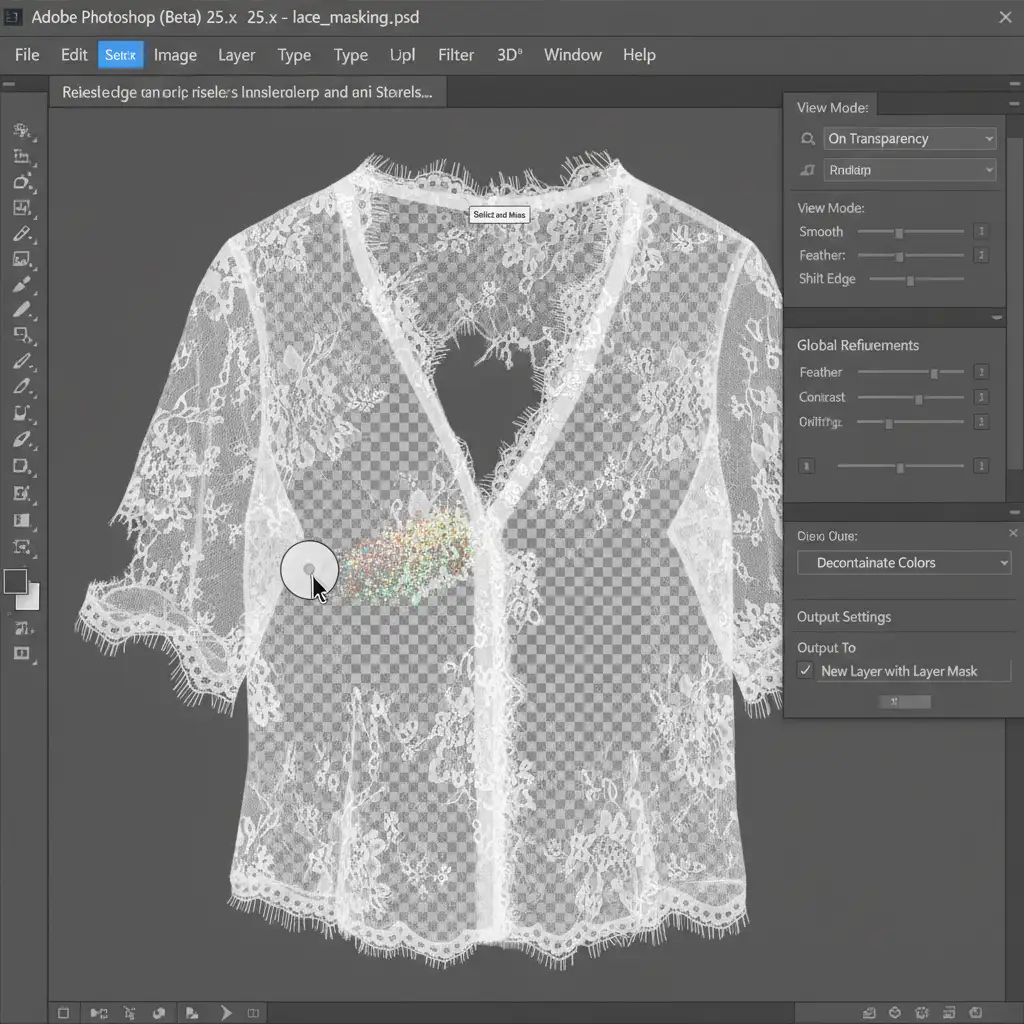
Method 1: The Quick Fix Using Select and Mask
For simpler mesh garments where the contrast between the fabric and the mannequin is relatively high, Photoshop’s dedicated masking workspace can salvage the edges.
- Make a rough initial selection of the garment using the Quick Selection tool. Do not worry about the semi-transparent interior yet.
- Open the Select and Mask workspace.
- Select the Refine Edge Brush Tool. Carefully brush over the delicate lace loops and sheer edges where the mannequin intersects with the background.
- Check the Decontaminate Colors box in the output settings. This is crucial—it naturally extracts semi-transparent lace edges and removes the harsh color halos caused by the mannequin reflecting through the fabric.
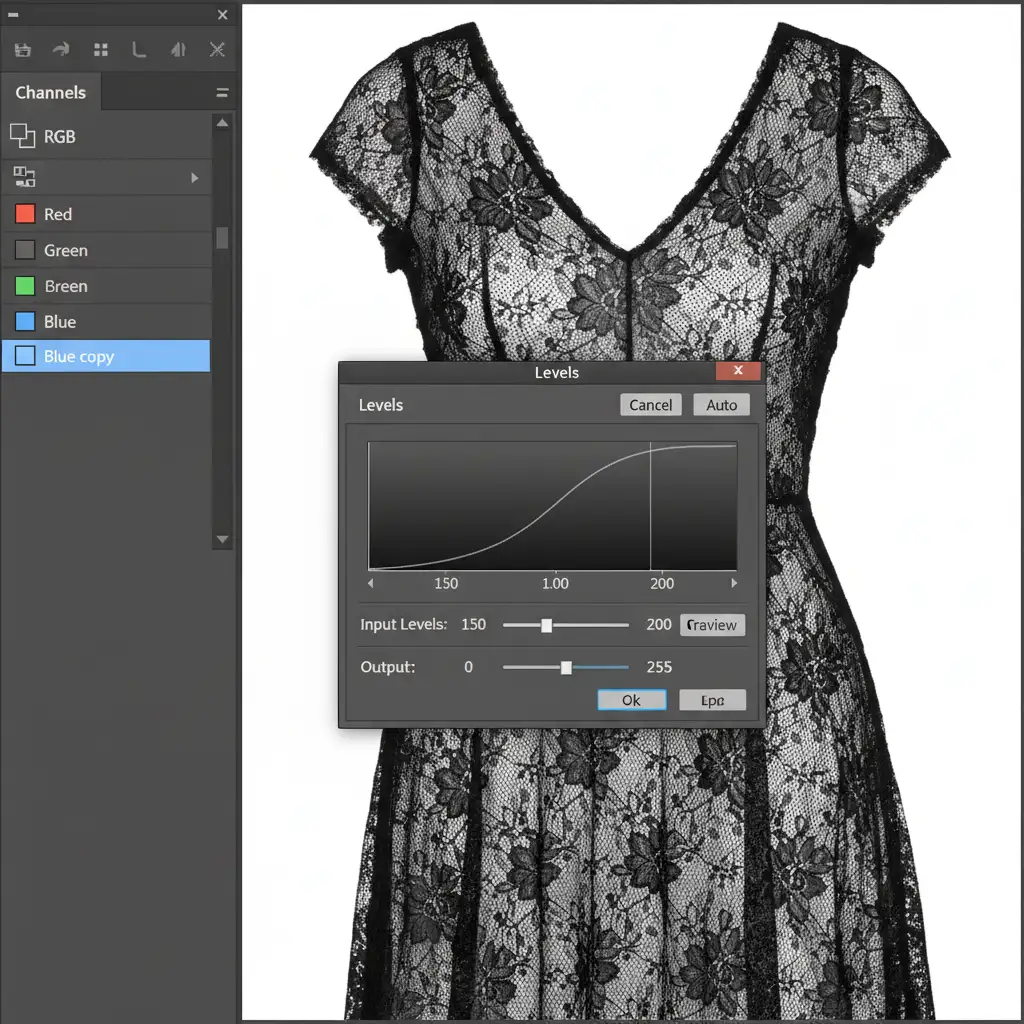
Method 2: The Pro Workaround Using Channel Masking
When automated tools completely fail, Channel Masking is the industry standard for isolating high-contrast fabric from complex backgrounds or mannequins.
- Open your Channels panel.
- Click through the Red, Green, and Blue channels to find the one with the highest contrast between the lace fabric and the mannequin (often the Blue or Red channel).
- Duplicate this high-contrast channel.
- Apply a Levels adjustment (Ctrl/Cmd + L) directly to the duplicated channel. Push the shadows slider to make the lace solid black, and push the highlights slider to blow the background out to pure white.
- Invert the channel (Ctrl/Cmd + I) so the fabric is white (selected) and the background is black (ignored).
- Ctrl/Cmd + Click the duplicated channel to load it as an Alpha Channel selection. You will see the Marching Ants perfectly hugging every single thread of the lace. Apply this as a Layer Mask.
Method 3: The Technical Deep-Dive into Advanced Compositing
Once you have isolated the front sheer layer, you must insert the inner back neck piece to create the hollow ghost mannequin effect. This is where most editors ruin the illusion of translucency.
To make the front and back layers interact naturally:
- Use the Pen Tool to create solid borders around the inner back neck piece, ensuring a clean cut.
- Paste the inner neck piece behind your masked front sheer layer.
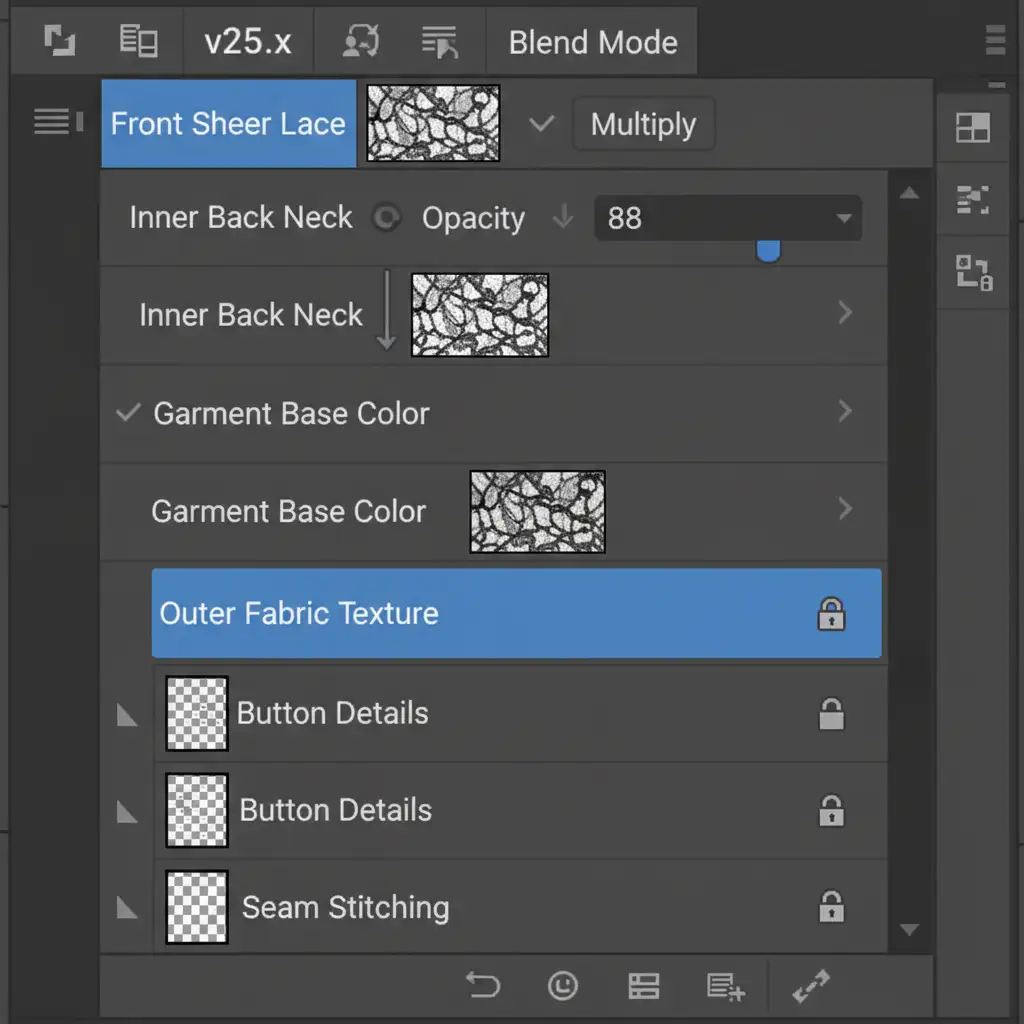
- The Secret Step: Select the overlapping front sheer layer and change its Blend Mode to Multiply. This forces the front fabric to interact with the back neck piece, mimicking real-world fabric transparency.
- Select the inner back piece layer and lower the Opacity slightly (usually between 85% to 95%) so it doesn’t look artificially bright behind the mesh.
- Finally, add a Layer Mask to the inner neck piece. Use a soft-edge brush set to 20% opacity to gently paint away any internal structural shadows left by the mannequin, ensuring a seamless, hollow blend. You can also use a Clipping Mask if you need to restrict shadow adjustments strictly to the inner collar area.
Scaling High-Volume E-Commerce Retouching
Mastering the ghost mannequin for sheer lace fabrics requires a deep understanding of Alpha Channels, Opacity blending, and advanced masking. While doing this for one or two images is a fun technical challenge, processing hundreds of translucent garments for a seasonal e-commerce catalog is a massive drain on your time and resources.
Struggling with high-volume sheer garment retouching? Outsource the heavy lifting to the specialists at Image Work India and Cloud Retouch. Our expert retouching teams use precise Pen Tool paths and advanced Channel Masking to deliver flawless, studio-quality ghost mannequin edits that preserve every delicate thread of your lace, tulle, and mesh products.
Stop letting automated tools ruin your product photography. Contact Image Work India and Cloud Retouch today, and let us deliver the high-converting imagery your brand deserves.


