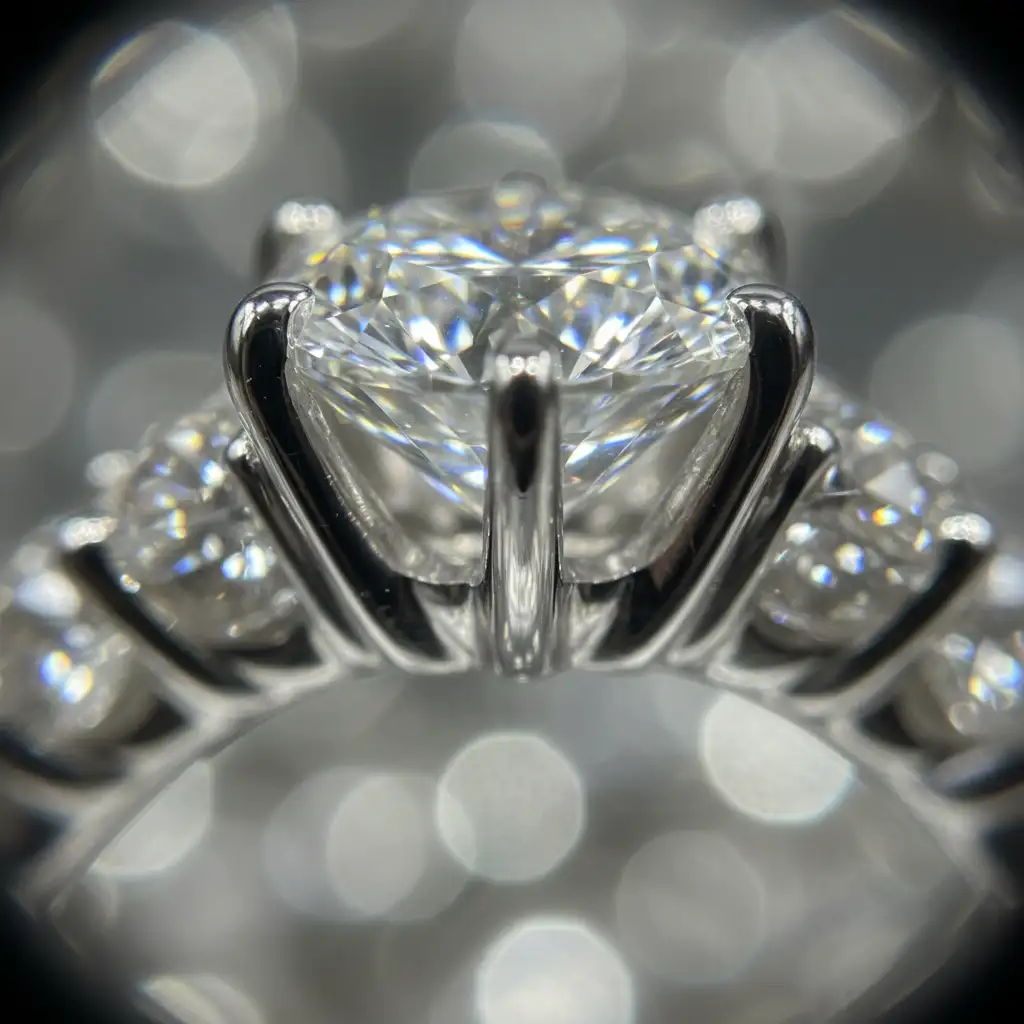
You have just spent hours meticulously shooting a 40-image macro stack of a flawless diamond ring. But when you run the sequence through Photoshop’s Auto-Blend Layers, the result is a disaster. Instead of crisp, edge-to-edge sharpness, you are staring at translucent prongs, doubled edges, and glowing outlines. Sound familiar?
Eliminating ghosting in jewelry focus stacking is one of the most frustrating challenges in high-end macro photography. These ghosting artifacts and halos happen when software misinterprets the minute pixel shifts caused by focus breathing. Do not panic. In this technical guide, we will show you exactly how to fix complex focus stacking errors using professional manual masking and frequency separation techniques.
Why Ghosting and Halos Ruin Macro Jewelry Photography
To achieve maximum depth of field in macro photography, photographers must capture dozens of images at slightly different focal points. However, focus stacking ghosting and halos frequently occur when software like Adobe Photoshop v24.x or v25.x attempts to merge these multiple focal planes.
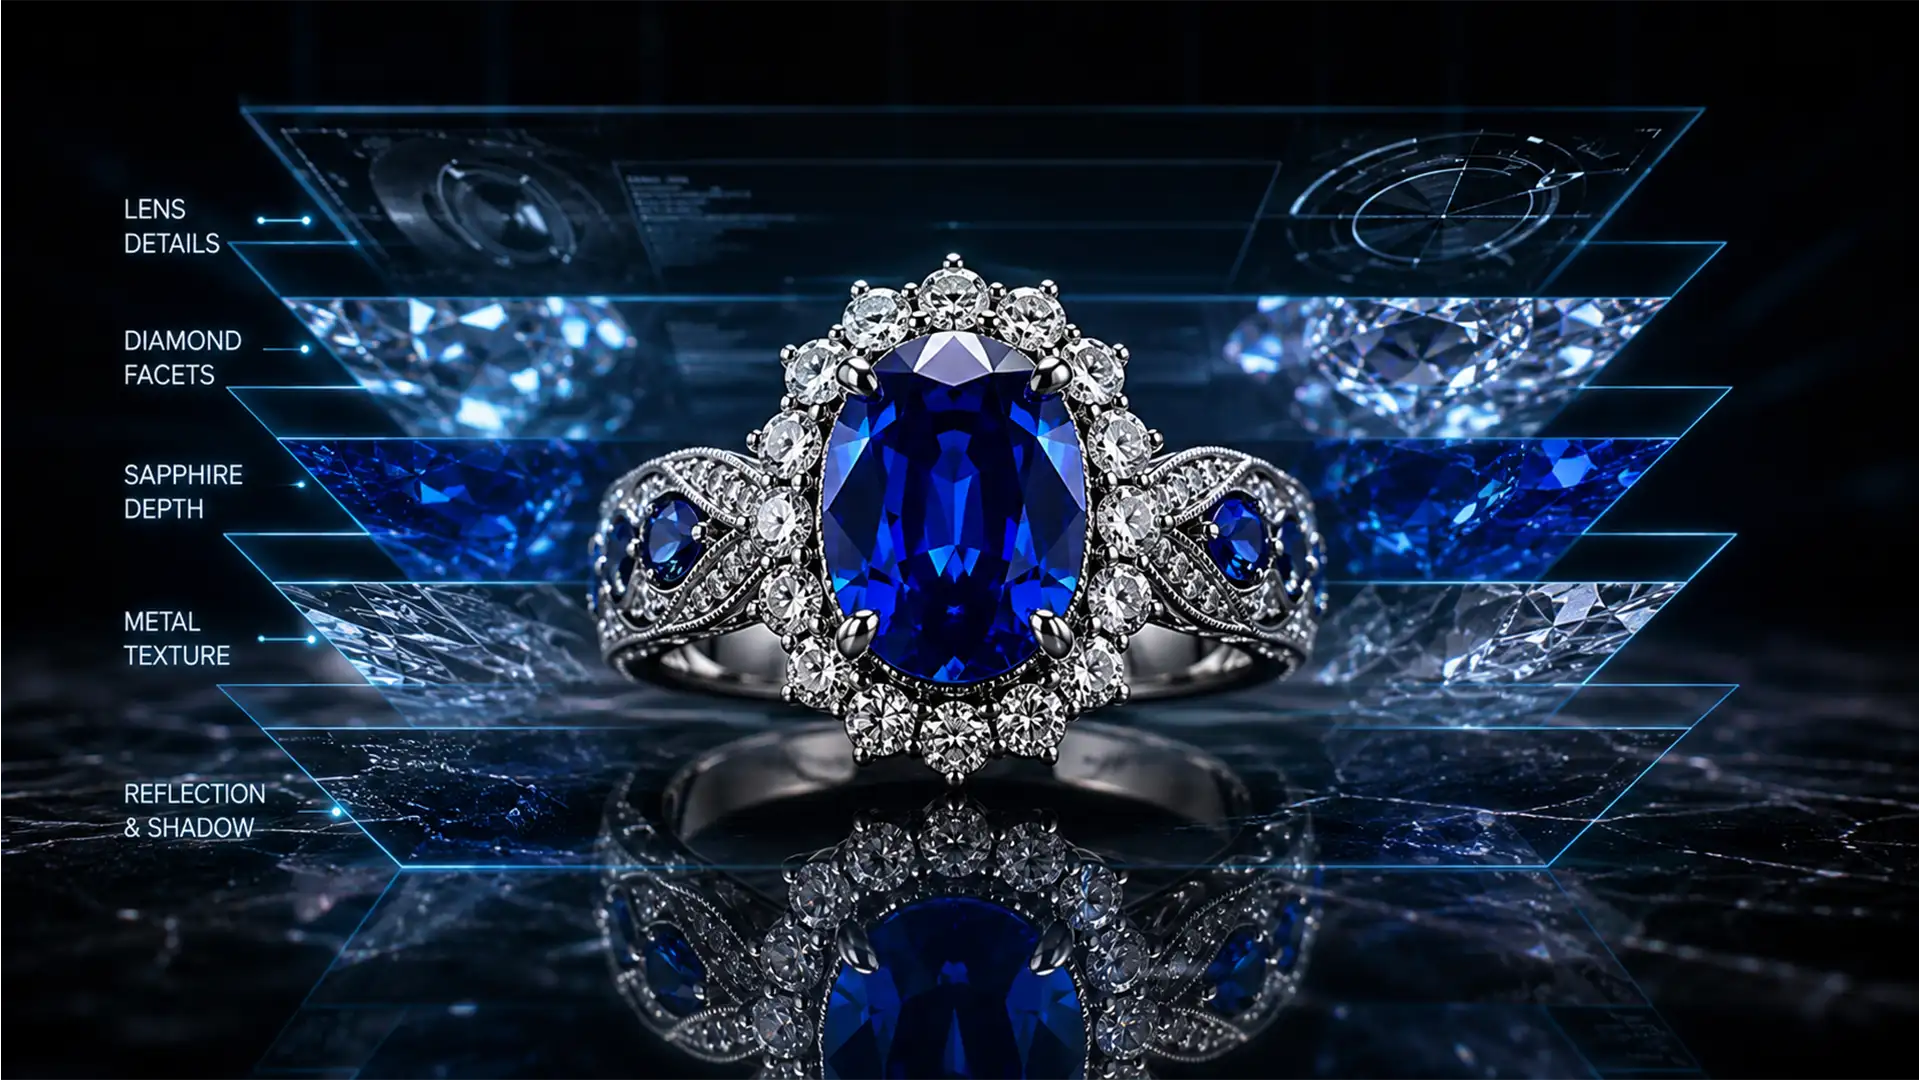
The core issue lies in complex geometries—such as diamond prongs, intricate watch gears, and overlapping chain links. As the lens shifts focus, the magnification slightly changes (a phenomenon known as focus breathing). The Auto-Blend Layers algorithm often misinterprets these pixel shifts. The result? Translucent, doubled, or blurred edges (ghosting) and glowing outlines (halos) around sharp transitions.
Method A: The Quick Fix – Optimizing Your Focus Stacking Workflow
Before resorting to heavy retouching, you can often mitigate ghosting artifacts by optimizing your initial stacking workflow or switching your software environment.
1. Upgrade to Dedicated Stacking Software
While Photoshop is a powerhouse, its blending algorithms can struggle with complex macro edges. Rerunning the stack using dedicated software like Helicon Focus or Zerene Stacker is often the most efficient fix. These programs utilize advanced depth-map algorithms that handle overlapping geometries far better than Photoshop.
2. Optimize Photoshop’s Auto-Align Settings
If you are staying within the Adobe ecosystem, preparation is key. Before applying Auto-Blend Layers, you must ensure the images are perfectly aligned to counteract focus breathing.
- Go to Edit > Auto-Align Layers.
- Check both Vignette Removal and Geometric Distortion.
- Apply these corrections before running the Auto-Blend process to give Photoshop the cleanest possible data.
Method B: The Pro Workaround – Manual Mask Refinement
When Auto-Blend fails on complex overlapping elements, you must take control of the layer masking manually. This technique involves overriding the flawed algorithm to bring back the original, sharp details.
Step-by-Step Manual Masking:
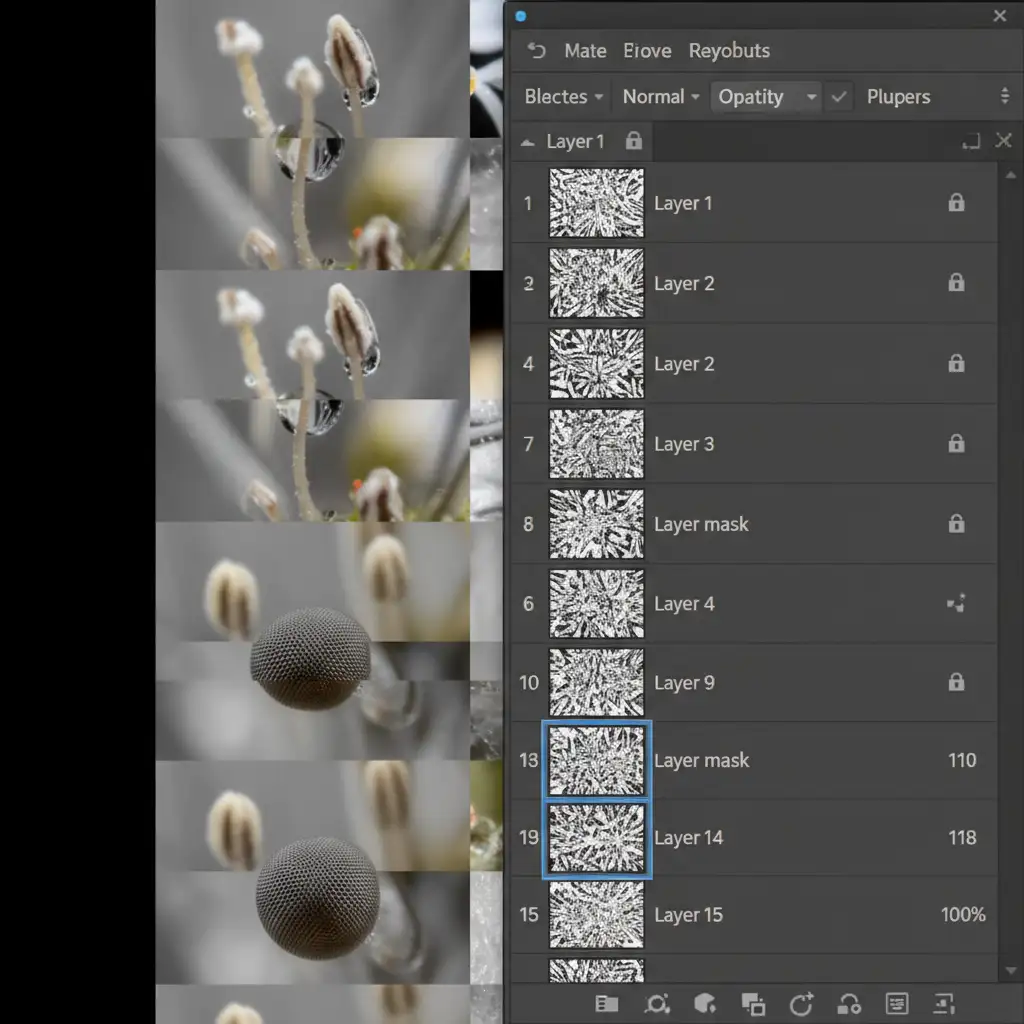
- Locate the Sharp Layer: After Photoshop completes the Auto-Blend, inspect the ghosted area. Turn the visibility of your layers on and off to locate the single source layer where that specific detail (e.g., a watch gear or gemstone facet) is razor-sharp.
- Hide the Flawed Blend: Add a black layer mask (Option/Alt + Click the Layer Mask icon) to this sharp source layer to hide it completely.
- Paint Back the Detail: Select the Brush Tool (B). Use a soft white brush at 100 percent opacity and manually paint over the black mask exactly where the ghosting occurred. This reveals the sharp edges of the underlying layer, seamlessly overriding the flawed Auto-Blend mask.

Method C: The Technical Deep-Dive – Frequency Separation for Halo Removal
Sometimes, manual masking isn’t enough. When overlapping out-of-focus foreground elements bleed their color into sharp background elements, it creates a persistent, glowing “halo.” To eliminate this without destroying the crisp metal or gemstone texture, you need Frequency Separation.
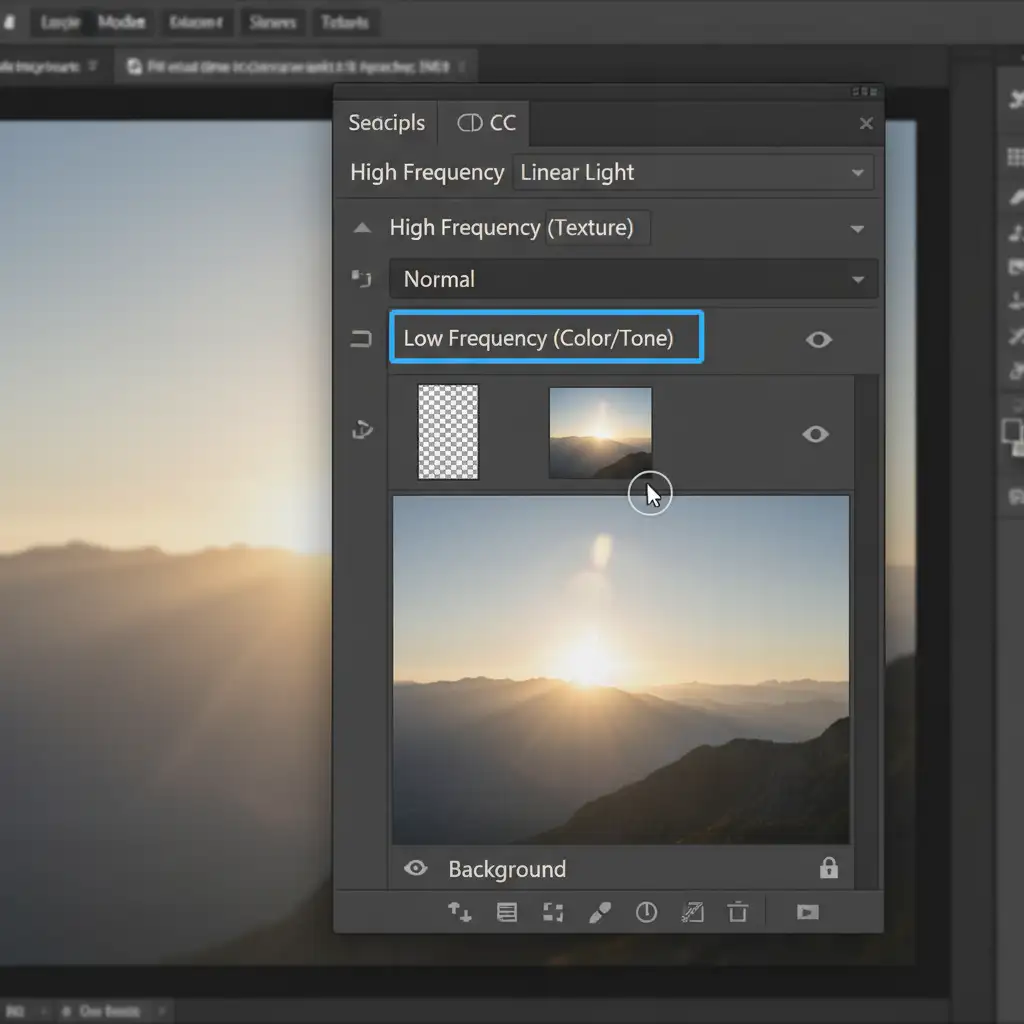
Frequency Separation divides your image into two distinct workspaces:
- High Frequency Layer: Contains only the texture (scratches, metal grain, sharp gemstone facets).
- Low Frequency Layer: Contains only the color and tonal transitions (light, shadows, and the color bleed of the halo).
How to Clone Out Halos:
- Set up your Frequency Separation layers (or run your preferred action).
- Select the Low Frequency (Color/Tone) layer.
- Select the Clone Stamp Tool (S) with a soft brush and low opacity (around 20-30%).
- Sample a clean color area near the halo, and gently paint over the glowing color bleed.
- Because you are working on the Low Frequency layer, the color of the halo will disappear, but the sharp, crisp texture of the jewelry on the High Frequency layer will remain completely untouched.
Conclusion: Outsource Your Complex Macro Retouching
Eliminating ghosting in jewelry focus stacking requires an incredibly high level of patience, technical skill, and an eye for pixel-perfect detail. While manual masking and frequency separation are powerful tools, executing them flawlessly across a 50-image stack of a luxury watch or diamond necklace can drain hours from your production schedule.
Struggling with tedious focus stacking artifacts on high-end jewelry? You don’t have to do it alone. Outsource your complex macro retouching to the dedicated experts at Image Work India and Cloud Retouch. Our specialized retouching teams understand the exact geometries of high-end jewelry and watches. We utilize industry-leading software and advanced manual masking techniques to guarantee flawless, ghost-free results every single time.
Save your time for shooting, and let us handle the pixels. Contact Image Work India and Cloud Retouch today to elevate your jewelry photography portfolio.


