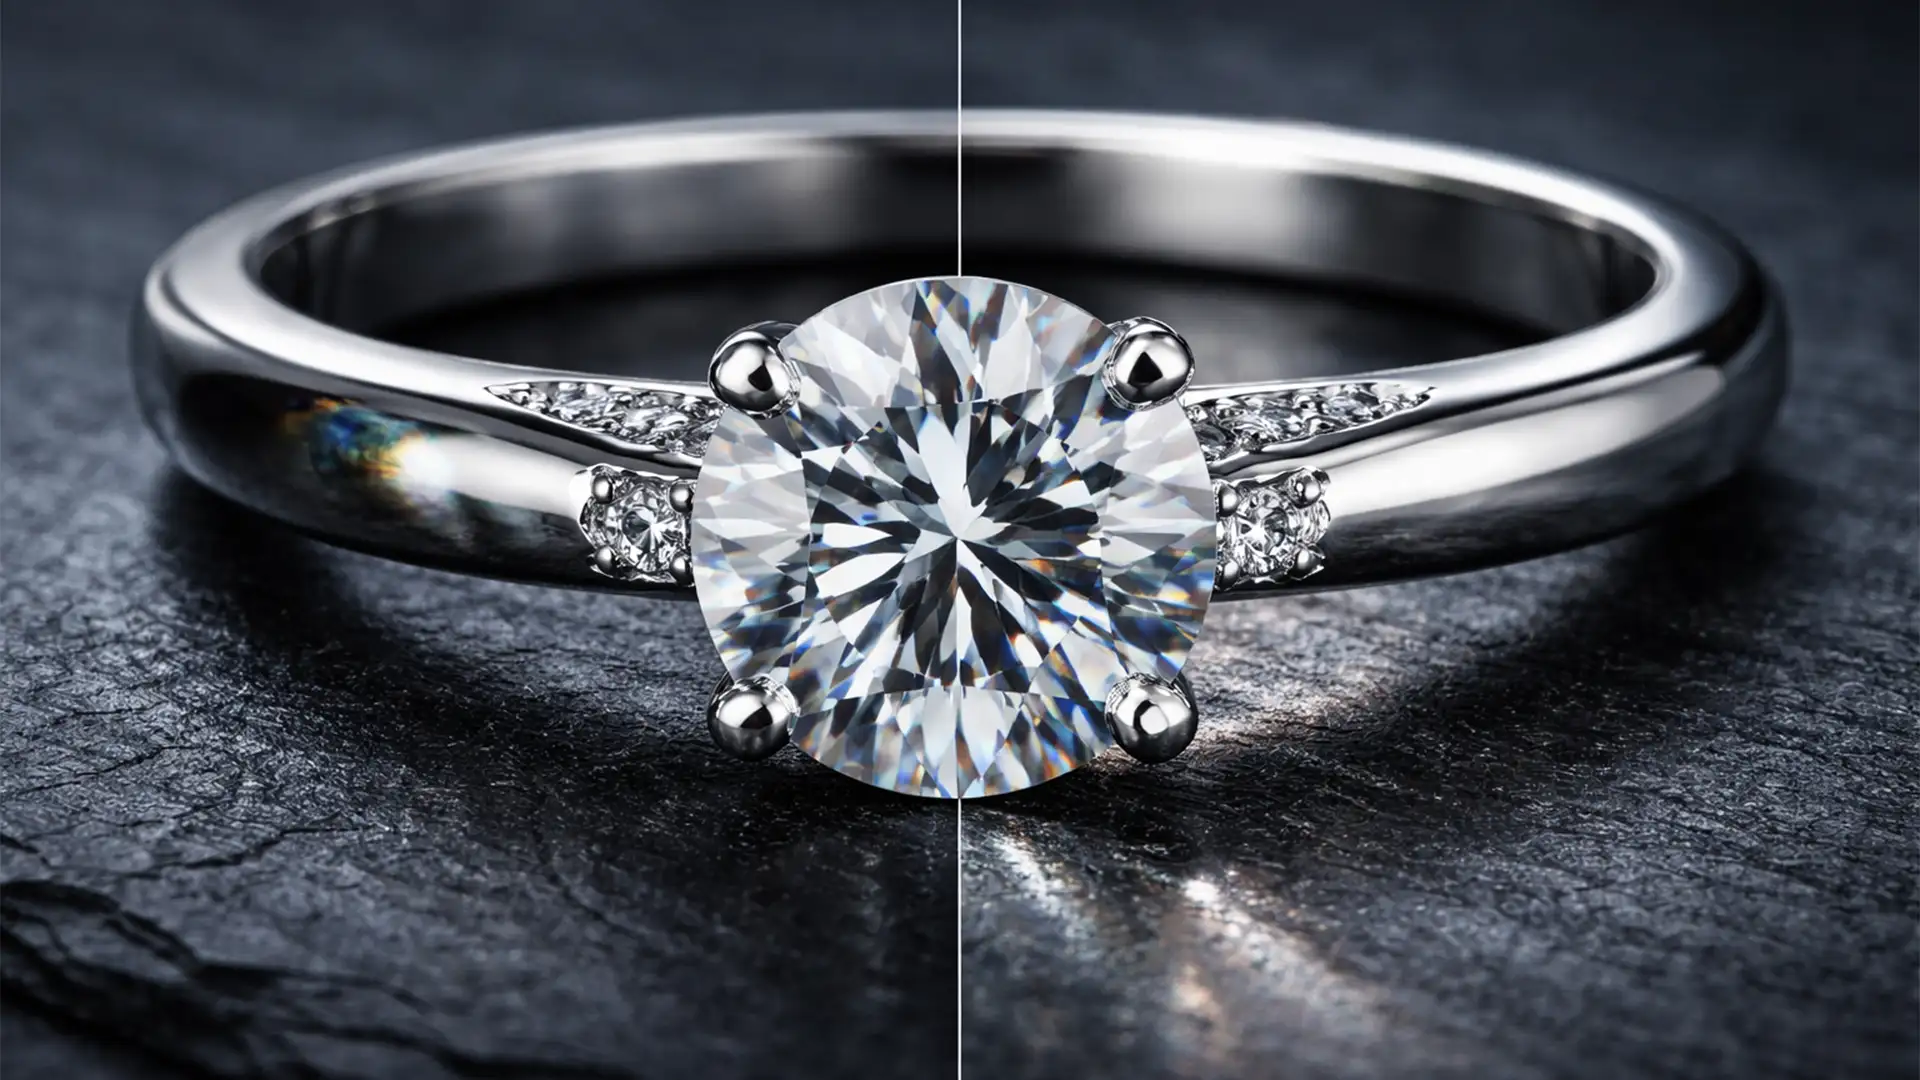
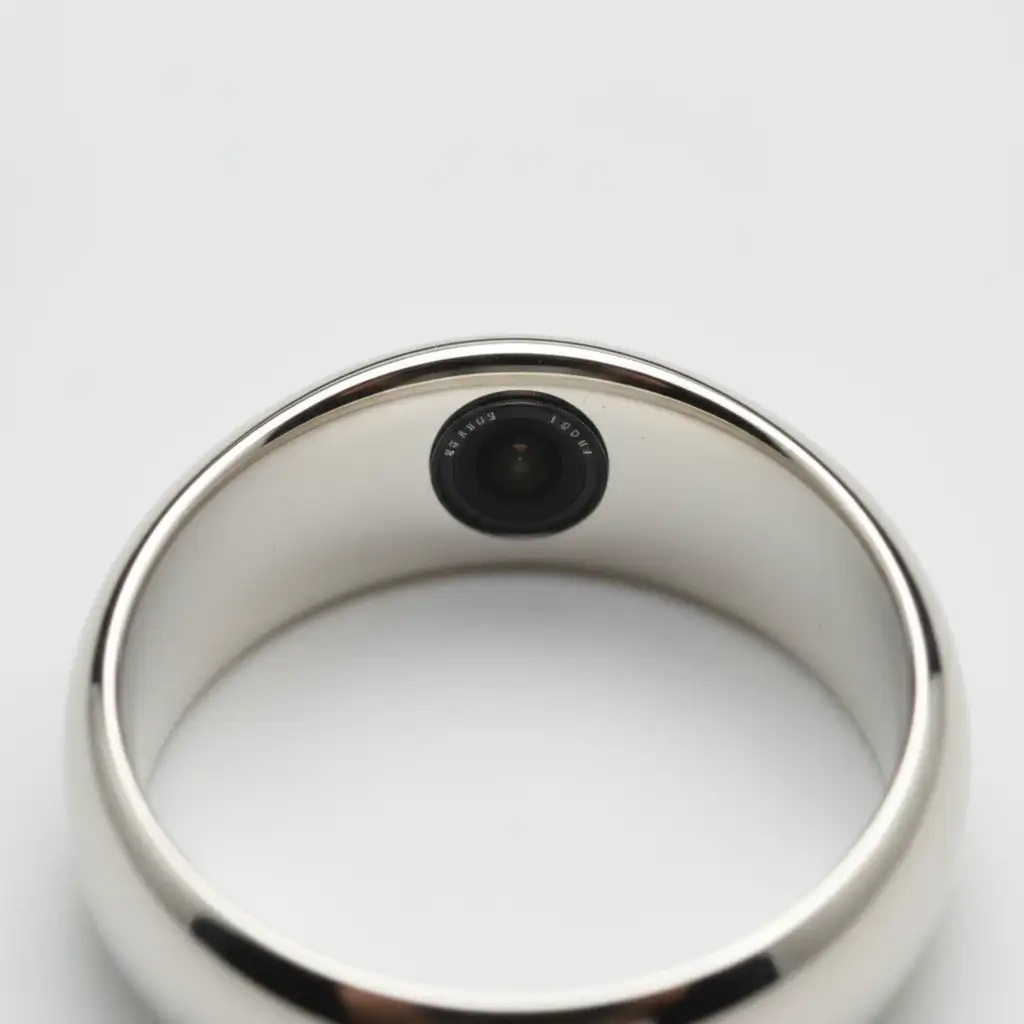
Macro jewelry photographers know the struggle well: you set up the perfect light tent, position your diffusion cones, and dial in your studio strobes. Yet, when you zoom in on the raw files of that platinum ring or silver sphere, there it is—a dark, geometric black hole right in the middle of the metal. That circular shadow is your camera lens staring right back at you.
If you want to remove lens reflection from high polish jewelry, you already know that basic cloning ruins the natural metal gradients. The technical challenge lies in restoring the underlying smooth gradient of the metal while maintaining realistic texture and lighting. In this guide, we will break down three professional, non-destructive editing techniques in Adobe Photoshop v25.x and v26.x to banish these reflections and restore flawless specular highlights.
Why High-Gloss Jewelry Reflects Your Camera Lens
In macro photography, polished curved surfaces act exactly like convex mirrors. No matter how much you diffuse your lighting, the physical opening of your camera lens needs a clear line of sight to the subject. Because the lens itself is dark glass surrounded by black housing, it inevitably reflects back onto highly polished metals.
To fix this without destroying the 3D shape of the jewelry, we must rely on advanced Photoshop techniques. Here are three proven methods, ranging from automated AI fixes to high-end manual surface recreation.
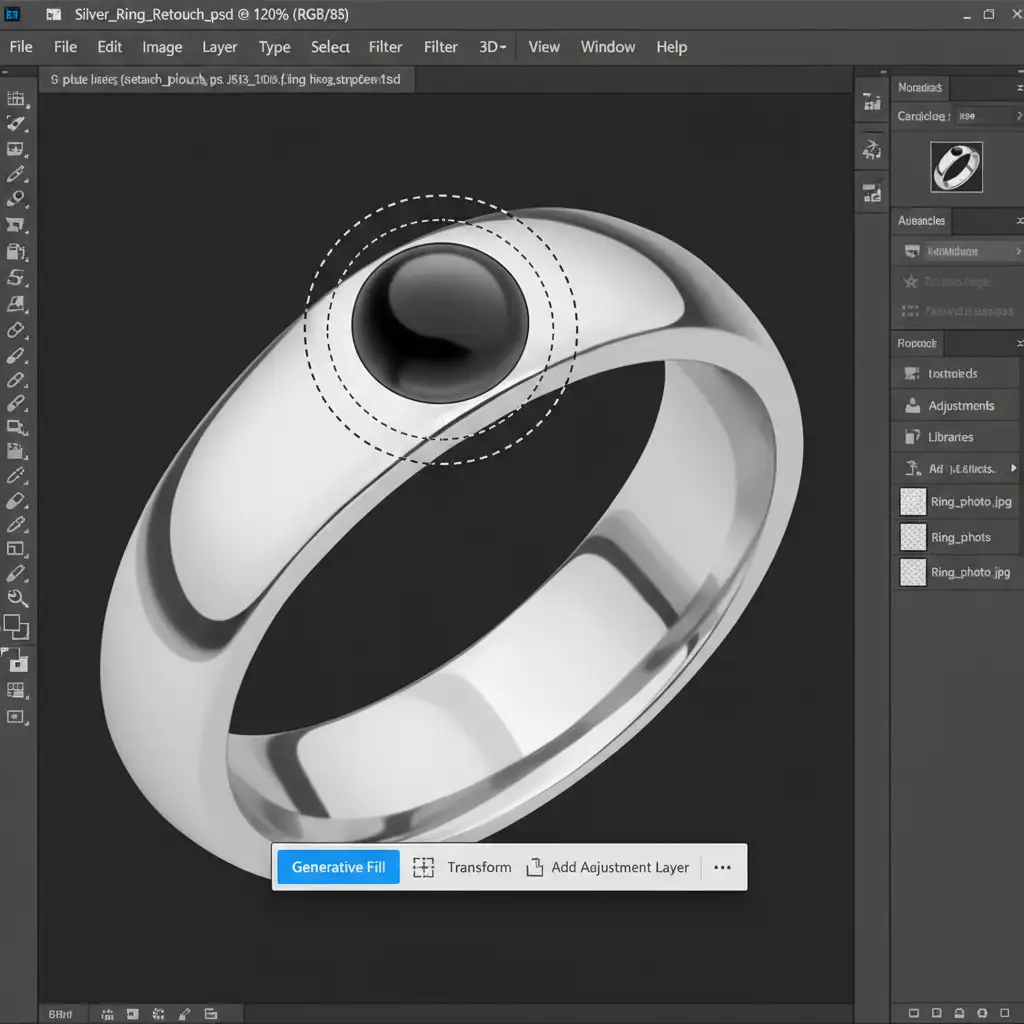
Method 1: The Quick Fix Using Generative Fill (Photoshop v25.x+)
For smaller reflections or less complex metal curves, Adobe’s Generative Fill offers an incredibly fast starting point. It analyzes the surrounding pixels to recreate the missing gradient.
Step-by-Step AI Removal
- Make a Selection: Select the Lasso Tool (L). Draw a selection around the dark lens reflection. Be sure to leave a small buffer of the clean, surrounding metal inside your selection so the AI has reference pixels.
- Activate Generative Fill: Locate the Contextual Task Bar hovering near your selection. Click Generative Fill.
- Generate: You can leave the prompt entirely blank, or type “smooth metal surface”. Hit Generate.
- Review Variations: Photoshop will provide three variations. Choose the one that best matches the natural falloff of the light.
Note: While Generative Fill and Content-Aware tools are excellent for quick patches, they can sometimes generate muddy textures on high-end macro shots. When this happens, you need a more precise approach.
Method 2: The Pro Workaround with Frequency Separation
When you need absolute control over both the metal’s texture (grain/scratches) and its underlying light gradients, Frequency Separation is the industry standard for non-destructive editing.
Setting Up the Layers
- Duplicate: Duplicate your base image layer twice (Ctrl/Cmd + J).
- Color/Tone Layer: Name the bottom duplicated layer ‘Color/Tone’. Go to Filter > Blur > Gaussian Blur. Increase the radius just until the dark camera reflection blurs out and blends into the surrounding metal gradient.
- Texture Layer: Name the top layer ‘Texture’. Select it, then go to Image > Apply Image.
- Set the Layer to ‘Color/Tone’.
- Set the Blending mode to Subtract.
- Scale: 2, Offset: 128. Click OK.
- Change the ‘Texture’ layer’s blend mode to Linear Light.
Blending with the Mixer Brush
Now that your texture is separated from your lighting, select the ‘Color/Tone’ layer. Select the Mixer Brush tool.
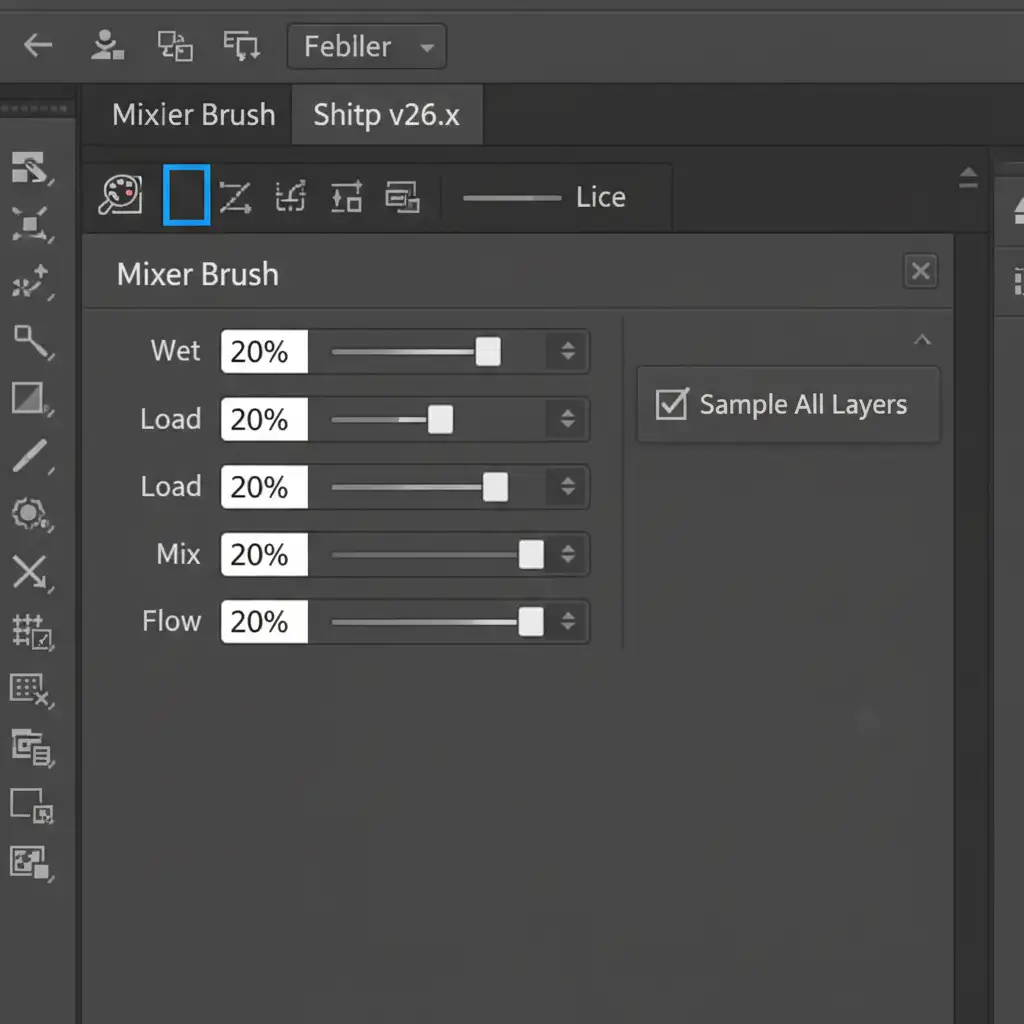
Configure your Mixer Brush settings carefully:
- Wet: 15-20%
- Load: 20%
- Mix: 20%
- Flow: 20%
- Crucial: Ensure “Sample All Layers” is unchecked so you only affect the blurred layer.
Gently paint over the dark lens reflection, sampling the clean, bright metal nearby. Because you are only painting on the tone layer, the microscopic metal grain on the Texture layer remains perfectly intact.

Method 3: The Technical Deep-Dive – Gradient Recreation
Sometimes a reflection is too large or complex for the Mixer Brush. When a reflection spans across a major curve of the jewelry, you must manually rebuild the surface using a gradient overlay.
Rebuilding the Metal Surface
- Trace the Shape: Use the Pen Tool (P) to trace the exact segment of the metal affected by the reflection. Convert this path to a new shape layer.
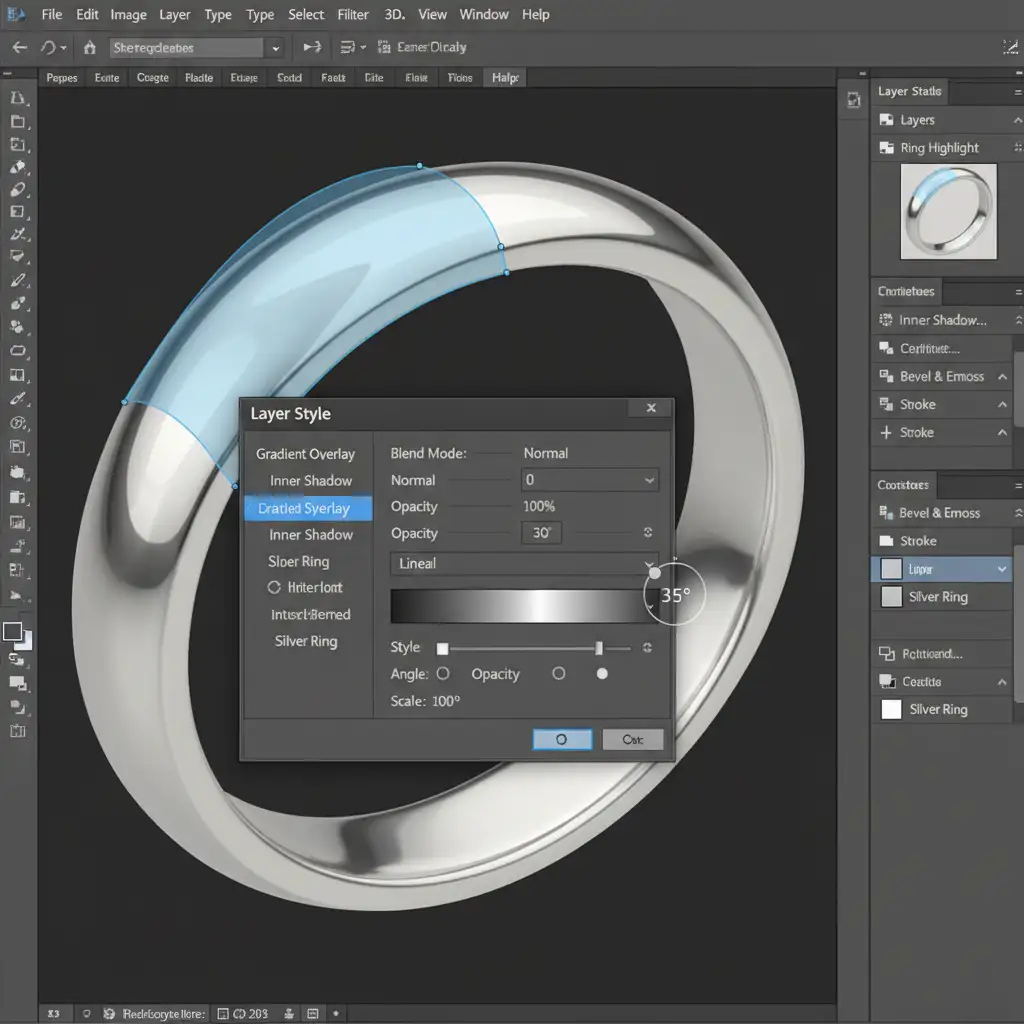
- Apply a Gradient: Open the Layer Style panel and select Gradient Overlay.
- Sample Custom Colors: Do not use default gradients. Click the gradient slider and use the eyedropper to sample the lightest specular highlight and the darkest natural shadow from the uncorrupted metal surrounding the reflection.
- Match the Angle: Adjust the angle and style (Linear or Radial) of the gradient overlay to perfectly match the directional lighting of your studio setup.
- Masking: Add a soft layer mask to this shape layer. Use a soft black brush at a low opacity to gently feather the edges of your new gradient so it transitions seamlessly into the original photo.
This method guarantees a mathematically perfect transition of light, entirely eliminating the dark lens reflection while preserving the high-end, luxurious feel of the jewelry.
Stop Wasting Hours on Jewelry Retouching
Learning to remove lens reflection from high polish jewelry using Generative Fill, Frequency Separation, and custom gradient overlays takes significant time and practice. In high-volume commercial photography, spending 30 minutes fixing a single reflection on one ring eats directly into your profit margins.
Achieving flawless, highly-polished jewelry images without fake-looking edits requires expert precision. Save hours of tedious editing by outsourcing your post-production to the professional retouchers at Image Work India and Cloud Retouch. Our dedicated team specializes in high-end jewelry retouching, ensuring every specular highlight is perfect, every diamond sparkles, and every distracting camera reflection is seamlessly removed.
Focus on capturing the perfect shot, and let Cloud Retouch handle the pixel-perfect polishing. Contact us today to elevate your jewelry photography portfolio.


