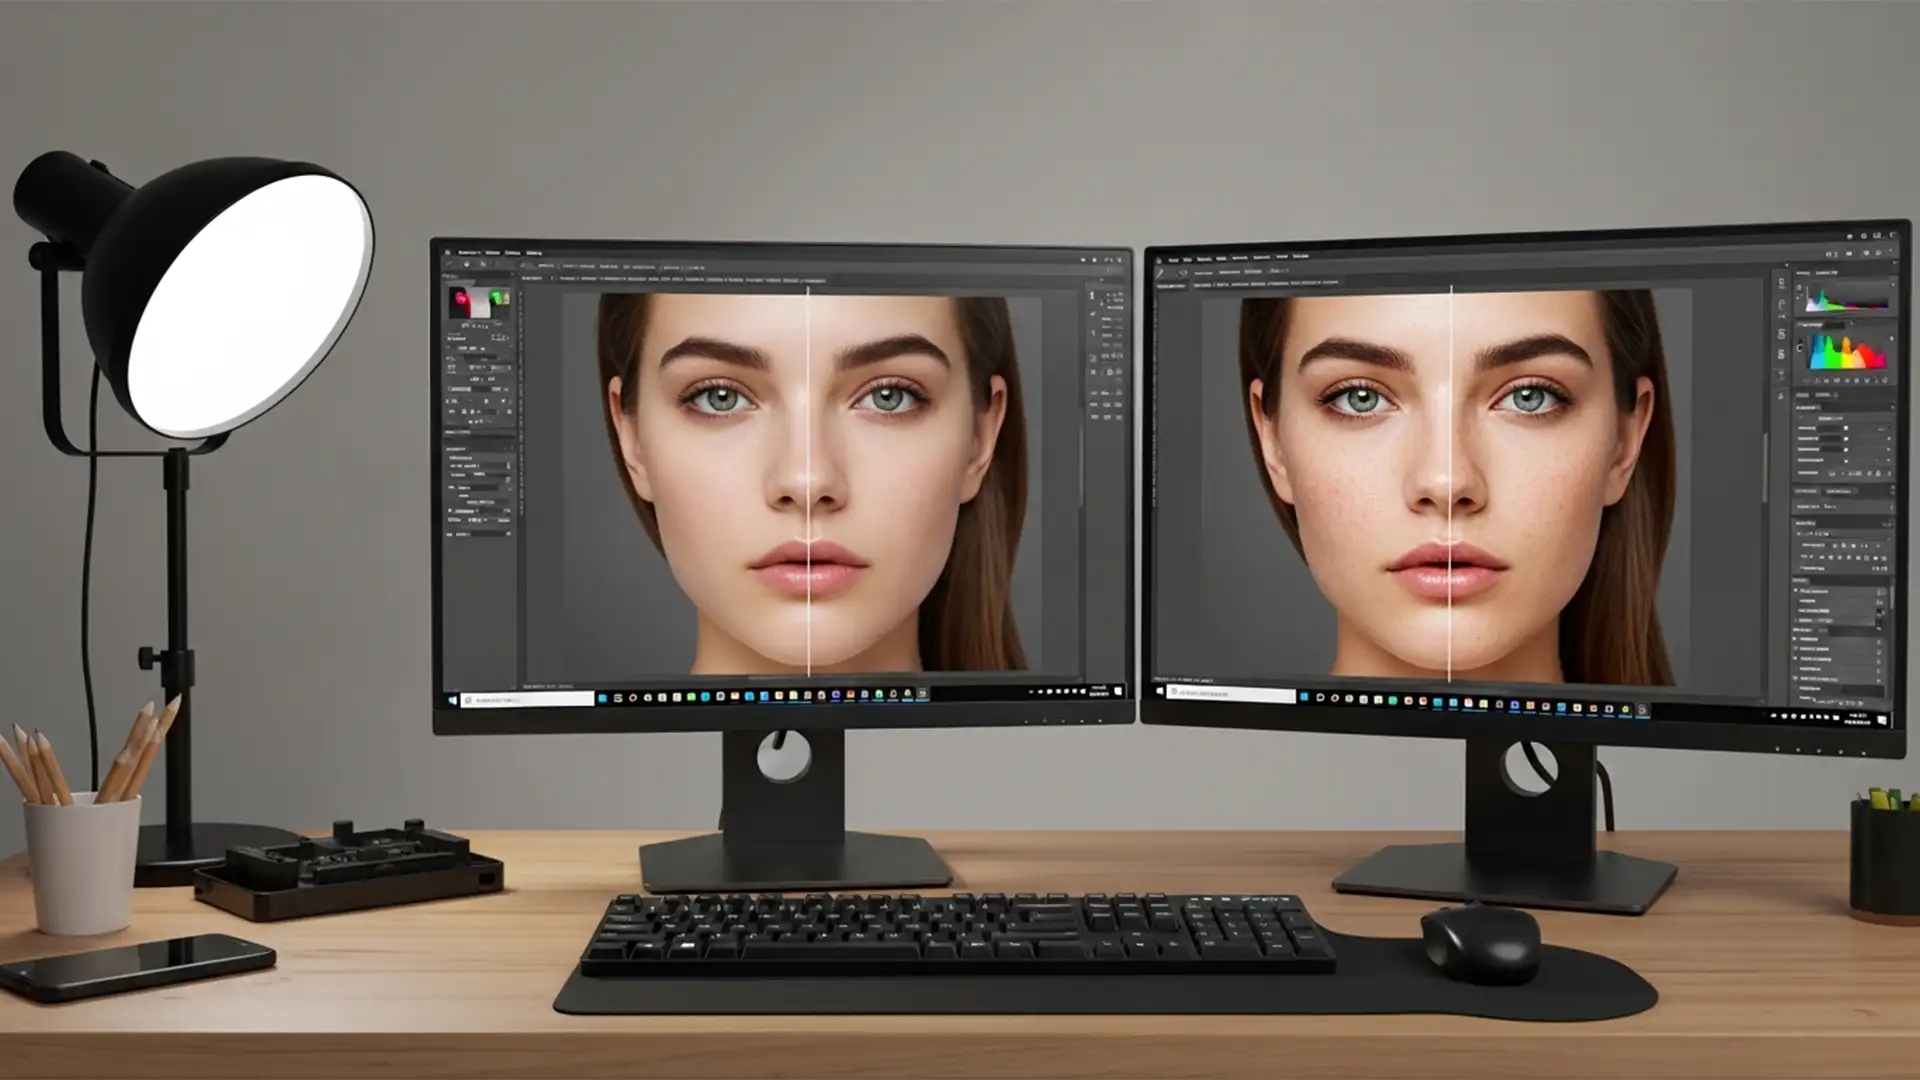
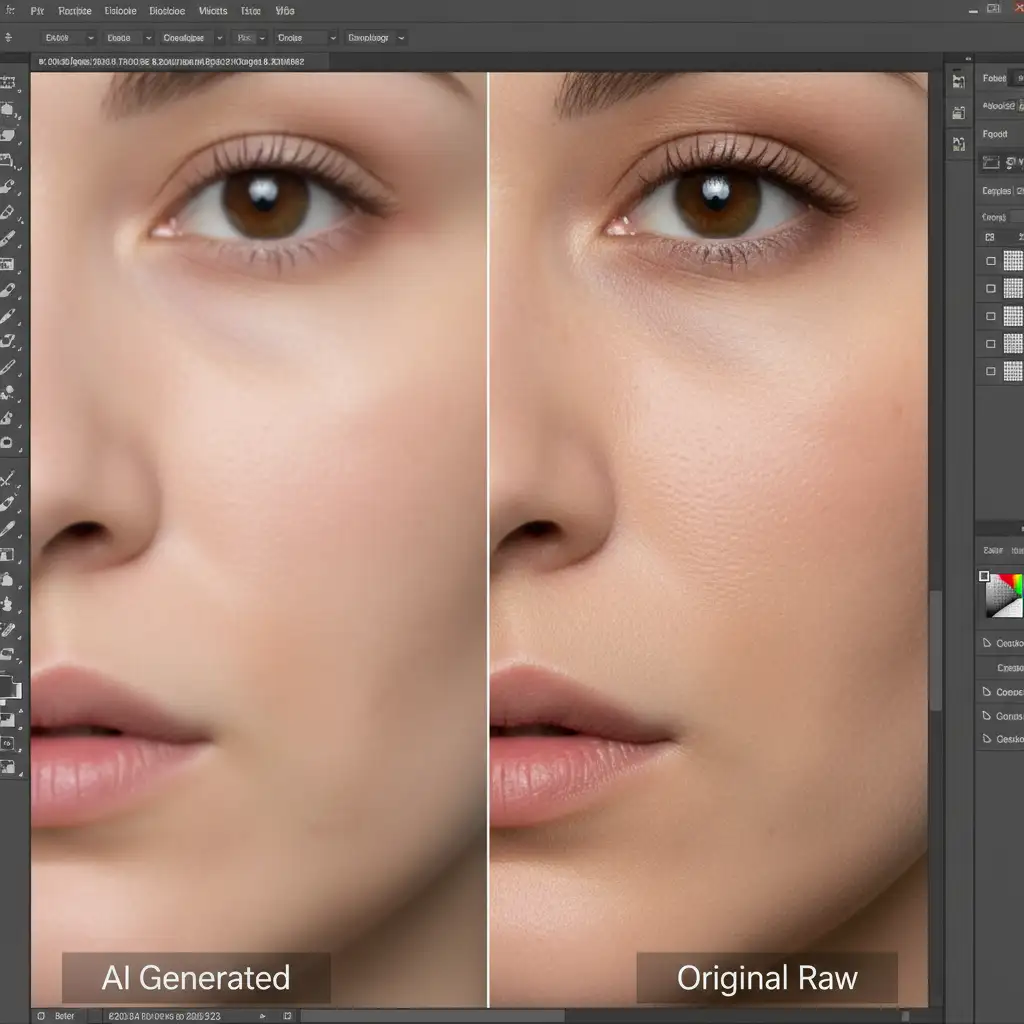
You just ran the latest AI update on a high-resolution portrait, and the result is a glowing, plastic patch of skin. The underlying edit might be spatially accurate, but the area completely lacks pores, natural blemishes, and fine hairs. If you are struggling with fixing Photoshop 2025 generative fill skin texture smudging, you are not alone.
While the new Adobe Firefly Image 3 model excels at structural generation, it frequently fails to replicate the high-frequency micro-contrast found in uncompressed raw files. This leaves a stark, unprofessional contrast between your subject’s natural skin and the AI-generated patch. Here is the professional, non-destructive workflow to restore flawless skin texture and eliminate AI artifacts.
Why Photoshop 2025 Generative Fill Causes “Plastic Skin”
The core issue lies in how AI models process high-resolution image data. When you use Generative Fill in Photoshop 2025 (v26.x and Beta), the Firefly Image 3 model analyzes the surrounding pixels to generate a seamless replacement. However, AI generation inherently applies a degree of compression and smoothing to its output.
When working on commercial portraits, natural skin contains high-frequency details—micro-contrast, individual pores, and subtle variations in skin tone. The AI struggles to synthesize this exact microscopic noise pattern natively, resulting in localized texture artifacts that ruin high-end skin retouching.
How to Fix Photoshop 2025 Generative Fill Skin Texture Artifacts
To solve this, we cannot rely solely on AI. Instead, we must combine advanced prompt engineering with traditional, non-destructive retouching techniques.
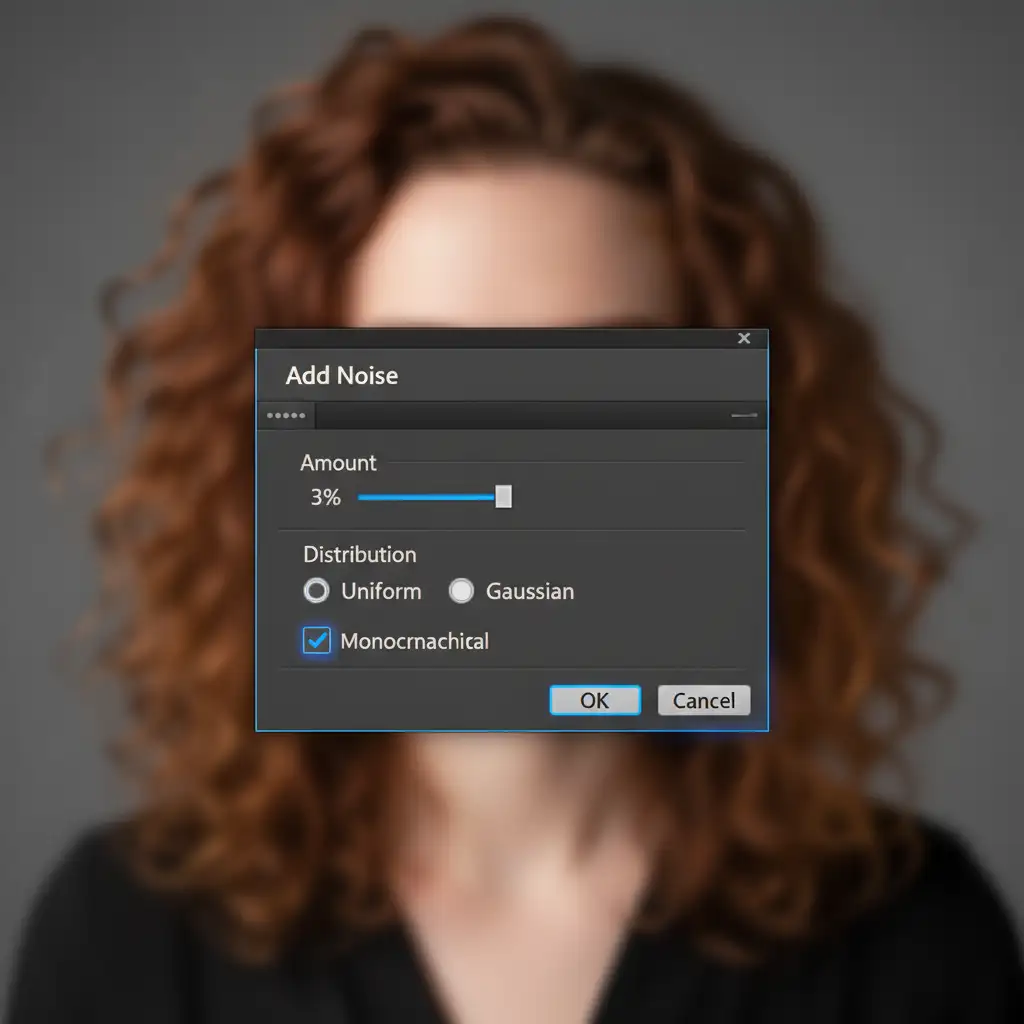
Method 1: The Quick Fix Using the Add Noise Filter
If you need a rapid solution to blend a small Generative Fill patch, introducing localized, matched grain is the most efficient method.
- Create a Texture Layer: Add a new blank layer above your Generative Fill layer.
- Fill with Gray: Go to Edit > Fill and select 50% Gray.
- Change Blend Mode: Set this layer’s blend mode to Overlay or Soft Light. This renders the gray invisible while allowing texture to show through.
- Add Noise: Navigate to Filter > Noise > Add Noise.
- Match the Pores: In the dialog box, ensure Monochromatic and Uniform are checked. Adjust the amount slider until the grain size matches the surrounding natural skin pores.
- Clip the Layer: Right-click the noise layer and select Create Clipping Mask so the texture only applies to your AI-generated patch.
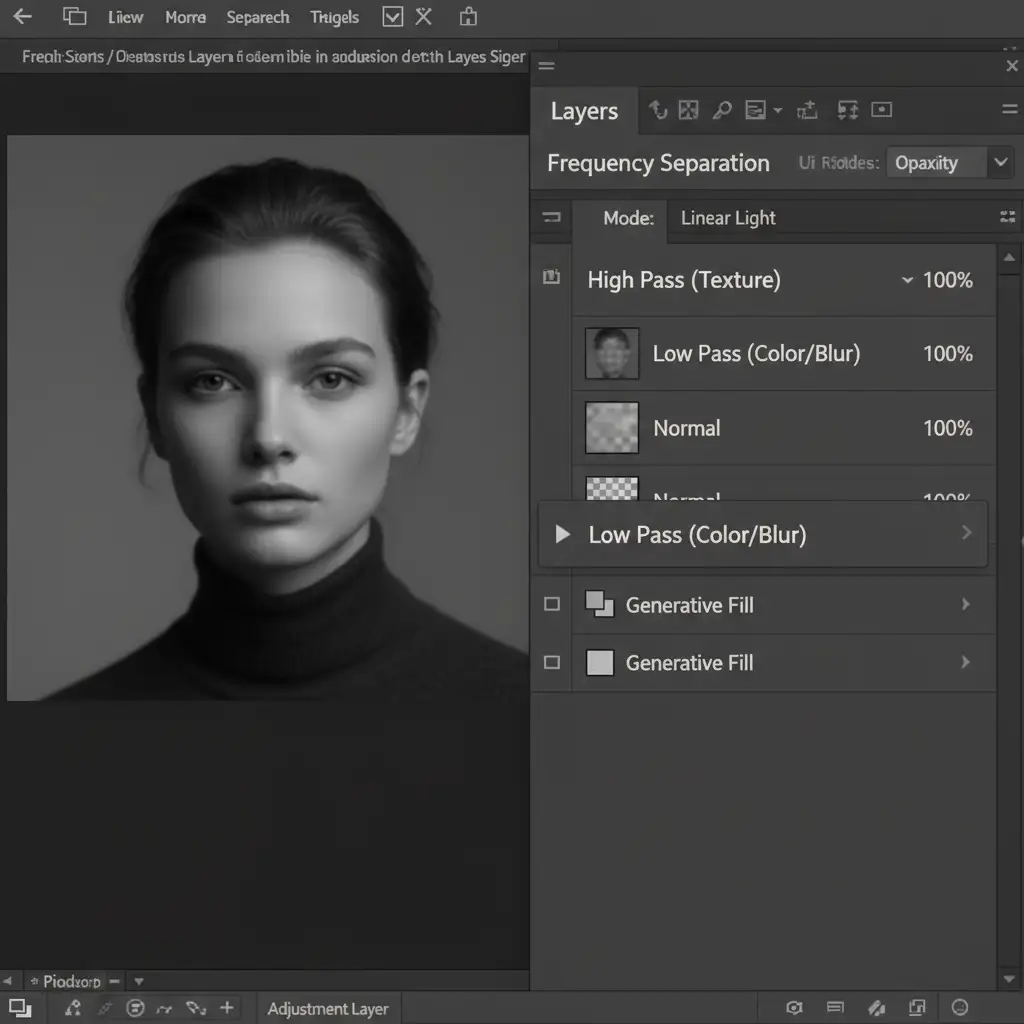
Method 2: The Pro Workaround with Frequency Separation
For high-end commercial skin retouching, a standard noise overlay isn’t enough. You need to borrow actual pore data from the subject using Frequency Separation.
Step 1: Set Up the Separation Layers
Group your underlying image layers and duplicate them. Merge the duplicate into a single layer, then duplicate it again. Name the bottom layer “Low Pass” (Color/Tone) and the top layer “High Pass” (Texture).
Step 2: Isolate the Texture
Apply a Gaussian Blur to the Low Pass layer just until the pores disappear. Select the High Pass layer, go to Image > Apply Image, and subtract the Low Pass layer from it. Change the High Pass layer’s blend mode to Linear Light.
Step 3: Clone the High-Frequency Detail
Now, select the Clone Stamp Tool. Ensure your sample setting is set to Current Layer (this is crucial). Select the High Pass layer, sample an untouched area of the subject’s skin that has great pore detail, and carefully stamp this real texture over the smooth AI-generated patch. Because you are only cloning the high-frequency detail, the underlying tones and shadows generated by the AI remain intact.
Method 3: Advanced Firefly Prompting and Reference Images
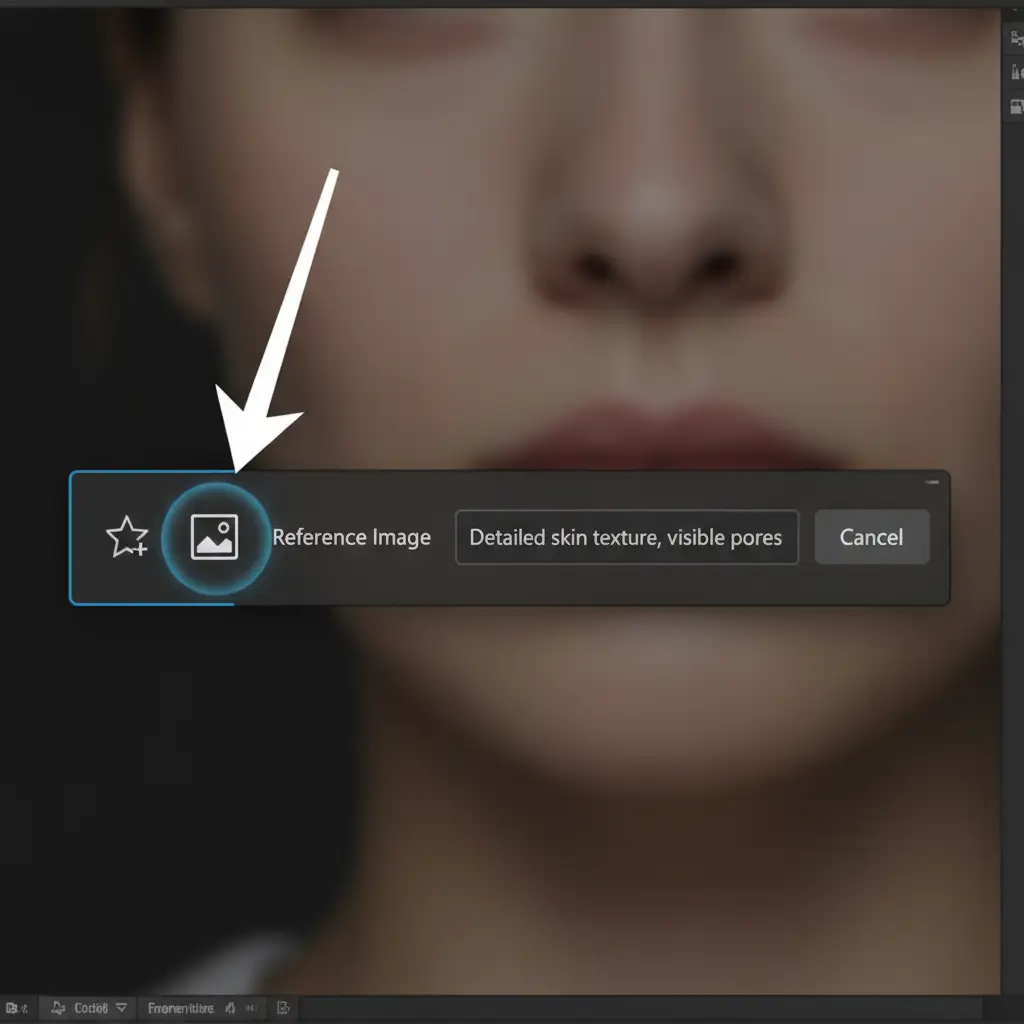
Prevention is better than correction. In Photoshop 2025, you can guide the Firefly Image 3 model to generate better micro-contrast right out of the gate using the Contextual Task Bar.
Instead of leaving the prompt blank or typing simple commands like “remove blemish,” be explicit about the technical output:
- Optimal Prompt: “Detailed skin texture, visible pores, unedited raw photo, high-frequency detail.”
Furthermore, utilize the new Reference Image feature.
- Crop a small, highly textured section of your subject’s actual skin and save it as a temporary file.
- Make your selection for Generative Fill.
- In the Contextual Task Bar, click the Reference Image icon.
- Upload your cropped skin texture.
This forces the AI to use the subject’s actual pore structure as the baseline for its generation, drastically reducing the plastic skin effect.
Stop Fighting AI: Let the Professional Retouchers Handle It
Fixing Photoshop 2025 generative fill skin texture issues requires time, technical expertise, and a meticulous eye for detail. While these non-destructive workflows will save your commercial portraits, manually matching noise and running frequency separation on every AI-generated patch drastically slows down your post-production pipeline.
Struggling with inconsistent AI retouching results? Don’t let texture artifacts ruin your commercial campaigns. Hire the high-end retouching experts at Image Work India and Cloud Retouch. Our professional team specializes in advanced skin retouching, seamlessly blending the efficiency of modern AI tools with the precision of manual pixel-level refinement.
Contact Image Work India today to guarantee flawless, natural skin textures for your next high-resolution project.


