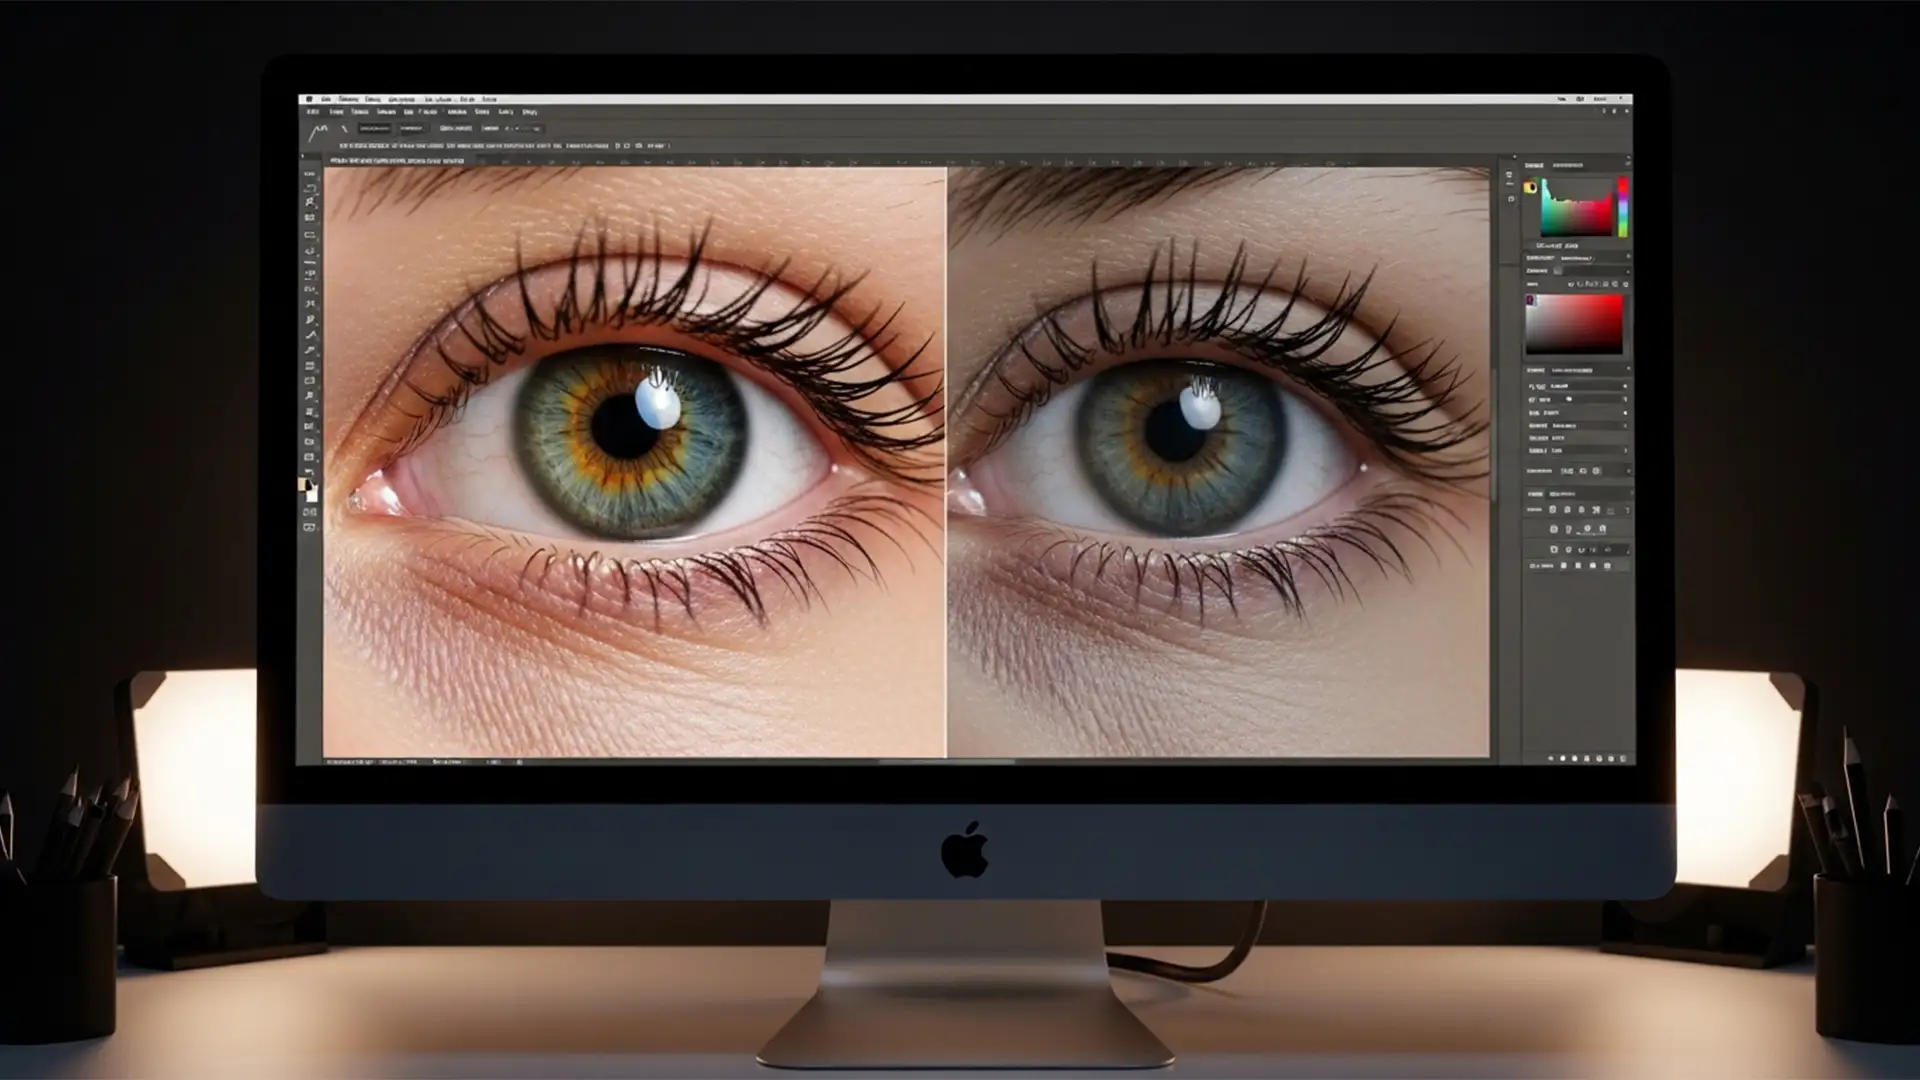
You’ve spent hours perfecting the skin tones and grading on a high-end portrait, only to realize the subject’s eyes are looking slightly off-camera. You fire up Photoshop’s new AI eye gaze correction, hit apply, and suddenly—your model looks lifeless.
The natural sparkle is gone, replaced by flat, matte pixels that completely destroy the soul of the image. If you are struggling with this unnatural look, you aren’t alone. This comprehensive guide will walk you through the ultimate AI eye gaze correction ‘dead eye’ fix, helping you restore natural specularity and depth using advanced masking and blending techniques.
Why Does Photoshop’s AI Cause the “Dead Eye” Effect?
In modern editing software like Photoshop v25.0+ and Lightroom Classic, the Generative AI and Neural Filter algorithms are incredibly powerful, but they have a blind spot: light physics.
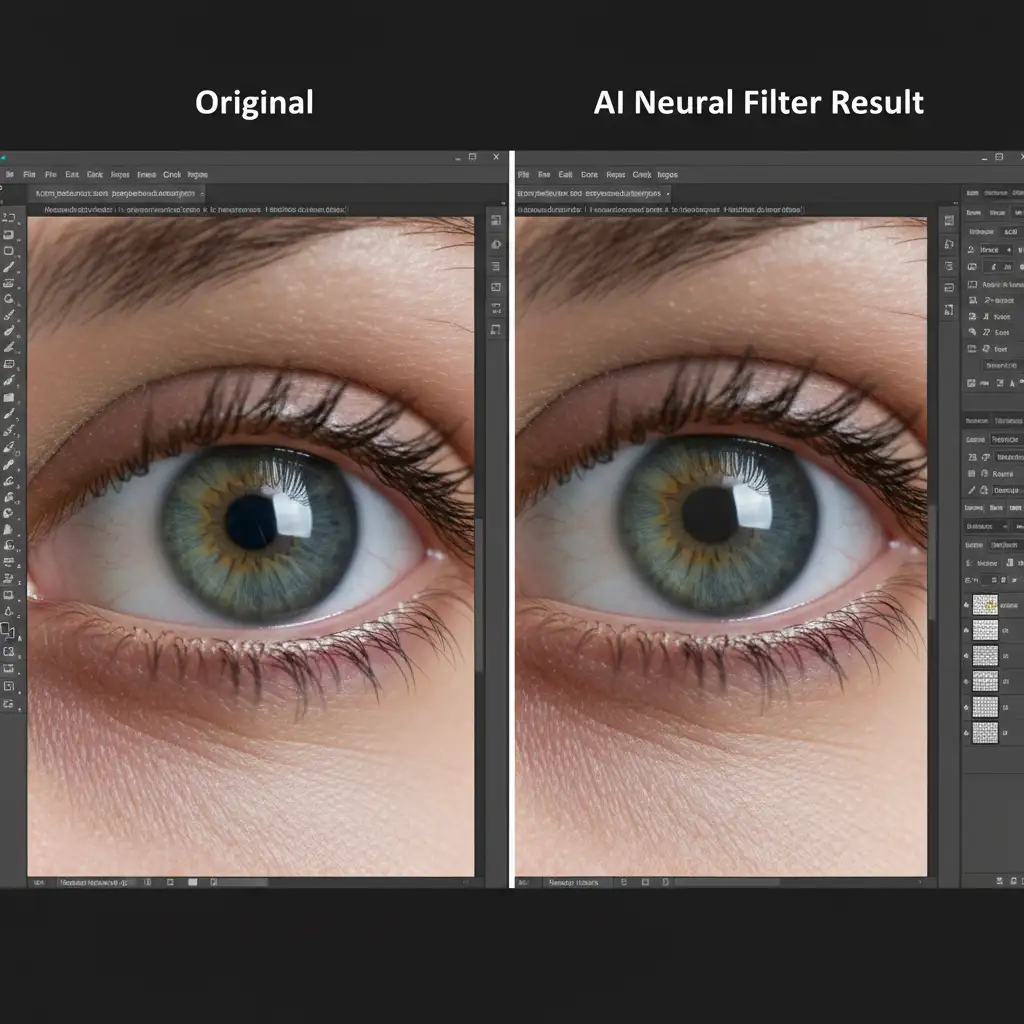
When redirecting eye gaze, these algorithms frequently miscalculate specular highlights (commonly known as catchlights) and iris depth. Instead of shifting the reflection along the curvature of the cornea, the AI generates flat, matte pixels. This overwrites the natural reflections on the sclera and cornea, stripping away the natural iris striations. The result is a mismatched, soulless look that ruins professional portrait retouching.
3 Proven Methods for an AI Eye Gaze Correction ‘Dead Eye’ Fix
To rescue your portraits, you need to combine the AI’s structural adjustments with the original image’s lighting data. Here are three professional workflows to fix the glitch.
Method 1: The Quick Fix Using Blend Mode Recovery
If you need a rapid turnaround, leveraging blend modes is the fastest way to recover lost catchlights.
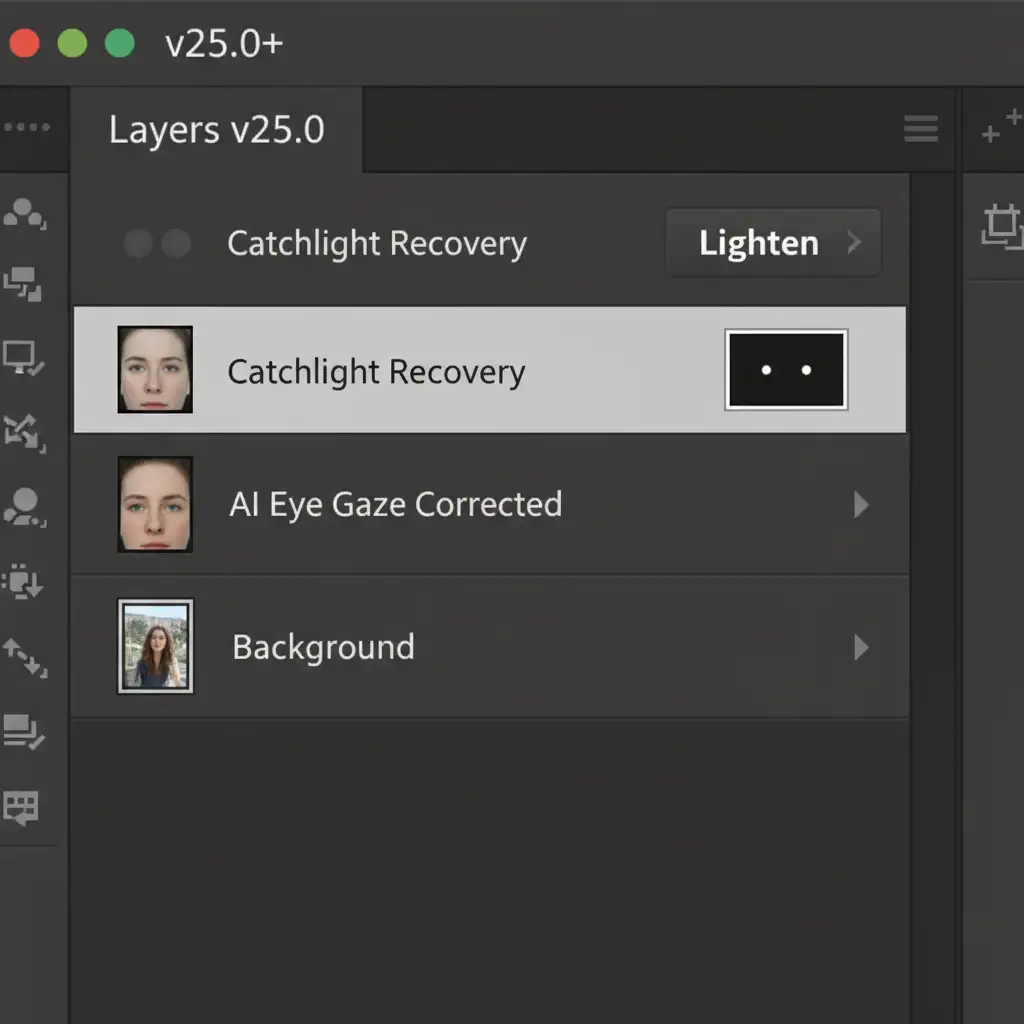
- Duplicate the Original: Before applying any AI edits, duplicate your original background layer.
- Order Your Layers: Place this original, unedited layer on top of your AI-edited layer.
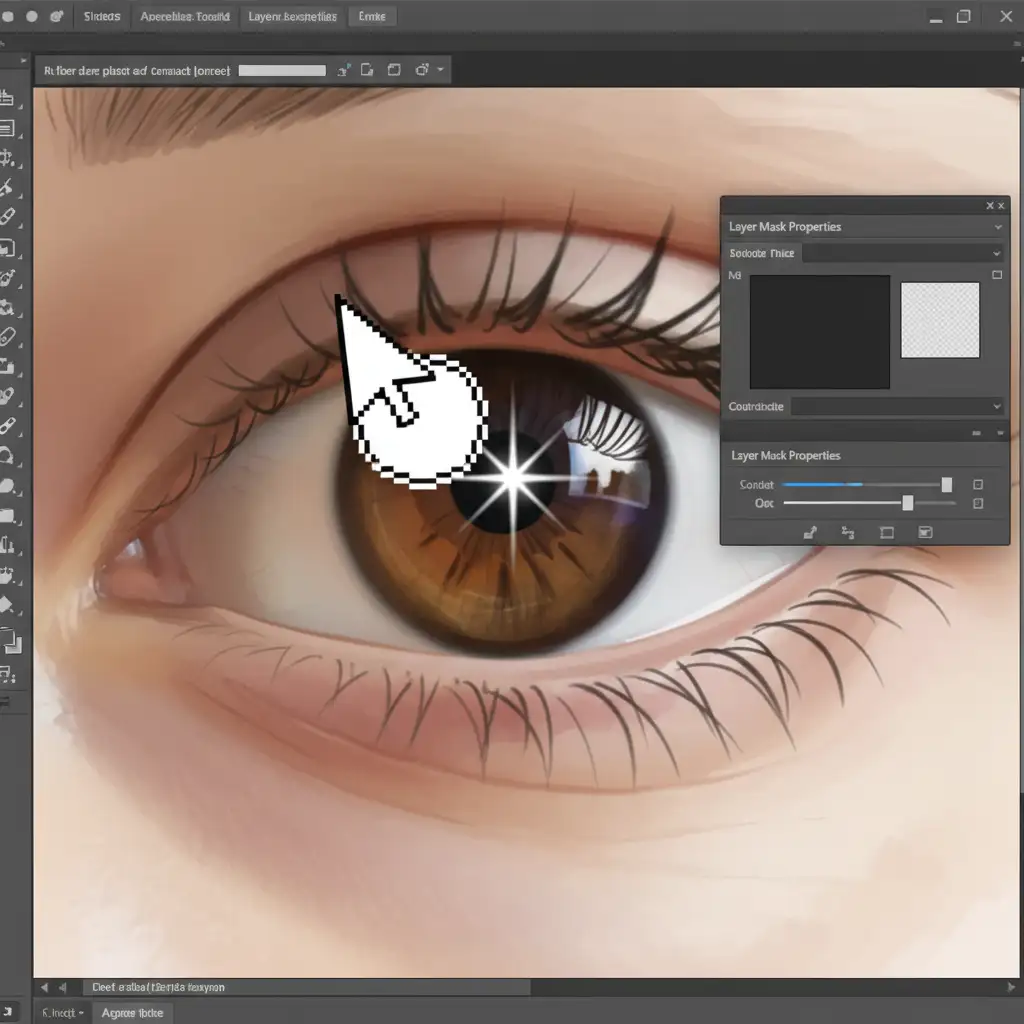
- Apply a Mask: Add a black layer mask to the top layer (hiding it completely).
- Paint Back the Light: Select a soft brush, set your foreground color to white, and carefully paint over the eyes to reveal the original catchlights.
- Change Blend Mode: Change the top layer’s blend mode to Lighten or Screen. This instantly forces the bright specular highlights from the original image to shine through the AI-generated iris, restoring life to the eyes.
Method 2: The Pro Workaround with Frequency Separation
For high-end beauty and fashion retouching, a simple blend mode might not be enough. You need to preserve the intricate iris striations while moving the gaze.
- Smart Objects First: Always convert your base layer to Smart Objects before applying Neural Filters. This makes the AI adjustment non-destructive.
- Run Frequency Separation: Group your original image into a standard Frequency Separation setup (separating texture/detail onto a High-Frequency layer, and color/tone onto a Low-Frequency layer).
- Blend the Layers: Apply the eye gaze correction strictly to the Low-Frequency layer. This shifts the dark tones of the pupil and the color of the iris.
- Preserve the Texture: Keep your High-Frequency layer intact. Because the sharp catchlights and iris textures live on this layer, they will perfectly overlay the newly shifted gaze on the Low-Frequency layer below it.
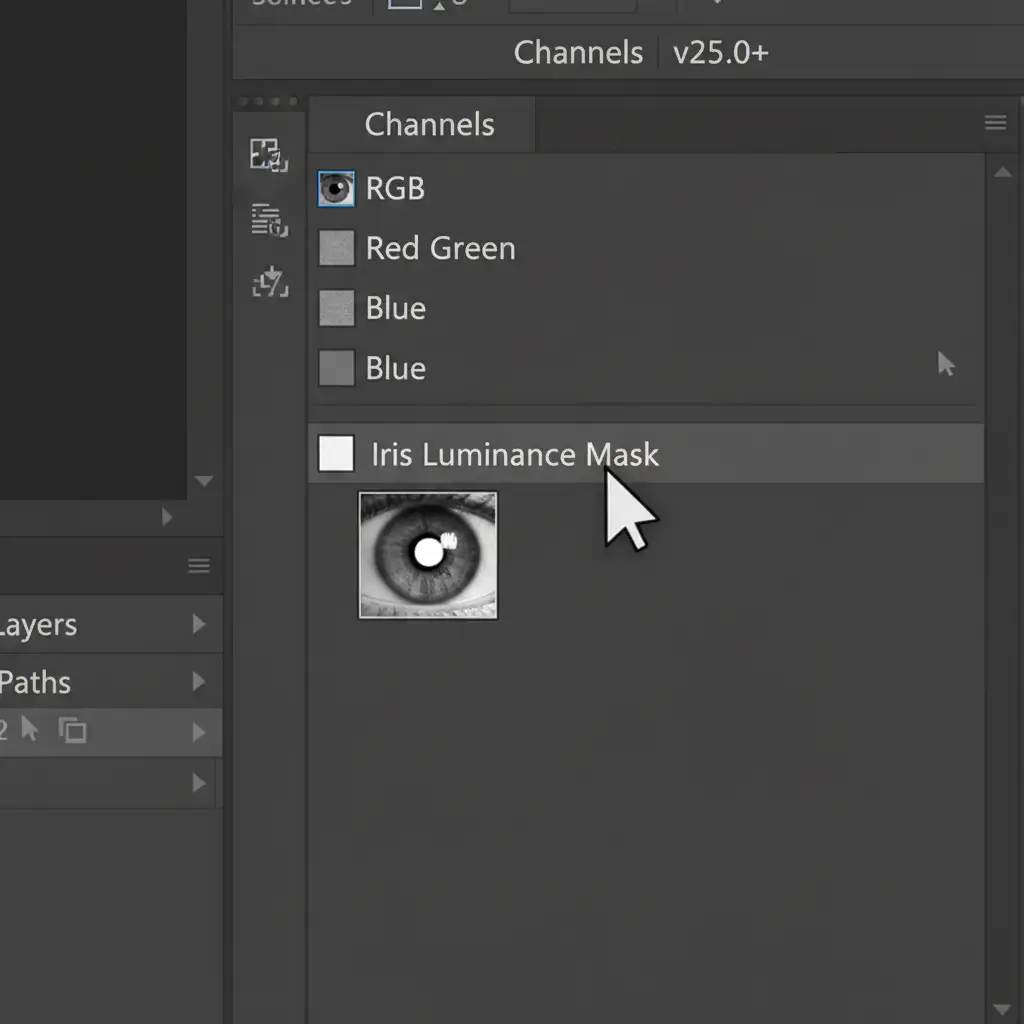
Method 3: The Technical Deep-Dive Using Luminance Masking
When Neural Filters fail completely, bypass them and use Generative Fill with precise prompts—but control the AI’s reach using a luminance mask.
- Create the Mask: Go to your Channels panel. Ctrl-click (or Cmd-click on Mac) the RGB channel to select the highlights, then invert the selection to target the shadows.
- Refine the Selection: Use this selection to create a highly targeted luminance mask that restricts edits strictly to the pupil and the dark rings of the iris.
- Protect the Sclera: This mask perfectly protects the bright reflections on the cornea and the white of the sclera.
- Generate: Run Generative Fill within this masked area with a prompt like “shift pupil slightly left.” The AI will only alter the dark pixels, leaving your natural lighting mathematics 100% untouched.
Stop Fighting the AI: Let the Experts Handle It
Fixing AI artifacts requires a deep understanding of light physics, blend modes, and advanced masking. While the AI eye gaze correction ‘dead eye’ fix outlined above will save your images, it adds significant time to your post-production workflow.
Struggling with unnatural AI edits and missed deadlines? Outsource your high-end portrait retouching to Image Work India and Cloud Retouch. Our team of professional retouchers relies on human-guided perfection, ensuring your models retain their natural spark, flawless skin texture, and lifelike expressions.


