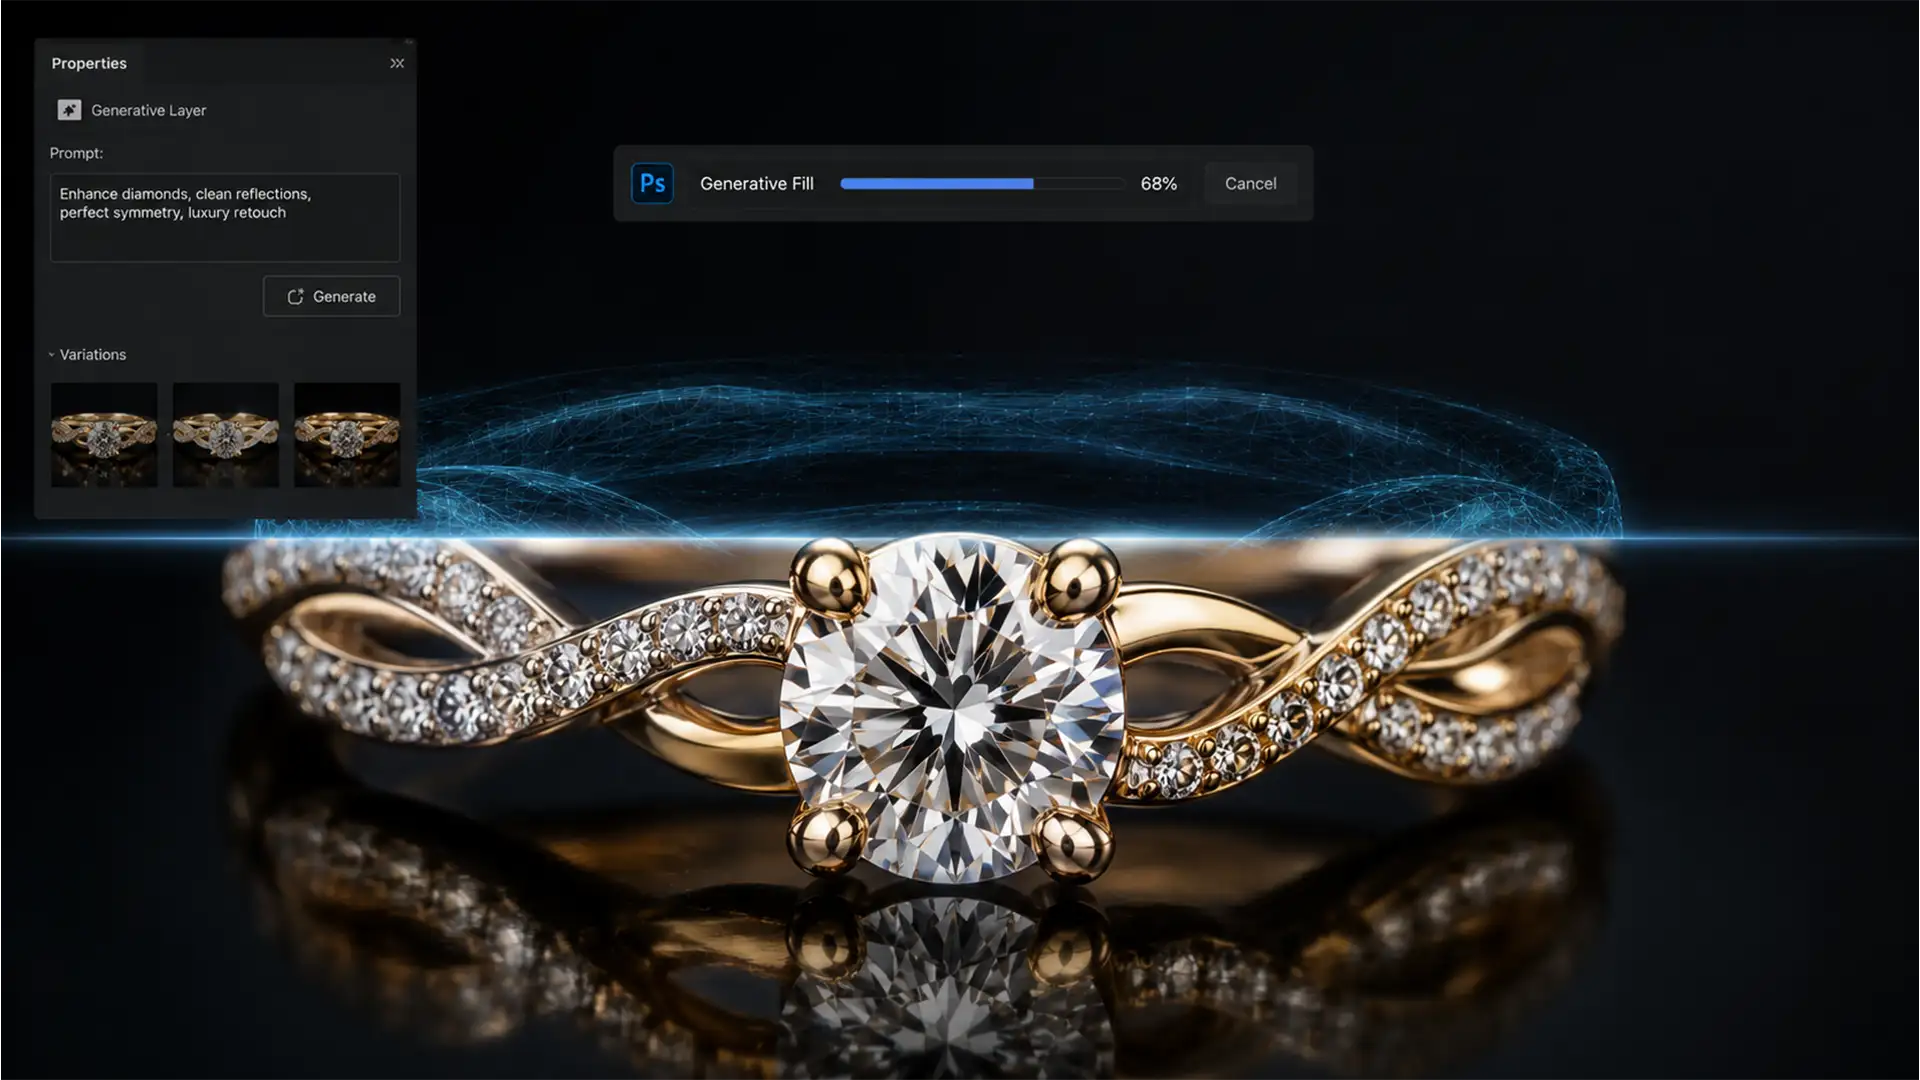
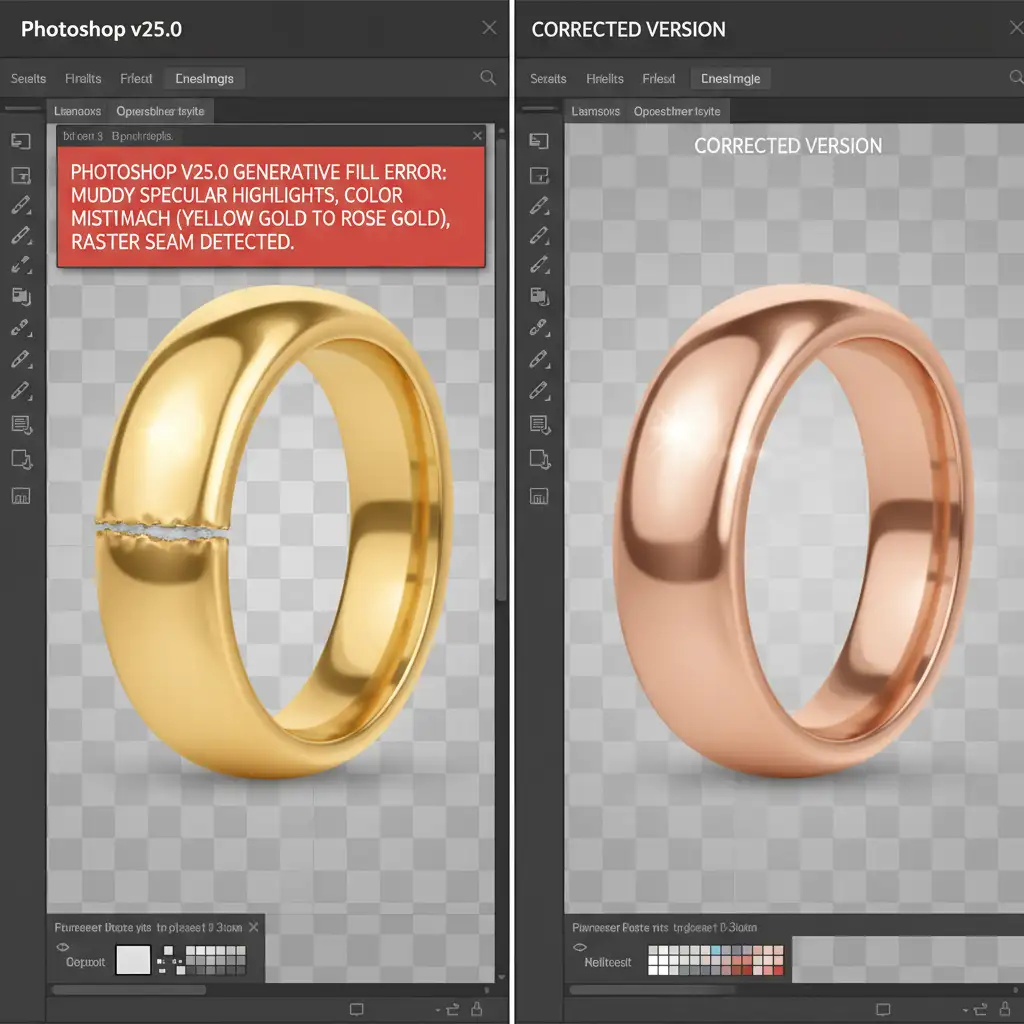
You’ve just used Photoshop v25.0’s Generative Fill to extend the background of a high-end jewelry shot, but the result is a disaster. Instead of a seamless extension, you are staring at muddy specular highlights, an abrupt shift from rose gold to an unnatural yellow, and a glaring raster seam where the AI meets your original photography.
Fixing generative fill jewelry color mismatch is one of the most frustrating challenges for retouchers working with Adobe Firefly. Highly reflective metallic surfaces demand absolute perfection, and AI currently struggles to replicate complex light refractions accurately. In this technical guide, we will break down three proven workflows to eliminate harsh seams, correct color temperatures, and restore flawless metallic gradients to your luxury product photos.
Why Photoshop Generative Fill Struggles with Jewelry
In Photoshop v25.0 and newer, the underlying Adobe Firefly model analyzes surrounding pixels to generate new content. However, metallic surfaces like gold, silver, and platinum possess unique optical properties.
When generating these materials, the AI often fails to calculate accurate light refractions. This results in three common artifacts:
- Muddy Specular Highlights: Crisp, bright reflections turn soft and gray.
- Incorrect Color Grading: The AI misinterprets the color temperature, often generating harsh yellow gold next to delicate rose gold.
- Raster Seams: A distinct, hard-edged line appears where the generated pixels attempt to blend with the authentic high-resolution photography.
To achieve commercial-grade results, you cannot rely on the raw AI output. You must manually bridge the gap between the authentic photo and the generated pixels.
How to Fix Generative Fill Jewelry Color Mismatch
Depending on the severity of the AI artifacts, you can resolve these issues using one of three methods, ranging from a quick surface patch to a complete structural rebuild.
Method 1: The Quick Fix (Edge Blending & Blend Modes)
If the AI generated the correct texture but slightly missed the exact color temperature and left a visible edge, you can resolve the issue using basic retouching tools.
- Soften the Seam: Select the Remove Tool or Spot Healing Brush. Carefully brush over the harsh raster seam where the original photography meets the Generative Fill layer. This forces Photoshop to recalculate the immediate transition zone.
- Adjust the Blend Mode: If the AI generated good specular highlights but the hue is wrong, change the Generative Fill layer’s blend mode to Color. This preserves the underlying luminosity of your original photo while applying the AI’s structural expansion.
- Feather the Edges: Add a layer mask to the Generative Fill layer. Use a soft round brush (or the Eraser tool) set to 10% Flow and gently paint away the extreme edges of the generated metallic surface to blend it into the original shot.
Method 2: The Pro Workaround (Adjustment Layers & Clipping Masks)
When the generated metallic surface has a severe color mismatch (e.g., generating 24k yellow gold next to 14k white gold), you need precise control over the color channels.
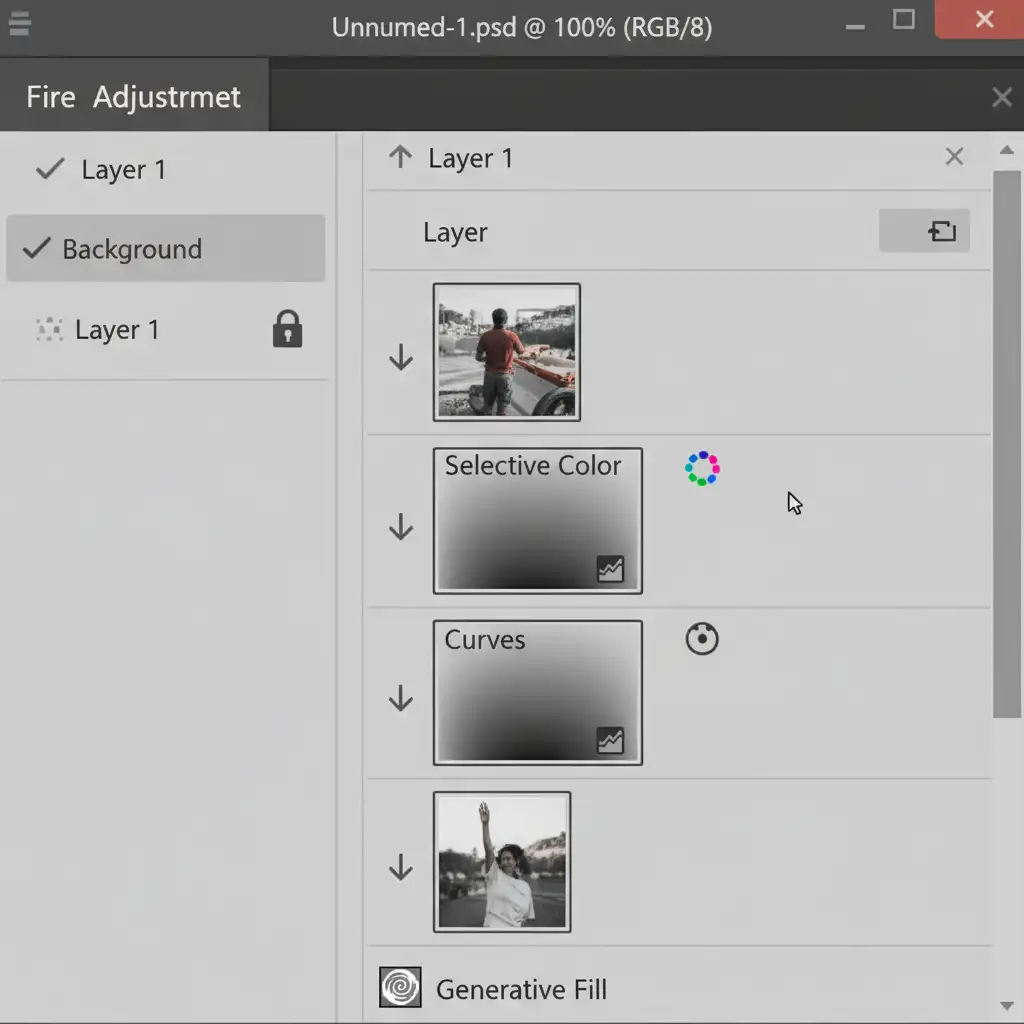
- Create Adjustment Layers: Add a Selective Color and a Curves Adjustment Layer above your Generative Fill layer.
- Apply a Clipping Mask: Right-click both adjustment layers and select Create Clipping Mask. This ensures your color corrections only affect the AI-generated pixels, not the original jewelry.
- Match the Hues: Open the Selective Color properties. Target the Yellows and Neutrals channels. Push the sliders until the generated gold or silver hue perfectly matches the original photo’s color temperature. Use the Curves layer to match the contrast of the specular highlights.
- Refine with Layer Masking: Fill the adjustment layers’ masks with black. Use a soft white brush to paint the color correction exactly where the AI mismatch is most visible, feathering the transition zones.
Method 3: The Technical Deep-Dive (Frequency Separation)
For high-end commercial retouching where both the texture and the metallic gradients are mismatched, Frequency Separation is the ultimate solution. This technique allows you to fix the underlying color mismatch without destroying the structural integrity of the AI-generated metal.
- Merge and Group: Group your original photography and your Generative Fill layer. Create a merged stamp of this group (Ctrl+Alt+Shift+E or Cmd+Opt+Shift+E).
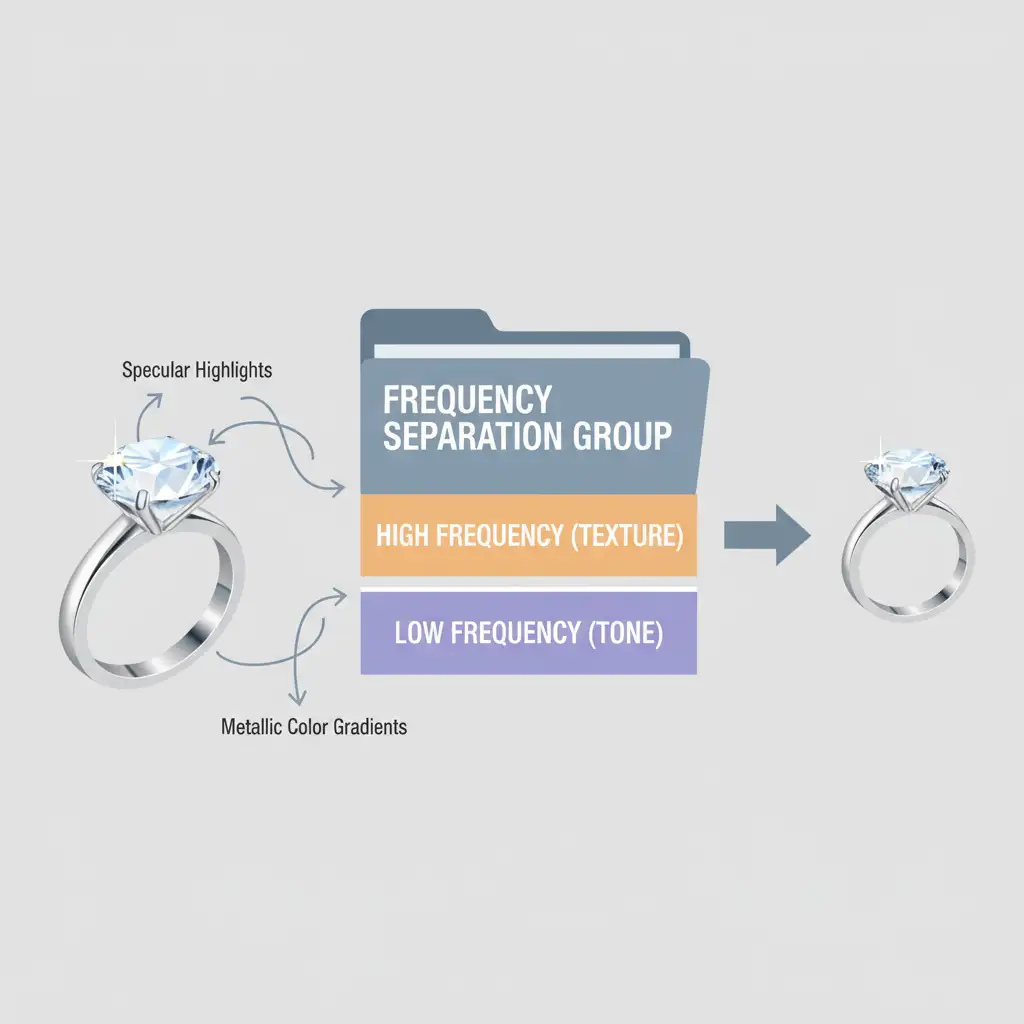
- Run Frequency Separation: Run your standard Frequency Separation action to split the merged layer into two new layers: High Frequency (containing the sharp specular highlights and texture) and Low Frequency (containing the color gradients and tone).
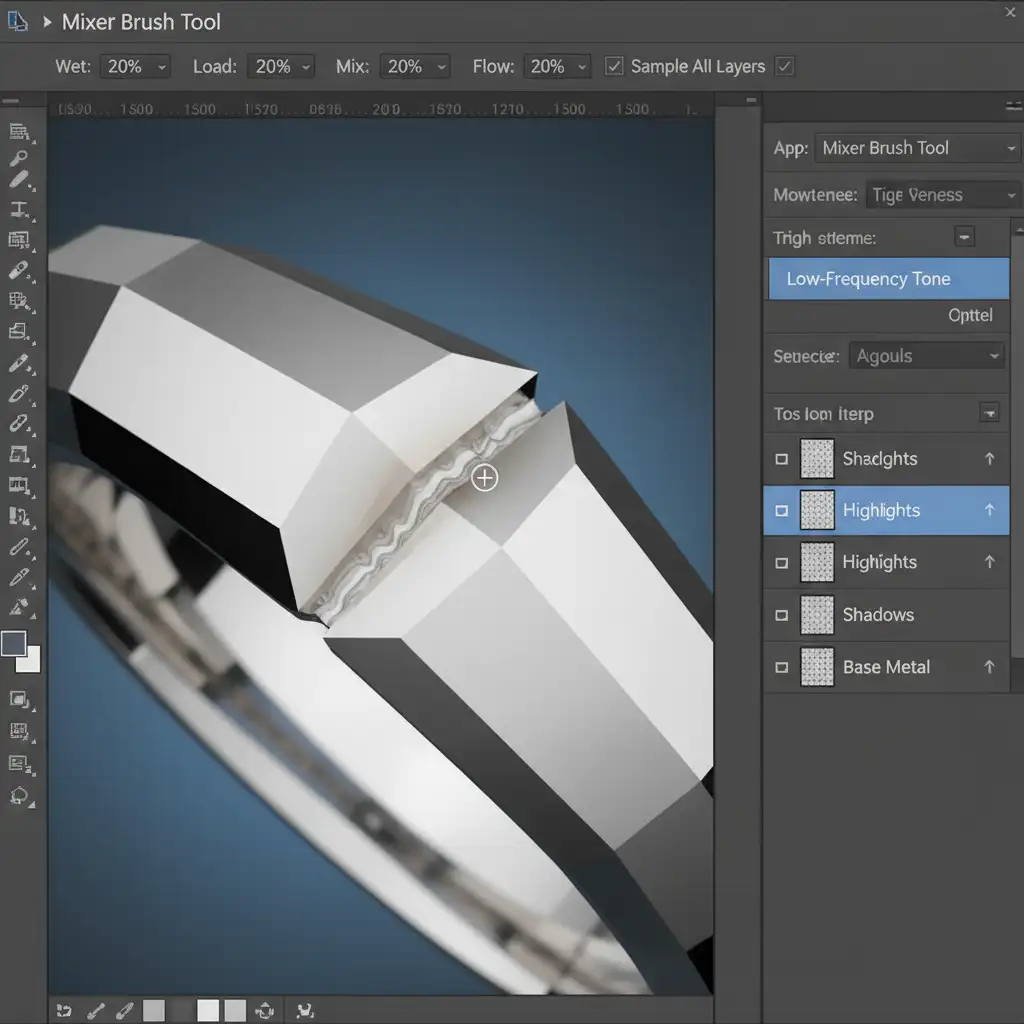
- Blend the Tones: Select the Low Frequency layer. Select the Mixer Brush Tool.
- Drag the Gradients: Sample the authentic metallic color from the original portion of the jewelry. Carefully drag those correct tones over the AI’s mismatched, muddy areas. Because you are working on the low-frequency layer, the sharp reflections and texture on the high-frequency layer remain completely intact, resulting in a flawless, photorealistic blend.
Stop Fighting AI Artifacts: Outsource Your Jewelry Retouching
Fixing generative fill jewelry color mismatch requires a deep understanding of light behavior, color temperature, and advanced Photoshop mechanics. While techniques like clipping masks and frequency separation are highly effective, they are incredibly time-consuming when processing hundreds of e-commerce SKUs or a full luxury editorial campaign.
Stop fighting with AI artifacts on luxury product photos. Hire the experts at Image Work India and Cloud Retouch. Our dedicated teams specialize in flawless, pixel-perfect jewelry retouching. From complex clipping paths and background expansions to reconstructing specular highlights and ensuring absolute brand consistency across your catalog, we deliver commercial-grade results at scale.
Contact us today to streamline your post-production workflow and elevate your product imagery.


