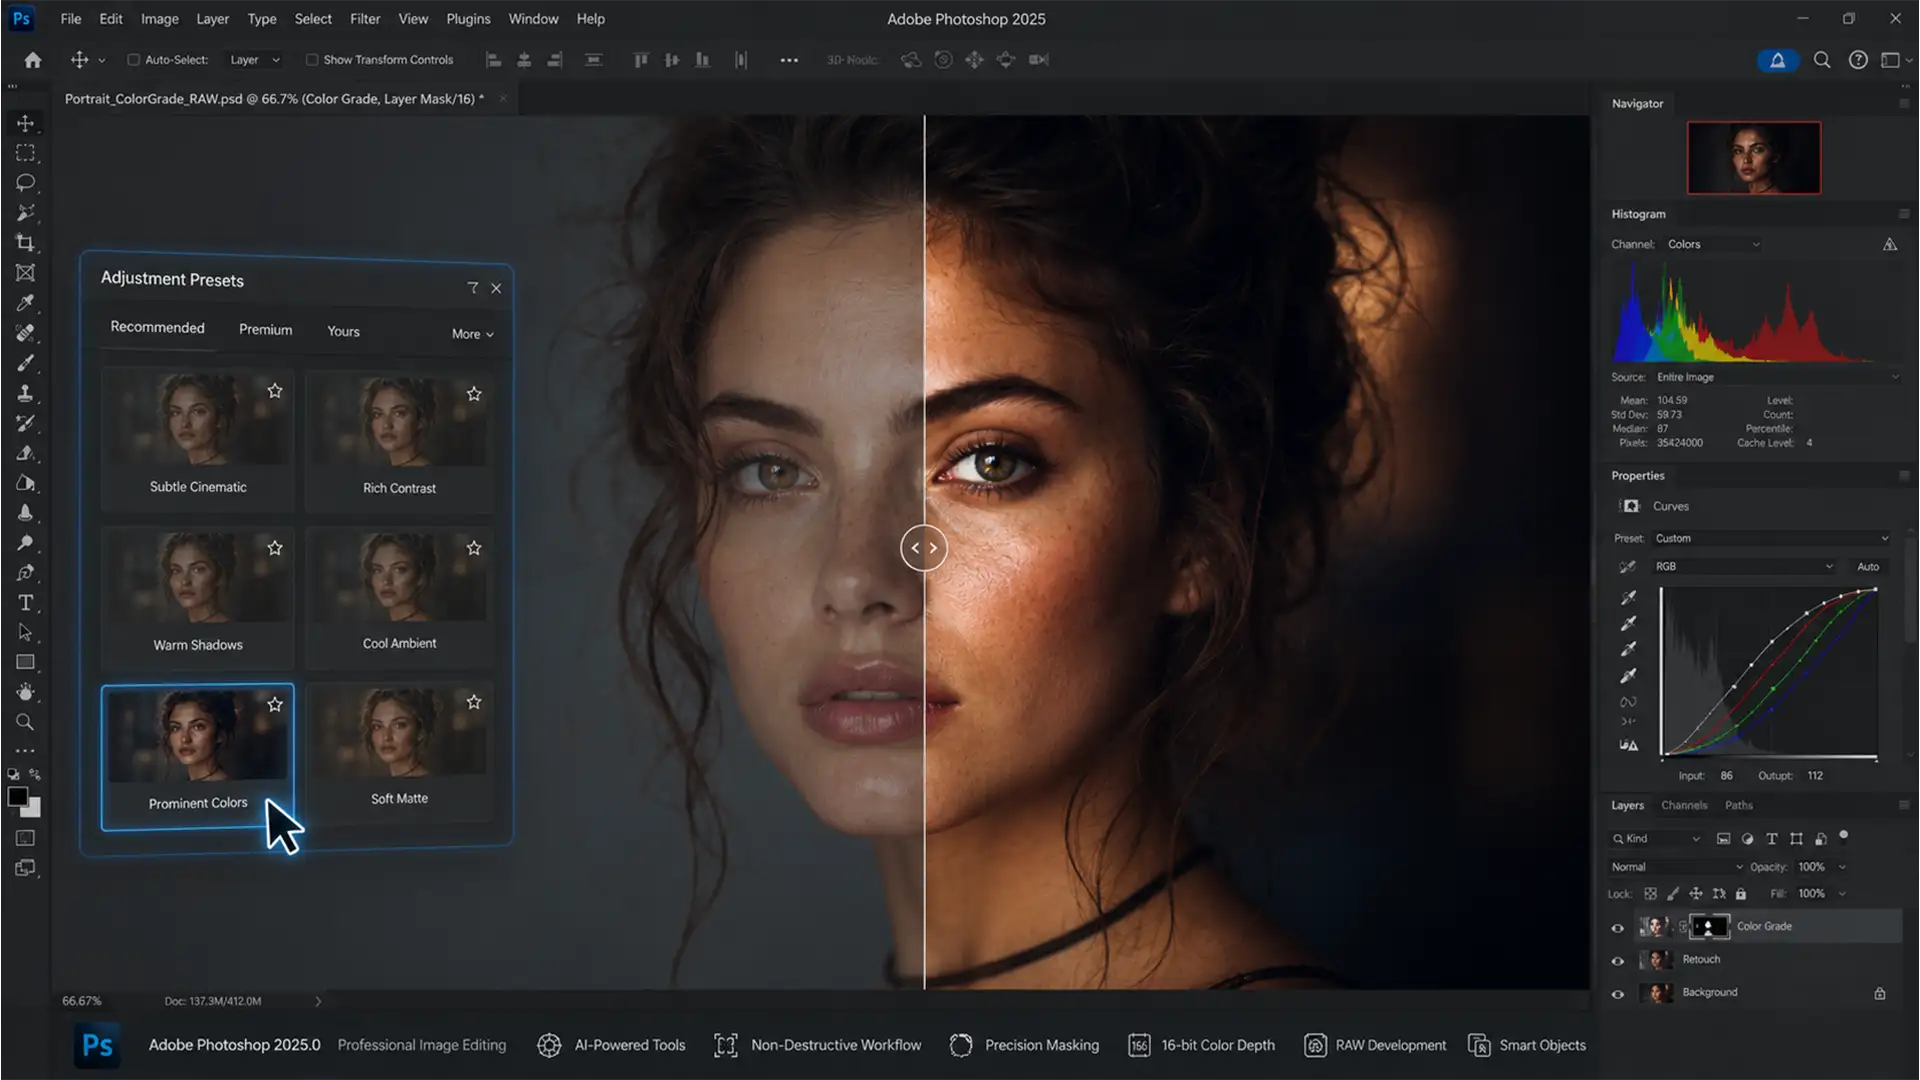
Color grading used to require hours of meticulously tweaking Curves and Color Balance. When Adobe introduced the Adjustment Presets panel in Photoshop v25.0, it promised instant cinematic looks. However, if you are looking for a photoshop prominent colors preset tutorial, you have likely hit two major roadblocks: frustrating system lag during the hover-to-preview phase, and total confusion when trying to edit the complex nested layer group it drops into your workspace.
You are not alone. Many professionals struggle with this update. In this guide, we will show you exactly how to bypass the GPU lag, unpack the layer stack, and master non-destructive editing to achieve perfect color grading without ruining your subject’s skin tones.
What is the Prominent Colors Preset in Photoshop v25.0?
Unlike older, destructive LUTs (Look-Up Tables) or flat photo filters, the Adjustment Presets panel revolutionizes color grading by utilizing Non-destructive Editing.
When you apply the Prominent Colors preset, Photoshop does not just slap a flat color wash over your image. Instead, the technical mechanism auto-generates a predefined group of Adjustment Layers. This stack typically includes precisely calibrated Color Balance, Curves, and Selective Color layers neatly packed into a single folder. Because it is built from standard adjustment layers, every single parameter is fully customizable after the fact.
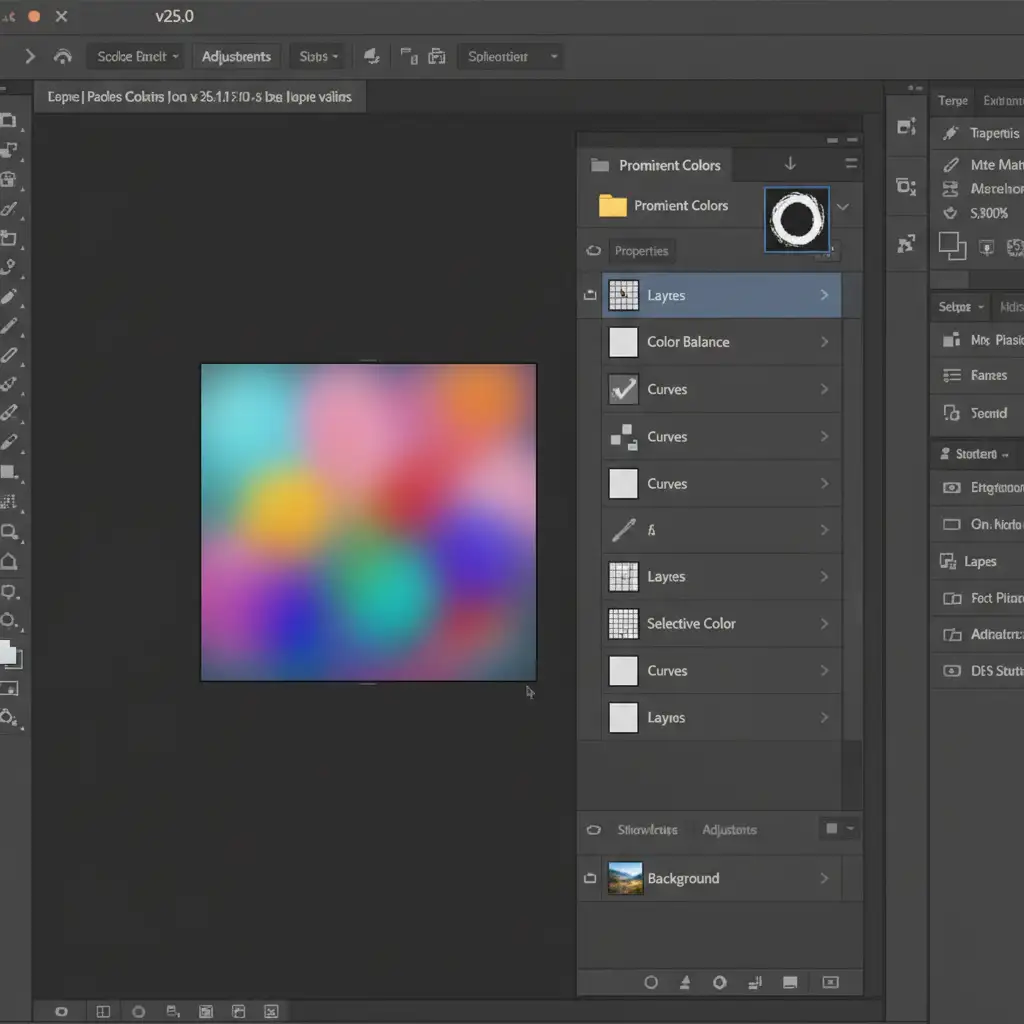
How to Apply the Photoshop Prominent Colors Preset
If you want to quickly sample, shift, and match complex palettes, here is the fastest way to access the tool.
Method A: The Quick Application
- Open your image in Photoshop.
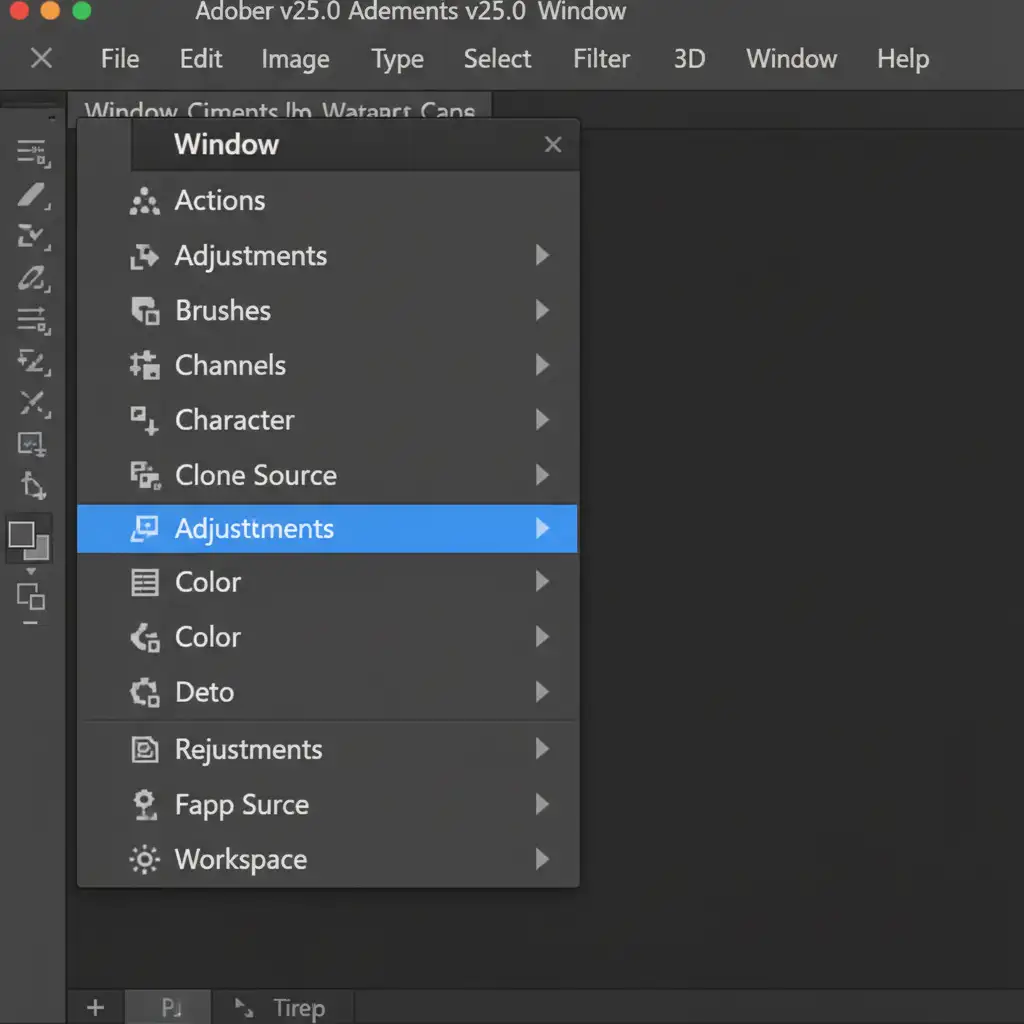
- Navigate to the top menu bar and click Window, then select Adjustments.
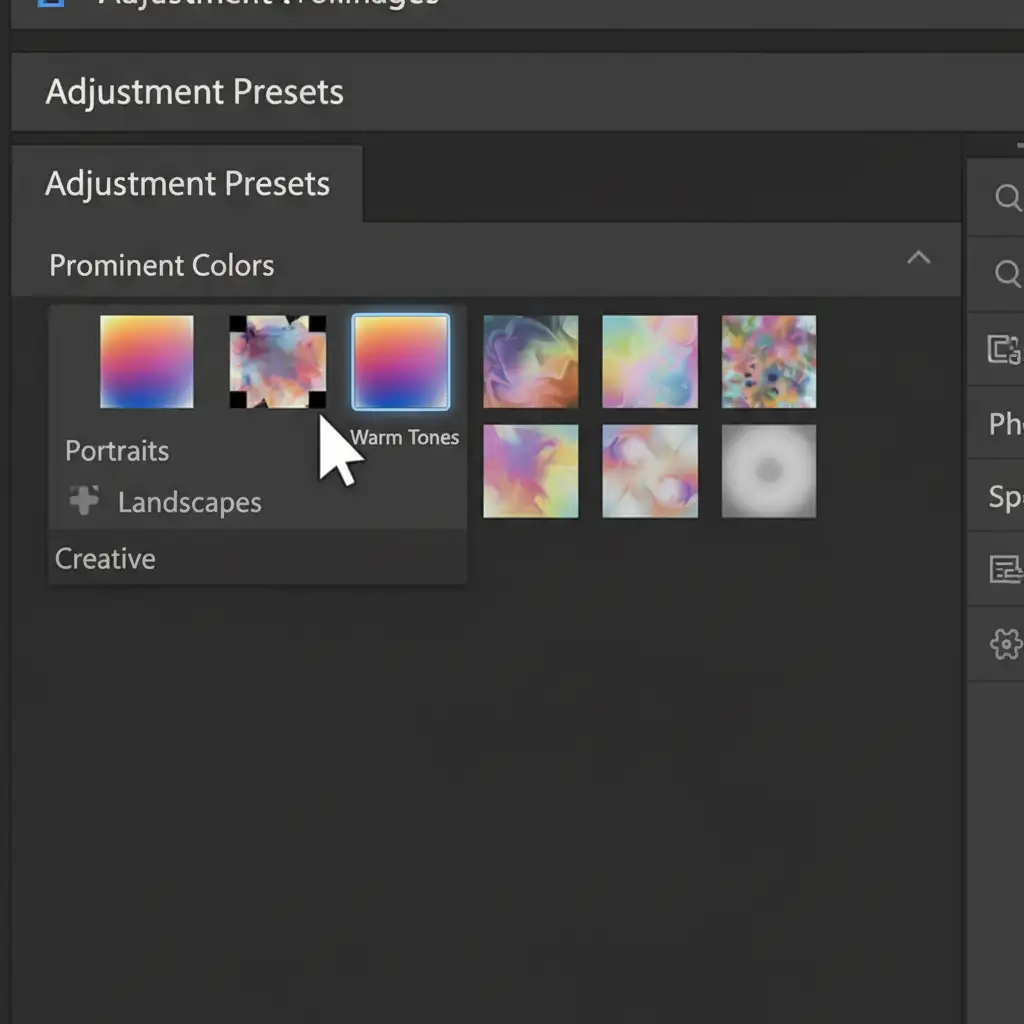
- In the newly opened Adjustments panel, locate the Adjustment Presets section.
- Scroll down to find the Prominent Colors group.
- Hover your mouse over the thumbnails. You will see a live preview of the Color Grading applied to your canvas.
- Click your preferred preset to instantly apply it.
Fixing the Hover-Preview System Lag
A major user pain point with this feature is system lag or freezing during the hover-preview phase. Because Photoshop is rendering multiple complex adjustment layers in real-time over your high-resolution canvas, this process relies heavily on GPU Acceleration.
Method C: The Technical GPU Deep-Dive
If your system stutters when previewing the prominent colors, you need to force Photoshop to utilize your graphics card.
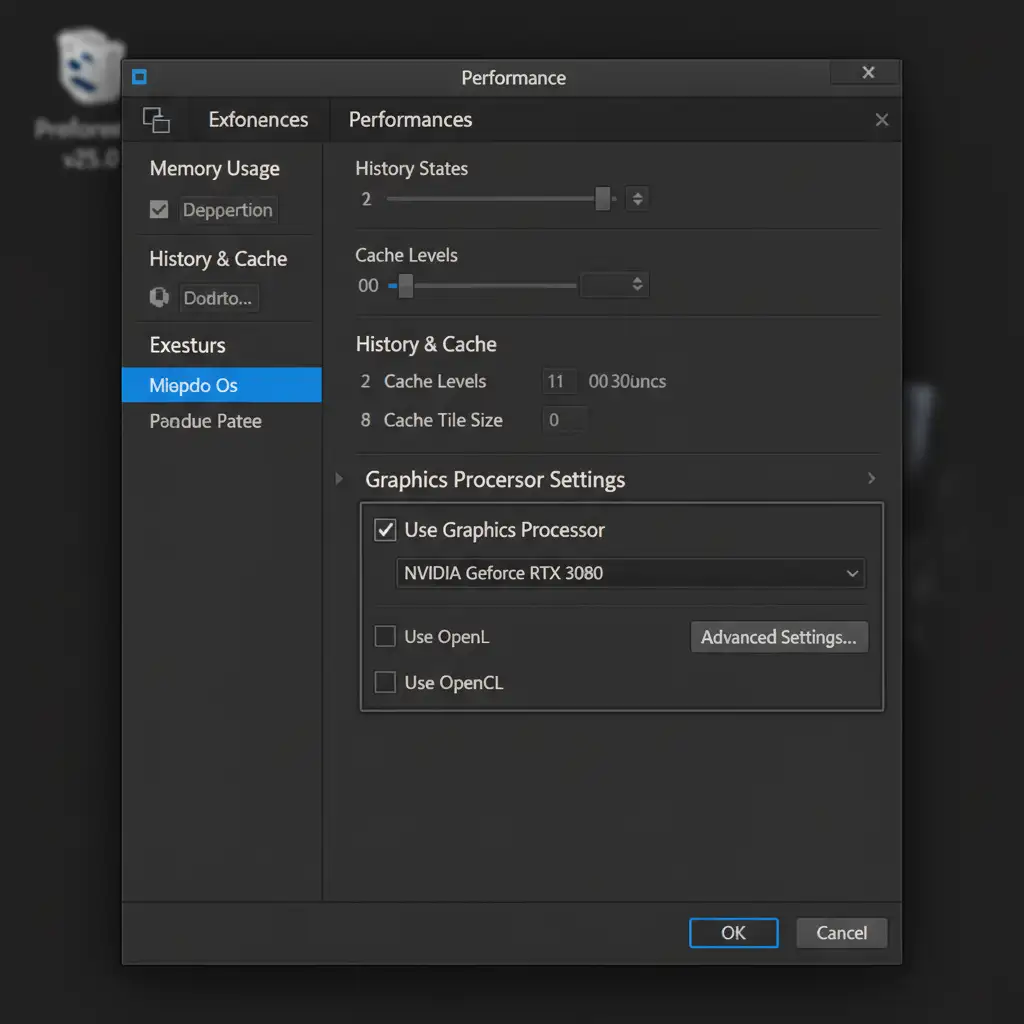
- Navigate to Edit > Preferences > Performance (on Mac, go to Photoshop > Settings > Performance).
- Look at the “Graphics Processor Settings” section on the right side.
- Ensure that the Use Graphics Processor box is checked.
- Click Advanced Settings and verify that “Use GPU to Accelerate Computation” is enabled. Restart Photoshop.
Customizing the Look: Editing the Nested Layer Group
The biggest mistake editors make is applying the preset and leaving it alone. Often, the preset will heavily alter skin tones, making your subject look unnatural. Because the preset operates as a nested layer group, you have full control over the final output.
Method B: The Pro Workaround for Flawless Skin Tones
Once the preset is applied, look at your Layers panel. You will see a new Layer Group folder.
- Expand the Group: Click the small arrow next to the folder icon to reveal the individual Selective Color and Hue/Saturation layers inside.
- Tweak Opacity and Blend Modes: If the effect is too strong, you don’t need to delete it. Simply lower the Opacity of the entire folder, or experiment with changing the Blend Modes of individual layers (like setting a Color Balance layer to “Color” or “Soft Light”).
- Master Layer Masking: To protect your subject’s skin tones, select the Layer Mask attached to the main preset folder. Select the Brush tool (B), set your foreground color to Black, lower your brush opacity to 50%, and gently paint over the subject’s face to hide the color grade from their skin while keeping it on the background.
Creating Your Own Custom Adjustment Presets
Once you understand how these layer stacks work, you aren’t limited to Adobe’s default options. If you manually build a color grade that perfectly matches your brand using Hue/Saturation and Selective Color, you can save it.
Simply select all your custom adjustment layers in the Layers panel, navigate back to the Adjustments panel, and click the “+” icon to save it as a custom preset. Now, you have a one-click color grading solution for all future projects.
Scale Your Color Grading with Image Work India
Mastering the Photoshop prominent colors preset tutorial is a great step toward optimizing your personal editing workflow. However, if you are managing an e-commerce brand, a photography studio, or an advertising agency, manually masking and tweaking layer groups for hundreds of images simply isn’t scalable.
Want to achieve flawless color grading at scale without the technical headaches? Image Work India and Cloud Retouch provide expert, high-volume image retouching and color correction services tailored specifically to your brand’s aesthetic. Let our team of professional retouchers handle the heavy lifting of precise layer masking, non-destructive editing, and perfect skin tone matching so you can focus on growing your business.
Contact Image Work India today to streamline your post-production workflow.


