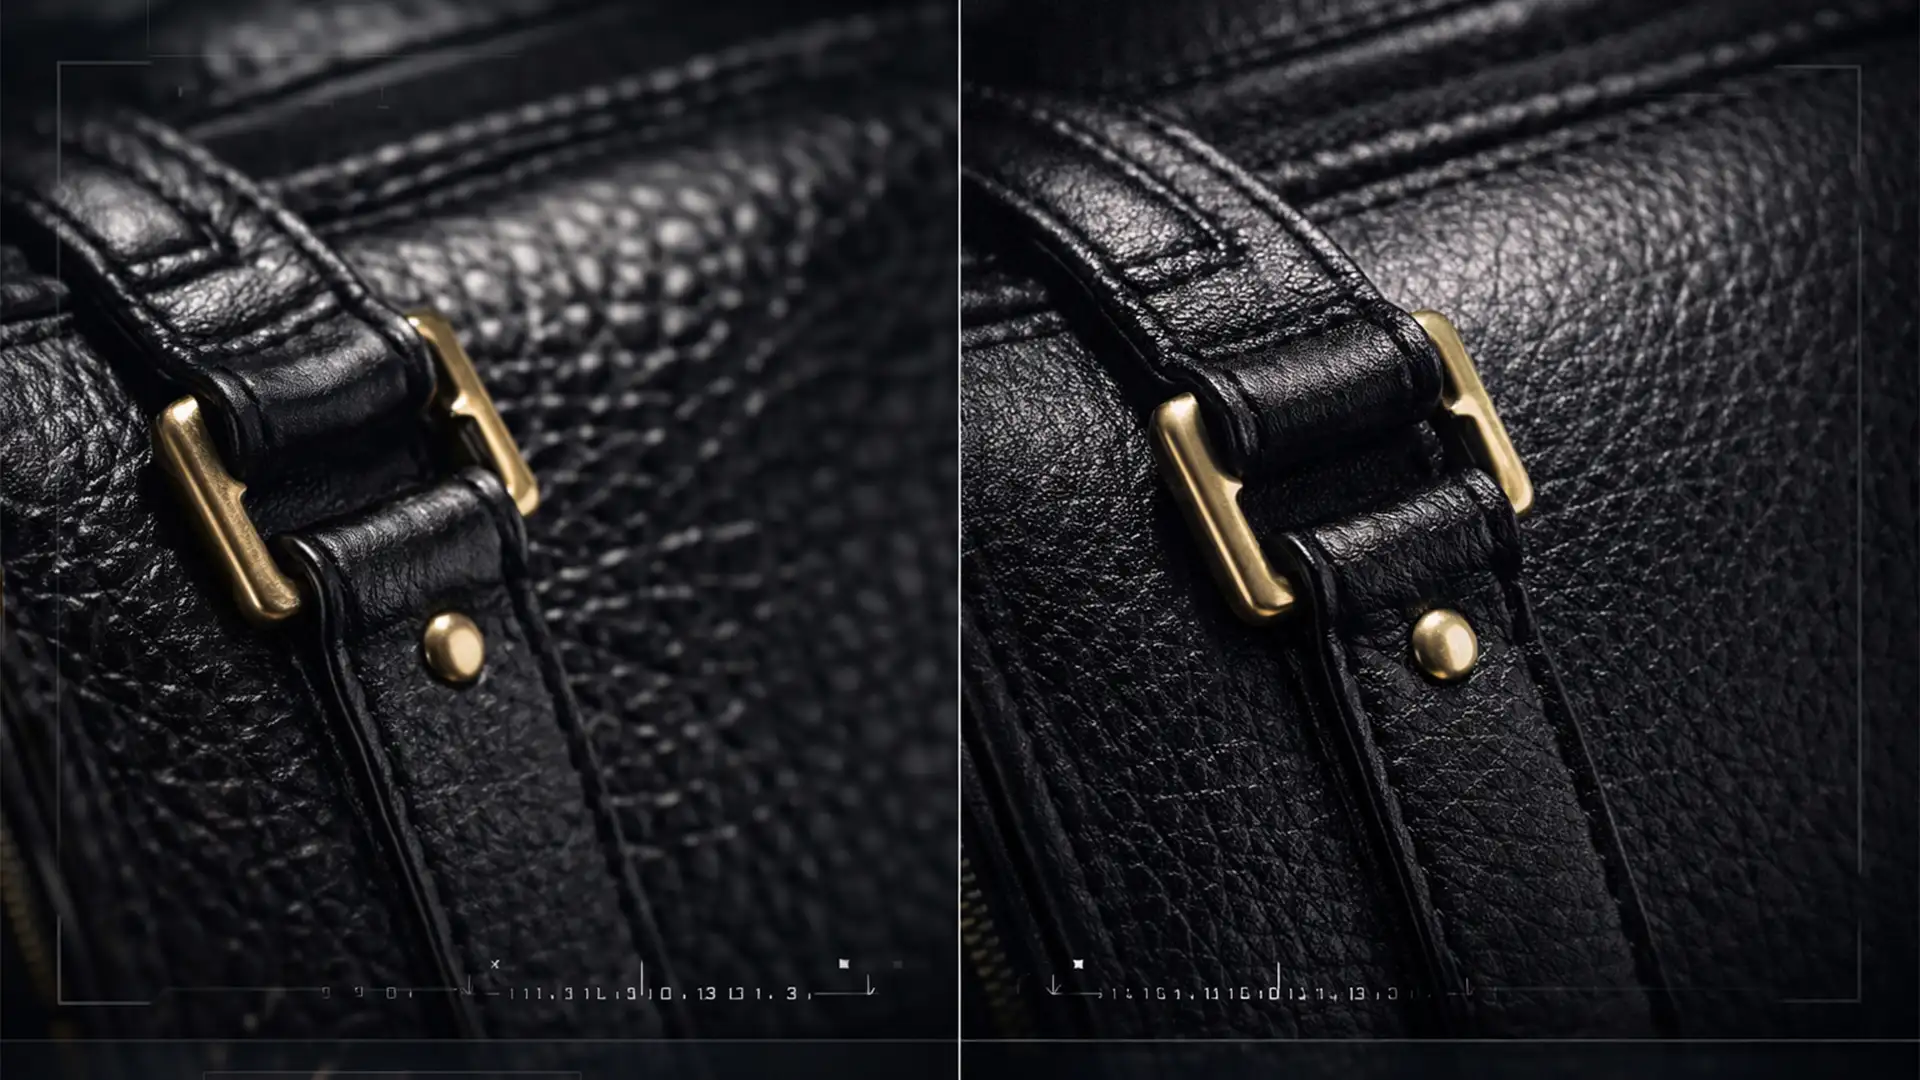
You just used Generative Fill in Photoshop v25.0 to extend a background or remove a prop from a high-end product photo. Zoomed out, it looks like magic. But zoom in to 100%, and the illusion shatters. The AI model has hallucinated repeating textures on the leather, smudged the micro-contrast of the brushed metal, and left behind uncanny, plastic-looking patches completely devoid of natural sensor noise.
When you are editing premium commercial imagery, these AI artifacts guarantee a failed QA check. If you are struggling with fixing AI generative fill artifacts in product photos, you are not alone. Here is how professional retouchers clean up the mess that artificial intelligence leaves behind.
Why Adobe Firefly Struggles with Product Photography
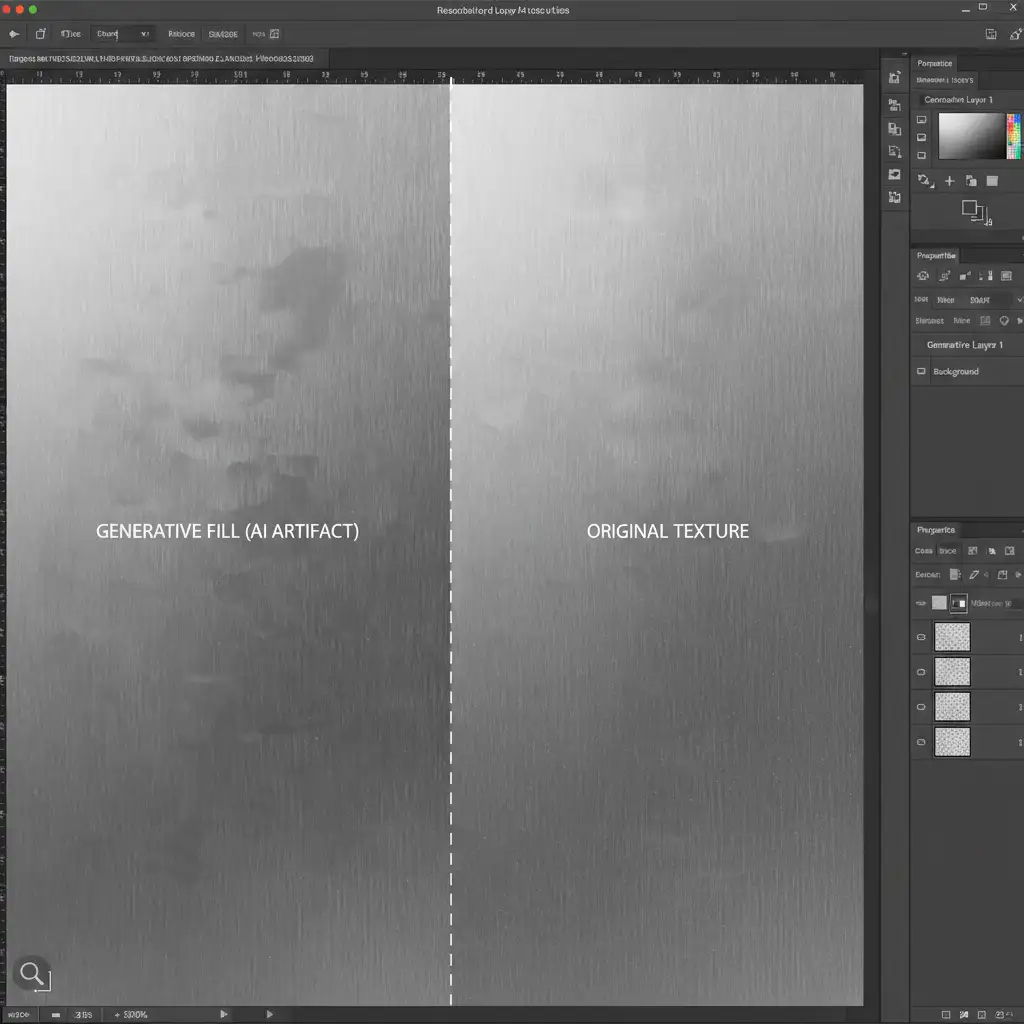
While Adobe Firefly is a revolutionary tool, its current generation struggles with high-resolution micro-contrast. When applied to complex materials, the AI often averages out pixel data, leading to severe color banding on smooth gradients and muddy patches on detailed surfaces like wood grain or matte plastics.
Furthermore, AI generation does not inherently understand the native film grain or ISO sensor noise of your original RAW file. The result is a mathematically smooth patch sitting awkwardly in the middle of a naturally textured photograph.
How to Fix Generative Fill Artifacts: 3 Professional Methods
To bring your images back to commercial standards, you need to combine AI generation with traditional, high-end retouching techniques.
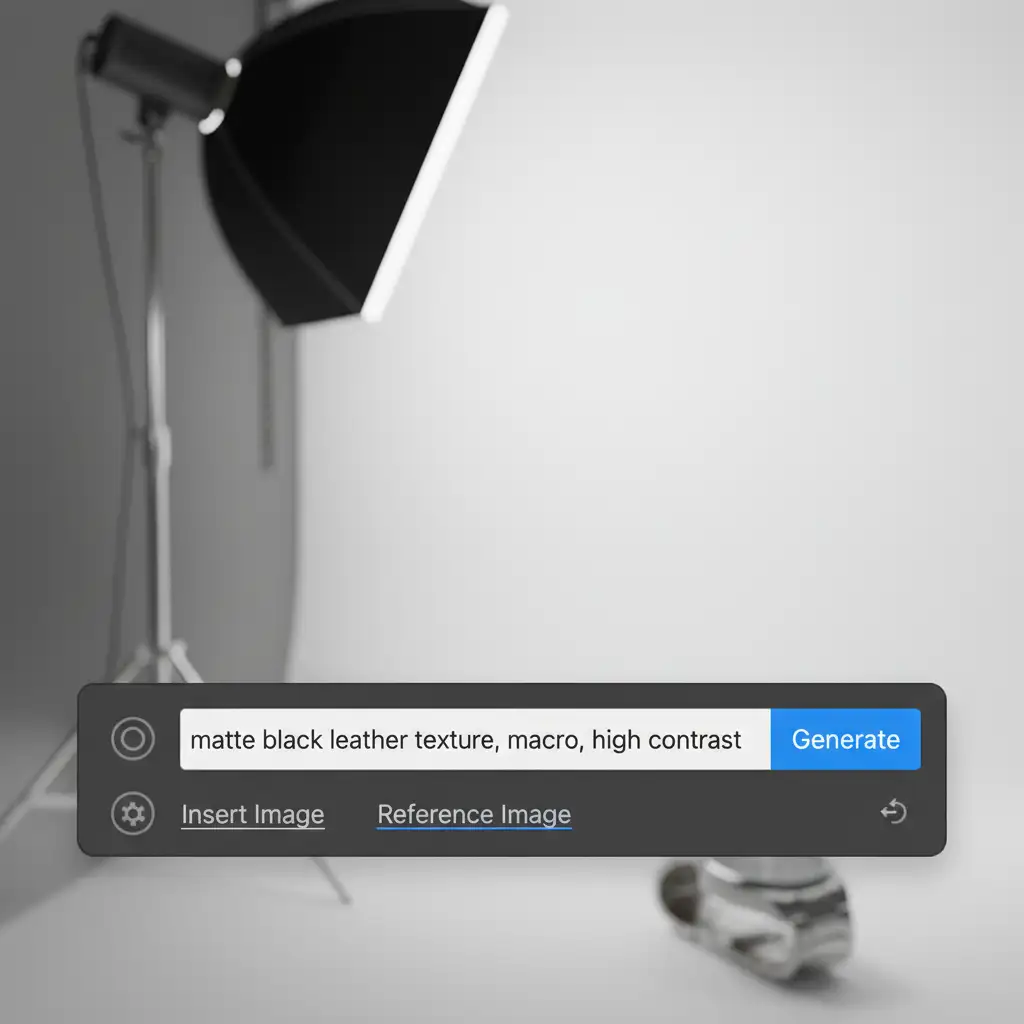
Method 1: The Quick Fix – Advanced Prompt Refinement
The most common mistake retouchers make is leaving the Generative Fill prompt box blank. A blank prompt forces Adobe Firefly to guess the surrounding context, which usually results in soft, low-resolution fills.
Instead of letting the AI guess, explicitly dictate the material properties.
- Select your target area and invoke Generative Fill.
- Type highly specific material keywords (e.g., “matte black leather texture, macro, high contrast”).
- Generate variations until the structural lighting matches.
- Slightly lower the opacity of the AI layer (around 90-95%) to allow some of the original underlying texture to bleed through, masking the artificial edge.
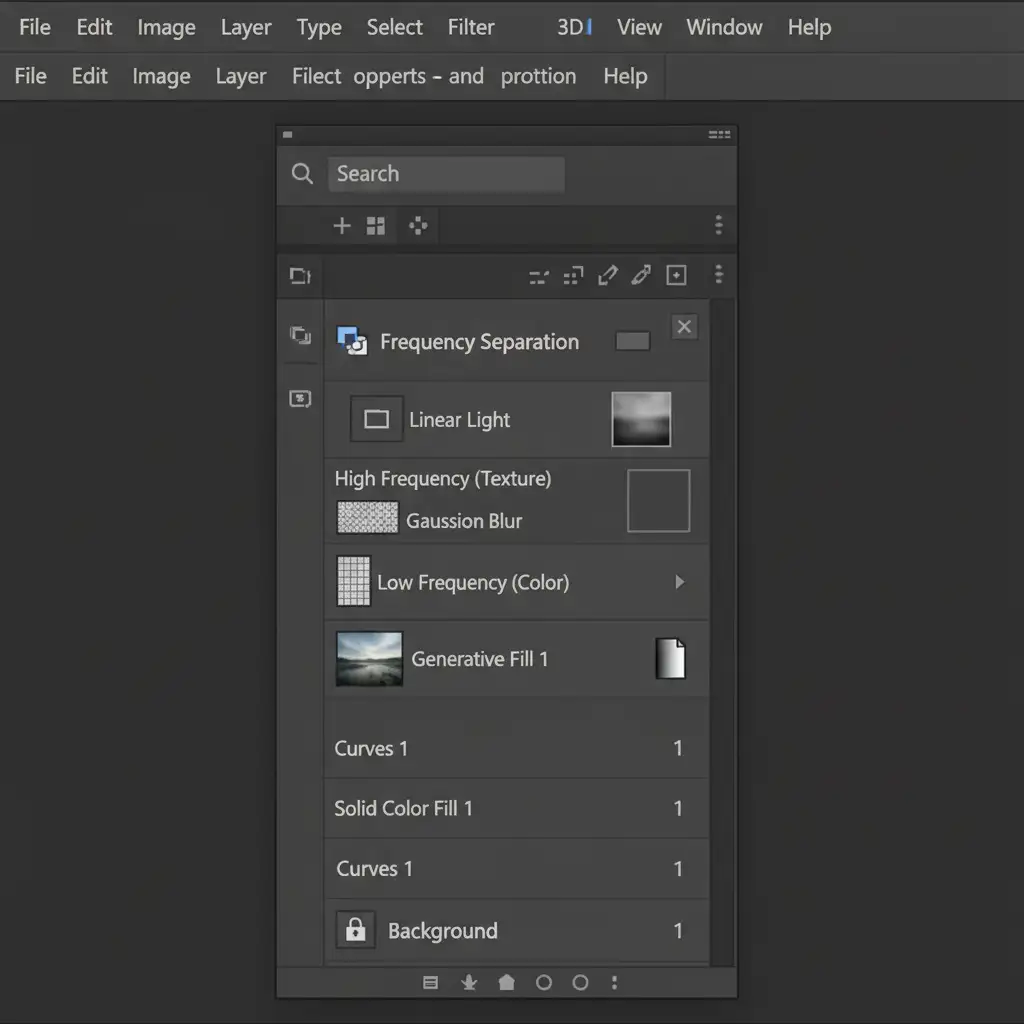
Method 2: The Pro Workaround – Frequency Separation
When prompt refinement isn’t enough to fix muddy details, you must manually rebuild the surface. Frequency Separation is the industry standard for this exact problem.
By separating your image into two distinct layers—a high-frequency texture layer and a low-frequency color layer—you can steal real texture from an untouched part of the product and graft it over the AI artifact.
- Convert your base image into Smart Objects to work non-destructively.
- Run your standard Frequency Separation action (splitting color blur and texture apply image).
- Select the high-frequency texture layer.
- Select the Clone Stamp tool (set to “Current Layer” only, with a hard brush).
- Sample a clean, high-contrast area of the product’s natural texture.
- Carefully stamp over the plastic-looking AI artifact, rebuilding the missing micro-contrast without altering the AI-generated lighting and color underneath.
Method 3: The Technical Deep-Dive – Sensor Noise Matching
Even if the texture and color are perfect, the AI patch will still look fake if it lacks the camera’s native sensor noise. To fix this, you must synthesize grain. While Photoshop has a built-in “Match Grain” function, manual noise generation offers far superior control.
- Create a new blank layer at the top of your layer stack.
- Fill the layer with 50% Gray (Edit > Fill > 50% Gray).
- Change the layer’s blend mode to Overlay or Soft Light (this makes the gray invisible).
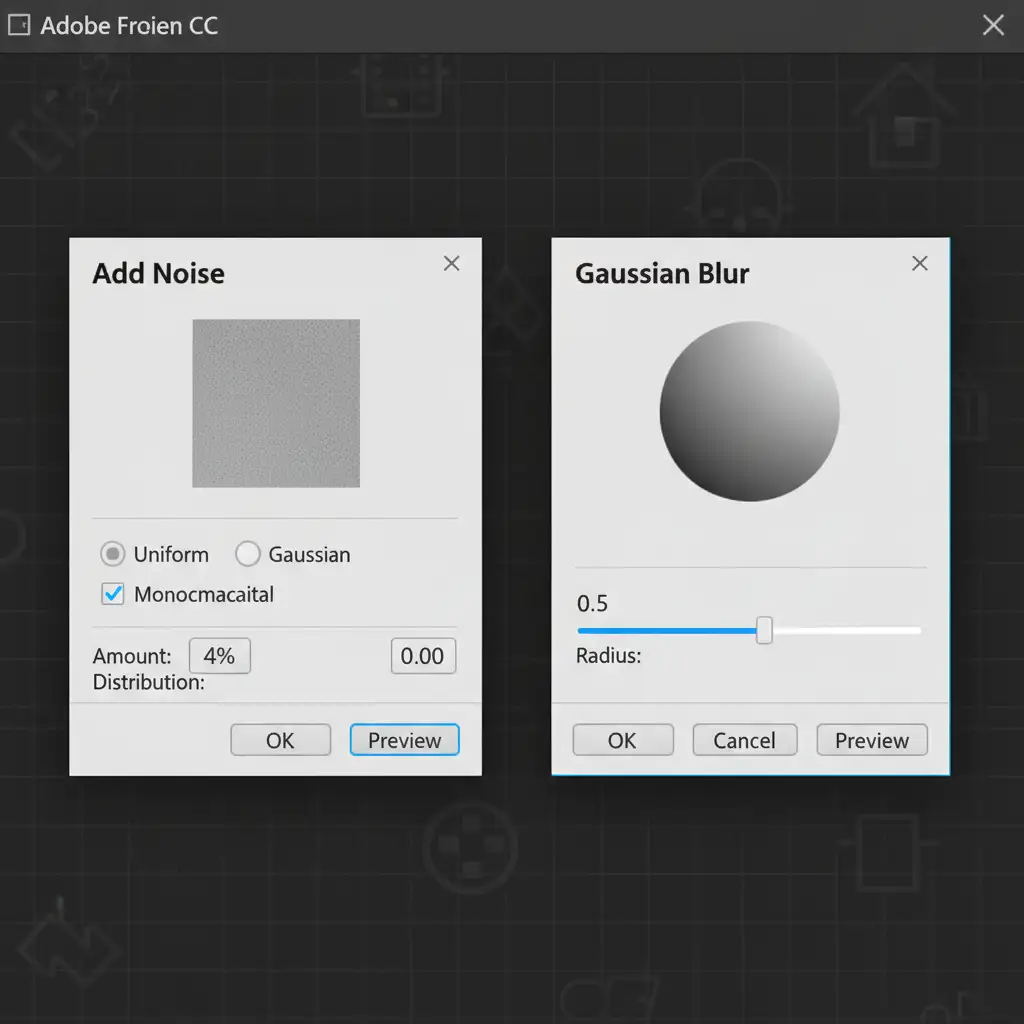
- Go to Filter > Noise > Add Noise. Choose “Uniform” and check “Monochromatic.” Add enough noise to slightly exceed the native grain of the image.
- Go to Filter > Blur > Gaussian Blur and apply a tiny radius (0.3px to 0.8px) to soften the sharp digital noise into organic-looking film grain.
- Clip this noise layer directly to your Generative Fill layer, or use Luminosity masking to ensure the grain only applies to the midtones and shadows where noise naturally lives.
Stop Fighting AI: Outsource to the Retouching Experts
Fixing AI generative fill artifacts in product photos requires a deep understanding of light, texture, and advanced Photoshop mechanics. While techniques like Frequency Separation and manual grain matching will save a shot, they are incredibly time-consuming. When you are processing hundreds of e-commerce SKUs, spending 15 minutes repairing a single AI hallucination destroys your profit margins.
Struggling with inconsistent AI results? Let the experts at Image Work India and Cloud Retouch handle your high-volume product retouching. Our specialized teams combine the speed of cutting-edge technology with the pixel-perfect precision of human artistry. We guarantee artifact-free, commercial-grade imagery that meets the strictest QA standards.
Contact Image Work India and Cloud Retouch today to scale your post-production workflow effortlessly.


