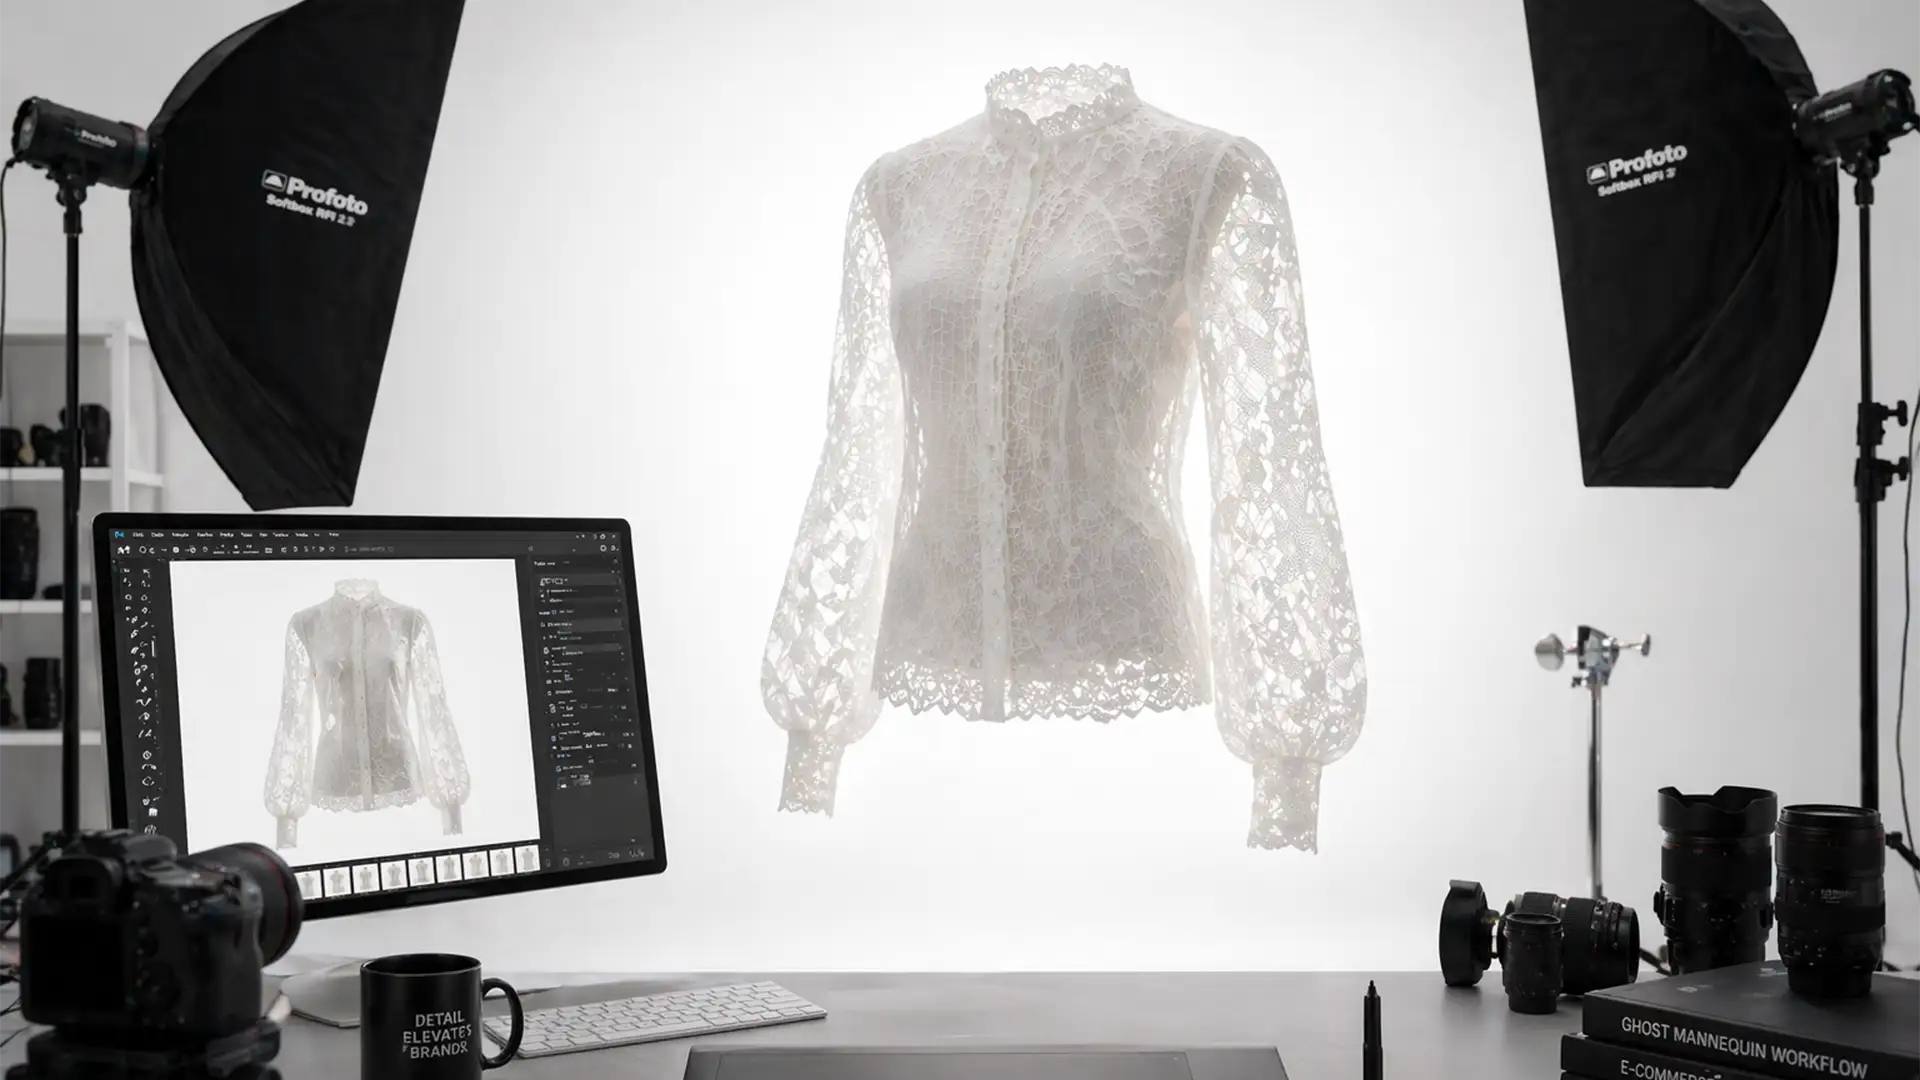
You’ve just shot a stunning collection of sheer blouses and delicate lace lingerie, but the editing process is turning into a nightmare. When you try to create a clean invisible mannequin look, the automated background removal tools destroy the semi-transparent details. The result? A flat, jagged mess where the mannequin’s plastic neck is still visibly bleeding through the mesh.
If you are struggling to maintain the 3D volume and delicate thread details of transparent garments, you are not alone. Achieving the perfect ghost mannequin effect for sheer and lace fabrics requires moving past basic automated selections. In this guide, we will break down the advanced Photoshop workflows necessary to preserve intricate fabric textures while seamlessly compositing inner neck labels and hems.
Why Automated Tools Fail on Delicate Fabrics
When editing sheer, mesh, and lace garments in Photoshop v24.x to v25.x, standard AI tools like Select Subject or the Magic Wand simply cannot comprehend semi-transparency. They operate on a binary level—pixels are either selected or they aren’t.
This binary approach causes two major technical pain points:
- Loss of Detail: Delicate thread patterns are deleted entirely, leaving harsh, jagged edges around lace patterns.
- Opacity Issues: The tools fail to preserve the alpha channel opacity of the fabric, leaving the mannequin visible through the material or flattening the garment’s natural 3D volume.
To fix this, you need precise opacity adjustment techniques and advanced masking workflows.
3 Advanced Techniques for the Ghost Mannequin Effect for Sheer and Lace Fabrics
Depending on the complexity of the garment, here are three professional methods to separate sheer fabrics from the mannequin while retaining perfect realism.
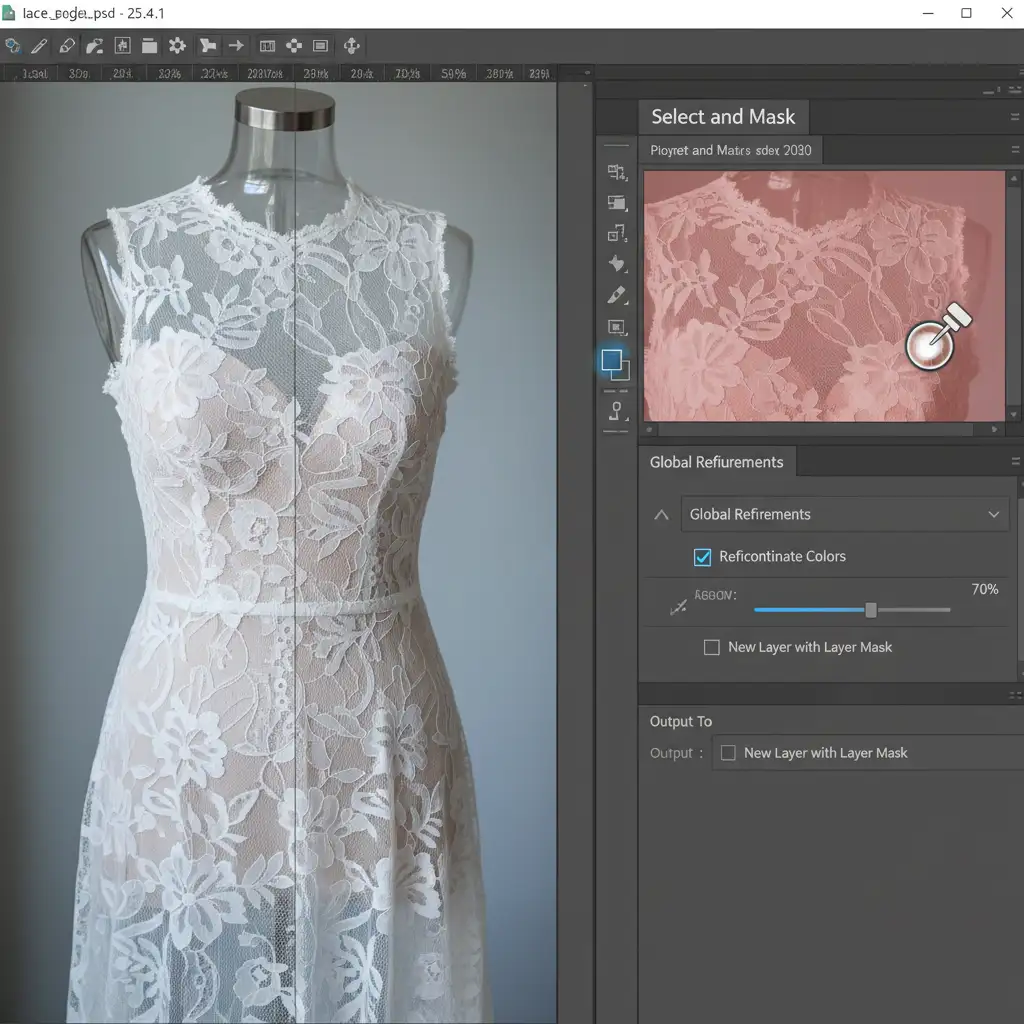
Method 1: The Quick Fix (Select and Mask with Refine Edge)
If you are dealing with a garment that has solid edges but lace trim, the Select and Mask workspace is your first line of defense.
- Start by making a rough selection using the Object Selection Tool.
- Enter the Select and Mask workspace.
- Select the Refine Edge Brush Tool. Carefully brush over the lace edges and mesh areas. Photoshop will recalculate the contrast between the fabric and the mannequin.
- Check the Decontaminate Colors box. This is crucial for removing any color spill or reflections cast by the mannequin onto the sheer fabric.
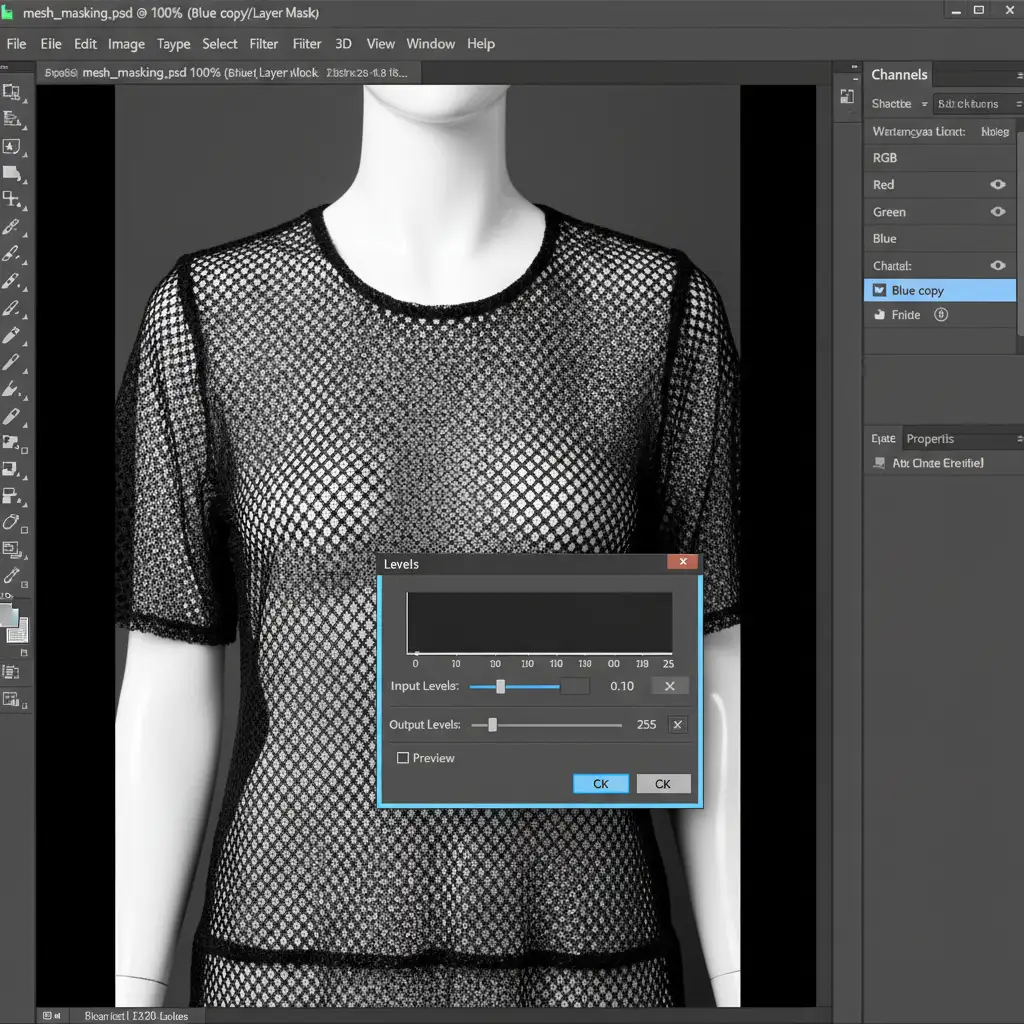
Method 2: The Pro Workaround (Channel Masking and Multiply Blending)
For garments that are entirely sheer, such as mesh tops or sheer lingerie, edge refinement isn’t enough. You need Channel Masking to create a pixel-perfect selection based on contrast.
- Open the Channels panel and examine the Red, Green, and Blue channels. Duplicate the channel with the highest contrast (usually the Blue channel).
- Apply a Levels adjustment (Ctrl/Cmd + L) directly to this duplicated channel. Push the white slider to make the background pure white, and the black slider to make the lace pure black.
- Invert the selection (Ctrl/Cmd + I) and load it as a Layer Mask. This precisely isolates the sheer fabric.
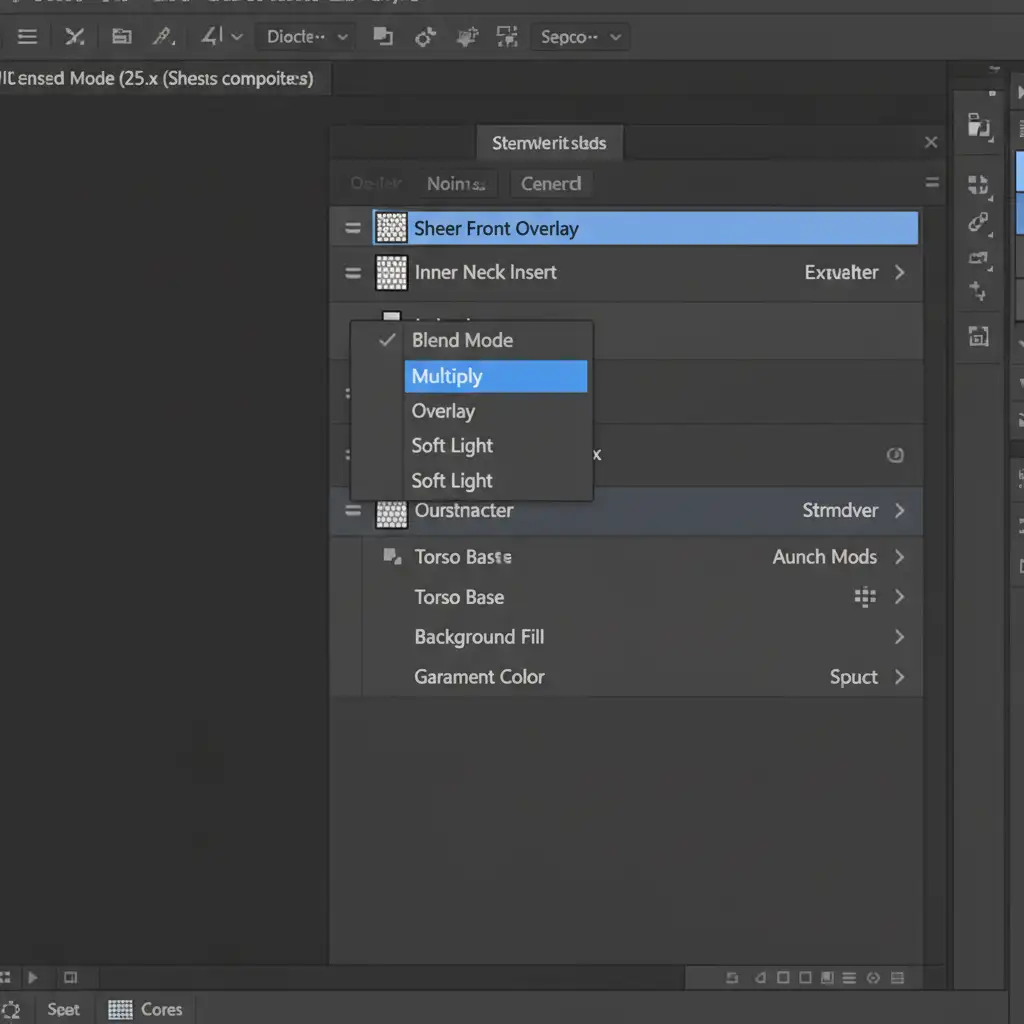
Compositing the Inner Neck: Once the front of the garment is masked, you must composite the inner back neck (the insert shot). To ensure the sheer fabric overlays the inner label naturally without looking pasted on, place the inner neck layer below the front garment layer. Then, change the front garment’s layer blend mode to Multiply. This forces the sheer texture to interact realistically with the label beneath it.
Method 3: The Technical Deep-Dive (Frequency Separation and Custom Alpha Channels)
When dealing with the most difficult sheer fabrics—where the mannequin’s skin tone or plastic color heavily contaminates the mesh—you must separate the garment’s texture from its color using Frequency Separation.
- Separate your image into two layers: a color layer (Low Frequency) and a texture layer (High-frequency layer).
- On the color layer, use the Clone Stamp tool to carefully paint out the mannequin’s skin tone or shadows, replacing it with the garment’s true color. Because the texture is on a separate layer, the delicate mesh threads remain 100% intact.
- Next, create a custom Alpha Channel based on a Luminosity masking selection. This allows you to meticulously dial in the exact opacity percentage of the sheer mesh, ensuring the final composite looks authentically transparent rather than fully opaque.

Stop Fighting with Pixels: Let the Experts Handle Your E-Commerce Edits
Mastering the ghost mannequin effect for sheer and lace fabrics is incredibly time-consuming. When you are processing hundreds of SKUs for an upcoming seasonal launch, spending 30 minutes meticulously adjusting alpha channels and refining frequency separation on a single lace bralette simply isn’t scalable.
Struggling to keep your lace and sheer fabrics looking realistic? Hire Image Work India and Cloud Retouch.
Our team of expert retouchers specializes in high-end e-commerce editing. We don’t rely on automated shortcuts that ruin your fabrics. Instead, we deliver pixel-perfect, hand-drawn clipping paths and advanced ghost mannequin editing that preserves every delicate thread and mesh pattern. We ensure your apparel retains its natural 3D volume, elevating your e-commerce catalog and driving higher conversion rates.
Stop wrestling with complex blend modes. Send us your raw files today, and let Cloud Retouch deliver flawless, retail-ready imagery.


