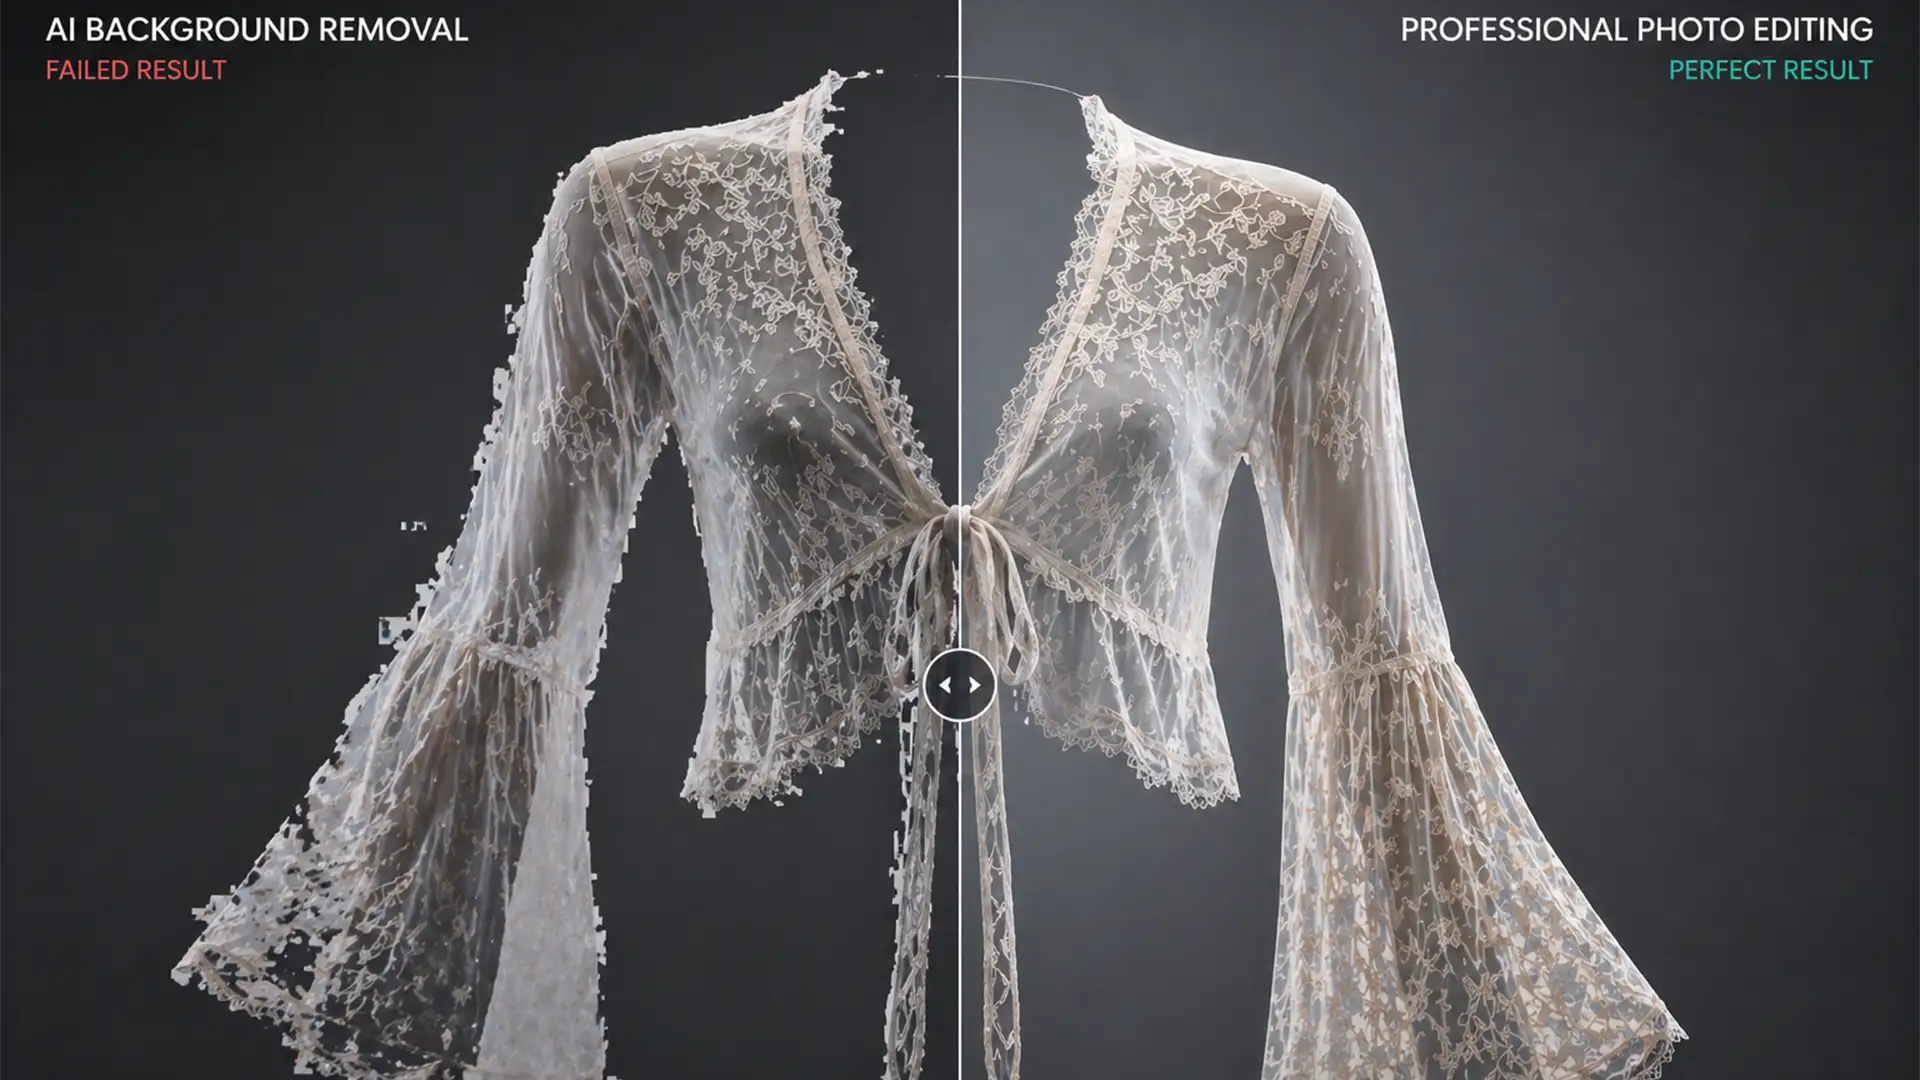
You just ran a batch of delicate lace lingerie through an automated AI background remover, expecting flawless ghost mannequin shots. Instead, you are staring at a disaster. The intricate lace edges look jagged, and the delicate, semi-transparent sheer fabric has been completely blocked out into a harsh, unnatural mess.
Why does this happen? While AI background removal is excellent for solid cotton t-shirts, its edge detection algorithms fail miserably at interpreting the 10-40% opacity range of sheer fabrics. If you are selling high-end apparel, those lost micro-textures cost you sales and damage your brand’s perceived value.
Here is the technical reality of why AI fails on sheer materials—and the manual Photoshop techniques professional editors use to deliver a flawless ghost mannequin service for sheer lace garments.
The AI Problem: Why Automated Tools Ruin Sheer Fabrics
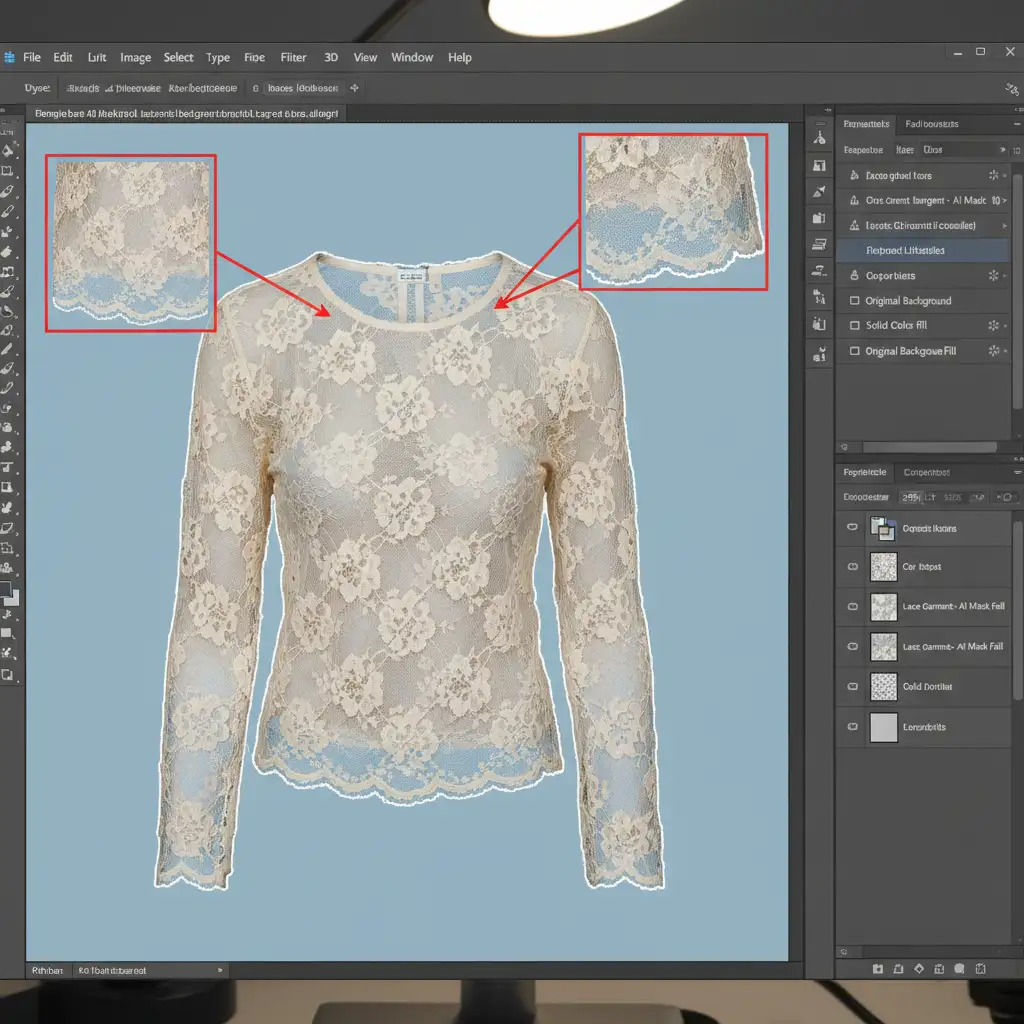
In current Photoshop versions (v24.x and v25.x), automated AI tools like “Select Subject” or third-party background removal scripts rely heavily on high-contrast edge detection.
When these algorithms encounter sheer fabrics and intricate lace, they struggle to calculate the Alpha Channel correctly. Instead of recognizing the nuanced 10-40% opacity range that makes sheer fabric look realistic, the AI assigns a binary 0 (completely transparent) or 100 (completely opaque) to the pixels. This results in the destruction of semi-transparent pixels, jagged edges, and a total loss of micro-textures.
How to Edit Sheer Lace Garments in Photoshop (The Human Way)
To achieve a realistic neck joint composite where the inside of the garment is visible through the sheer back panel, human editors must intervene. Here are the three primary methods professionals use to preserve transparency.
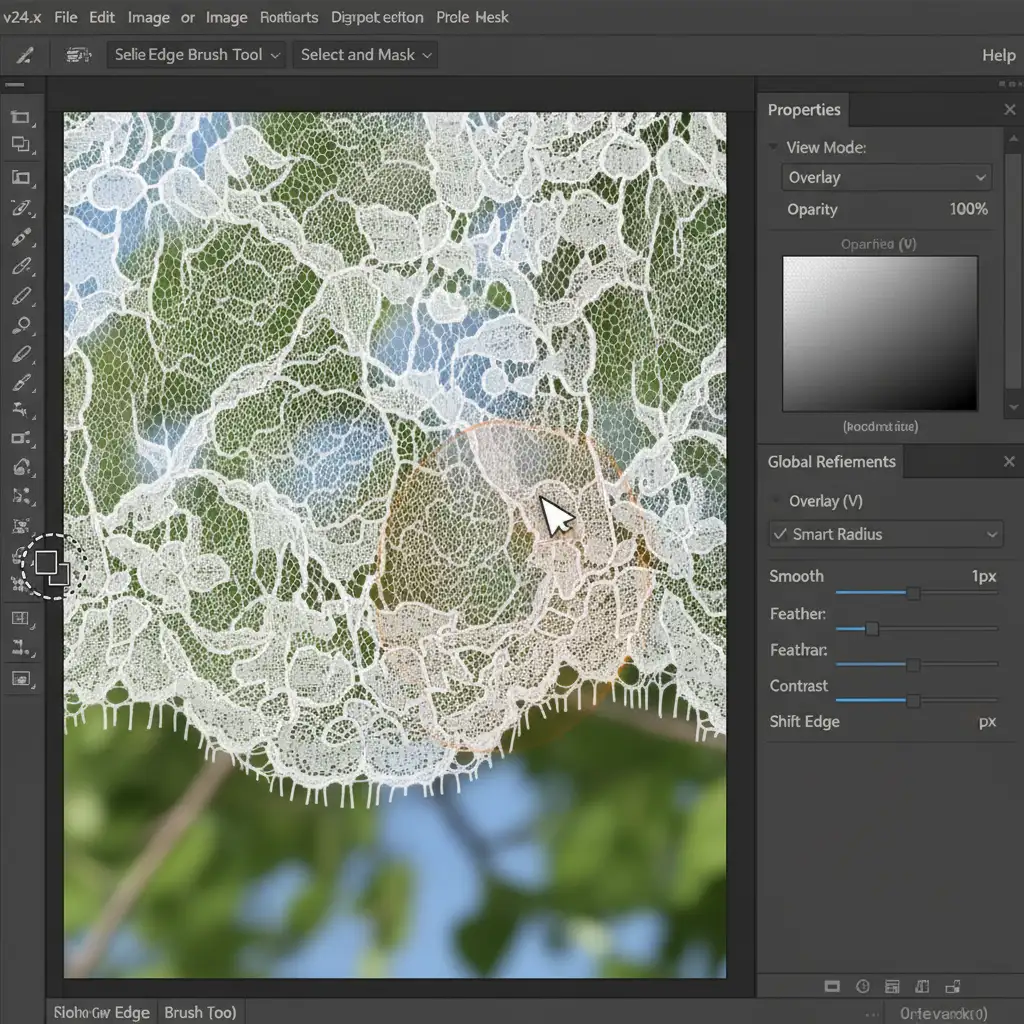
Method 1: The Quick Fix (Select and Mask)
If you need to quickly restore some edge detail on a lightly textured lace garment, the Select and Mask workspace is your first line of defense.
- Use the Object Selection Tool to isolate the main solid body of the garment.
- Enter the Select and Mask workspace.
- Select the Refine Edge Brush Tool.
- In the properties panel, ensure Smart Radius is checked and set to a 1px radius.
- Carefully brush along the lace borders to force Photoshop to recalculate and restore some of the semi-transparent details.
Method 2: The Pro Workaround (Channel Masking)
For complex sheer fabrics where the Quick Fix falls short, professional retouchers rely on advanced Channel Masking. This technique isolates transparency based on color data rather than edge contrast.
- Navigate to the Channels panel in Photoshop.
- Review the Red, Green, and Blue channels to find the one with the highest contrast (this is usually the Blue channel for most studio-lit garments).
- Duplicate this high-contrast channel.
- Apply Levels (Ctrl+L / Cmd+L) to this duplicated channel. Push the darks darker and the whites whiter, being incredibly careful not to lose the mid-tone transparency of the lace.
- Load this adjusted channel as a selection and apply it as a Layer Mask to your garment layer.

Method 3: The Technical Deep-Dive (Multi-Pass Compositing)
To achieve the ultimate pixel-perfect ghost mannequin service for sheer lace garments, you must combine vector precision with raster transparency. This is the multi-pass compositing method.
Step 1: Structural Vector Paths
First, draw a strict Clipping Path using the Pen Tool around the solid structural seams of the garment. This ensures that areas requiring hard edges (like solid straps, underwires, or opaque hems) remain razor-sharp.
Step 2: Localized Opacity Balancing
For the sheer sections, load the Channel Mask created in Method 2. Apply this to a group containing your sheer fabric layers.
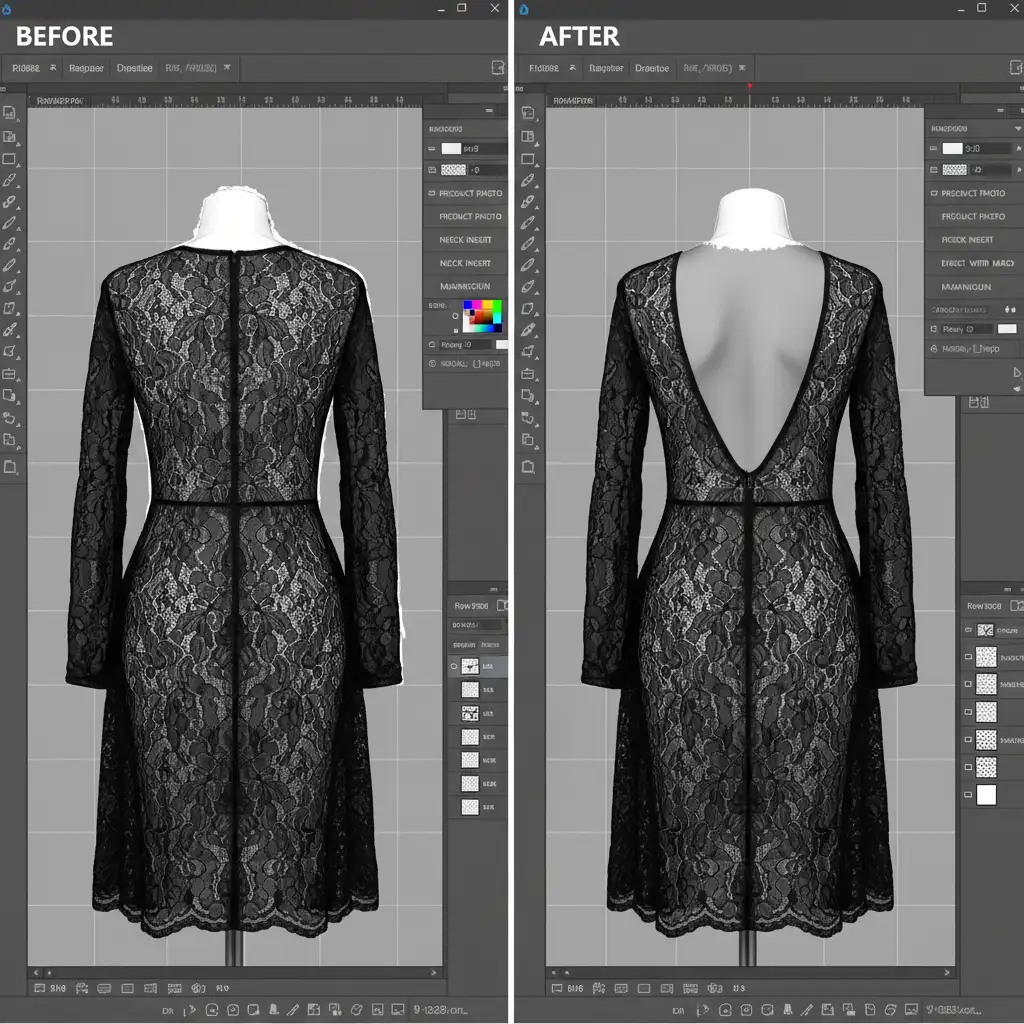
Step 3: The Neck Joint Integration
Place your interior neck joint layer behind the sheer fabric layer. To make the composite look entirely natural, use manual, localized Dodge and Burn adjustments directly on the layer mask of the sheer fabric. This allows you to carefully balance the opacity so the inner neck joint (the “ghost” part of the mannequin) is visible through the sheer back panel exactly as it would be under physical studio lighting.
Stop Letting AI Ruin Your High-End Apparel Imagery
Automated tools and one-click AI scripts simply do not have the technical capability to handle the complex Alpha Channel calculations required for delicate textiles. When you rely on AI for intricate apparel, you sacrifice the micro-textures and transparency that make your garments look premium.
Don’t let automated AI ruin your high-end apparel imagery. If you want to showcase your products with absolute perfection, you need the human touch.
Hire Image Work India or Cloud Retouch for meticulous, pixel-perfect ghost mannequin editing. Our team of expert retouchers specializes in advanced channel masking, precise clipping paths, and complex multi-pass compositing. We guarantee a premium ghost mannequin service for sheer lace garments that preserves every single thread, texture, and semi-transparent pixel of your inventory. Contact us today to elevate your e-commerce imagery.


