E-commerce retouchers know the sinking feeling: you run Adobe Photoshop v25.x’s Select Subject or Generative Fill on a sheer lace dress, and the result is a disaster. The automated AI tools either delete the delicate micro-threads completely or leave behind the gray, plastic color of the physical mannequin bleeding through the mesh.
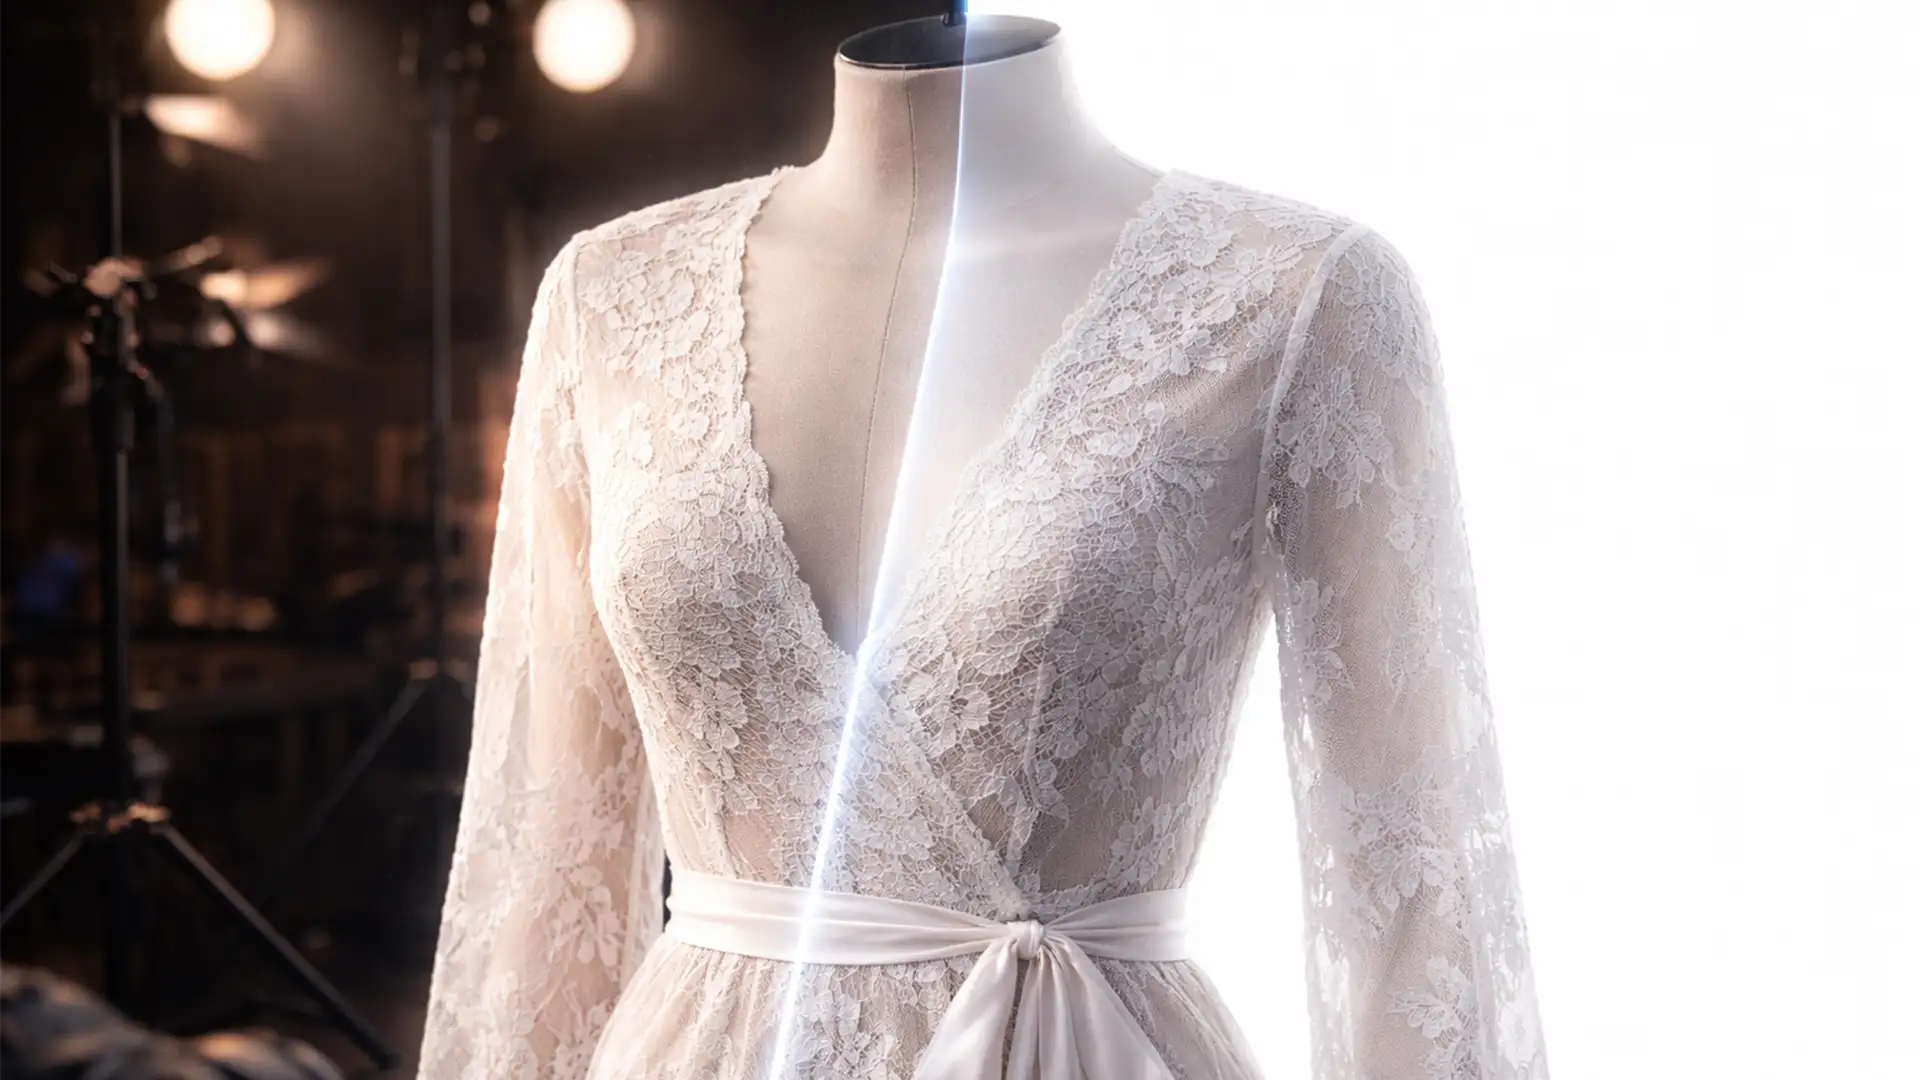
Creating a flawless ghost mannequin for sheer and lace apparel requires bypassing AI tools entirely. To retain true semi-transparency and fabric integrity, editors must rely on mathematical luminosity and channel-based selections. If you are tired of your sheer garments looking solid, invisible, or muddy, this masterclass will walk you through the professional techniques required to save your delicate apparel shots.
Why Automated Tools Fail on Transparent Fabrics
Modern automated removal tools rely on edge detection and contrast to separate subjects from backgrounds. Sheer fabrics, lace, and mesh lack solid edges. When the camera captures a sheer garment on a mannequin, the fabric’s pixels physically blend with the mannequin’s surface color. Attempting to use a basic Refine Edge tool or magic wand usually destroys the semi-transparent texture.
To achieve a photorealistic invisible mannequin effect, you must meticulously separate the fabric’s highlights and shadows from the background object.
The Professional Workflow: From Quick Fixes to Advanced Masking
Depending on the complexity of the sheer fabric and the time constraints of your project, there are three distinct ways to handle sheer garments. All of these methods prioritize non-destructive editing so you can adjust your masks later.
Method A: The Quick Fix (Basic Opacity)
If you are dealing with a garment that only has a slightly sheer back panel (like a thin cotton t-shirt), you can simulate basic transparency without complex math.
- Draw a precise Clipping Path around the exterior of the main garment.
- Use the Object Selection Tool to isolate the front sheer layer.
- Place your back neck “plate” (the inside back of the garment) on a layer beneath the front shot.
- Slightly lower the Opacity of the front lace layer to reveal the back neck plate underneath.
Note: This method is fast but falls short for complex mesh or heavy lace, as it uniformly washes out the front texture.
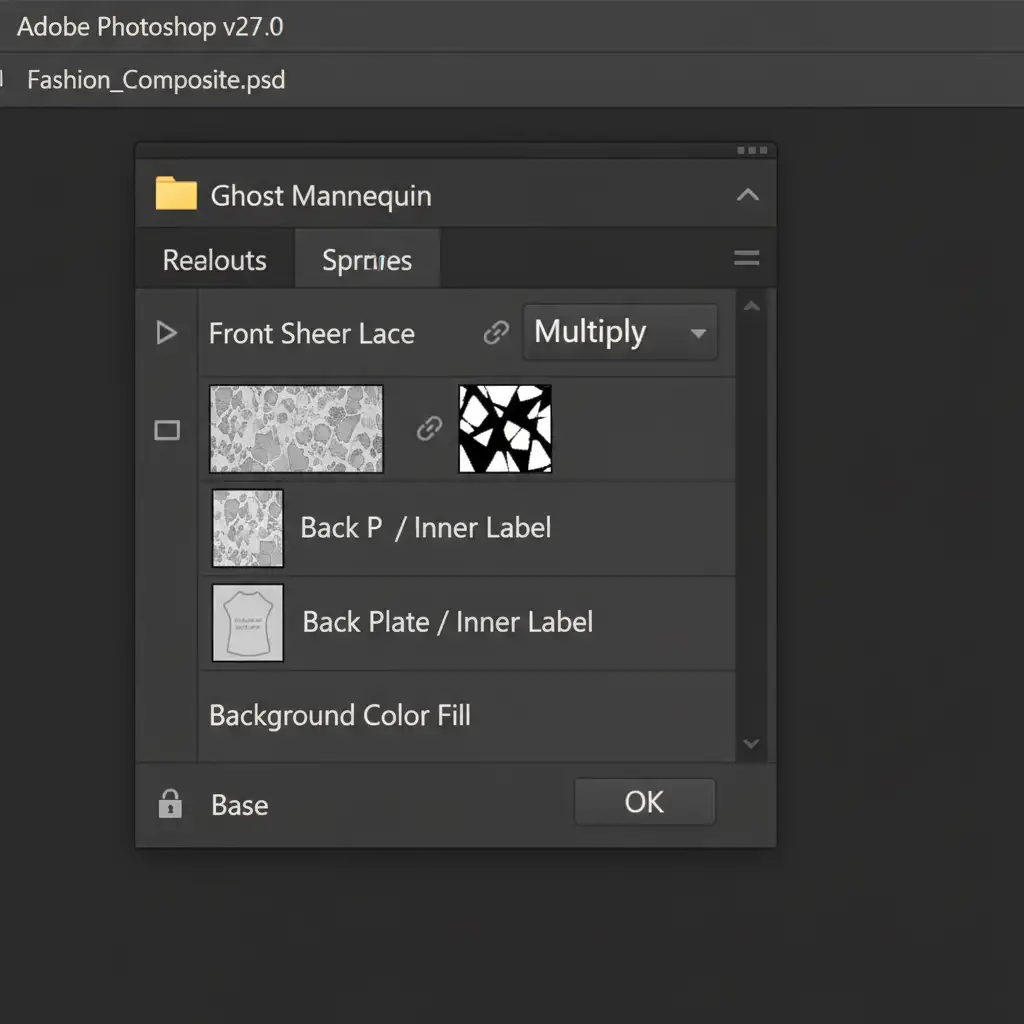
Method B: The Pro Workaround (Plate Layering & Blend Modes)
For true sheer fabrics where you need the front texture to interact realistically with the back label, Plate Layering combined with blend modes is the industry standard.
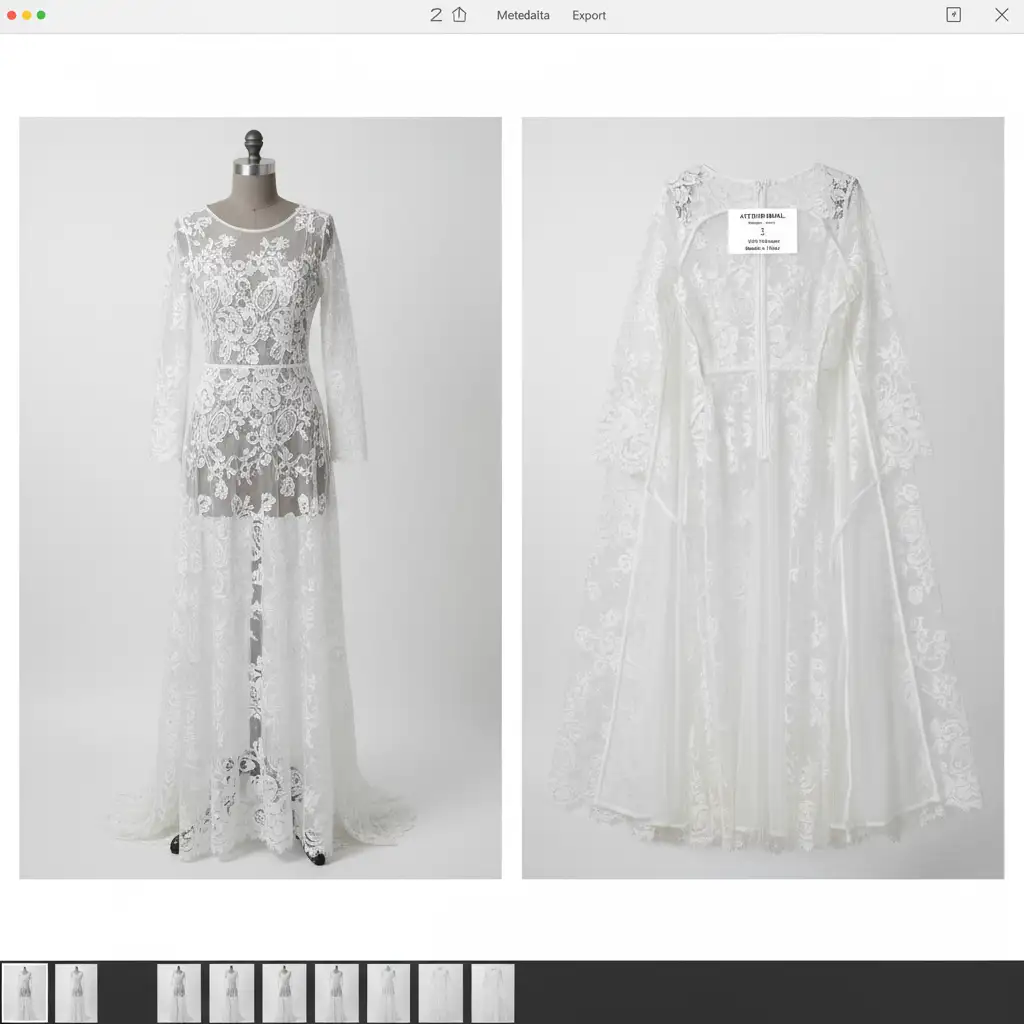
- Shoot a front shot on the mannequin, and a separate inside/back shot off the mannequin (or styled specifically to show the inner collar).
- Align and overlay the inside shot beneath the front layer in your Photoshop document.
- Select the sheer sections of the front layer and change their layer setting to the Multiply blend mode.
- This allows the dark details of the front lace to blend seamlessly with the inside label and back fabric, creating a realistic depth of field.
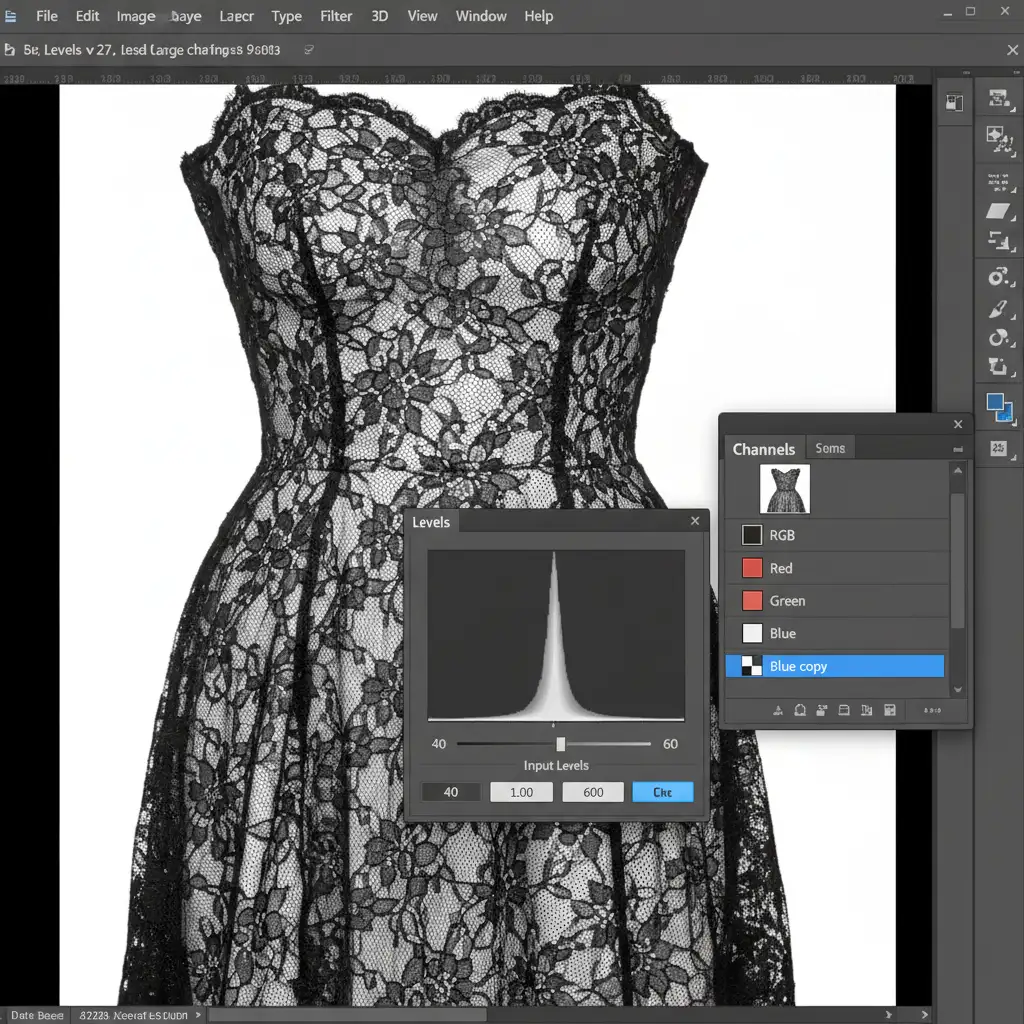
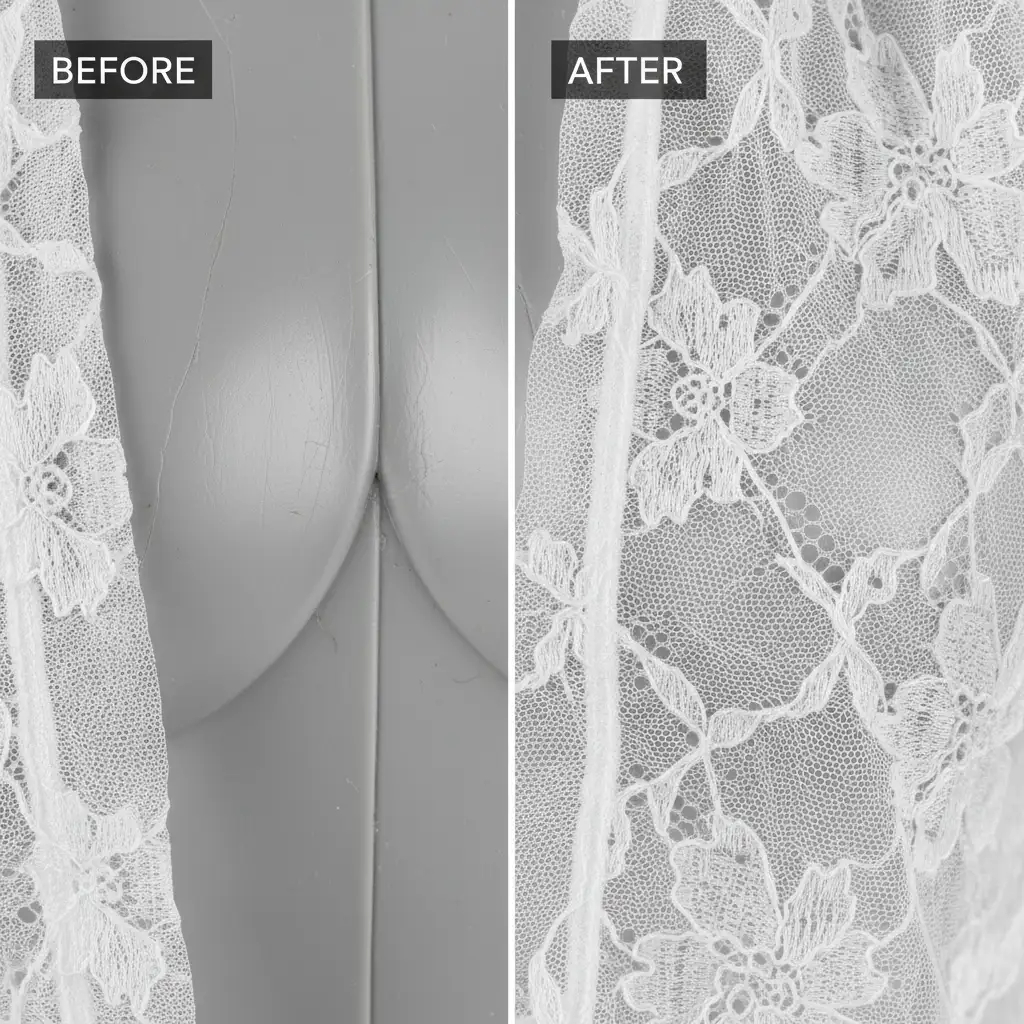
Method C: The Technical Deep-Dive (Advanced Channel Masking)
When dealing with intricate lace where you must completely remove the physical mannequin while keeping every single thread intact, you must use Channel Masking. This isolates the micro-threads from the physical mannequin mathematically.
- Navigate to the Channels panel in Photoshop.
- Review the Red, Green, and Blue channels. Duplicate the channel with the highest contrast between the lace and the mannequin (often the Blue or Red channel).
- With the duplicated channel selected, open the Levels adjustment (Ctrl/Cmd + L).
- Push the shadows and highlights to force a pure black-and-white mask. You are creating a Luminosity Mask where the white threads become 100% white, and the mannequin becomes 100% black.
- Ctrl/Cmd + Click the duplicated channel to load it as a selection.
- Return to your Layers panel and apply this selection as an Alpha Channel mask to your front garment layer.
This technique effectively drops out the mannequin while keeping the sheer fabric mathematically intact, preserving the exact transparency captured in the camera.
Perfecting the Details
Once your ghost mannequin for sheer and lace apparel is assembled, you may notice minor color casts or dust caught in the mesh. While Frequency Separation is typically used for skin retouching, it can be brilliantly applied here to smooth out color inconsistencies in the back plate without destroying the lace texture resting on top of it. Always keep your masks soft where the front and back plates meet to avoid harsh, unrealistic transitions.
Stop Struggling with Sheer Fabrics
Executing the perfect ghost mannequin for sheer and lace apparel takes immense patience, an eye for detail, and a deep understanding of Photoshop’s mathematical masking capabilities. When you are processing hundreds of SKUs for a seasonal e-commerce launch, spending 30 minutes extracting a single lace dress simply isn’t scalable.
Struggling with high-volume sheer apparel editing? Let the experts at Image Work India and Cloud Retouch handle your complex ghost mannequin needs. Our dedicated teams specialize in advanced channel masking, precise clipping paths, and flawless plate layering to ensure your delicate garments retain their luxurious, semi-transparent appeal. Focus on growing your brand, and let us deliver pixel-perfect accuracy at scale.


