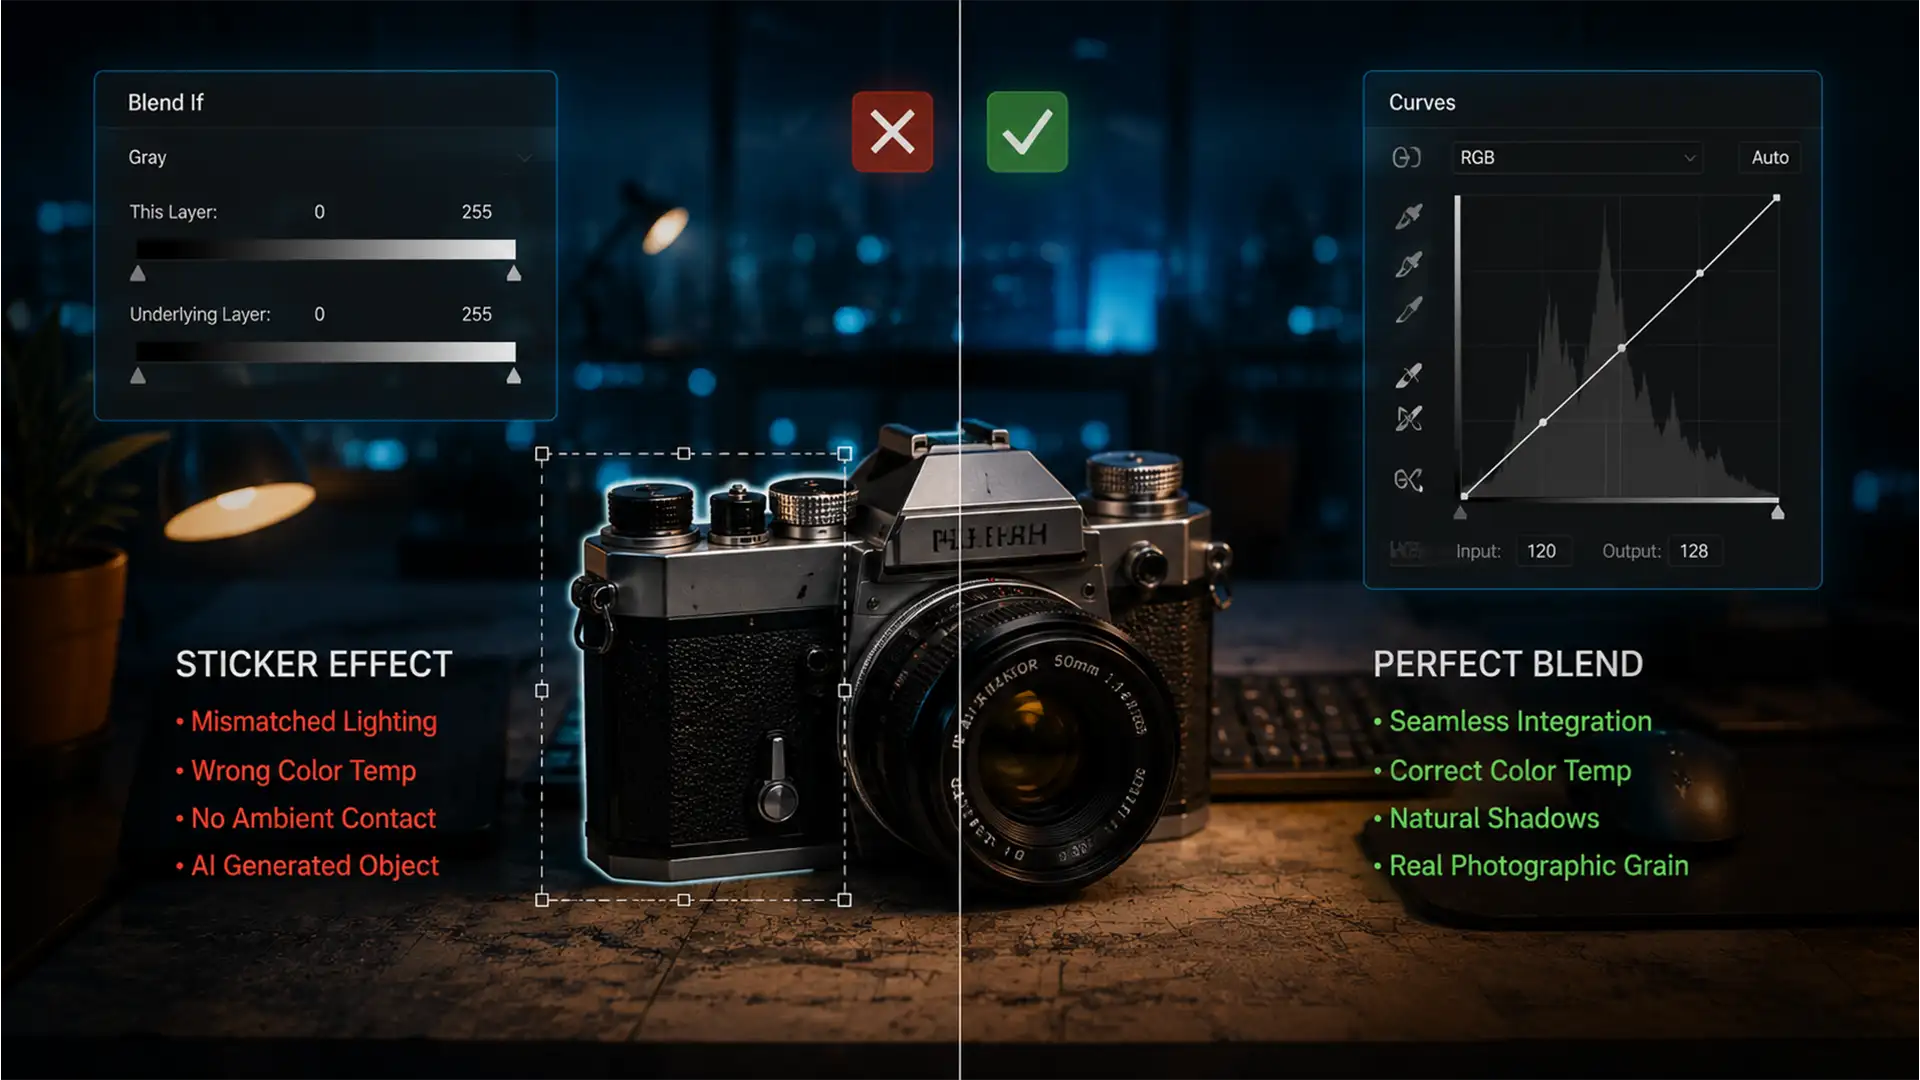
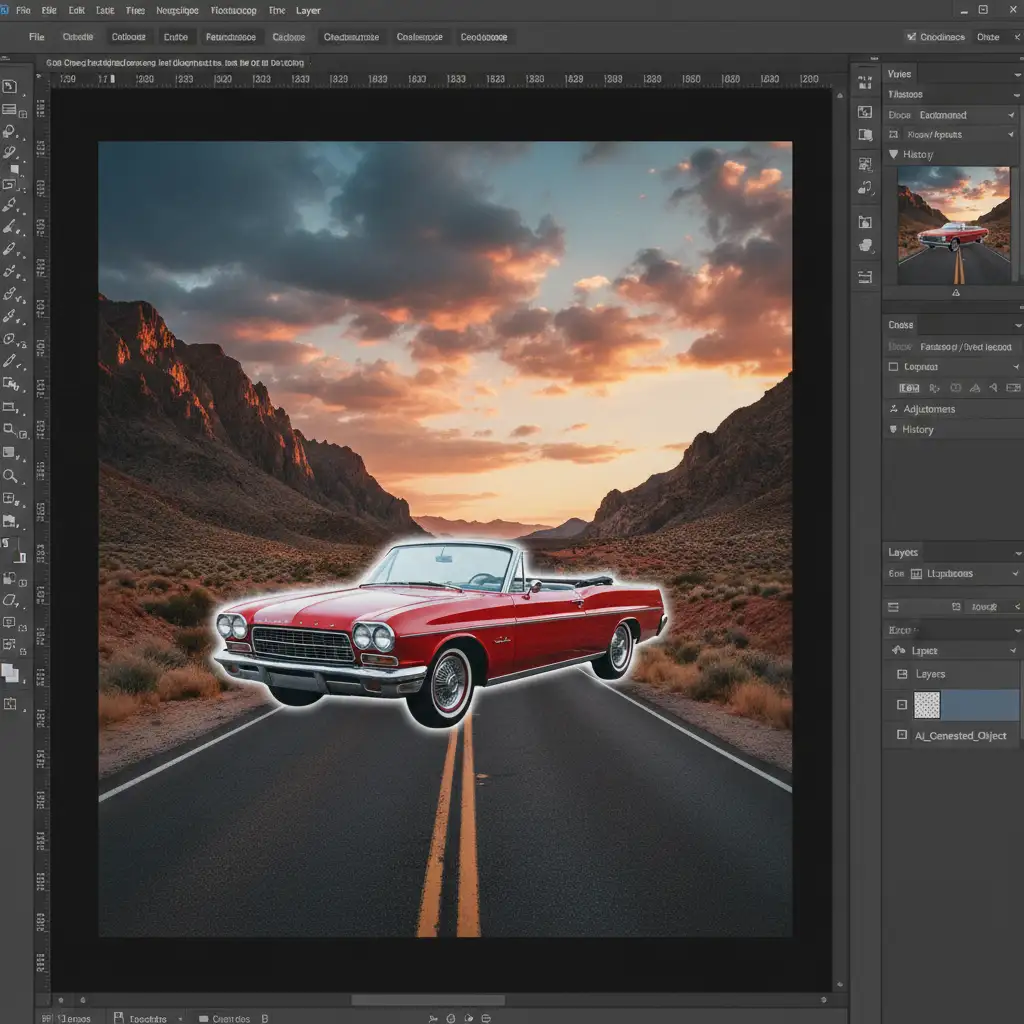
You’ve just used Generative Fill in Photoshop v25.0 to add the perfect element to your composite. The shape is flawless, but there’s a glaring problem: it looks like a cheap sticker. The AI-generated pixels completely fail to interpret your scene’s complex local ambient lighting, specular highlights, and color temperature gradients. It lacks the dynamic range, shadow depth, and sensor noise of your original photograph, making the edit instantly obvious to anyone looking. If you are struggling to match color generative fill lighting gaps, you aren’t alone. Here is the definitive guide to harmonizing AI edits with professional precision.
Why the Generative Fill “Sticker Effect” Happens
When Adobe Firefly renders new pixels via Generative Fill, it primarily focuses on structural context rather than nuanced environmental lighting. While the AI understands what an object should look like, it routinely misses the subtle luminance shifts, color casts, and photographic grain inherent to your specific camera sensor and lighting setup.
This creates a visual disconnect. To achieve a non-destructive editing workflow that results in a flawless composite, you must manually bridge the gap between the pristine, mathematically smooth AI generation and the organic reality of your source photograph.
3 Workflows to Match Color Generative Fill Lighting Gaps
Depending on the complexity of your composite, solving lighting and color discrepancies requires different approaches. Here are three proven methods, ranging from a quick fix to a commercial-grade technical deep dive.
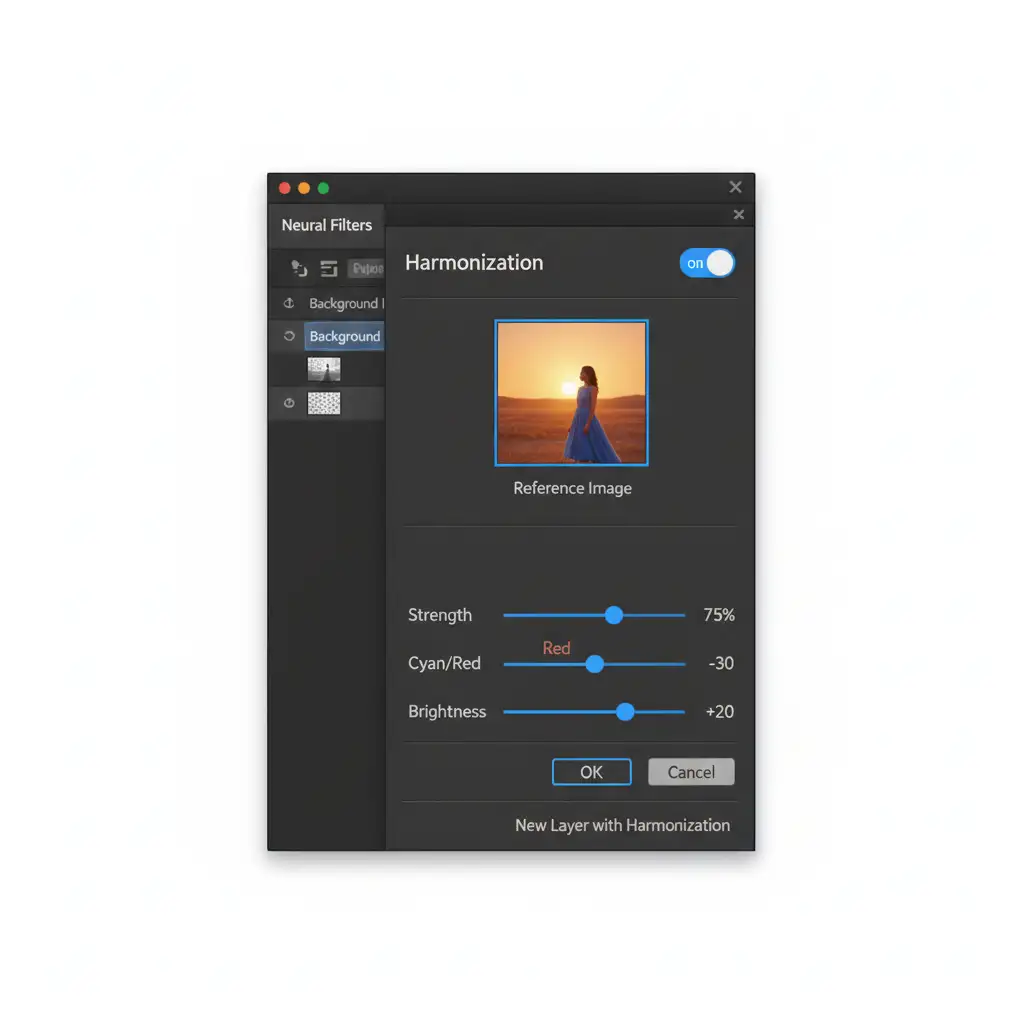
Method 1: The Quick Fix Using the Harmonization Neural Filter
If you need a rapid adjustment for a mock-up or low-resolution web image, Adobe’s built-in neural filters can do the heavy lifting.
- Select your Generative Fill layer in the Layers panel.
- Navigate to Filter > Neural Filters.
- Toggle on the Harmonization filter.
- In the settings panel, select your background layer as the reference image.
- Adjust the Strength, Cyan/Red, and Brightness sliders to quickly match the ambient color and luminance of the surrounding environment.
Method 2: The Pro Workaround with Clipped Adjustment Layers & Blend If
For professional retouching, relying solely on automated filters isn’t enough. You need granular control over your black and white points. This method ensures your ambient lighting perfectly aligns without destroying the underlying AI generation.
Step A: Targeted Color Grading via Clipping Masks
- Create a Curves Adjustment Layer directly above your Generative Fill layer.
- Create a Clipping Mask by holding Alt (Windows) or Option (Mac) and clicking the line between the two layers. This ensures your color grading only affects the AI-generated pixels.
- Select the individual Red, Green, and Blue channels in the Curves properties to meticulously match the black and white points of the background.
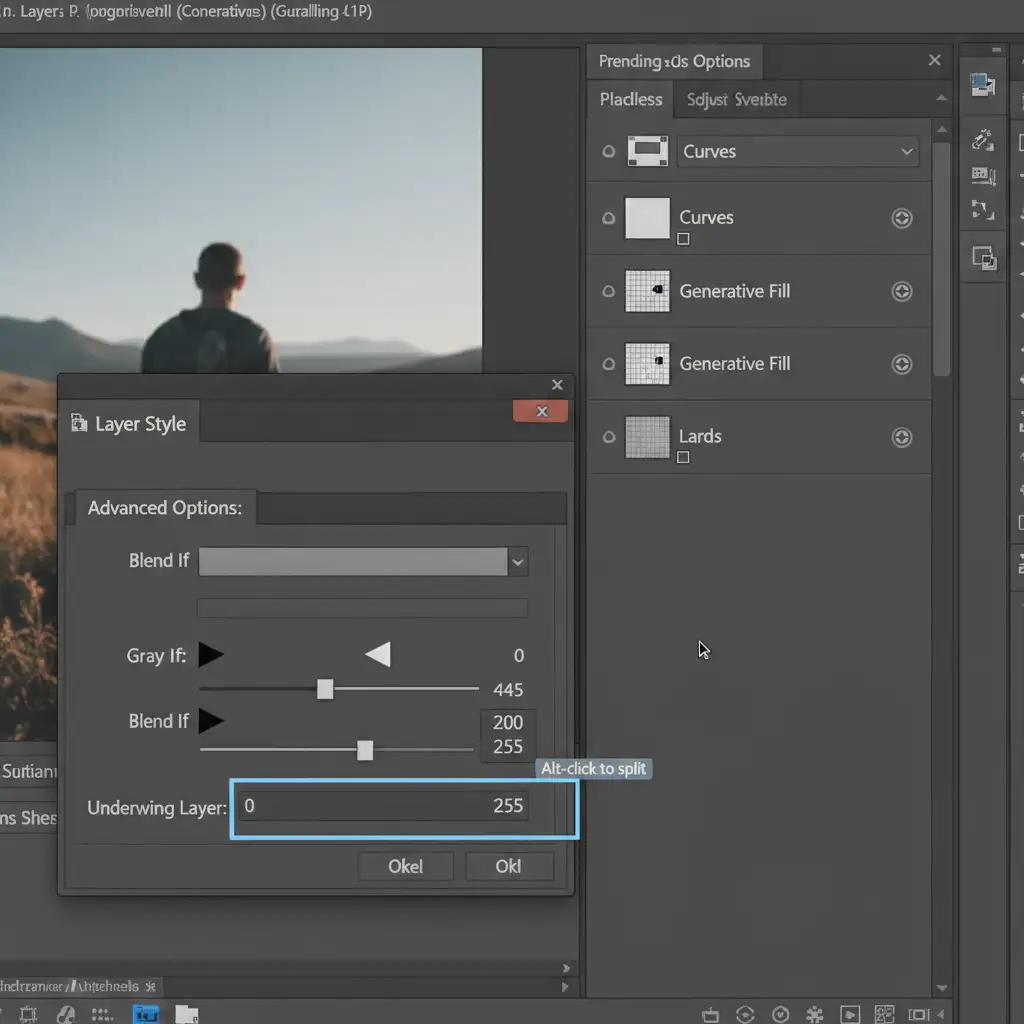
Step B: Integrating Shadows with Blend If
Often, Generative Fill will paint over existing environmental shadows. You can force the original shadows to bleed through the AI generation.
- Double-click the Generative Fill layer to open the Layer Style dialog box.
- Locate the Blend If section at the bottom.
- On the Underlying Layer gradient, hold Alt/Option and click the black slider to split it.
- Drag the right half of the split slider inward. This smoothly reveals the dark, ambient shadows from your original background through the generated pixels.
Method 3: The Technical Deep-Dive for Global Lighting & Noise Matching
Even with perfect color and luminance matching, an AI edit will look fake if the texture is wrong. AI-generated pixels are often perfectly smooth, lacking the photographic grain or sensor noise of the original image.
Unifying Texture with Camera Raw
- Once your color adjustments are complete, select all relevant layers (Background, Generative Fill, and Adjustment Layers).
- Right-click and choose Convert to Smart Object.
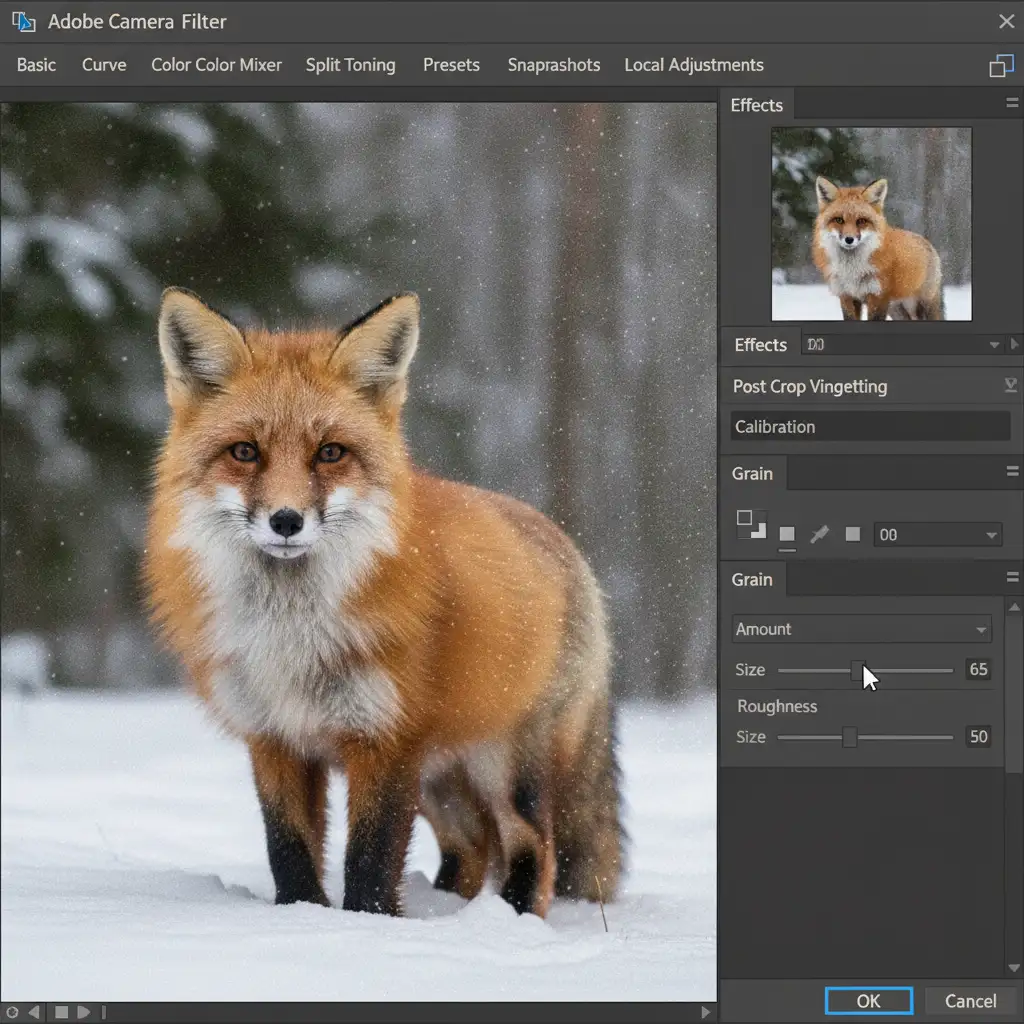
- Navigate to Filter > Camera Raw Filter.
- Open the Effects panel and add a unified Grain. Match the size and roughness to the natural noise profile of your camera sensor.
Final Global Color Cohesion
To truly cement the composite, apply a global color wash over the entire Smart Object.
- Add a Color Lookup (LUT) or a Gradient Map adjustment layer at the very top of your layer stack.
- Set the blending mode to Soft Light.
- Drop the opacity to roughly 10% to 15%. This forces a cohesive color palette across both the original photograph and the AI-generated pixels, completely eliminating the sticker effect.
Stop Fighting the AI: Let the Professionals Handle It
Learning to match color generative fill lighting gaps requires a deep understanding of luminance, color theory, and advanced Photoshop mechanics. While the steps above will vastly improve your composites, executing them flawlessly on tight deadlines for high-end commercial projects can be incredibly frustrating and time-consuming.
Struggling to make AI edits look natural in your commercial campaigns? Stop wasting hours tweaking sliders. Hire the expert retouchers at Image Work India and Cloud Retouch. Our professional team specializes in pixel-perfect, non-destructive editing, ensuring your composites are flawless, photorealistic, and ready for global publication. Contact us today to elevate your visual content.


