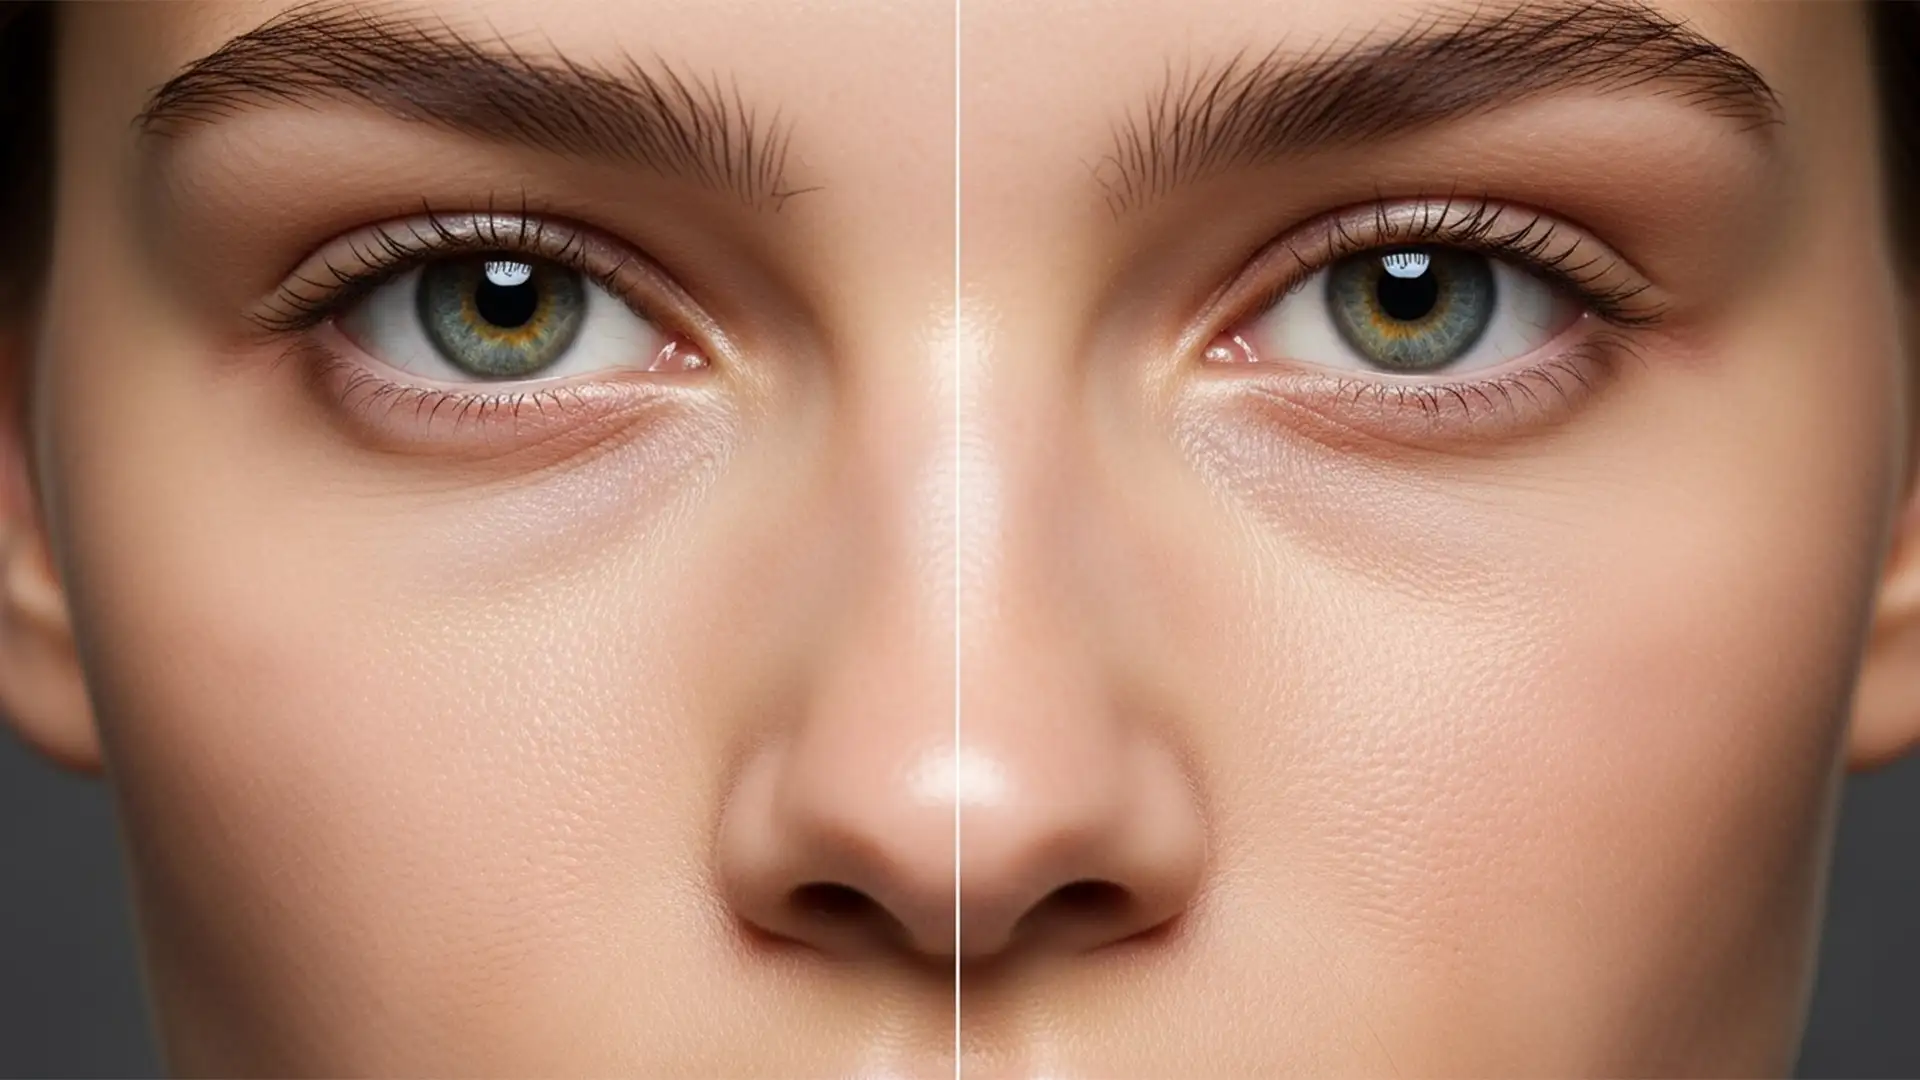
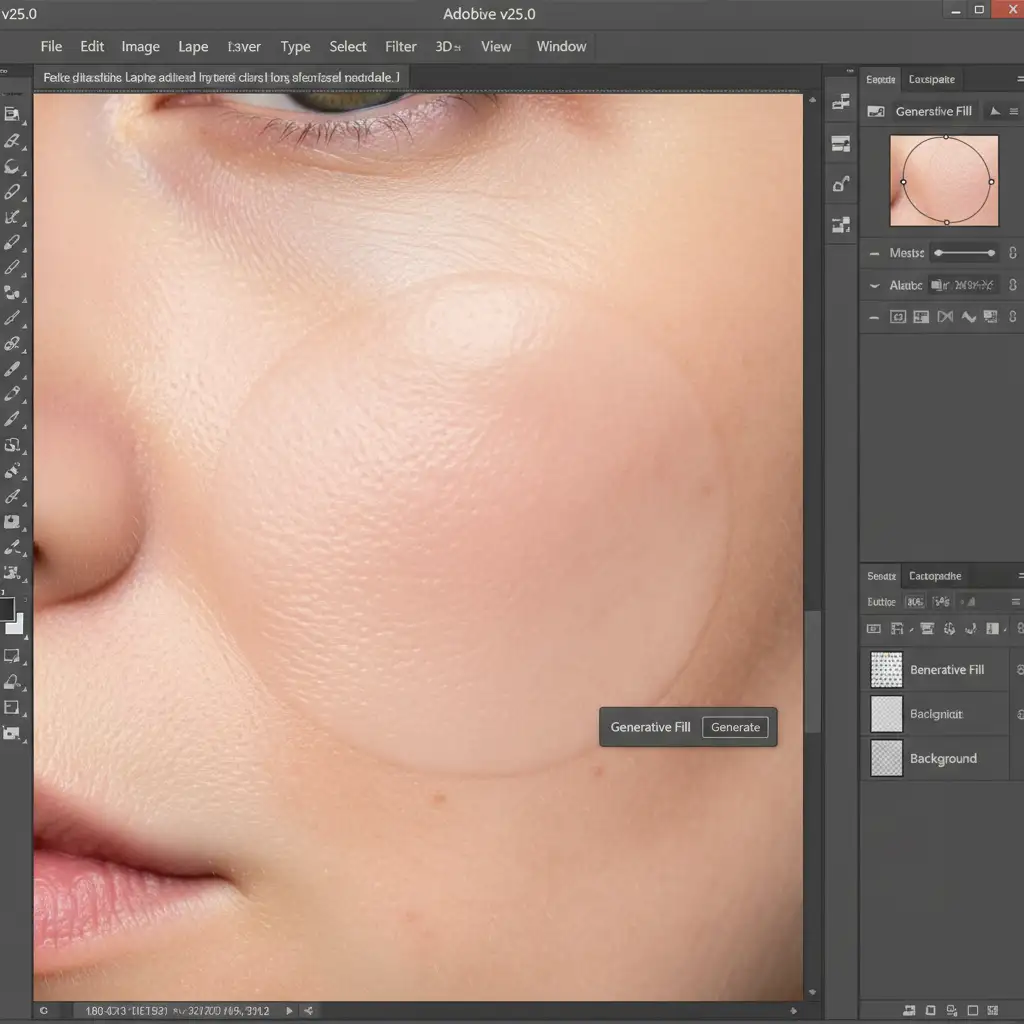
If you are using Adobe Photoshop v25.0 or later, you already know the frustration. You use Firefly AI to remove blurry skin a stray hair, delete a blemish, or expand a portrait canvas, and the result is disastrously smooth. The AI replaces the targeted area with a flattened pixel map, completely destroying natural skin pores and micro-contrast. This leaves your subject with a plastic, “AI-generated” patch that ruins an otherwise perfect shot.
If you want to maintain professional standards, you must learn how to restore skin texture after generative fill. In this technical guide, we will break down three proven, non-destructive editing workflows to bring back authentic skin grain and seamlessly blend AI-generated pixels with high-resolution camera sensor data.
The Problem: Why Firefly AI Destroys Skin Grain
Generative Fill is a revolutionary tool for structural edits, but it fundamentally misunderstands high-frequency detail. When Firefly AI generates new pixels, it focuses on matching the underlying color and luminosity (the low-frequency data). However, it fails to replicate the exact ISO noise, pore structure, and micro-contrast native to the original photograph.
The result is a jarring mismatch: sharp, textured skin right next to a blurry, airbrushed patch.
3 Workflows to Restore Skin Texture After Generative Fill
Depending on your deadline and the required level of precision, you can use one of these three methods to fix the plastic skin effect.
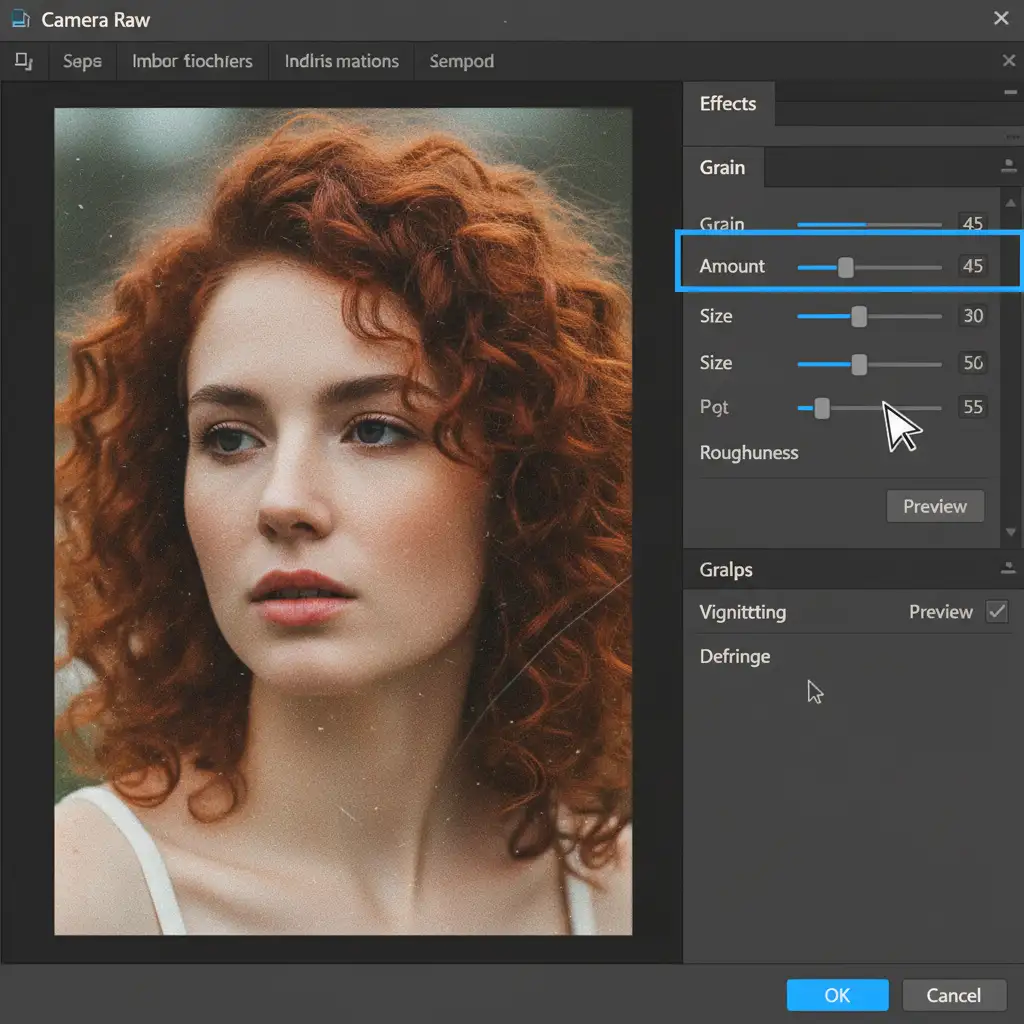
Method 1: The Quick Fix (Camera Raw Grain Matching)
When you need a fast solution for social media or smaller web formats, matching the original photo’s ISO noise is the most efficient route.
- Create a Stamp Layer: Press Ctrl + Shift + Alt + E (Windows) or Cmd + Shift + Option + E (Mac) to create a merged stamp layer at the top of your stack.
- Convert to Smart Object: Right-click the new layer and select Convert to Smart Object. This ensures non-destructive editing.
- Apply Camera Raw Filter: Navigate to Filter > Camera Raw Filter.
- Add Grain: Open the Effects panel. Carefully adjust the Grain Amount, Size, and Roughness sliders until the noise precisely matches the natural skin grain of the untouched areas.
- Mask the Effect: Apply a black layer mask to the Smart Object. Use a soft white brush to paint the grain only over the areas flattened by Generative Fill.
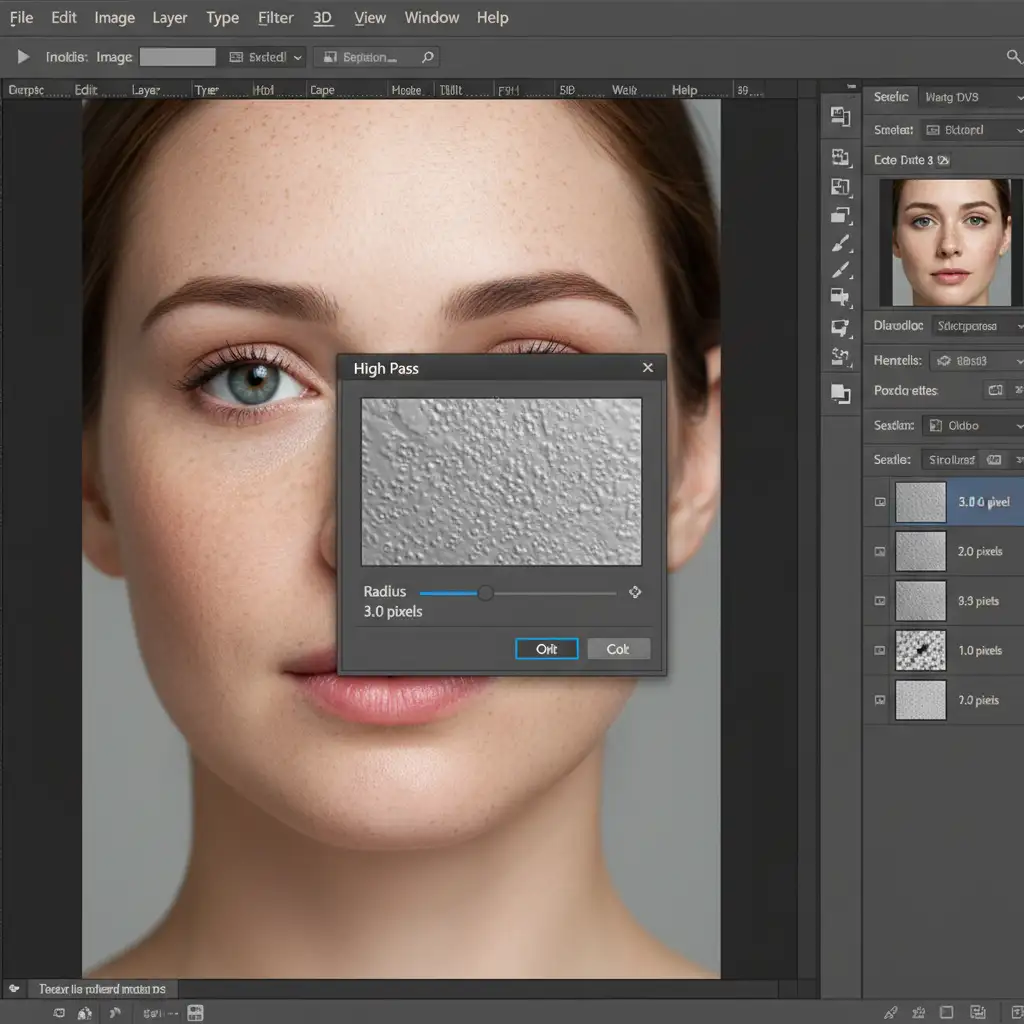
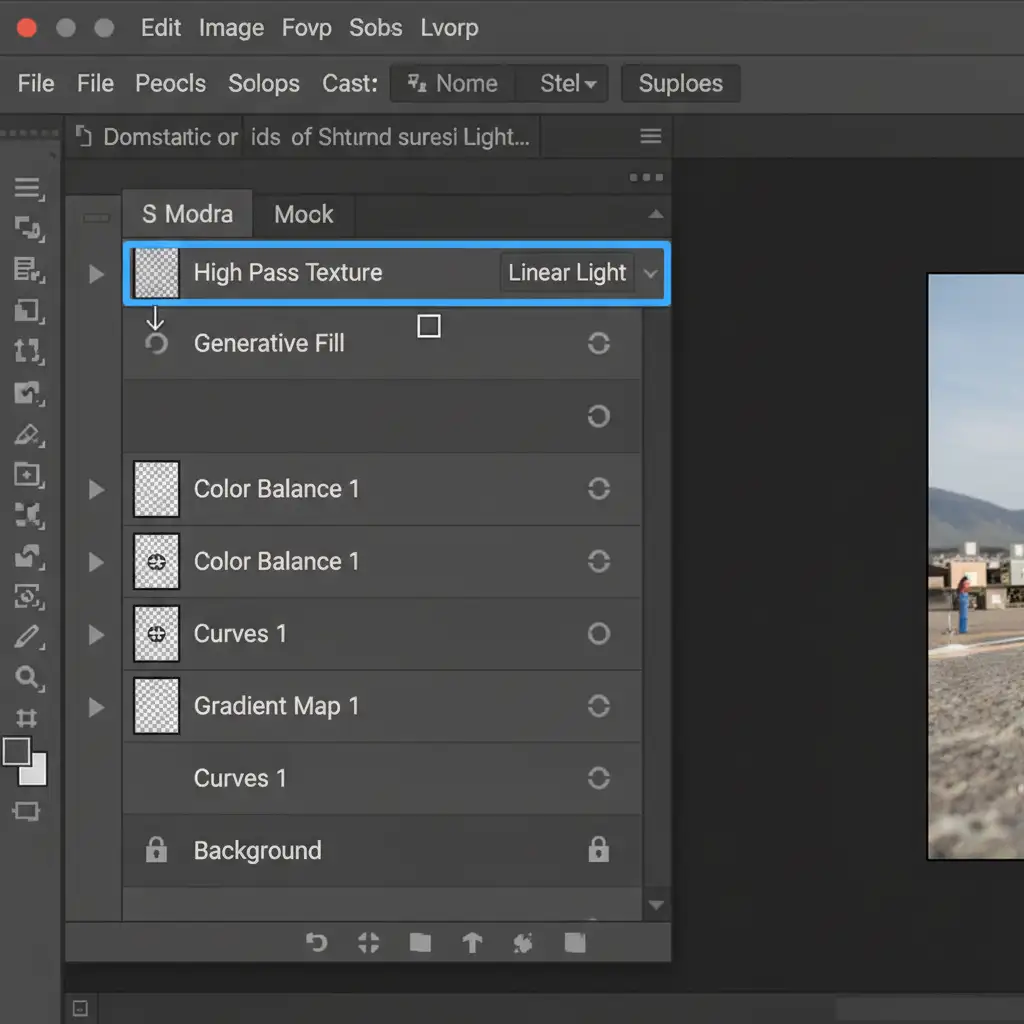
Method 2: The Pro Workaround (High Pass Texture Stealing)
For high-end editorial work, artificial grain isn’t enough. You need actual human pores. This method “steals” texture from a clean part of the face and grafts it onto the AI-generated area using a High Pass Filter and Blending Modes.
- Duplicate Clean Skin: Find a clean, well-lit patch of original skin elsewhere on the subject’s face. Use the Lasso tool to select it, feather the edge, and press Ctrl/Cmd + J to duplicate it to a new layer.
- Position and Desaturate: Drag this copied skin patch over the blurry Generative Fill area. Press Ctrl/Cmd + Shift + U to desaturate it.
- Apply High Pass Filter: Go to Filter > Other > High Pass. Set the radius between 2.0 and 4.0 pixels. You want to see just the grey embossed outline of the skin pores, without any structural shadows.
Change Blending Mode: Change the blending mode of this High Pass layer to Linear Light (or Overlay for a softer effect).
- Create a Clipping Mask: Right-click the High Pass layer and select Create Clipping Mask. This clips the stolen texture directly to the Generative Fill layer below it, ensuring the pores only appear where the AI smoothed the skin.
Method 3: The Technical Deep-Dive (Frequency Separation Integration)
If you are already running a professional Frequency Separation workflow, you can integrate Generative Fill directly into your layer stack to keep the original texture entirely intact.
- Run Frequency Separation: Execute your standard Frequency Separation action, splitting the image into a Low (Color/Tone) layer and a High (Texture) layer.
- Insert Generative Fill: Make your selection and run Generative Fill between the Low and High layers.
- The Result: The Firefly AI will fix the underlying color, lighting, and blemishes on the low-frequency level. Because your original High Frequency layer sits on top of the AI generation, the exact, original pore structure of the camera sensor is preserved perfectly.
Scale Your Retouching with Image Work India and Cloud Retouch
Learning to restore skin texture after generative fill is essential for pixel-perfect results, but executing High Pass texture stealing and Frequency Separation on hundreds of campaign images is incredibly time-consuming.
If you are a commercial photographer, agency, or e-commerce brand struggling to maintain flawless yet natural skin texture at scale, let the expert retouchers at Image Work India and Cloud Retouch handle your high-end portrait editing. Our teams specialize in advanced, non-destructive retouching workflows that leverage the speed of AI while preserving the authentic micro-contrast and high-frequency details your clients demand.
Stop settling for plastic skin. Contact Image Work India and Cloud Retouch today for professional, high-volume photo editing services.


