In high-resolution macro jewelry photography, there is nowhere to hide. Even the most exquisite, high-end pieces can suffer from minor manufacturing defects like asymmetrical prongs or uneven gemstone seating. When viewed through a macro lens, a slightly bent prong doesn’t just look sloppy—it lowers the perceived value of the product and immediately distracts potential buyers.
If you are editing in Adobe Photoshop v24.x or v25.x, you already know the ultimate technical pain point: correcting asymmetrical jewelry prongs in Photoshop without warping the surrounding diamond facets or destroying the crisp specular highlights that give the metal its realistic sheen.
Whether you are a freelance editor or managing high-volume jewelry catalogs, here is your definitive guide to flawlessly reshaping and rebuilding prong settings.
The Challenge of Retouching Prong Settings
When manipulating a prong setting, the margin for error is essentially zero. Prongs sit directly against highly reflective gemstones. If you use basic transform tools carelessly, you risk dragging the gemstone’s facets along with the metal, resulting in a melted, unnatural look. Furthermore, metal relies entirely on light and shadow—specifically its specular highlights—to look real. Stretching the metal too far distorts these highlights, making the gold or platinum look like plastic.
To achieve pixel-perfect symmetry, we must utilize advanced Photoshop reshaping techniques. Here are three professional methods, ranging from quick adjustments to full technical reconstructions.
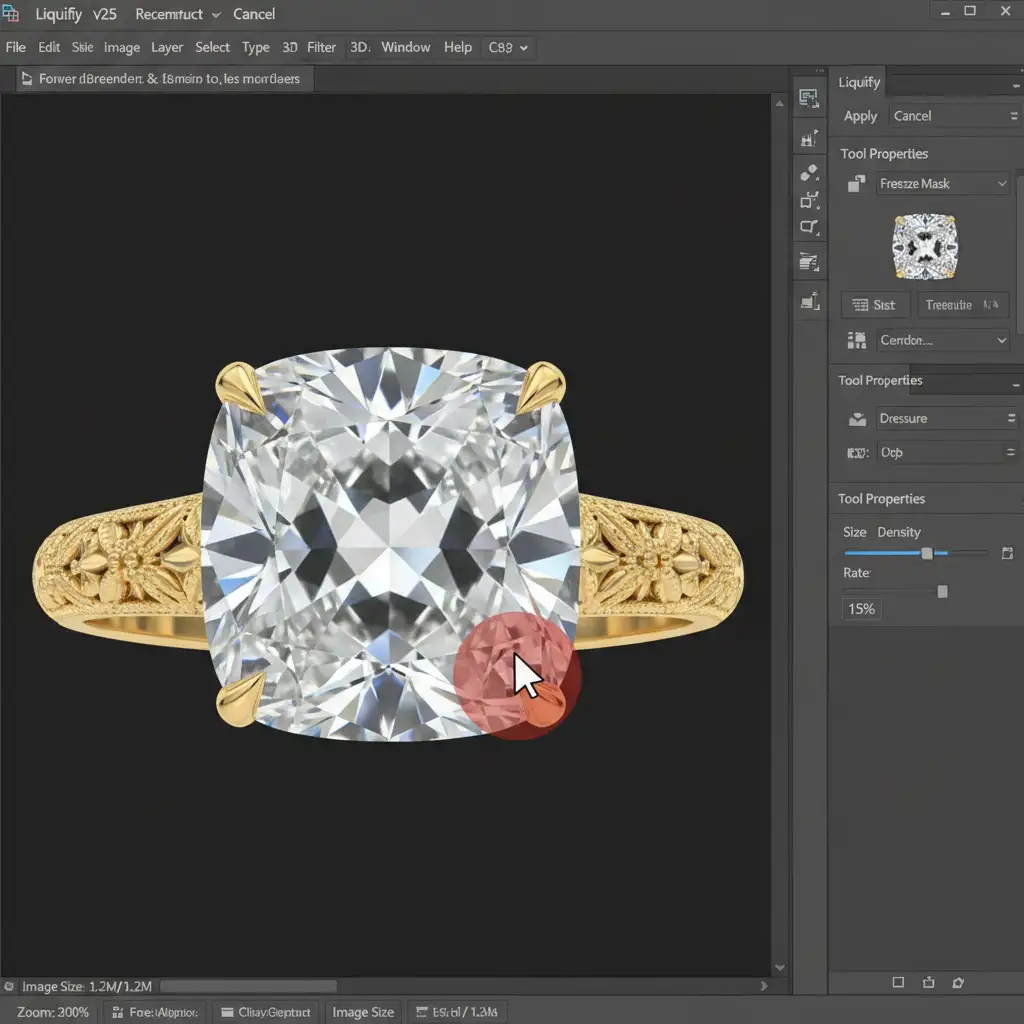
Method 1: The Quick Fix Using the Liquify Tool
For minor misalignments where a prong just needs a gentle nudge, the Liquify Tool is your most efficient option. The key here is protecting the surrounding pixels.
Step-by-Step Liquify Workflow:
- Create a Stamp Visible Layer: Press Ctrl+Alt+Shift+E (Windows) or Cmd+Opt+Shift+E (Mac) to merge your work into a new layer.
- Convert to Smart Objects: Right-click the layer and select “Convert to Smart Object.” This ensures your Liquify adjustments remain non-destructive.
- Open Liquify: Go to Filter > Liquify.
- Freeze Edges: Use the Freeze Mask Tool (F) to paint over the gemstone facets adjacent to the prong. This locks the stone in place so it won’t warp.
- Nudge with Forward Warp: Select the Forward Warp tool (W). Use a small brush size just slightly larger than the prong itself. Keep the pressure low (around 15-20%) to gently push the prong into symmetry.
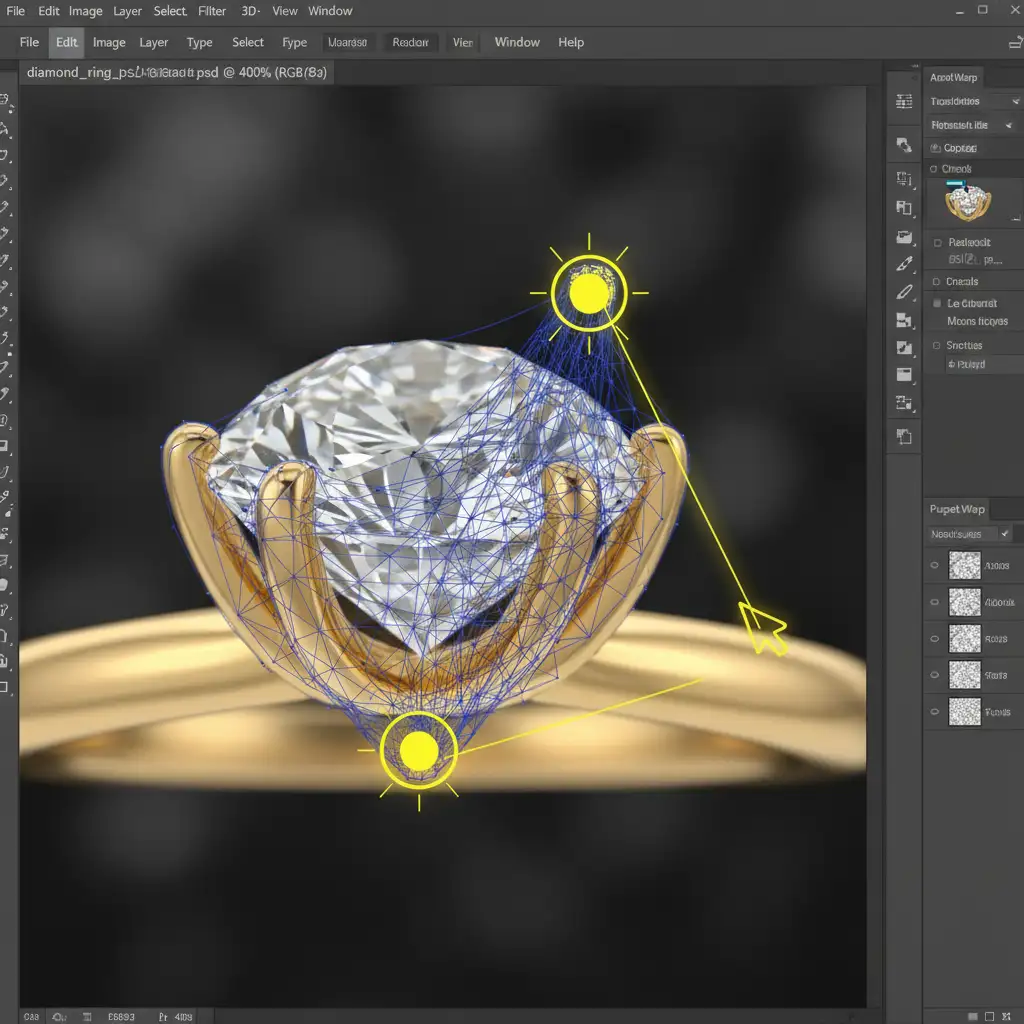
Method 2: The Pro Workaround with Puppet Warp
When a prong is noticeably crooked and requires bending rather than just nudging, the Liquify tool can sometimes smear the metallic texture. This is where Puppet Warp becomes invaluable, allowing you to articulate the prong like a physical piece of metal.
Step-by-Step Puppet Warp Workflow:
- Isolate the Prong: Use the Pen Tool to make a precise selection of the crooked prong. Copy it to a new layer (Ctrl/Cmd + J).
- Activate Puppet Warp: With the isolated prong layer selected, navigate to Edit > Puppet Warp. A mesh will appear over the prong.
- Place Anchor Pins: Click to place a yellow anchor pin at the base of the prong. This locks the base to the ring shank so it doesn’t detach.
- Place Articulation Pins: Place another pin at the very tip of the prong, and perhaps one in the middle.
- Bend into Position: Click and drag the pin at the tip to stretch or bend the prong perfectly into alignment with the gemstone. Press Enter to commit the change.
- Mask the Original: Add a layer mask to the original layer below and carefully paint out the old, crooked prong.
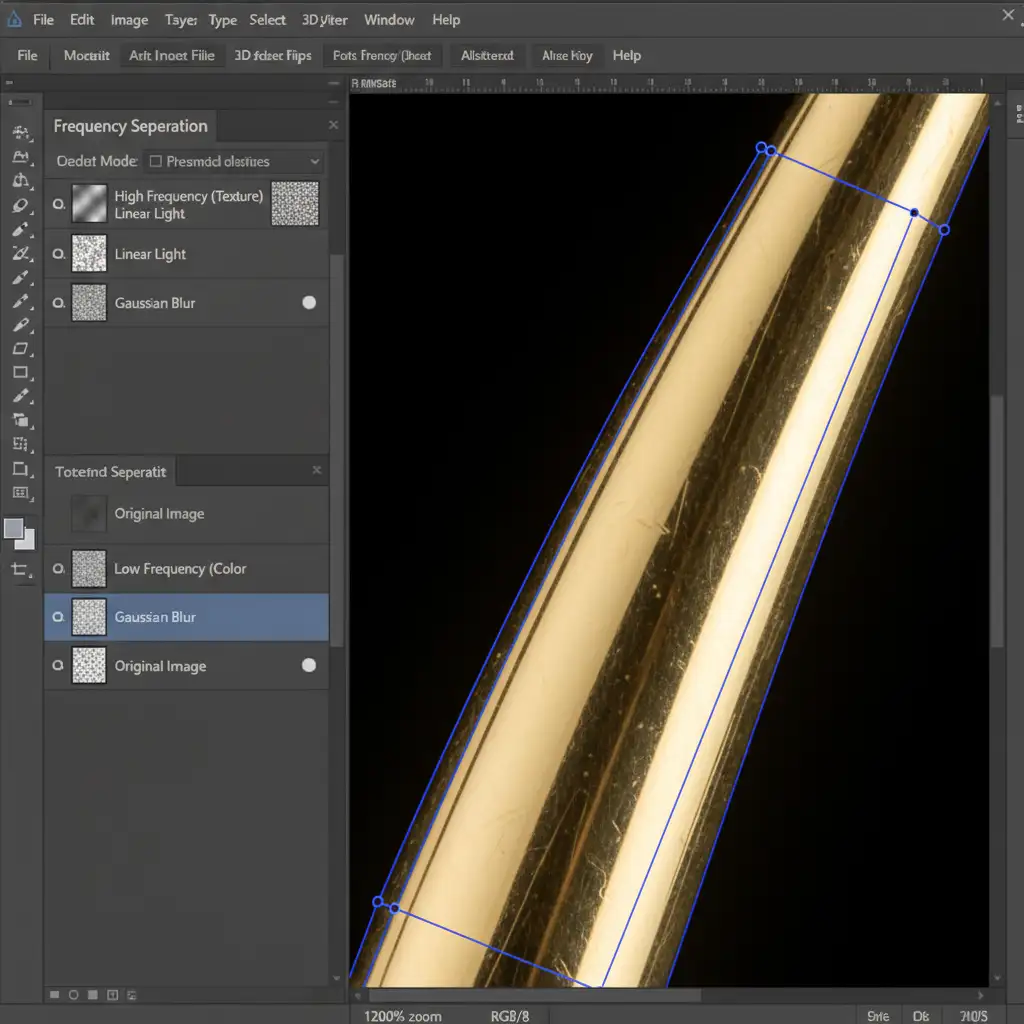
Method 3: The Technical Deep-Dive – Frequency Separation & Rebuilding
For severely damaged, miscast, or deeply asymmetrical prongs, pushing pixels around won’t work. The metal’s lighting will distort, and the edges will soften. The ultimate solution is separating the image’s color data from its texture data using Frequency Separation, allowing you to rebuild the prong from scratch.
Step-by-Step Reconstruction Workflow:
- Set Up Frequency Separation: Run your standard 8-bit or 16-bit Frequency Separation action to split your image into a “Low Frequency” (Color/Lighting) layer and a “High Frequency” (Texture) layer.
- Reconstruct Texture: Select the High Frequency layer. Using the Clone Stamp tool with a hard brush, sample clean metallic texture from a pristine prong and clone it over the damaged area to rebuild the physical shape.
- Smooth the Lighting: Switch to the Low Frequency layer. Use the Mixer Brush tool (wet, low load) to blend the highlights and shadows, ensuring the new prong has a smooth, realistic gradient that matches the studio lighting.
- Crisp Edges with Vector Masking: To ensure the prong has the razor-sharp edge characteristic of high-end macro photography, use the Pen Tool to draw a perfect path around the new prong. Convert this path to a Vector Mask to hide any messy cloning overlap.
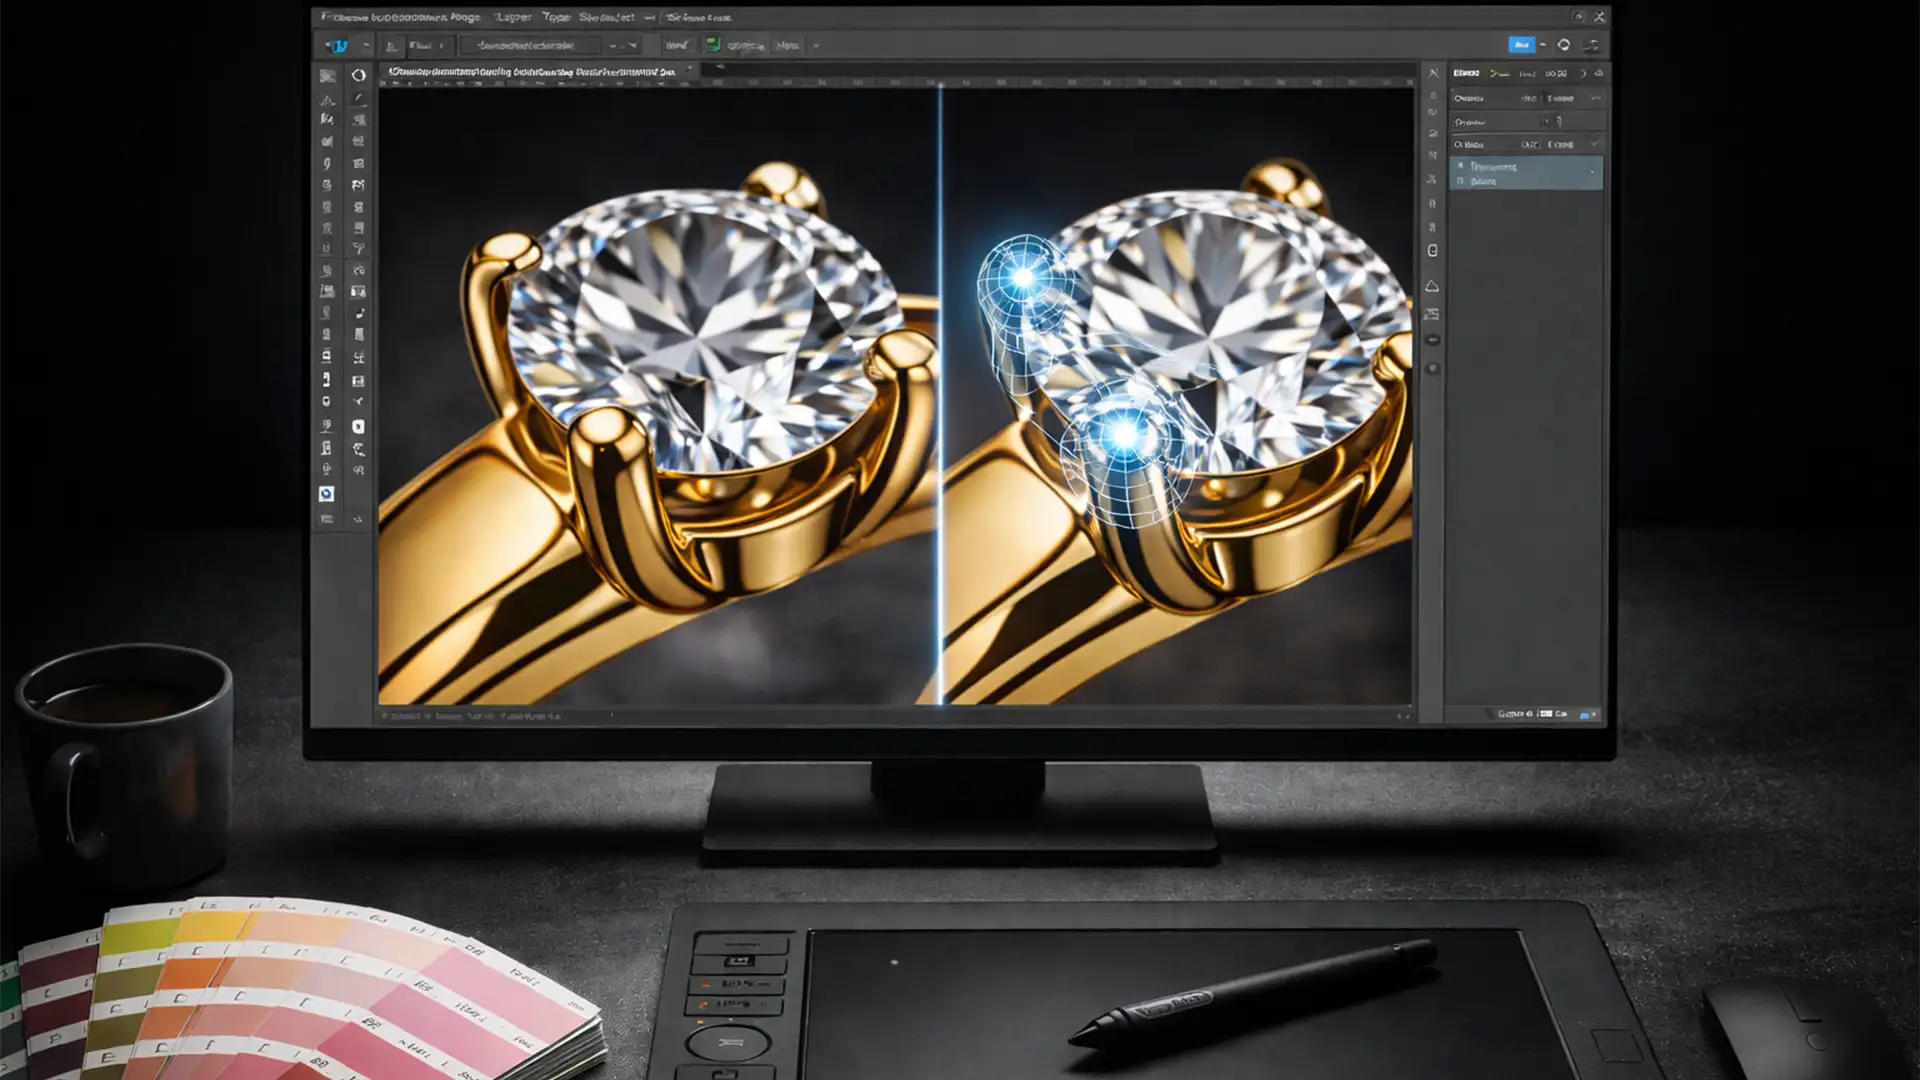
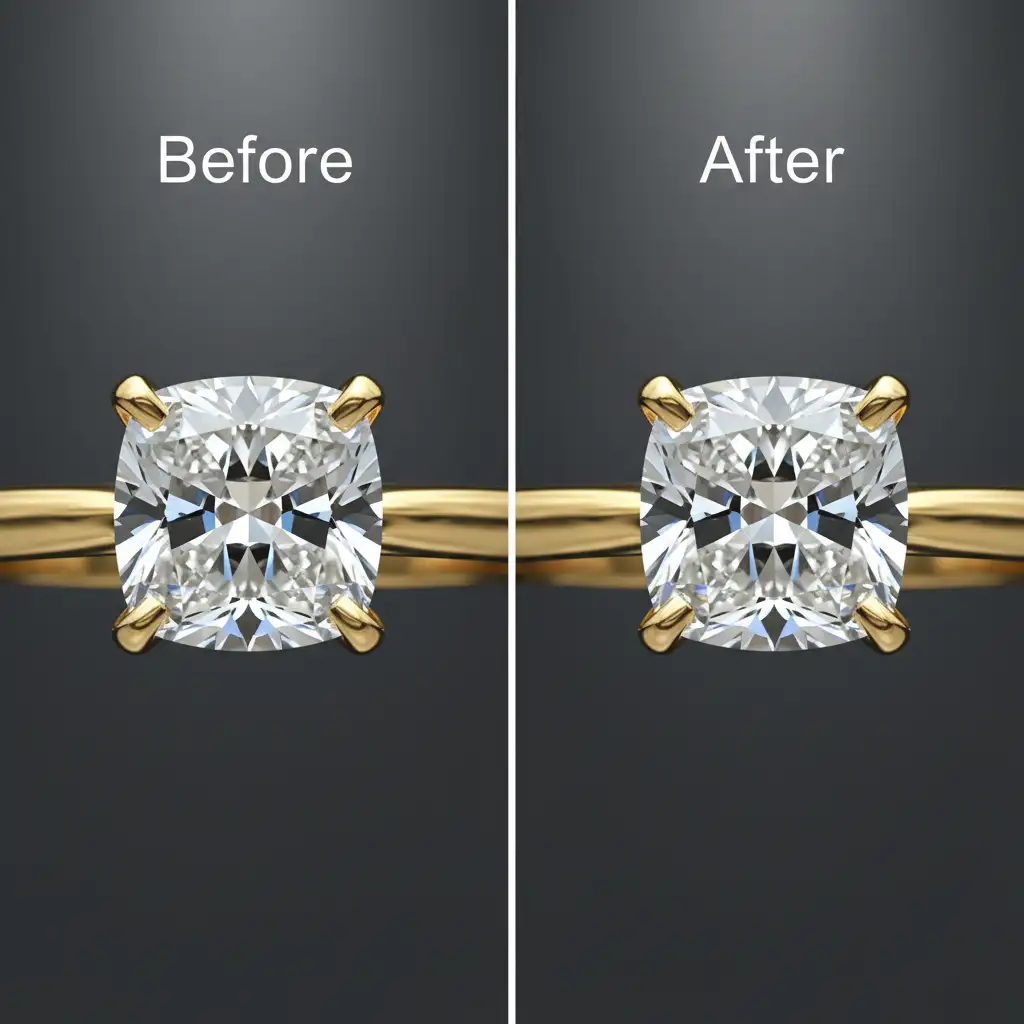
Before and After: The Impact of Perfect Symmetry
Correcting asymmetrical jewelry prongs in Photoshop elevates an image from a simple product photo to a luxurious, aspirational asset. Perfect symmetry signals high manufacturing quality to the consumer, directly impacting their purchasing confidence.
Stop Struggling with Complex Jewelry Edits
Achieving pixel-perfect symmetry on complex prong settings requires immense patience, technical skill, and hours of tedious pixel-pushing. If you are struggling to maintain consistency across your high-end jewelry catalogs, you don’t have to do it alone.
Outsource your complex editing to the expert retouchers at Image Work India and Cloud Retouch. Our dedicated teams specialize in high-end jewelry retouching, utilizing advanced techniques like Frequency Separation and Puppet Warp to deliver flawless, symmetrical, and highly commercial images.
Ready to elevate your jewelry photography? Contact Image Work India and Cloud Retouch today to get a custom quote and let us handle the heavy lifting of digital bench jewelry.


