
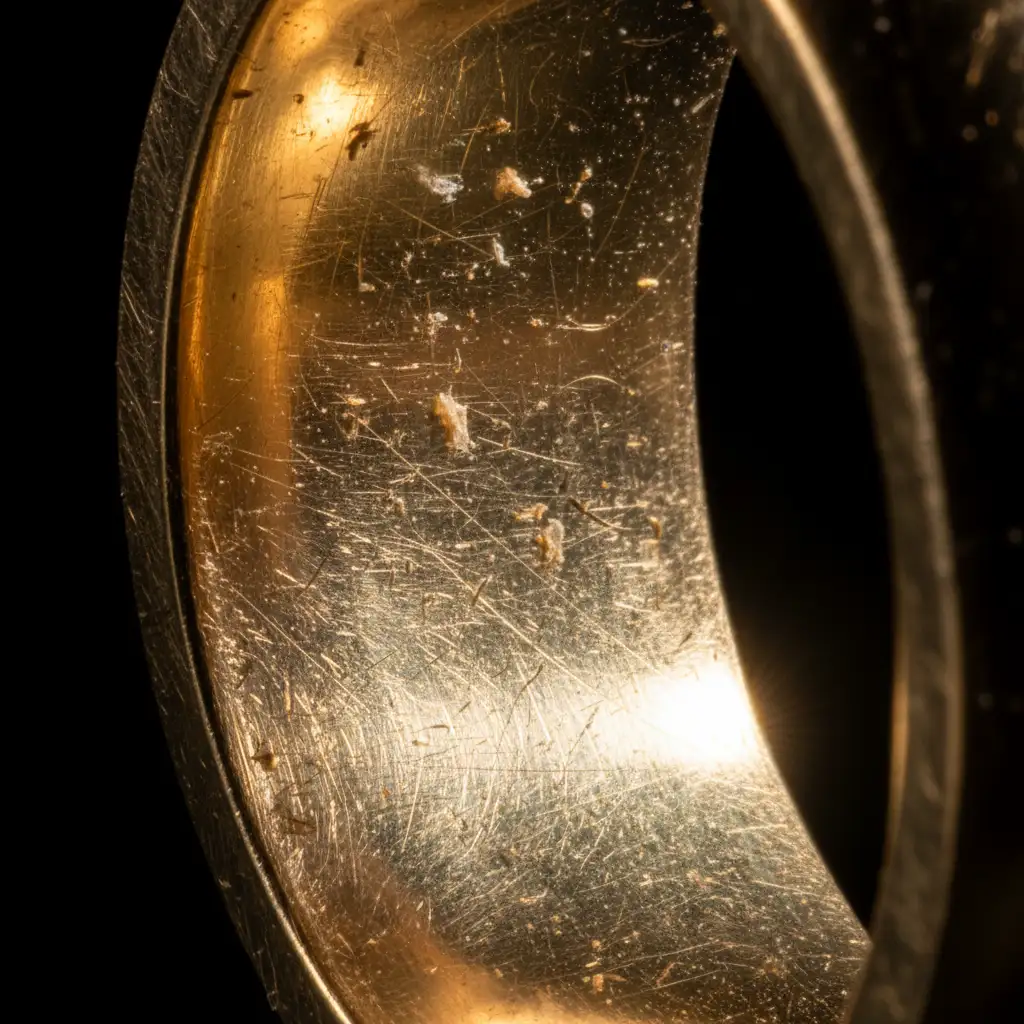
You spent hours setting up the perfect lighting for a high-end jewelry shoot, only to load the RAW files and see them—hundreds of micro-scratches, dust specks, and polishing swirl marks screaming at you through the macro lens. Harsh studio strobes make even the cleanest gold and platinum look like they’ve been dragged across concrete. Fixing this without destroying the metal’s natural gradient reflections and anisotropic highlights feels impossible. If your metal looks like plastic after editing, you’re doing it wrong.
Here is the definitive guide to helping you fix polishing marks in jewelry photography using Adobe Photoshop CC 2024 (v25.x), ensuring your metals look flawless, expensive, and true to life.
Why Macro Photography Exposes Every Flaw
Macro photography is unforgiving. A lens designed to capture the microscopic facets of a diamond will inevitably capture the microscopic imperfections of the metal holding it. When you combine high-resolution sensors with directional studio lighting, every tiny abrasion from a jeweler’s polishing cloth becomes a prominent visual distraction.
The challenge in post-production isn’t just removing the scratches; it is removing them while preserving the structural integrity of the piece.
Method A: The Quick Fix (Spot Healing Workflow)
For isolated dust specks and minor, standalone scratches, a localized healing workflow is your first line of defense. This method is non-destructive and highly effective for minor blemishes.
Step-by-Step Spot Healing
- Create a New Layer: Never edit directly on your background layer. Create a new blank layer (Ctrl+Shift+N or Cmd+Shift+N) and name it “Healing”.
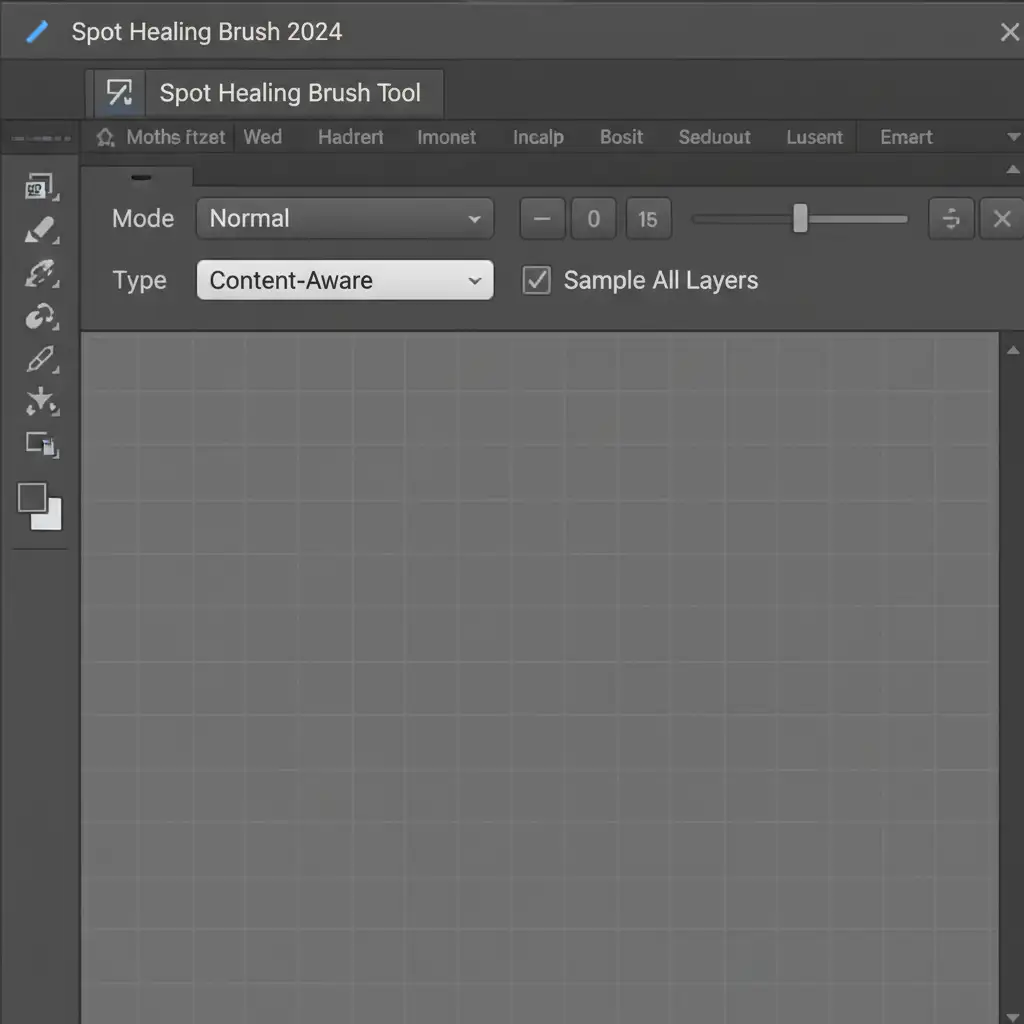
- Configure the Tool: Select the Spot Healing Brush Tool (J).
- Optimize the Settings: In the top options bar, ensure Content-Aware Fill is selected as the Type. Most importantly, check the box for Sample All Layers.
- Brush Gently: Zoom in to at least 100%. Use a soft-edged brush just slightly larger than the scratch itself. Click or make very short strokes over the micro-scratches.
Method B: The Pro Workaround (Frequency Separation)
When dealing with dense clusters of swirl marks that cover an entire band, the Spot Healing Brush will create a muddy, smudged mess. This is where Frequency Separation becomes essential. By separating the image’s texture from its underlying color and tone, you can smooth out the metal without blurring the sharp edges.
Setting Up Your Layers
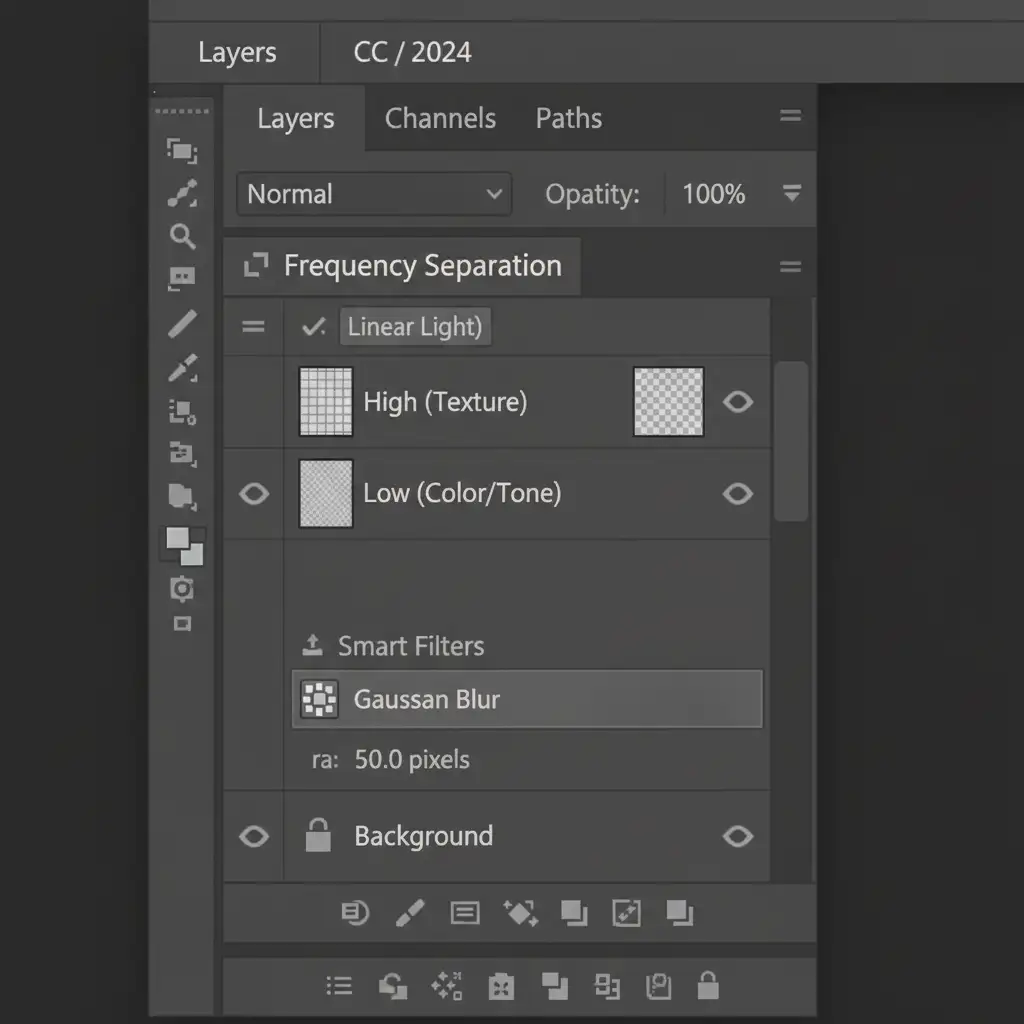
- Duplicate your main image layer twice. Name the bottom duplicate “Low (Color/Tone)” and the top duplicate “High (Texture)”.
- Hide the High layer and select the Low layer. Apply a Gaussian Blur just until the micro-scratches disappear (usually between 4px and 8px depending on image resolution).
- Unhide and select the High layer. Go to Image > Apply Image.
- If working in 16-bit: Layer: Low, Blending: Add, Scale: 2, Offset: 0, Invert: Checked.
- If working in 8-bit: Layer: Low, Blending: Subtract, Scale: 2, Offset: 128.
- Change the High layer’s blending mode to Linear Light. Group both layers into a folder named “Frequency Separation”.
Blending with the Mixer Brush Tool
Select the Mixer Brush Tool. Target the “Low (Color/Tone)” layer. Use a clean, soft brush with low Wetness (around 10-15%) and low Flow. Gently brush along the natural directional curves of the metal. This will blend out the uneven tonal shifts caused by swirl marks, leaving the crisp edges and texture on the High layer completely untouched.
Method C: The Technical Deep-Dive (Surface Blur & Smart Objects)
For high-end commercial jewelry catalogs, editors rely on the Surface Blur technique. This method targets flat and subtly curved metallic surfaces, obliterating polishing marks while strictly protecting the complex geometry of prongs, gemstone facets, and anisotropic highlights.
Preserving Edges and Gradients
- Convert to Smart Object: Merge a copy of your visible layers (Ctrl+Alt+Shift+E or Cmd+Opt+Shift+E). Right-click this new layer and select “Convert to Smart Object”. This allows for non-destructive, adjustable filtering.
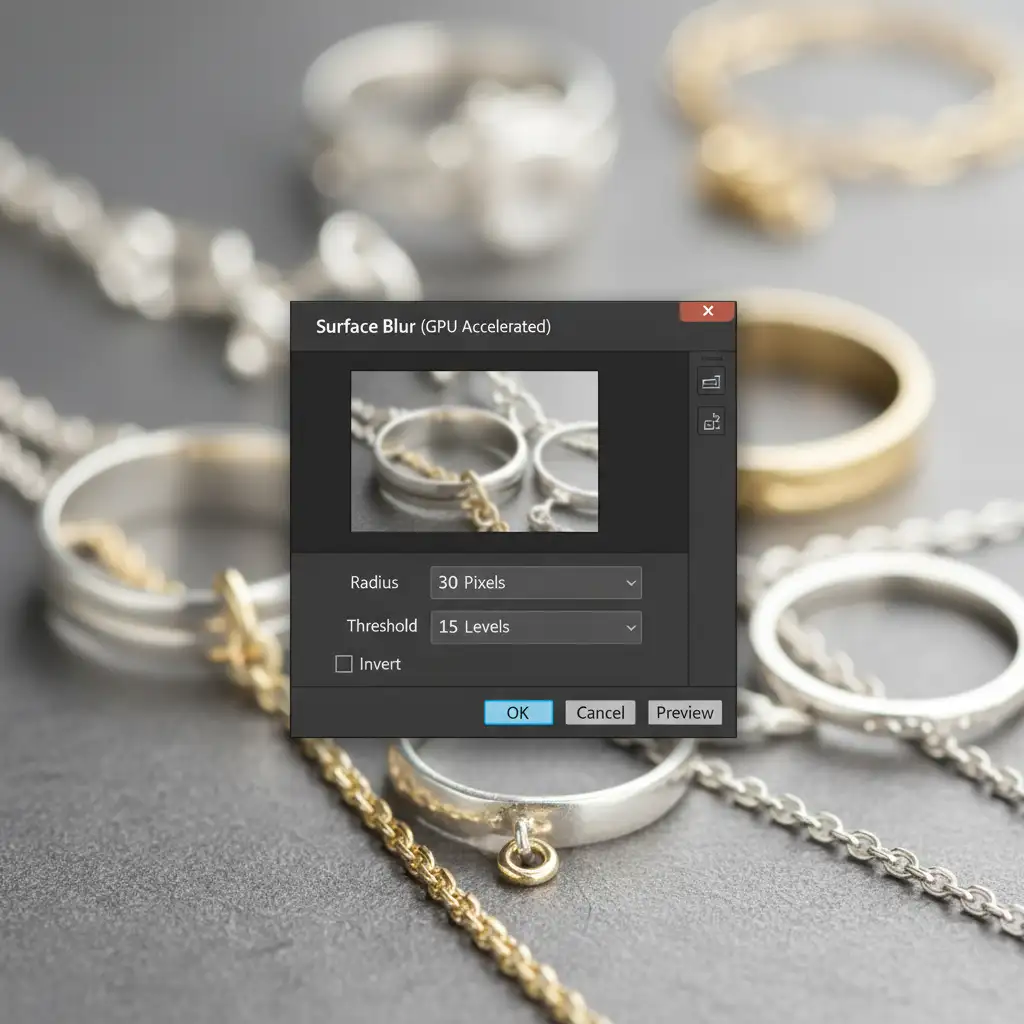
- Apply Surface Blur: Go to Filter > Blur > Surface Blur. Unlike Gaussian Blur, Surface Blur preserves edge contrast. Adjust the Radius to smooth the scratches (try 20-30 pixels) and keep the Threshold low (around 10-15 levels) so it only blurs areas of similar tonal value. Click OK.
- Masking the Effect: The blur will make gemstones look cloudy. Hold Alt (or Opt) and click the Layer Mask icon to add an inverted (black) mask, hiding the blur completely.
- Select a soft white brush and carefully paint the blur effect only onto the flat metal surfaces. Avoid the edges, prongs, and stones. You can use a Clipping Mask on adjustment layers above this to further dial in the contrast of the metal.
Restoring Metallic Realism with Monochromatic Noise
A perfectly blurred metal surface looks like cheap plastic. Real metal has a microscopic grain structure. To fix this, create a new layer above your Surface Blur, fill it with 50% gray, and set the blend mode to Overlay. Go to Filter > Noise > Add Noise. Add 1 to 2 percent Monochromatic Noise (Uniform). Clip this noise layer to your Surface Blur layer. This microscopic texture tricks the eye into seeing realistic, polished metal rather than a digital painting.
Stop Wasting Hours on Jewelry Retouching
Learning to thoroughly fix polishing marks in jewelry photography requires an understanding of advanced Photoshop techniques, an eye for lighting, and an immense amount of patience. Masking around microscopic diamond prongs and rebuilding metallic gradients can easily take an hour per image. If you are shooting a catalog of 500 pieces, doing this yourself is a massive bottleneck to your business.
You don’t have to do it alone. Image Work India and Cloud Retouch specialize in high-end, high-volume jewelry photo editing. Our expert retouchers have mastered the delicate balance of removing micro-scratches, dust, and swirl marks while preserving the authentic, luxurious feel of your metals and gemstones.
Outsource your technical retouching to Cloud Retouch and Image Work India today. Guarantee flawless, magazine-ready catalogs for your clients, and get back to what you do best—shooting brilliant photography and growing your business.


