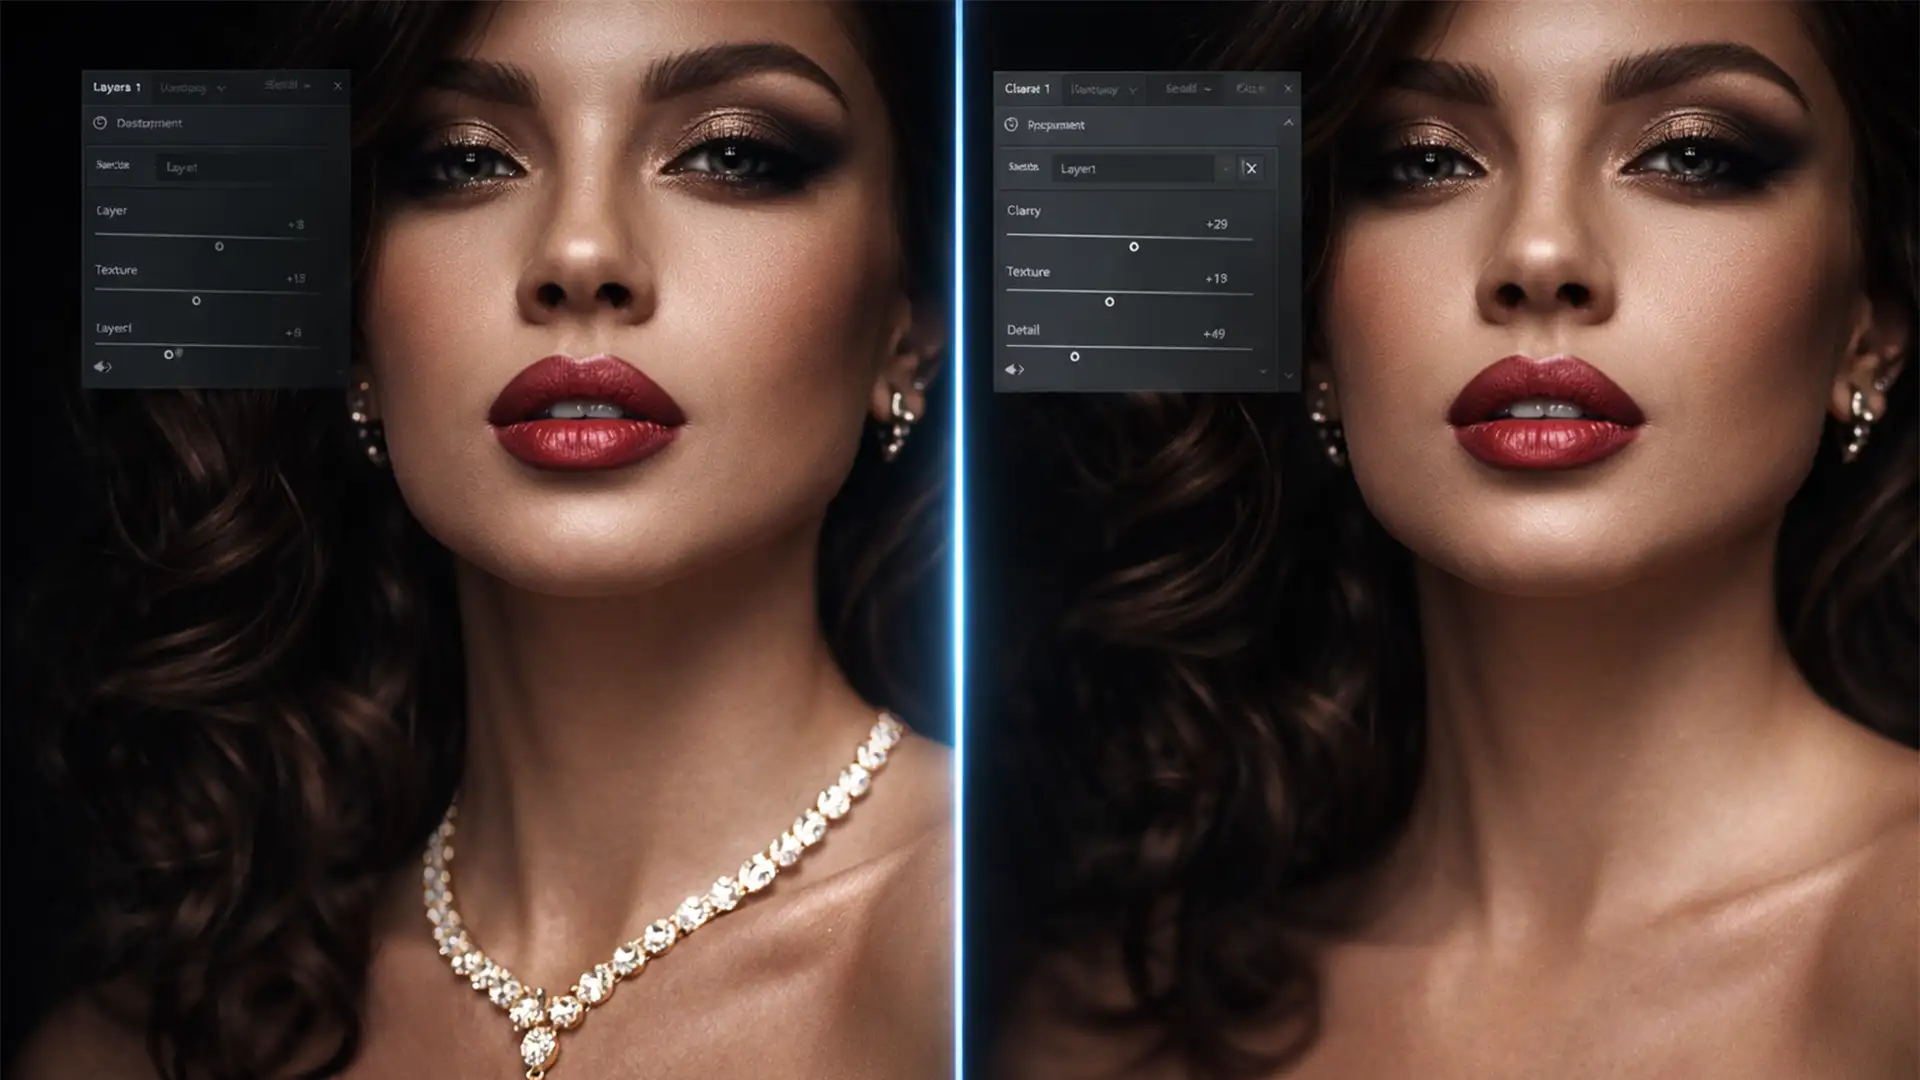
You’ve just used Adobe Generative Fill to extend a background on a stunning editorial portrait. The backdrop looks flawless, but there’s a massive problem: the AI completely obliterated the model’s delicate gold chain. If you are struggling with restoring AI erased jewelry details, you aren’t alone. In Photoshop v25.0 and later, the Firefly Image 3 engine frequently struggles with high-frequency micro-structures. Instead of preserving intricate diamond facets or specular highlights, the AI’s noise-reduction algorithms blur them into adjacent low-frequency textures like skin or fabric. Here is exactly how to fix it and get your shine back.
Why Adobe Generative Fill Erases Fine Jewelry
When working with high-end jewelry photography or fashion portraits, precision is everything. The core issue lies in how the Adobe Firefly Image generation models interpret spatial data. The AI engine possesses low spatial awareness of micro-structures. When you apply Generative Fill near intricate jewelry, the algorithm attempts to seamlessly blend the generated pixels with the surrounding environment.
Because fine chains and gemstone facets are essentially clusters of high-frequency texture and sharp specular highlights, the AI misinterprets them as noise. As a result, it hallucinates low-frequency textures—like the model’s skin or the fabric of their clothing—straight over your expensive jewelry.
Fortunately, there are three professional workflows to recover these lost details and maintain the integrity of your image.
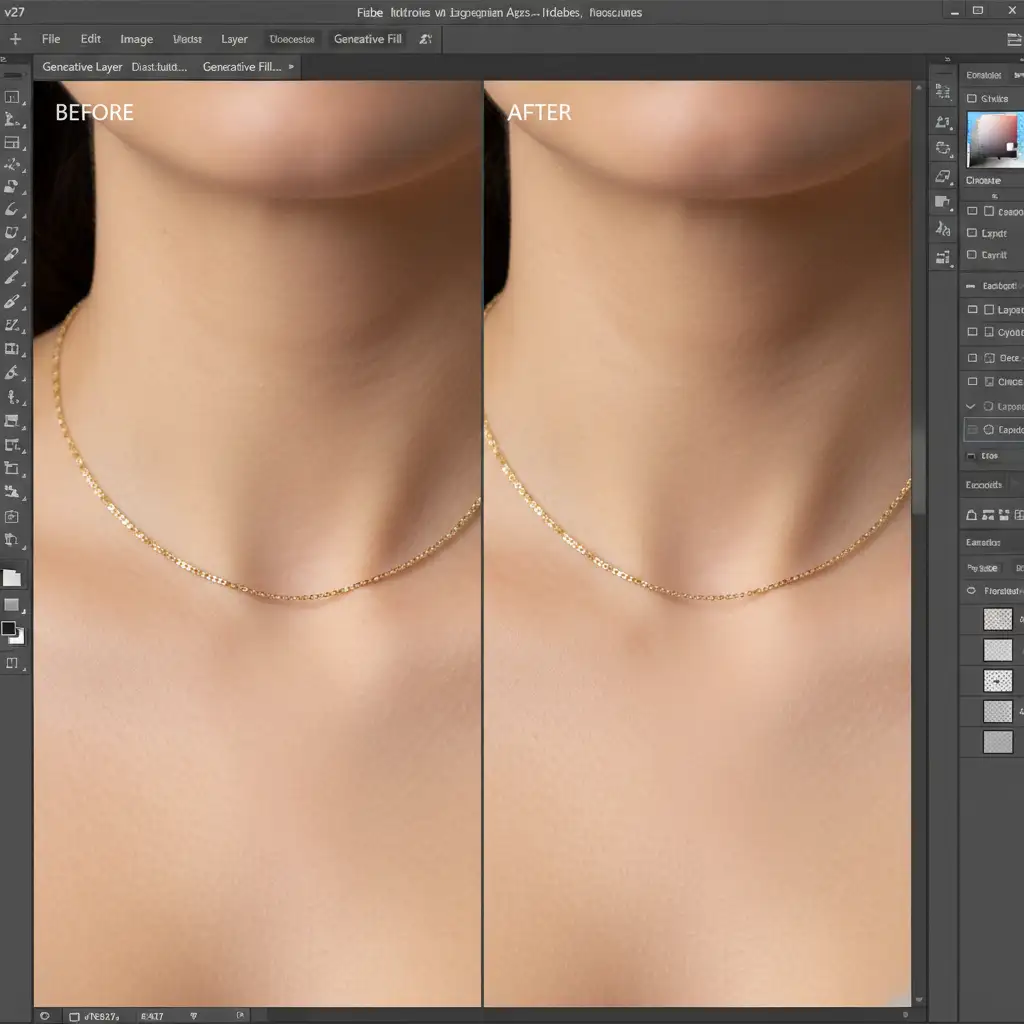
Method 1: The Quick Fix Using Layer Masking Recovery
If the AI generation only affected a small portion of the jewelry, traditional layer masking is your fastest route to recovery. This method relies on bringing the untouched original pixels back to the surface.
Step-by-Step Layer Masking
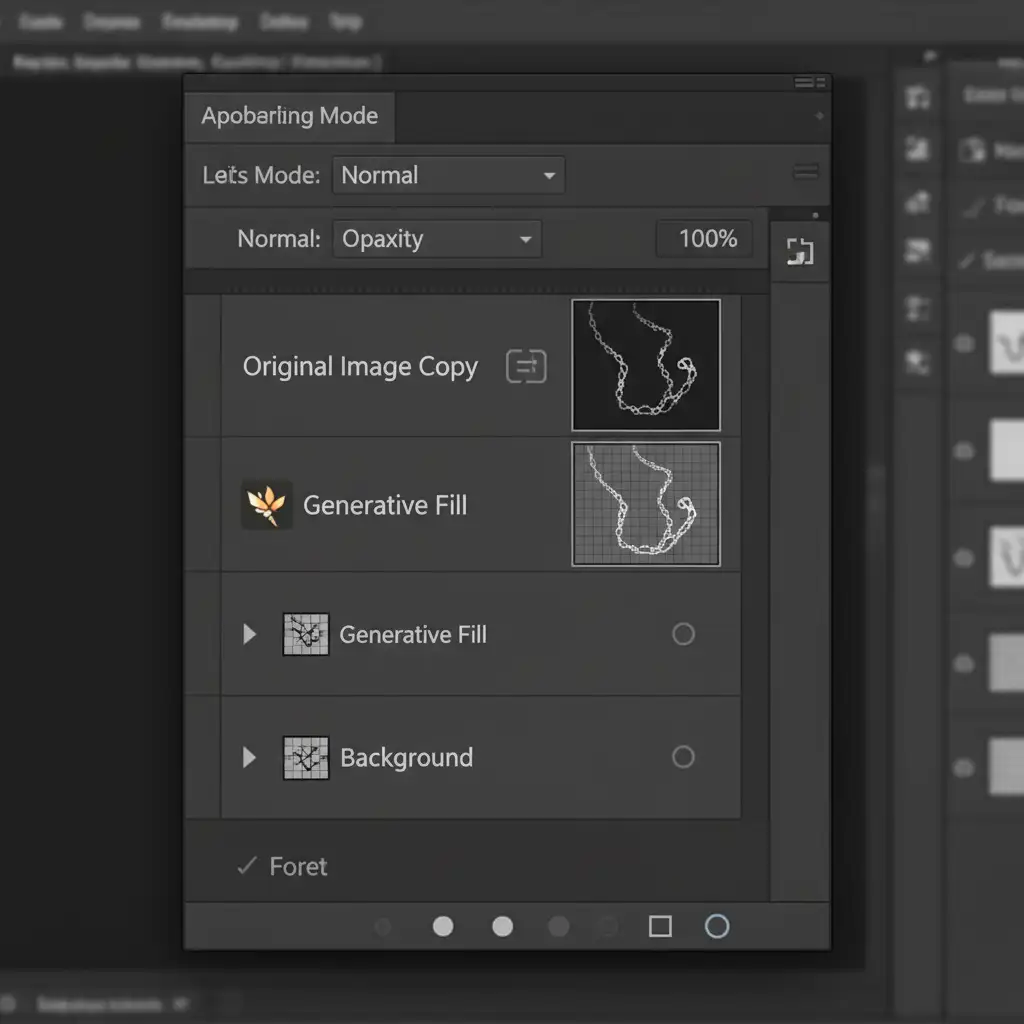
- Duplicate the Original: Select your original background layer and duplicate it (Ctrl/Cmd + J).
- Reorder the Stack: Drag this duplicated original layer to the very top of your Layers Panel, placing it directly above your Generative Fill layer.
- Apply an Inverted Mask: Hold Alt/Option and click the Layer Mask icon at the bottom of the Layers Panel. This adds a black (hidden) mask to your duplicated layer.
- Paint Back the Details: Select the Brush Tool (B), choose a soft round brush, and set your foreground color to white. Carefully paint over the areas where the jewelry was erased to reveal the original, sharp micro-structures.
Method 2: The Pro Workaround with Frequency Separation
Sometimes, painting back the original layer brings back unwanted original background colors that clash with your new AI-generated background. To restore only the texture and shine without the color, you must use Frequency Separation.
Isolating High-Frequency Textures
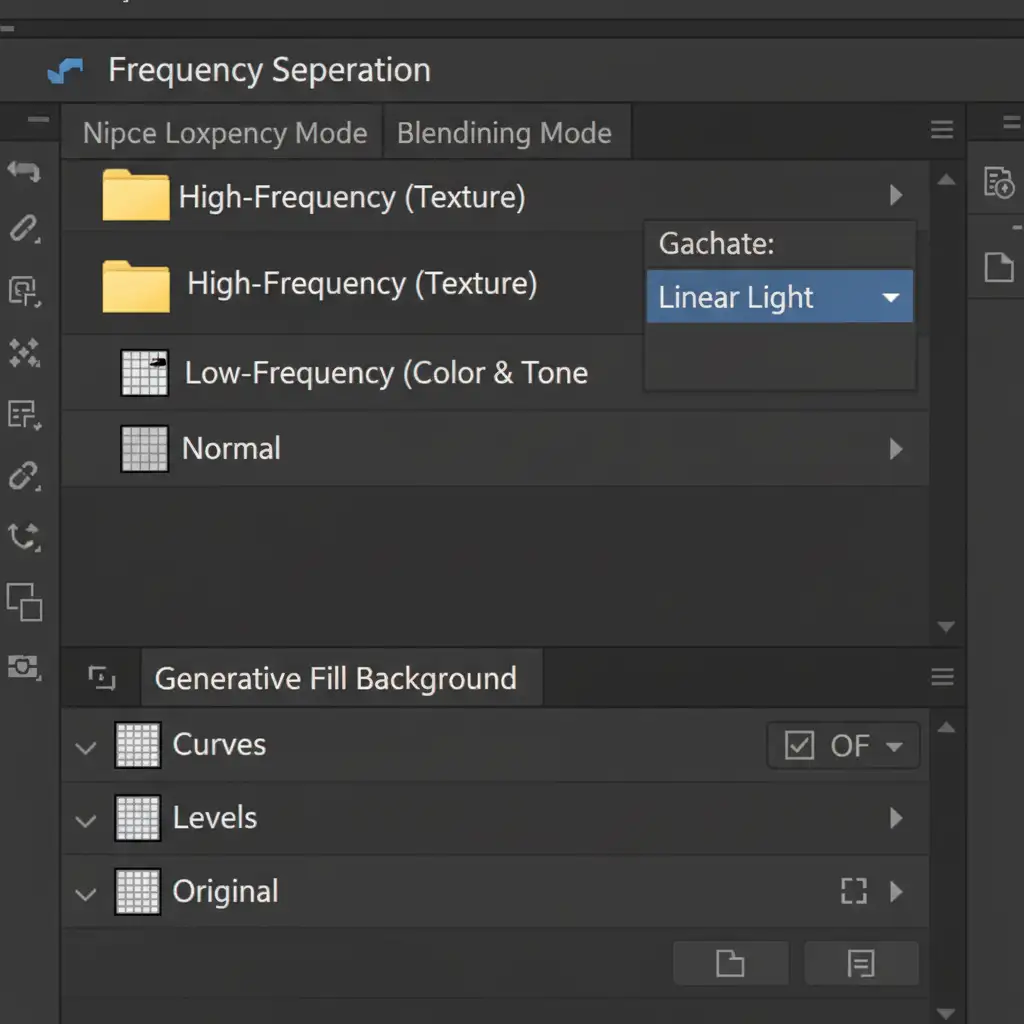
Frequency Separation splits your image into two distinct layers: a low-frequency layer containing color and tone, and a high-frequency layer containing texture and detail.
- Run Frequency Separation: Apply your standard Frequency Separation action to the original, unedited background layer.
- Extract the Texture: Locate the High-Frequency (texture) layer. This layer holds all the sharp edges, micro-chains, and specular highlights of your jewelry.
- Position and Blend: Move this High-Frequency layer above your AI-generated layer. Ensure its blending mode is set to Linear Light.
- Mask the Jewelry: Add an inverted (black) layer mask to this High-Frequency layer. Use a white brush to paint over the jewelry.
Because the Linear Light blending mode drops out neutral grays, you are successfully restoring AI erased jewelry details—bringing back the physical depth and shine—without reintroducing the old background colors.
Method 3: Advanced Prompting and Reference Images (Photoshop v25.9+)
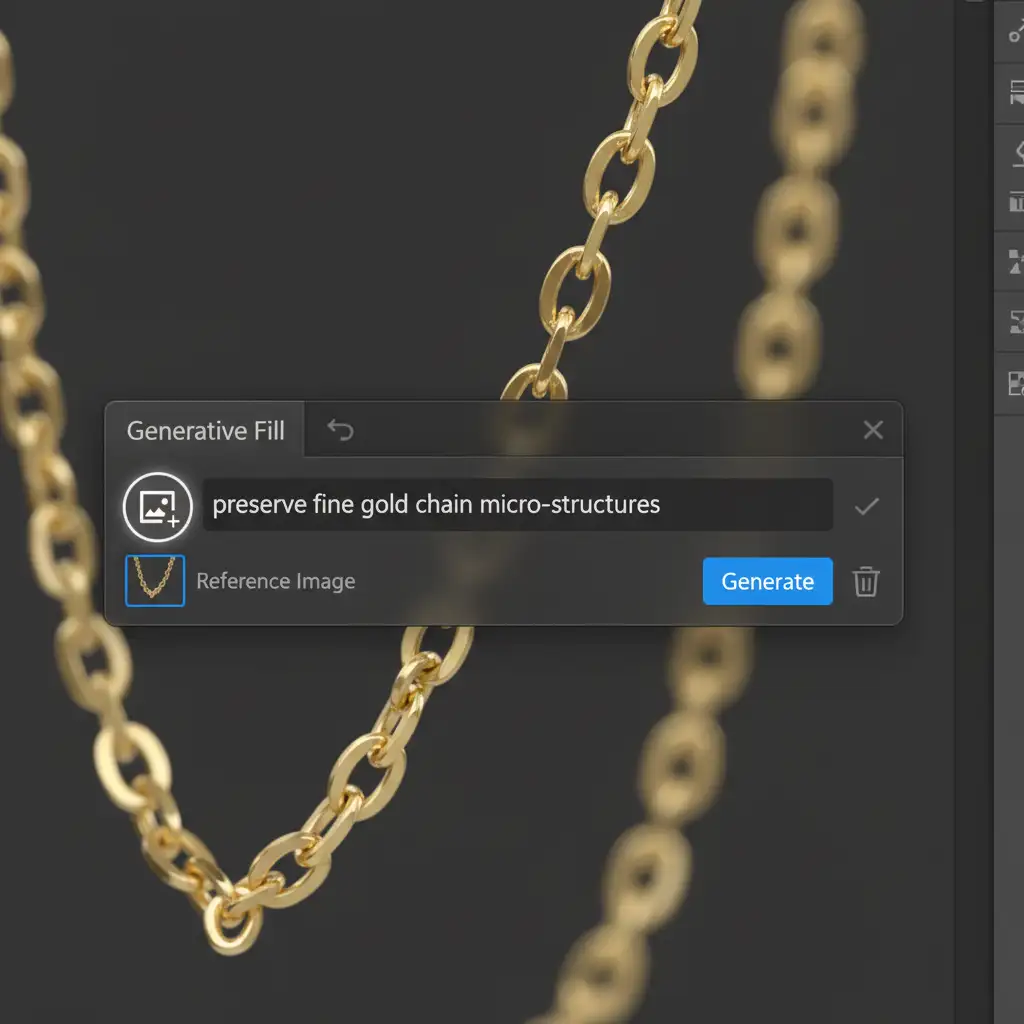
If you want the Firefly Image 3 engine to do the heavy lifting, you need to force it to prioritize texture integrity. In Photoshop v25.9 and later, Adobe introduced the Reference Image feature within the Contextual Task Bar, which drastically improves spatial awareness.
Forcing AI Structural Accuracy
- Crop a Reference: Before generating, crop a tight, high-resolution macro shot of the exact jewelry piece you want to protect. Save it to your desktop.
- Select and Generate: Make your selection around the area you wish to modify using Generative Fill.
- Upload the Reference: In the Contextual Task Bar, click the Reference Image icon and upload your macro jewelry shot.
- Adjust and Prompt: Set the image match slider to high. In the prompt box, use strict structural prompts like: “Maintain fine gold chain micro-structures, preserve diamond specular highlights, keep original high-frequency texture.”
By feeding the AI exact visual data of the micro-structures it is about to process, you drastically reduce the chance of hallucination and blurring.
Don’t Let AI Ruin Your High-End Jewelry Imagery
Restoring AI erased jewelry details requires a deep understanding of layer mathematics, masking, and AI behavior. While Generative Fill is an incredible tool for extending backgrounds and removing large distractions, it simply cannot be trusted with the intricate facets of high-end jewelry. A single blurred chain link or missing diamond reflection can ruin the perceived value of a luxury product.
If you don’t have the time to manually execute frequency separation and meticulous layer masking for hundreds of e-commerce or editorial images, let the experts handle it.
Partner with Image Work India and Cloud Retouch. Our dedicated team of professional retouchers specializes in pixel-perfect manual editing. We seamlessly integrate the speed of AI backgrounds with the flawless precision of manual high-frequency texture preservation, ensuring every facet, chain, and highlight remains perfectly intact. Contact us today to elevate your jewelry imagery to flawless perfection.


