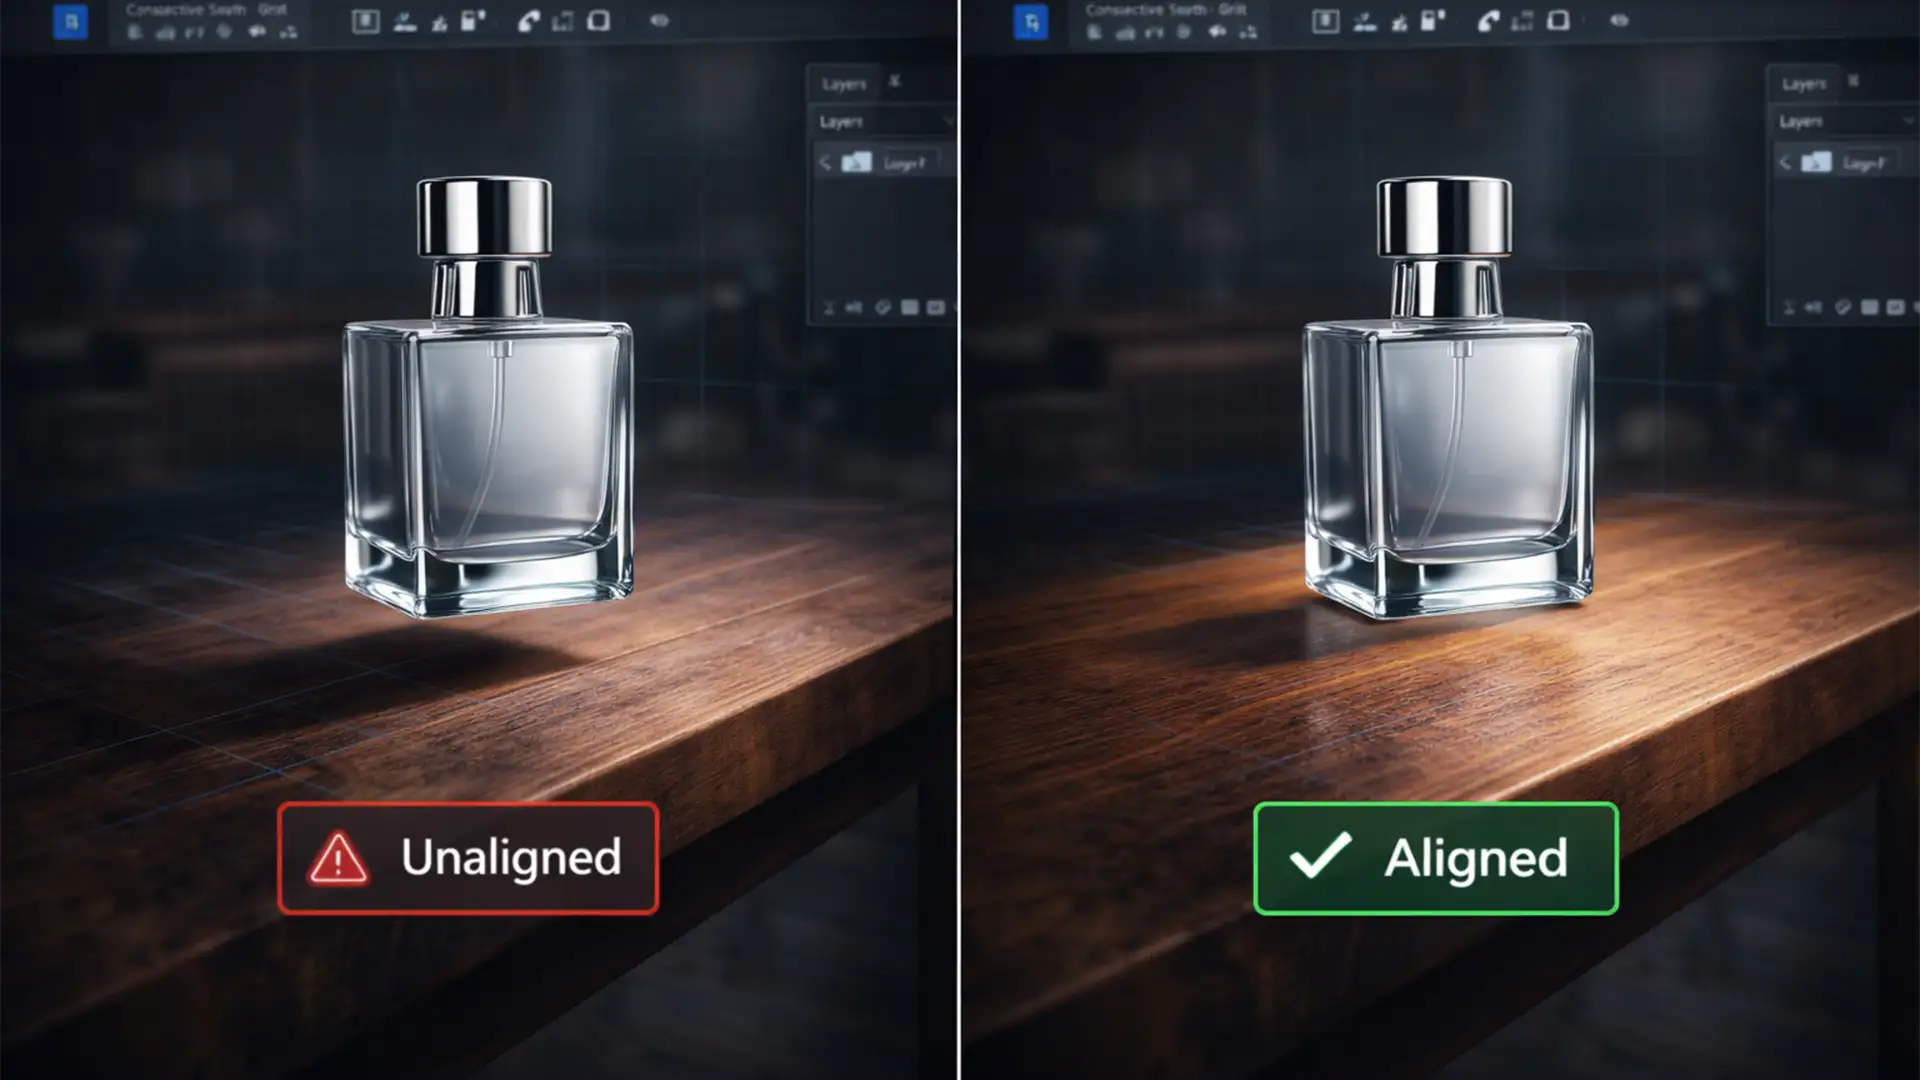
Have you ever used Photoshop 2026’s Generative Background tool to place your product in a stunning new environment, only to realize it looks like a cheap sticker pasted onto the screen? Your product is suffering from an AI product background perspective mismatch.
This happens because while the Contextual Task Bar calculates pixel boundaries perfectly, it frequently fails to extract the depth maps, camera height, or EXIF focal length from isolated 2D product layers. The result is a forced perspective mismatch—an immediate “uncanny valley” effect where your e-commerce product appears to float above the surface.
If you shot your product at a downward 45-degree angle with an 85mm lens, but the AI generates a background at a 15-degree angle with a wide 35mm lens, you have an orthographic mismatch. Here is the professional workflow to sync your background’s vanishing points with your product’s Z-axis and anchor your composites in reality.
Understanding Optical Dissonance in AI Compositing
When an AI-generated background lacks the correct 3D plane and optical center to match your studio product shot, the human eye instantly detects the flaw. To fix this, editors must manually intervene using a combination of perspective tools, prompt engineering, and manual shadow rebuilding.
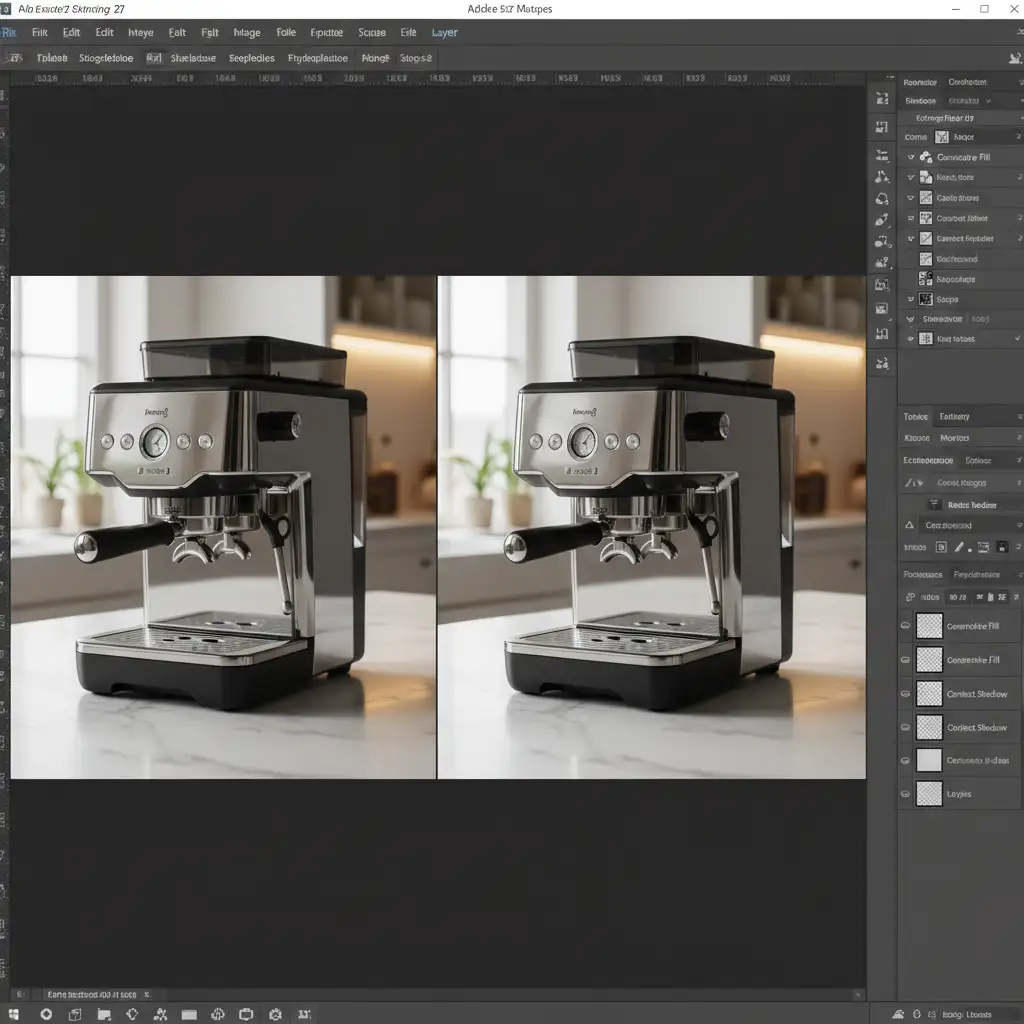
Method A: The Quick Fix Using Perspective Warp
If the background generation is mostly accurate but slightly off-axis, Photoshop’s Perspective Warp is the fastest way to realign the visual planes.
- Isolate the Product: Ensure your product is on its own transparent layer above the AI generated background.
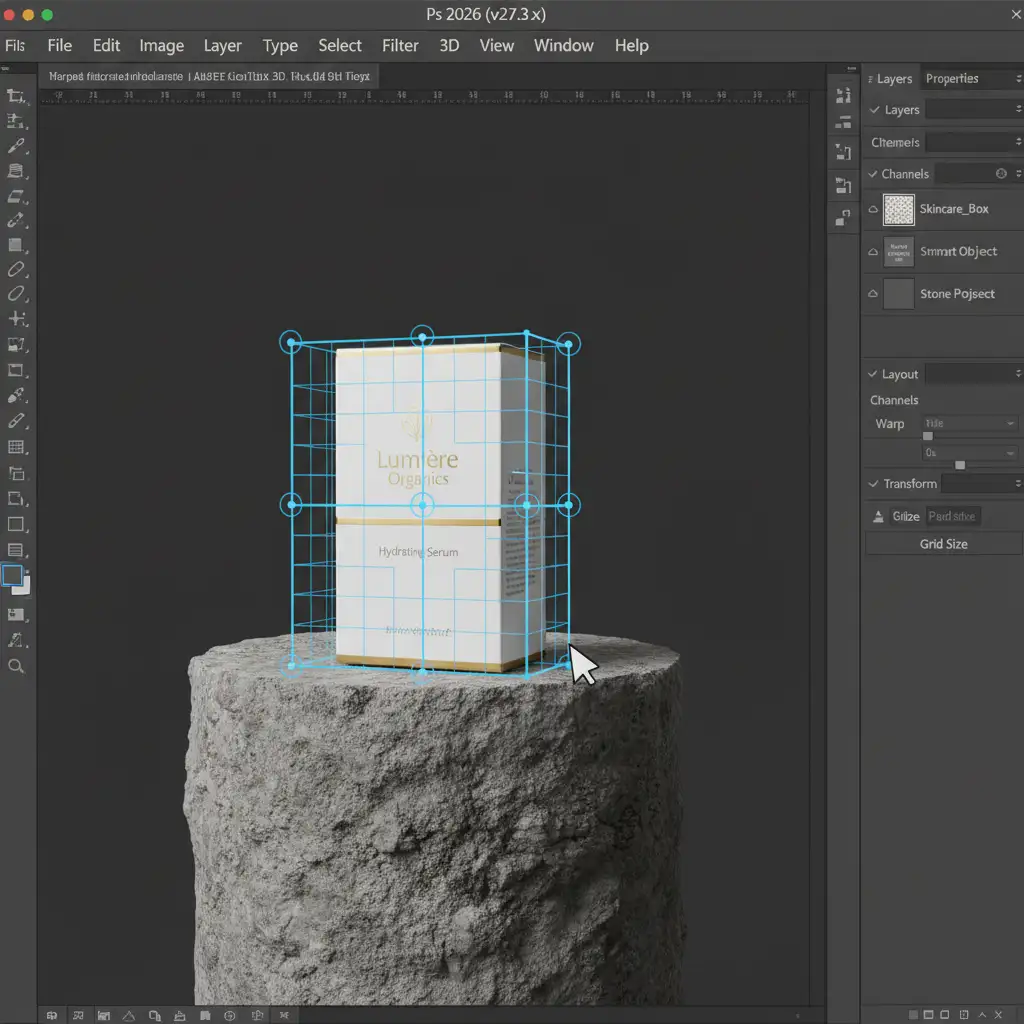
- Activate Perspective Warp: Select your product layer and navigate to Edit > Perspective Warp.
- Draw the Grid: Click and drag to draw a grid over your product. If it is a boxy item (like a cosmetics box or tech gadget), align the grid lines with the physical edges of the product.
- Warp to Match: Switch from ‘Layout’ to ‘Warp’ mode in the top options bar. Adjust the corner pins until the product’s angle aligns seamlessly with the new background surface’s vanishing point. Hit Enter to apply.
Method B: The Pro Workaround with Anchored Generative Fill
To prevent the orthographic mismatch from happening in the first place, you need to feed Photoshop’s Generative Fill precise camera metadata through prompt engineering and visual anchors.
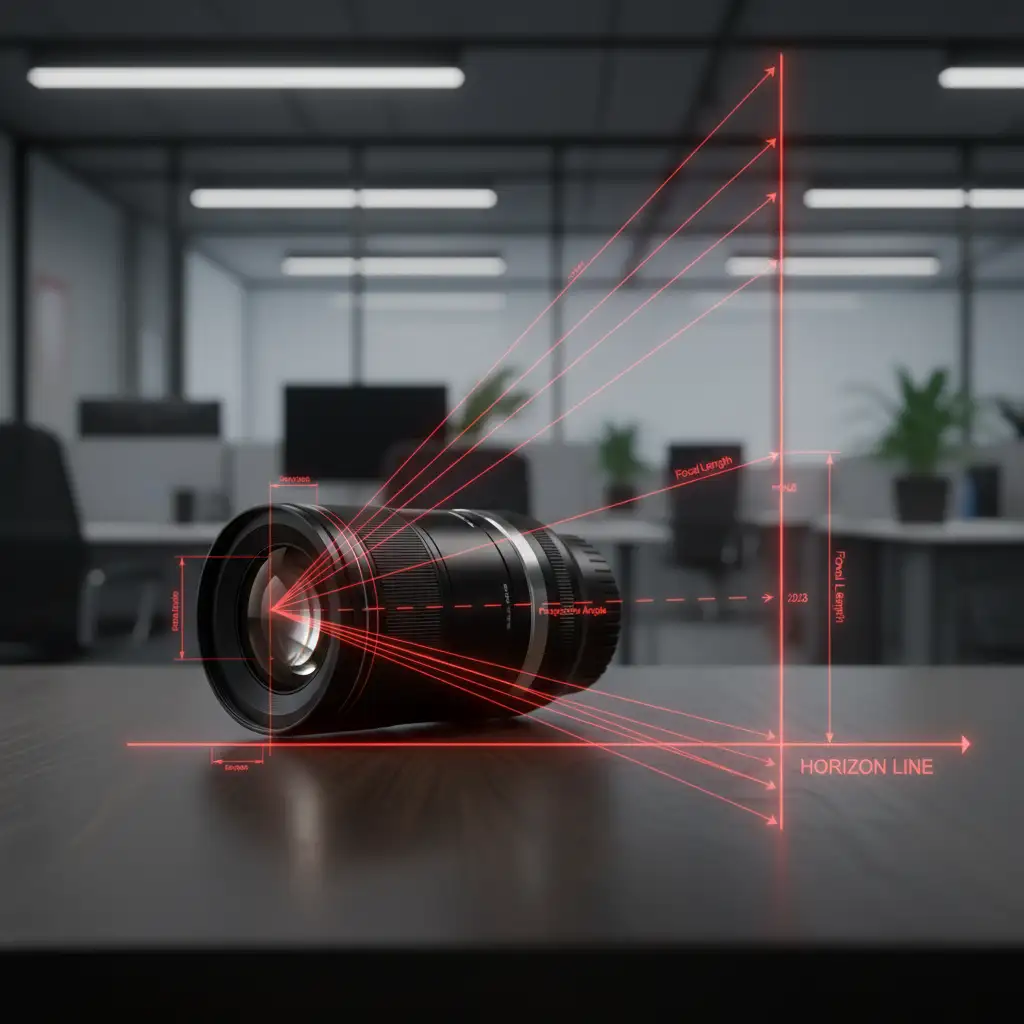
1. Draw a Temporary Horizon Line
Before making your selection for the Generative Fill, use the Line Tool to draw a bright, temporary horizon line across your canvas that matches the product’s original angle. This forces the AI to respect the spatial geometry of your composition.
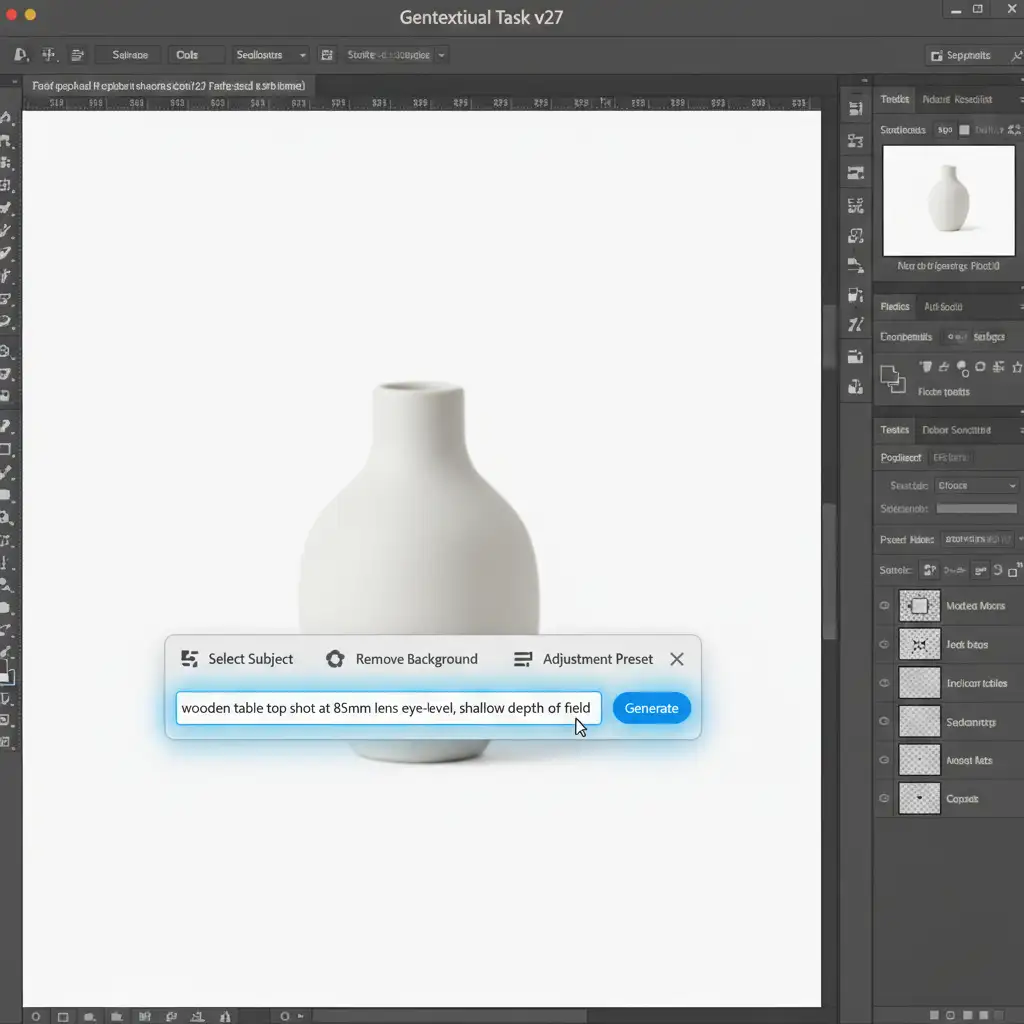
2. Inject Camera Data into the Prompt
Do not just type “wooden table.” Explicitly define the camera angle and focal length in your prompt.
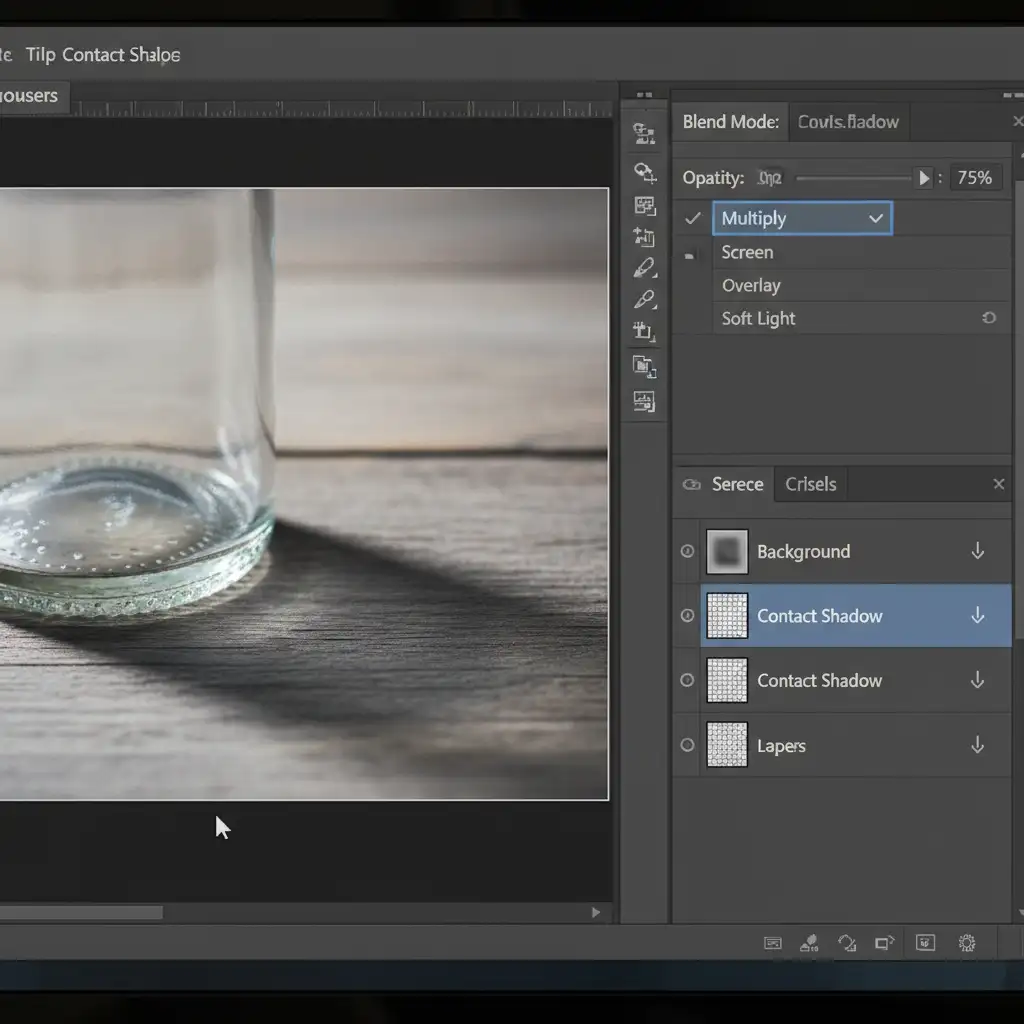
3. Rebuild Contact Shadows Manually
AI rarely generates accurate shadows for pre-existing layers. To ground the product:
- Create a new layer beneath your product.
- Set the blend mode to Multiply.
- Use a soft brush set to 10% flow with a dark, desaturated color sampled from the background.
- Paint tightly beneath the product to create the ambient occlusion (contact shadow), then use a larger, softer brush to cast the directional shadow.
Method C: The Technical Deep-Dive Using Camera Raw Geometry
When dealing with complex composite rendering, sometimes the background itself needs to be manipulated to match the product, rather than warping the product to match the background. This is where Camera Raw Geometry comes in.
- Convert to Smart Object: Convert your AI-generated background layer into a Smart Object.
- Open Camera Raw: Go to Filter > Camera Raw Filter and expand the Geometry tab.
- Use Upright Guided Lines: Select the Guided Upright tool (the icon with intersecting lines).
- Match the EXIF Metadata: Draw two vertical and two horizontal lines along the structural elements of your AI background (like table edges or wall corners). Use the X and Y offset sliders to manually shift the perspective until the 3D plane matches the original EXIF data focal length of your studio product shot.
Streamline Your Composite Rendering Workflow
An AI product background perspective mismatch fix requires a solid understanding of photography principles, focal lengths, and advanced Photoshop mechanics. While AI generation is a powerful starting point, achieving seamless, commercial-grade realism still requires the human touch.
Need Pixel-Perfect Realism Without the Hassle?
Fixing forced perspective and rebuilding contact shadows takes valuable time away from scaling your business. If you are struggling with fake-looking AI product photos, let the experts at Image Work India and Cloud Retouch handle your e-commerce composites.
Our professional retouching teams specialize in advanced composite rendering, ensuring every pixel, shadow, and vanishing point aligns perfectly for seamless realism. Contact us today to transform your isolated product shots into stunning, high-converting lifestyle imagery.


