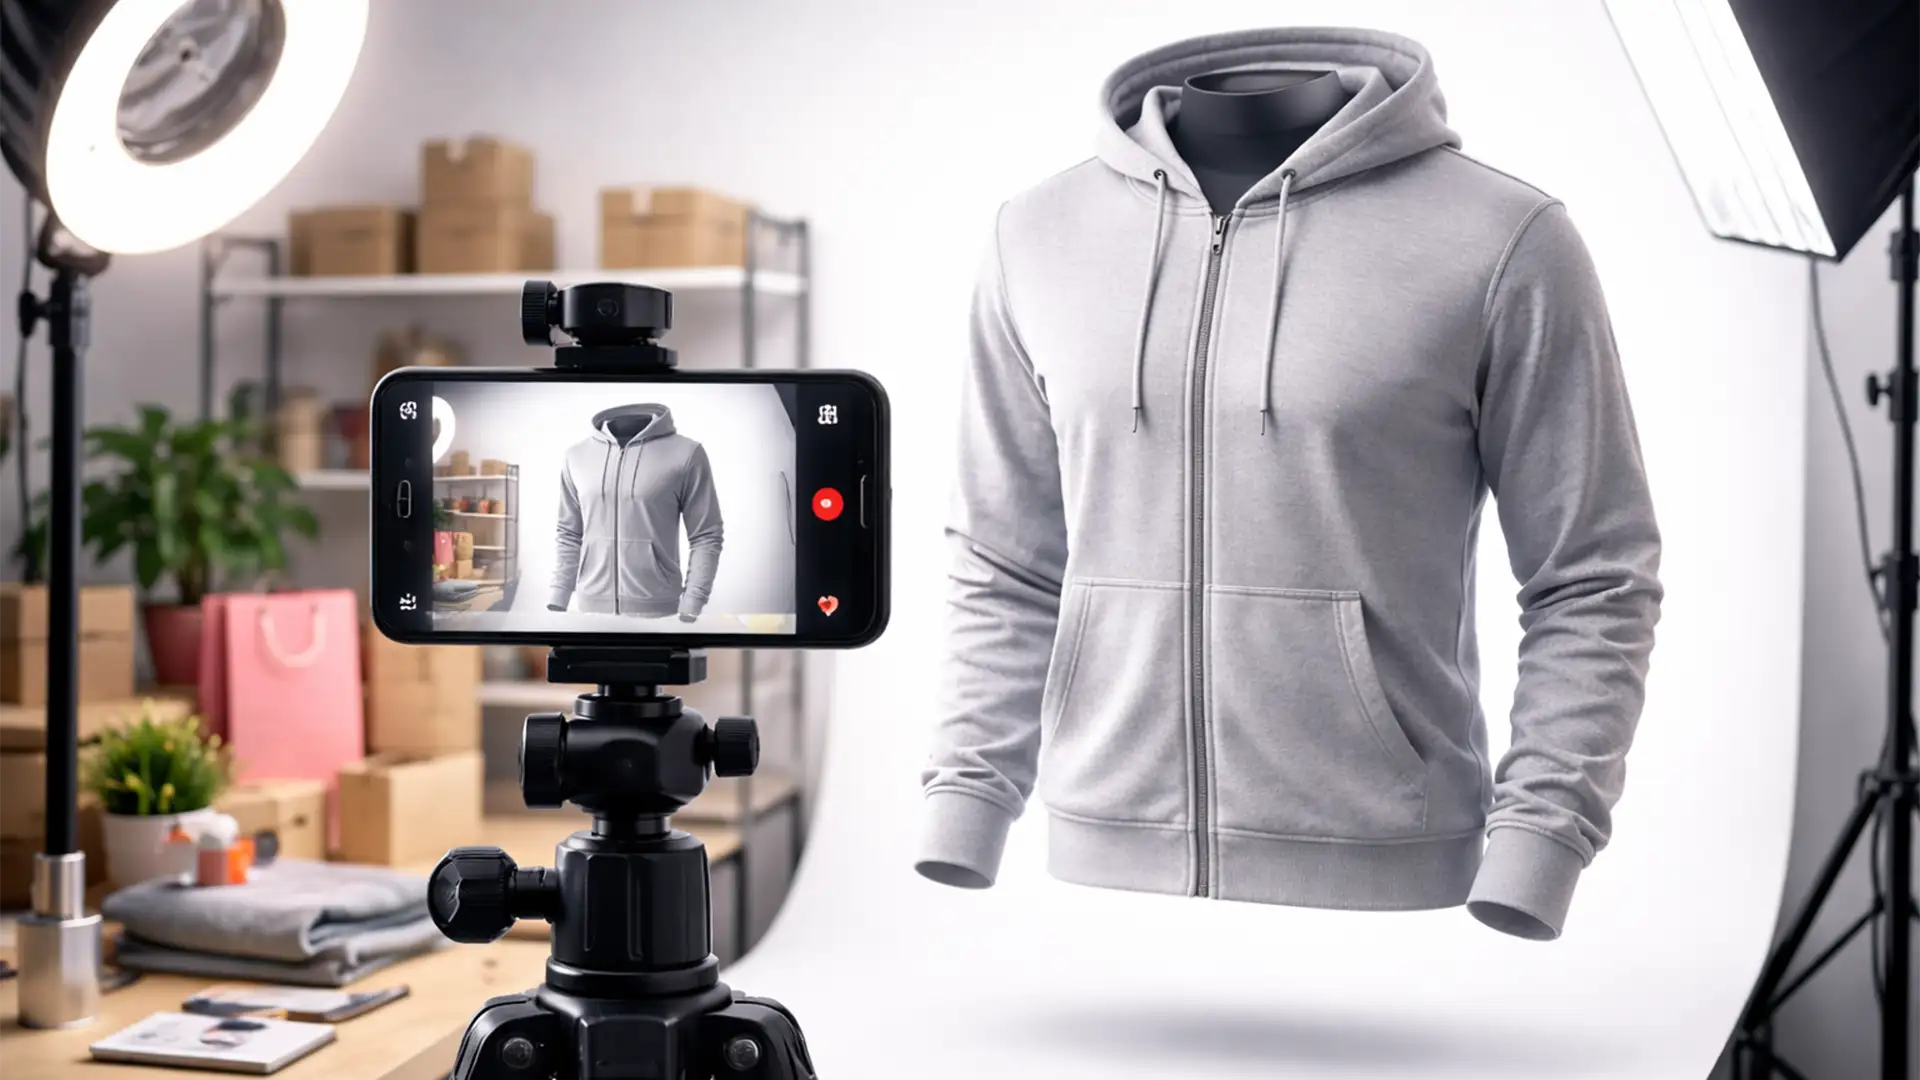
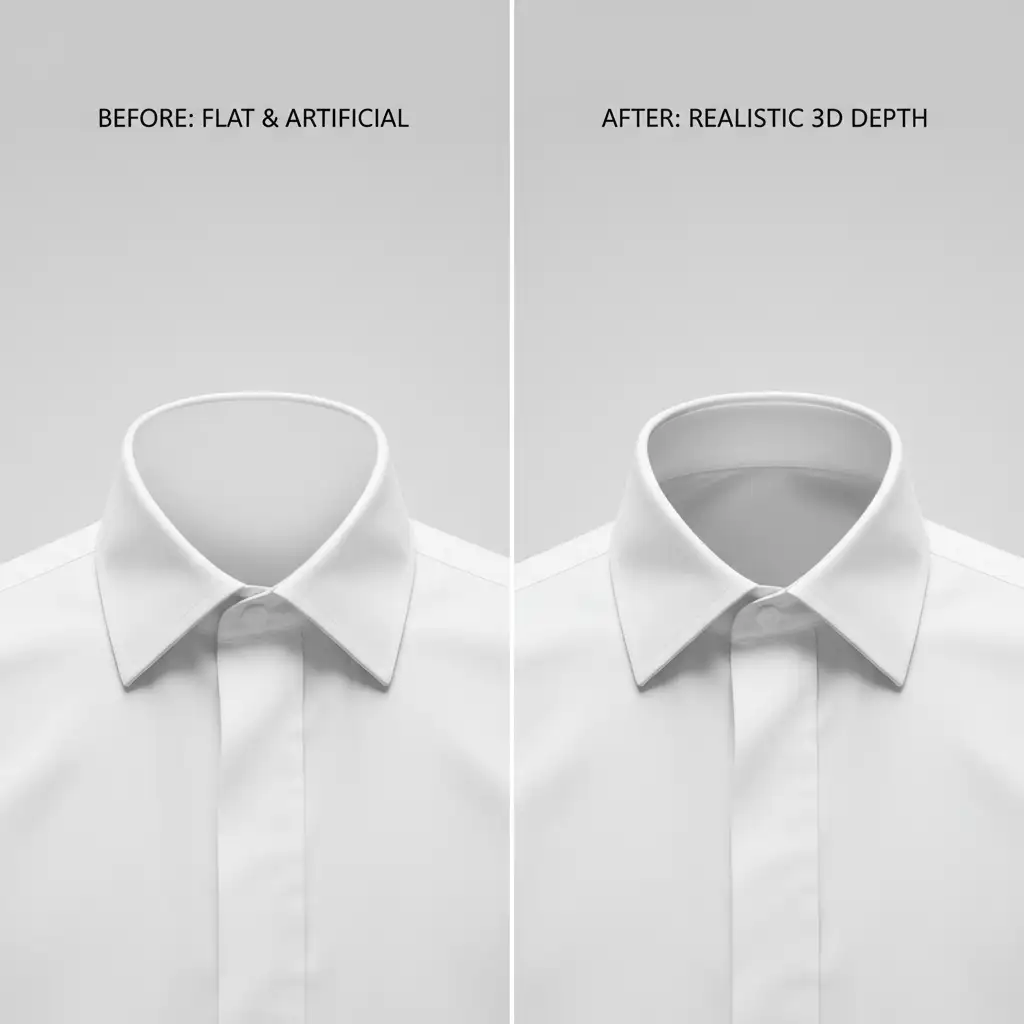
You’ve sourced the perfect apparel for your TikTok Shop, but there’s a glaring problem. Flat lay photos look amateurish, and hiring live models destroys your profit margins. If you want to stop the scroll and drive rapid conversions, you need that crisp, 3D “hollow” look.
Achieving the perfect ghost mannequin effect usually requires expensive studio gear and complex compositing skills, leaving budget-conscious sellers frustrated with jagged edges and mismatched lighting. Good news: you don’t need a $3,000 camera. In this guide, we’ll show you exactly how to shoot and edit professional ghost mannequin photography for TikTok Shop sellers using just your smartphone and Photoshop.
The Budget Studio Setup: Smartphone Mastery
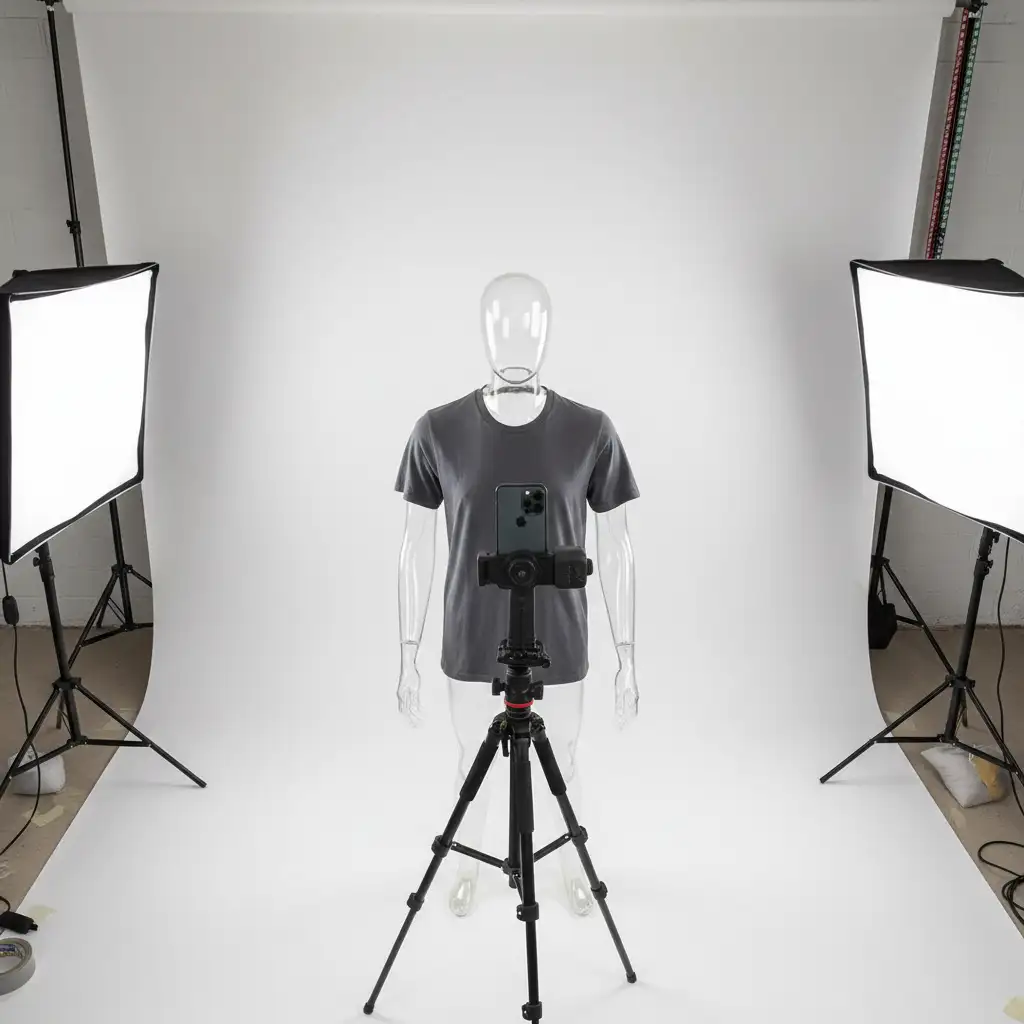
The core technical challenge for TikTok Shop sellers lies in achieving professional apparel rendering without high-end studio gear. When using a smartphone, consistency is your biggest hurdle.
To ensure your photos line up perfectly in post-production, you must lock your phone on a tripod. More importantly, you need to utilize your camera app’s AE/AF Lock (Auto-Exposure/Auto-Focus Lock). Tap and hold the screen on your garment until the lock icon appears. This prevents your smartphone from automatically changing the brightness or white balance between your different shots, which is critical for a seamless composite image later.
Capturing the Two Essential Exposures
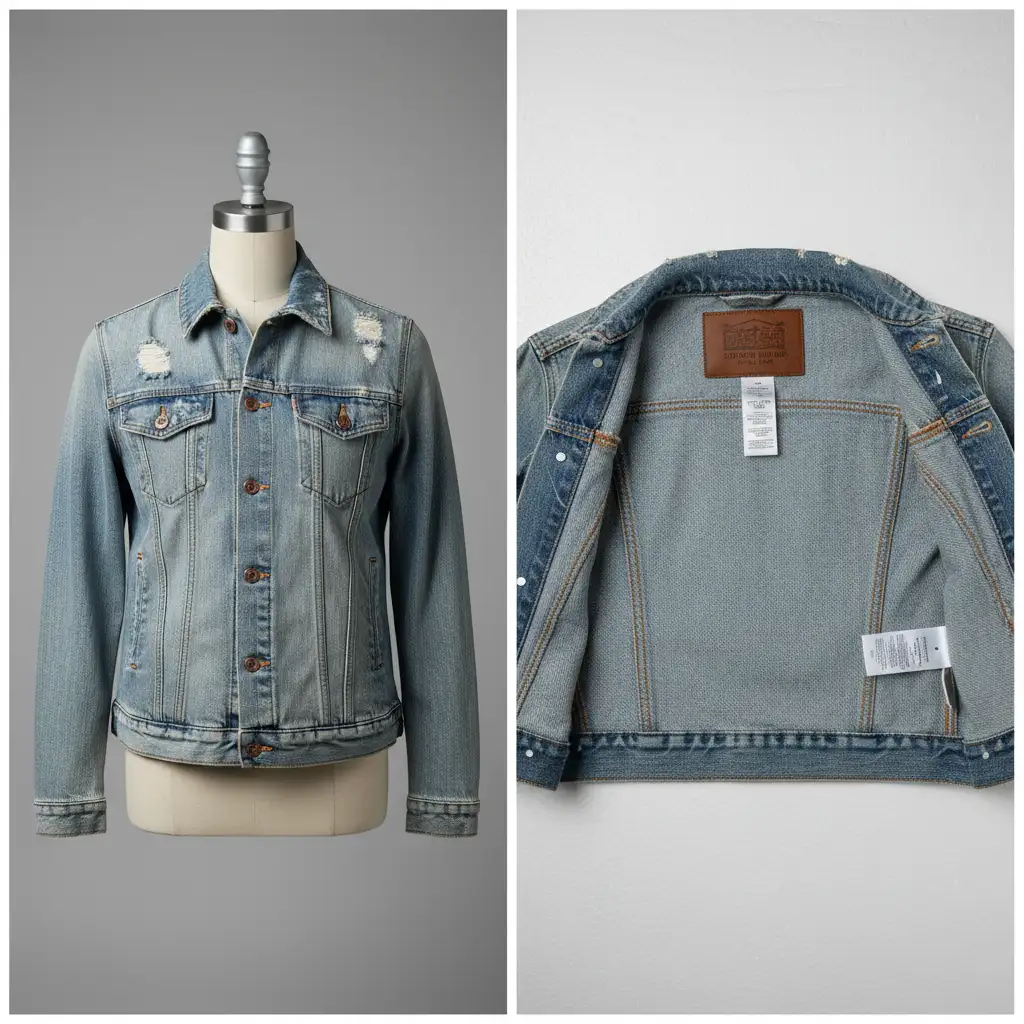
To create a believable 3D garment, you cannot rely on just one photo. You must capture two specific exposures without moving the tripod:
- The On-Mannequin Front: Shoot the garment exactly how you want it to look on the customer. Ensure the chest, shoulders, and hem are styled perfectly.
- The Inlay Shot (Inside-Out Neck): Remove the garment, turn it inside out, and dress the mannequin again so the inner back collar (and brand label) is exposed. This provides the interior fabric needed to fill the “hollow” neck space.
How to Edit Ghost Mannequin Photos in Photoshop v25.x
Once you have your locked-exposure shots, it’s time to bring them into Photoshop. Here are three methods to achieve the final look, ranging from a quick AI fix to a professional studio composite.
Method A: The Quick Fix (AI Assist)
For fast TikTok turnarounds where you might have forgotten to shoot the inner collar, you can leverage Adobe’s AI.
- Open your front shot in Photoshop v25.x or above.
- Use the Object Selection Tool to isolate the garment and mask out the background.
- Grab the Lasso Tool and select the empty collar area where the mannequin is visible.
- Click Generative Fill and type the prompt: ‘inside back collar of garment’.
- Photoshop will artificially reconstruct the neck. While not always perfect for complex patterns, it works brilliantly for solid colors and tight deadlines.
Method B: The Pro Workaround (Manual Compositing)
To guarantee an accurate representation of your product (especially important for TikTok Shop reviews), manual compositing is the industry standard.
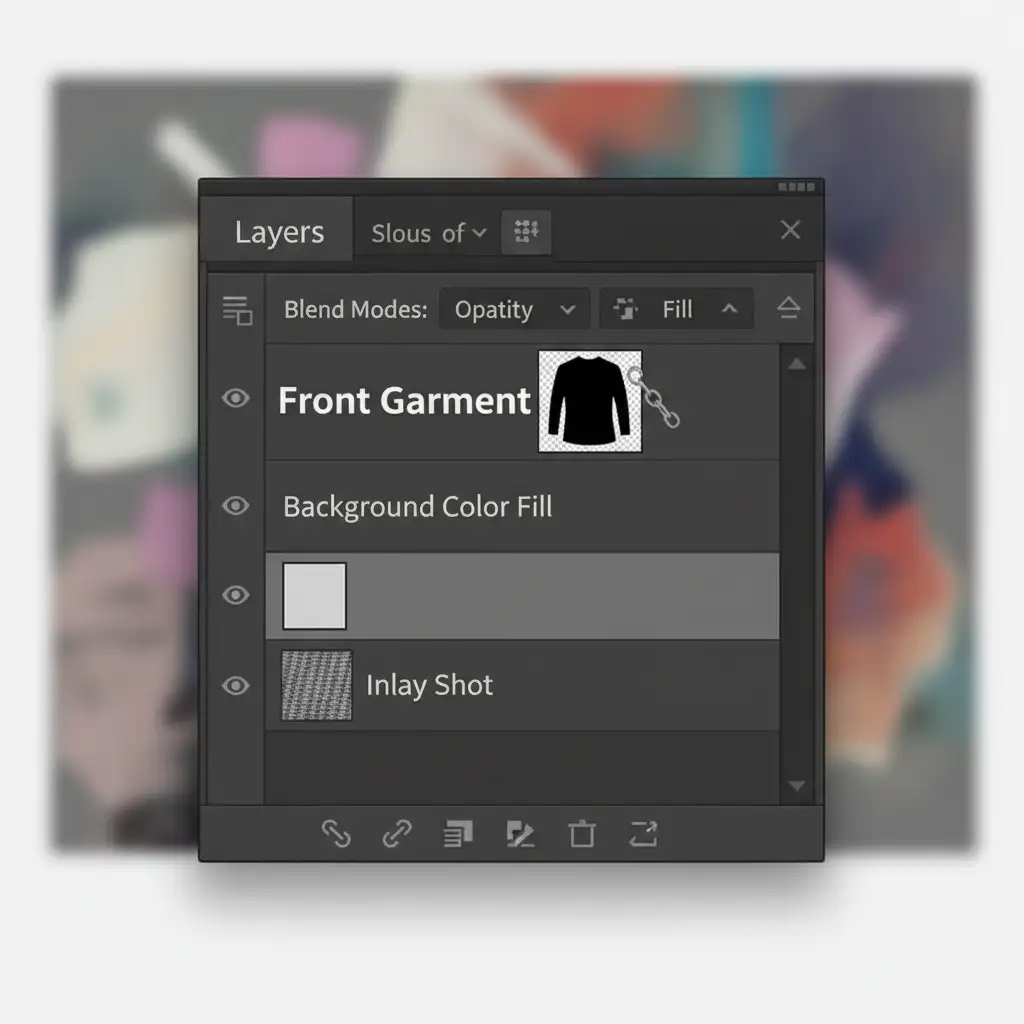
- Import your front shot and your inlay shot into a single Photoshop document.
- Place the inlay shot on a layer directly below the front shot layer.
- Select the front layer. Instead of relying on the Magic Wand, use the Pen Tool to create a highly precise clipping path around the inner collar line.
- Right-click and select “Make Selection” to see the marching ants.
- Invert the selection and apply a Layer Mask. This non-destructive technique hides the mannequin’s neck and seamlessly reveals the actual back-neck label shot behind it.

Method C: The Technical Deep-Dive (Warp & Shadow Integration)
Often, the inner neck shot will not perfectly align with the front garment shoulders due to minor styling shifts. To achieve flawless aspect ratio optimization and realism, you must manipulate the fabric and lighting.
- Select your inlay layer and activate the Puppet Warp or Transform Warp tool. Carefully manipulate the fabric edges until the shoulder seams match the front layer perfectly.
- Use Curves or Levels to apply localized exposure adjustments if the lighting between the two shots feels mismatched.
- The Secret to Realism: Create a new blank layer between the front and inlay layers. Set the blending mode to Multiply.
- Using a soft brush with low opacity, paint a soft black Drop Shadow onto the inner back fabric, right where the front collar overlaps it. This simulates authentic 3D depth and studio lighting.
Scale Your TikTok Shop with Image Work India
Mastering the technical camera setup and Photoshop compositing required to merge front and inner garment photos flawlessly takes time—time you could be spending sourcing new products or engaging with your TikTok audience.
If you are scaling your TikTok Shop inventory and need high-converting 3D product visuals without the editing headache, let Image Work India and Cloud Retouch handle it. We specialize in flawless, high-volume ghost mannequin editing, advanced clipping paths, and professional apparel retouching. Send us your raw smartphone shots, and we’ll deliver perfectly composited, ready-to-upload product images that drive sales.
Contact Cloud Retouch today to streamline your product photography workflow!


