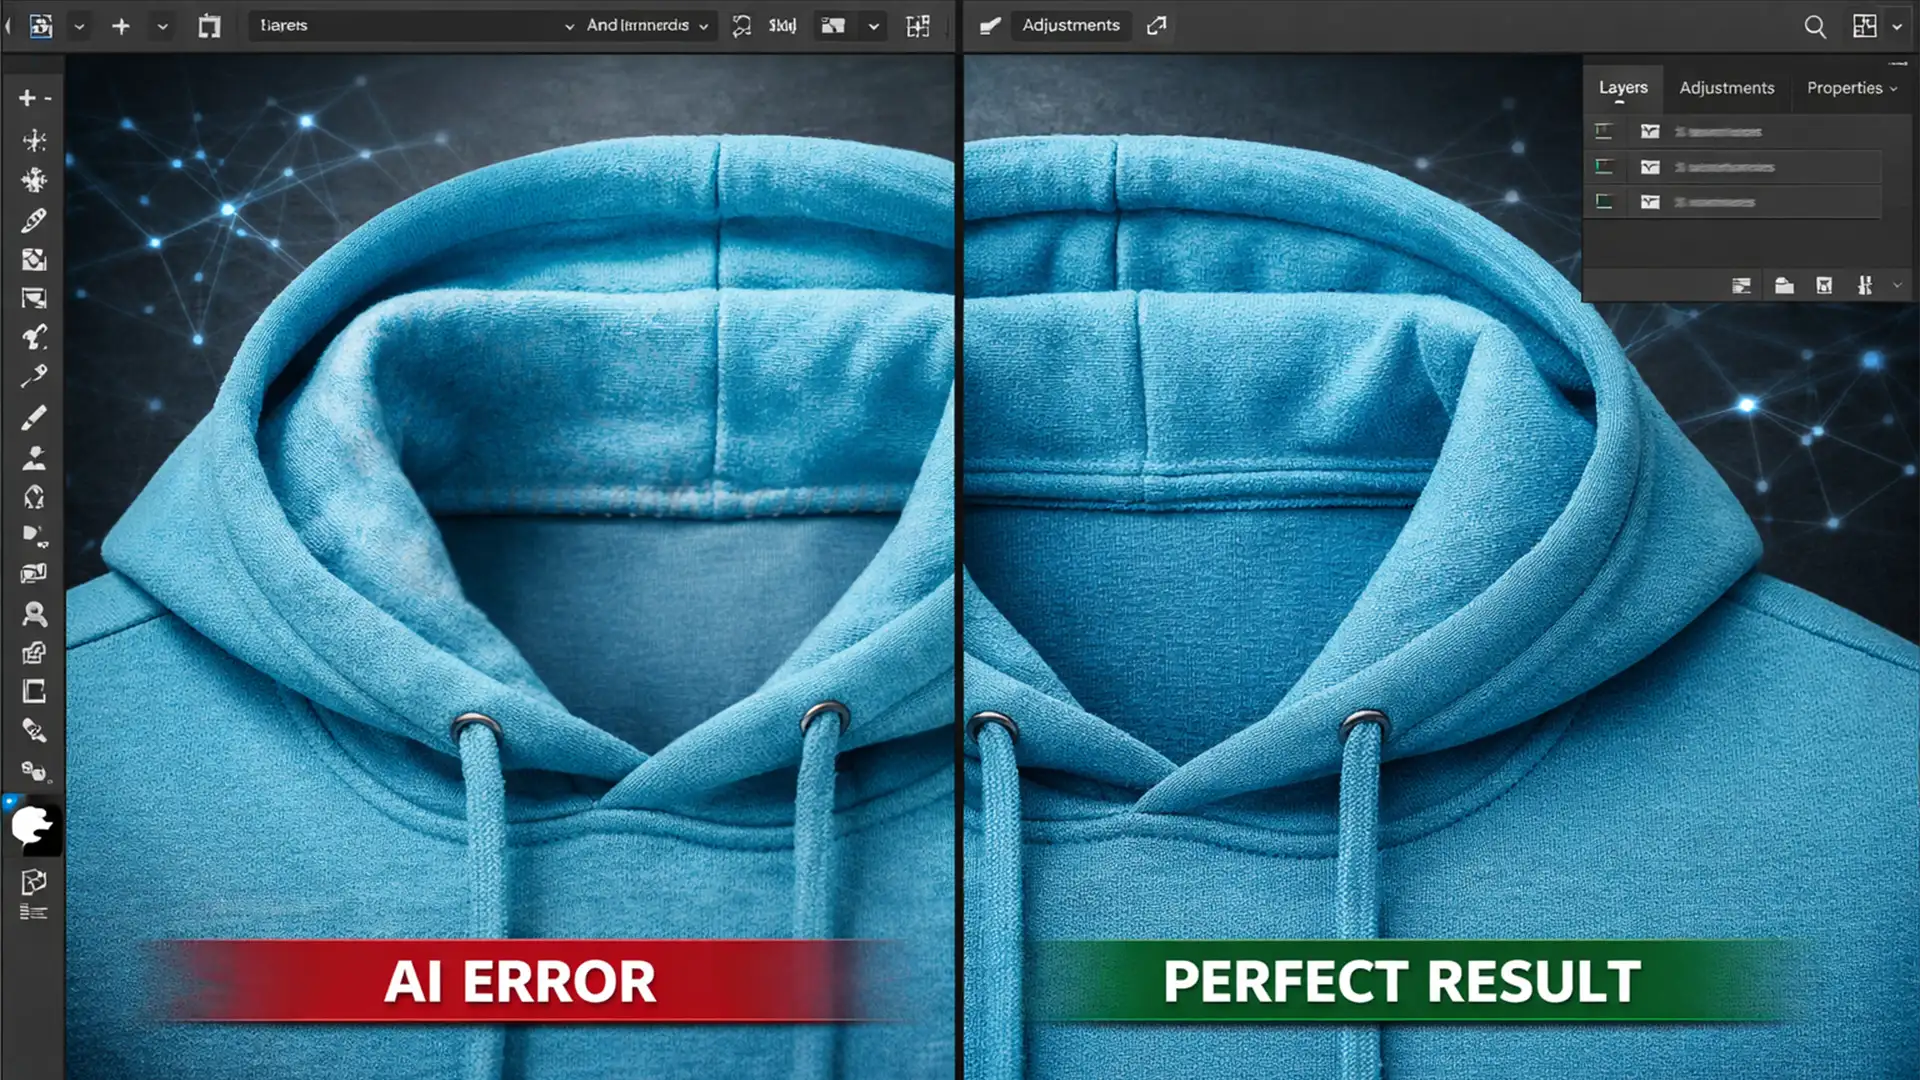
You just finished shooting a flawless apparel catalog. You bring your raw files into Photoshop v25.x, line up the inner neck insert with the front chest, and hit Generative Fill to seamlessly merge the ghost mannequin neck joint. But instead of a perfect composite, you are left with a disaster: a blurry, melted patch of pixels that looks completely unnatural next to your high-resolution fabric.
If you are struggling with an AI generative fill texture mismatch in ghost mannequin photography, you aren’t alone. While AI is an incredible tool for eCommerce photo editing, it frequently fails to replicate the micro-contrast and intricate fabric weaves of high-end apparel.
In this guide, we will break down exactly why this happens and show you three professional, non-destructive editing workflows to bridge the texture gap and save your product photos.
The Problem with AI Generative Fill in Apparel Photography
To fix the problem, you first need to understand why the neural network is failing your images.
When you use Adobe Firefly-powered Generative Fill to stitch a neck joint, the AI prioritizes structural completion over micro-texture. Furthermore, the current AI models often generate a maximum 1024×1024 output patch. When this relatively low-resolution patch is stretched across a 45-megapixel raw file, the result is a glaring texture mismatch.
Instead of a seamless cotton fabric weave, you get:
- Blurry Patches: A sudden drop in sharpness along the composite seam.
- Warped Fabric Grains: The AI hallucinates a weave direction that doesn’t match the garment’s natural drape.
- Color Bleeding: Shadows and midtones from the background bleed into the inner neck insert.
3 Ways to Fix Texture Mismatches in Ghost Mannequin Edits
You don’t have to abandon Generative Fill entirely. By combining AI with advanced manual retouching techniques, you can achieve a flawless, invisible seam. Here are three methods, ranging from a quick fix to a technical deep-dive.
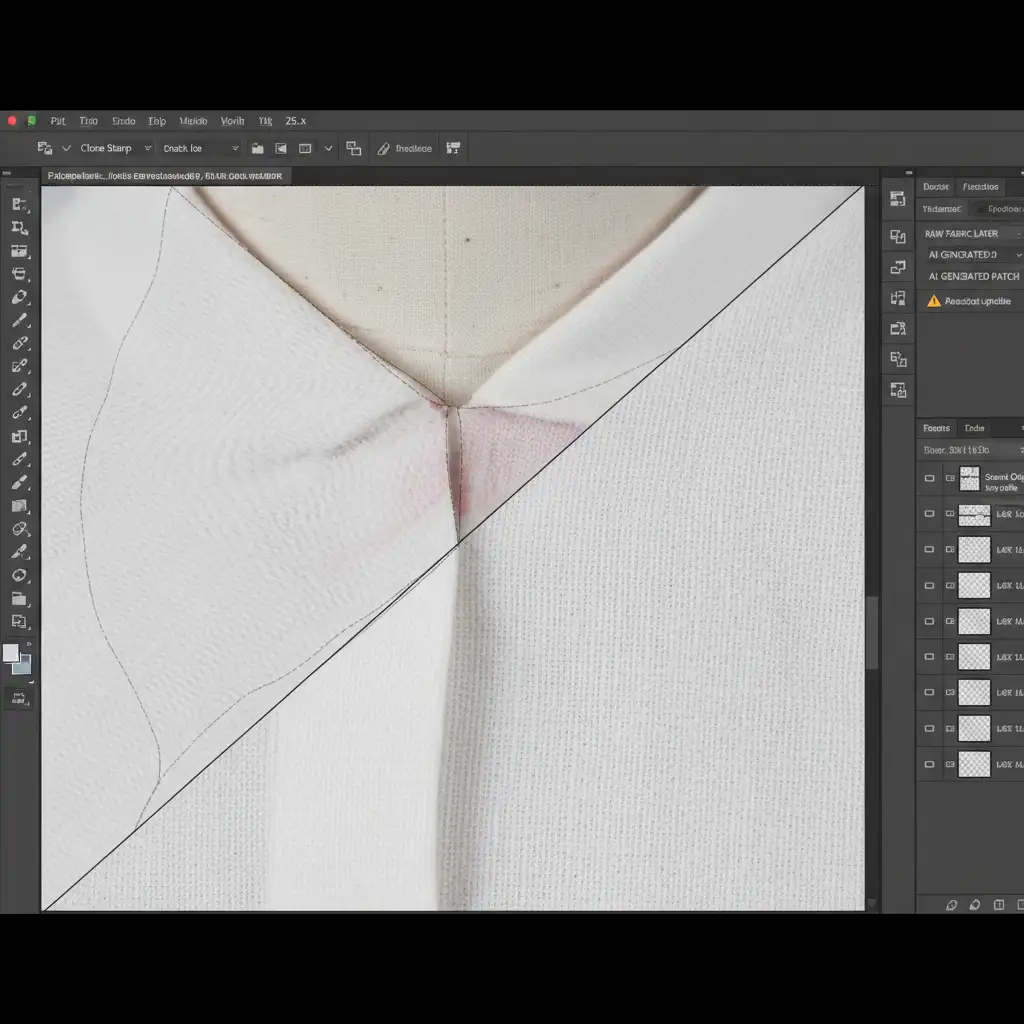
Method 1: The Quick Fix (Clone Stamp Blending)
If the texture mismatch is minor and localized strictly to the transition edge of the neck joint, manual blending is your fastest option.
- Create a new blank layer directly above your Generative Fill layer.
- Select the Clone Stamp Tool (S).
- In the top options bar, set the sample mode to ‘Current & Below’.
- Choose a soft-edge brush and lower the opacity to roughly 30%.
- Carefully sample the sharp, original fabric weave from the chest and lightly paint over the blurry AI transition edge to manually blend the seam.
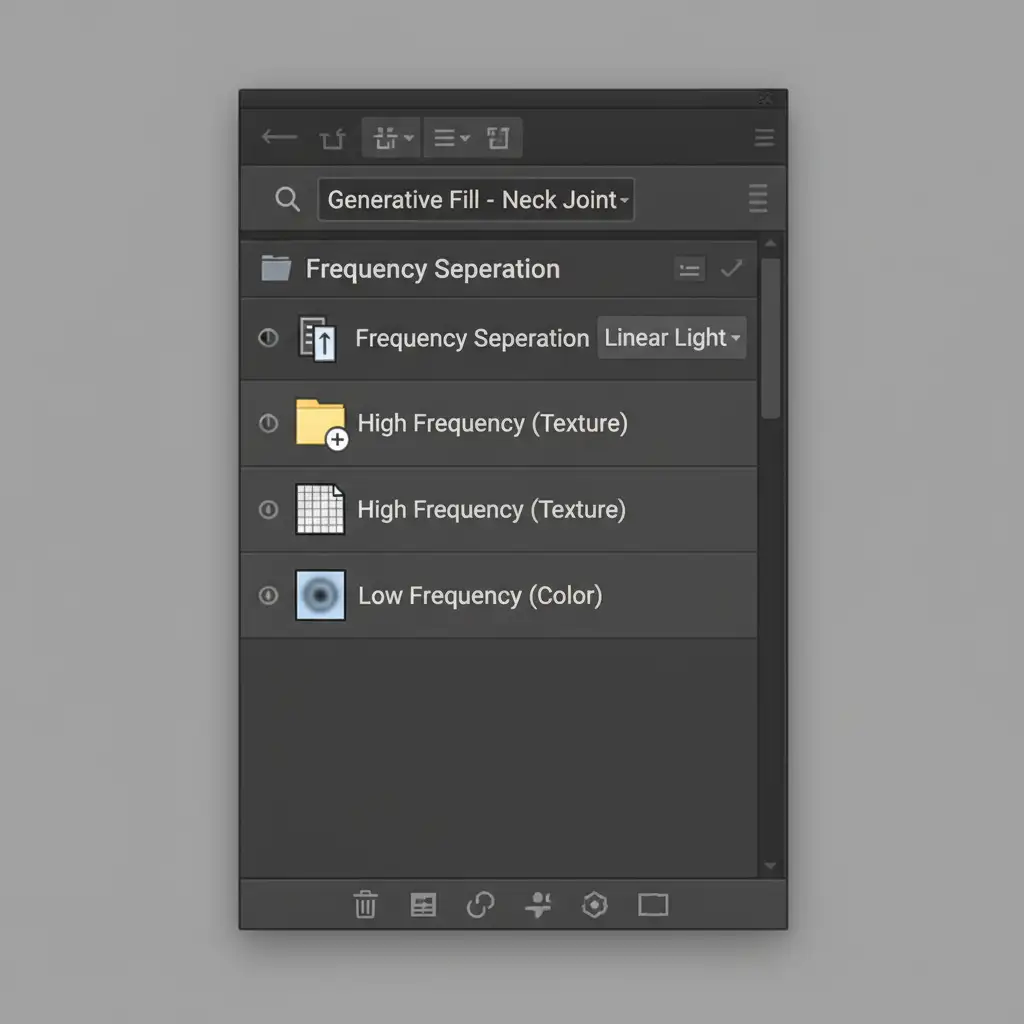
Method 2: The Pro Workaround (Frequency Separation)
When dealing with severe color bleeding and complete loss of fabric weave consistency, standard cloning will look muddy. You need Frequency Separation. This technique separates your image’s texture from its color, allowing you to fix the fabric weave without altering the shadows of the neck insert.
- Merge a copy of your neck joint area and duplicate it into two layers.
- Name the bottom layer Low Frequency (for color/shadows) and the top layer High Frequency (for texture).
- Apply a Gaussian Blur to the Low Frequency layer until the fabric texture disappears.
- Apply a High Pass Filter to the High Frequency layer to isolate the fabric weave, then set its blend mode to Linear Light.
- Select the Clone Stamp Tool, target only the High-Frequency layer, and borrow matching fabric weave from the sharp chest area, stamping it directly over the mismatched AI neck area.
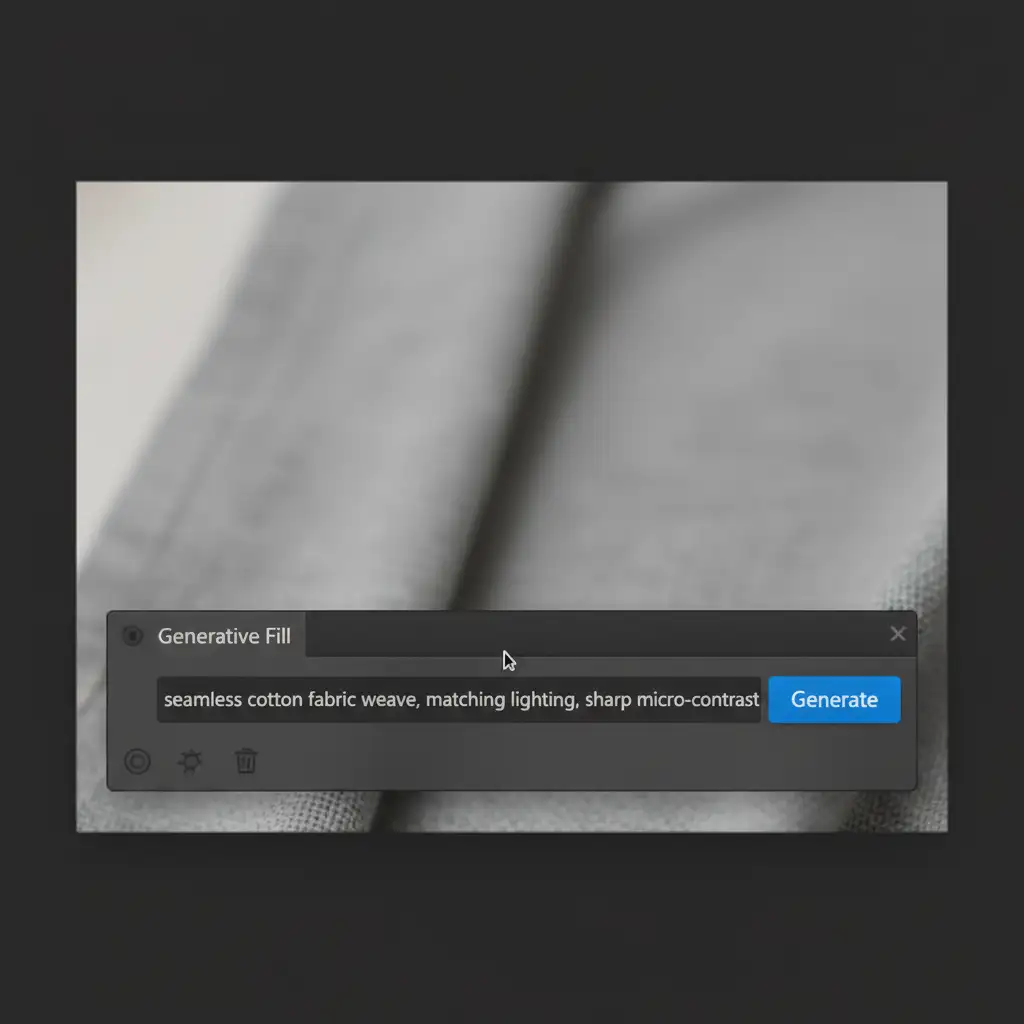
Method 3: The Technical Deep-Dive (Prompting & Noise Unification)
The most advanced way to fix this issue is to stop the AI from generating blank textures in the first place, and then unify the final result with raw camera noise.
Step A: Precise Prompt Engineering Never leave the Generative Fill prompt blank when doing ghost mannequin neck joints. Blank prompts force the AI to guess. Instead, use specific textile descriptors.
Step B: Noise Unification Even with a great prompt, the 1024×1024 output patch will lack the natural digital noise of your raw file. You must bind the AI pixels to the original image.
- Create a new layer at the very top of your layer stack.
- Fill it with 50% Gray (Shift + F5).
- Change the layer blend mode to Overlay.
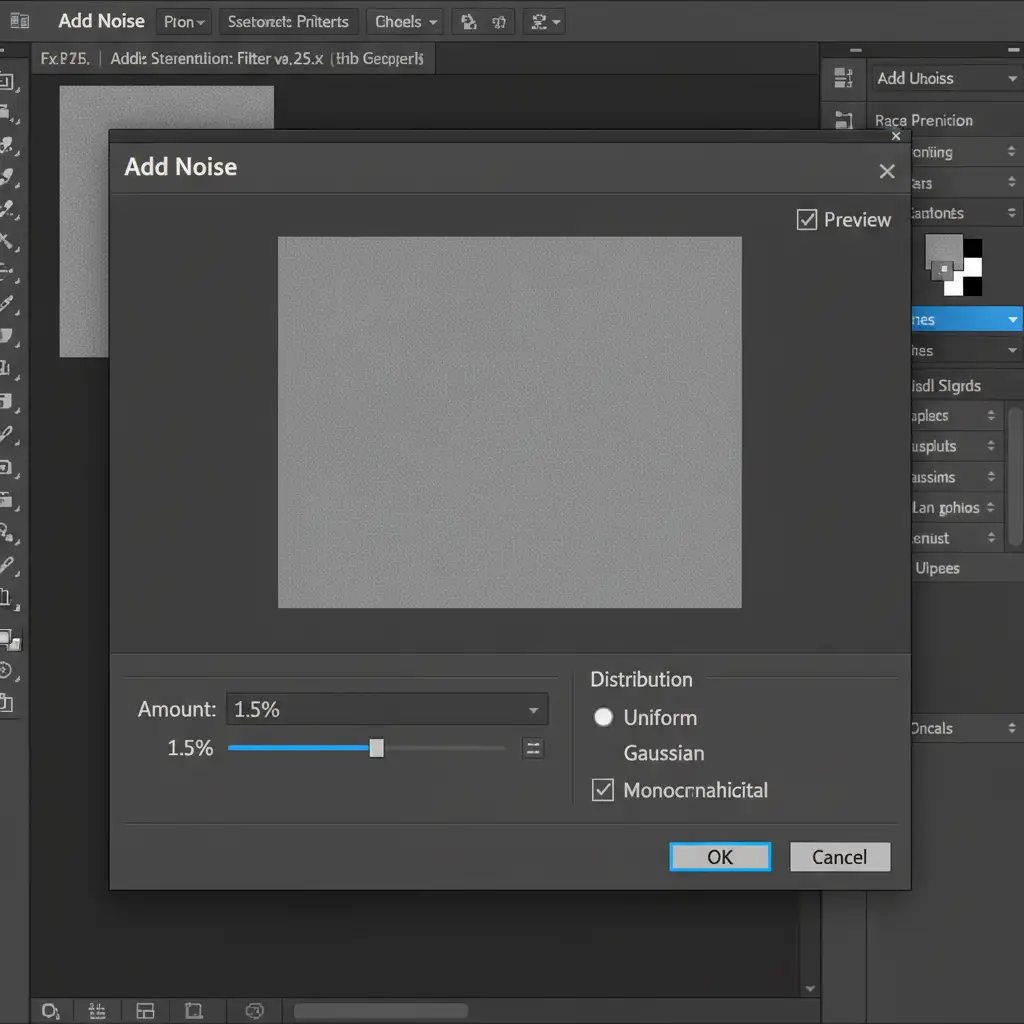
- Navigate to Filter > Noise > Add Noise.
- Set the distribution to Uniform, check Monochromatic, and set the amount to 1-2% (match this to your camera’s natural ISO noise).
- Clip this noise layer specifically to your Generative Fill layer using Layer Masking.
Scale Your eCommerce Retouching with the Experts
Fixing an AI generative fill texture mismatch on a single ghost mannequin image takes a few minutes. But what happens when you have a seasonal catalog of 5,000 apparel items? Manually running Frequency Separation and noise unification on thousands of neck joints will destroy your production timeline and eat into your profit margins.
You don’t have to do this alone.
At Image Work India and Cloud Retouch, we specialize in high-volume, premium eCommerce photo editing. Our team of expert retouchers understands the exact limitations of AI and utilizes advanced, non-destructive editing techniques to deliver flawless ghost mannequin composites at scale. We guarantee perfect fabric weave consistency, accurate color matching, and invisible neck joints on every single file.
Stop fighting with AI artifacts and start scaling your business. Contact Image Work India and Cloud Retouch today for a free trial, and let us deliver picture-perfect, texture-accurate product photos that convert browsers into buyers.


