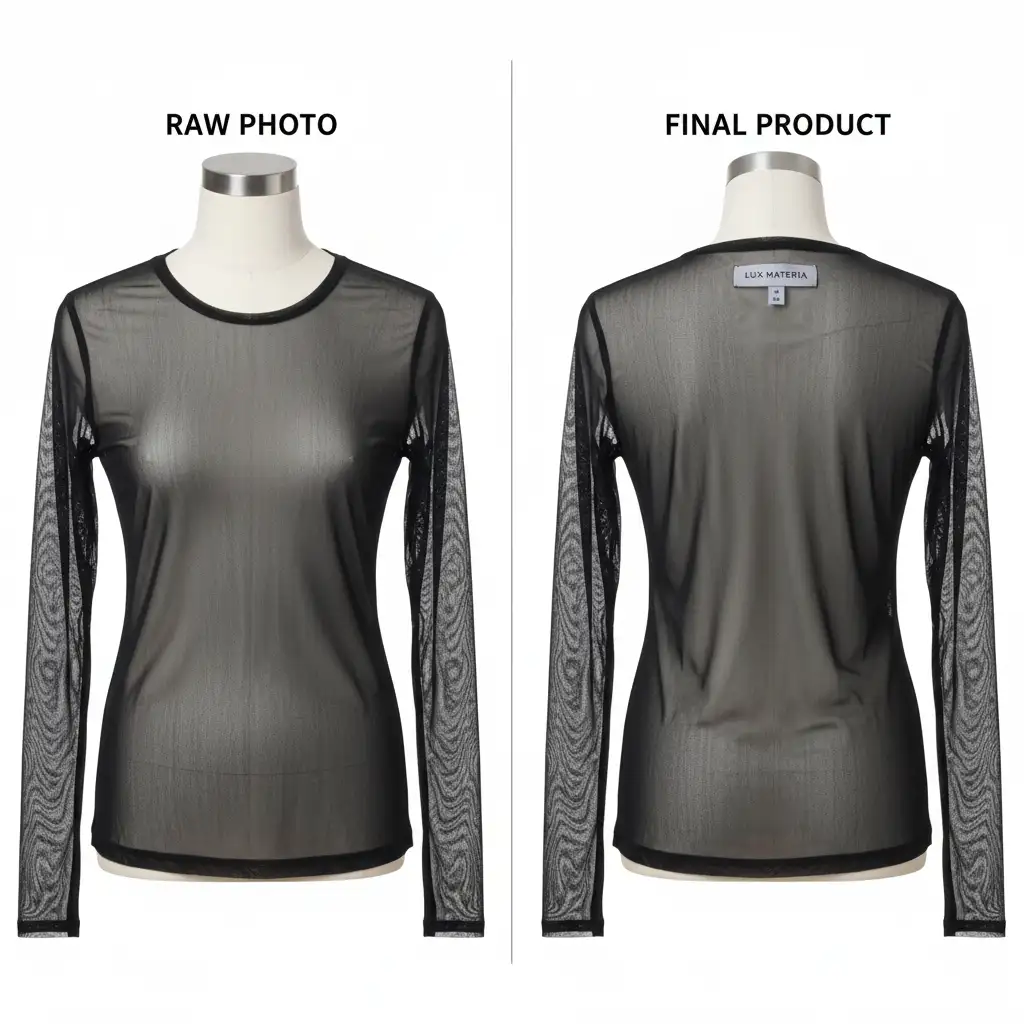
If you edit apparel for e-commerce, you already know the nightmare of ghost mannequin sheer mesh fabric retouching. When dealing with sheer, mesh, or delicate lace garments, the physical mannequin aggressively shows through the translucent material, ruining the product presentation.
Standard automated subject selections or a basic solid-color clipping path will completely destroy the delicate transparency of the fabric, leaving you with a flat, jagged, or artificially opaque look. To fix this, you need to isolate translucent pixels with mathematical precision while digitally reconstructing the interior back collar.
In this guide, we will walk you through the exact Photoshop CC (v24.x – v25.x) techniques required to seamlessly merge a front sheer garment with an inserted backplate, ensuring no visual conflict or moiré patterns occur.
The Challenge of Translucent Fabrics in E-Commerce
The invisible mannequin technique relies on combining two images: the front of the garment and the inside back collar/label. But with sheer fabrics, the front layer isn’t solid. If you simply paste the back collar behind the front layer, the physical mannequin from the original shot is still visible in the mesh.
To achieve a true, high-end ghost mannequin effect, we must rely on advanced non-destructive editing workflows to extract the fabric threads without losing their natural texture.
3 Professional Methods for Flawless Sheer Fabric Retouching
Depending on the complexity of the fabric—ranging from a simple translucent mesh to highly intricate bridal lace—you can use one of these three professional workflows.
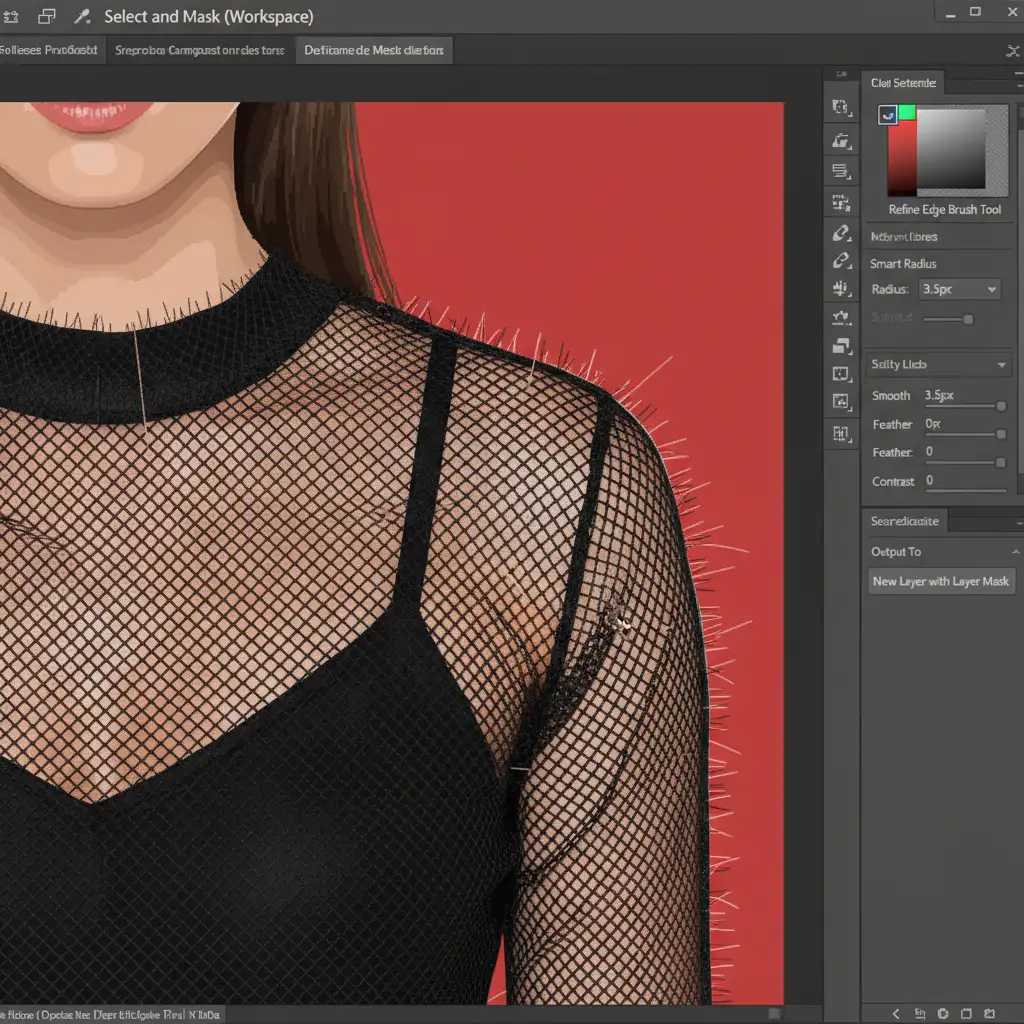
Method 1: The Quick Fix (Select and Mask Workspace)
For garments with basic, predictable mesh patterns, modern Photoshop tools can do a lot of the heavy lifting.
- Select the main garment using the Object Selection Tool.
- Enter the Select and Mask workspace from the top toolbar.
- Select the Refine Edge Brush tool from the left panel.
- Carefully paint over the sheer areas and edges of the garment. Photoshop will calculate the contrast and extract the delicate mesh threads from the solid background mannequin.
- Output the selection to a New Layer with Layer Mask to ensure the process remains non-destructive.
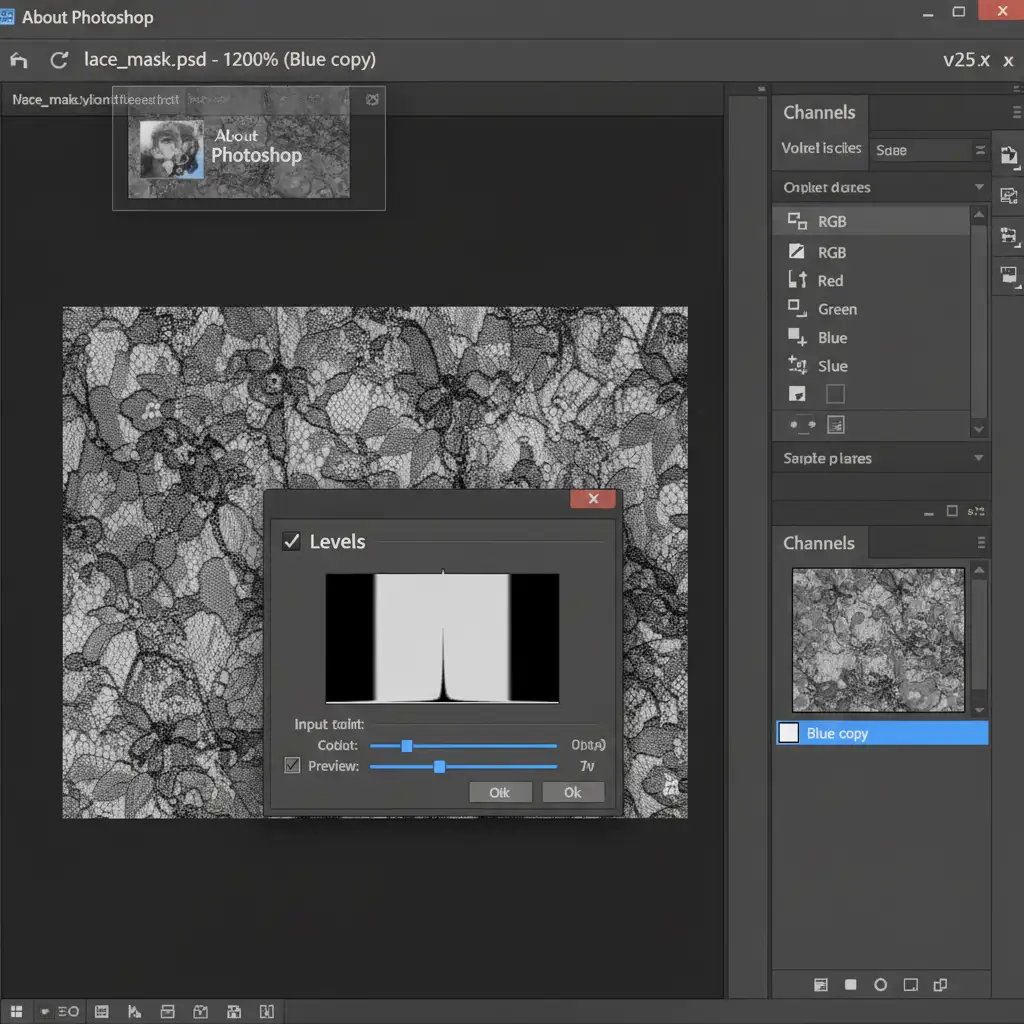
Method 2: The Pro Workaround (Advanced Channel Masking)
When dealing with highly intricate lace, the Refine Edge brush often leaves a halo. Channel Masking provides the mathematical precision needed to isolate pure texture.
- Open the Channels panel in Photoshop.
- Click through the Red, Green, and Blue channels to find the one with the highest contrast between the sheer fabric and the mannequin (this is often the Blue channel).
- Duplicate this channel to create an Alpha Channel.
- Press Ctrl/Cmd + L to bring up the Levels adjustment. Crush the blacks and whites by dragging the outer sliders inward until the sheer lace is stark white and the background is pure black.
- Ctrl/Cmd-click the duplicated channel thumbnail to load a Luminosity Selection.
- Invert the selection (Ctrl/Cmd + Shift + I) if necessary, return to your layers panel, and apply this as a layer mask to your garment.
Method 3: The Technical Deep-Dive (Frequency Separation & Blend If)
For the absolute highest quality standard, where the front mesh and the reconstructed back plate must interact flawlessly, retouchers utilize Frequency Separation combined with Blend If sliders.
- Separate your image into a low-frequency layer (color/tone) and a high-frequency layer (texture, often achieved via a High-Pass Filter or Apply Image).
- Place your reconstructed inner back neck/label layer below the front sheer garment layer.
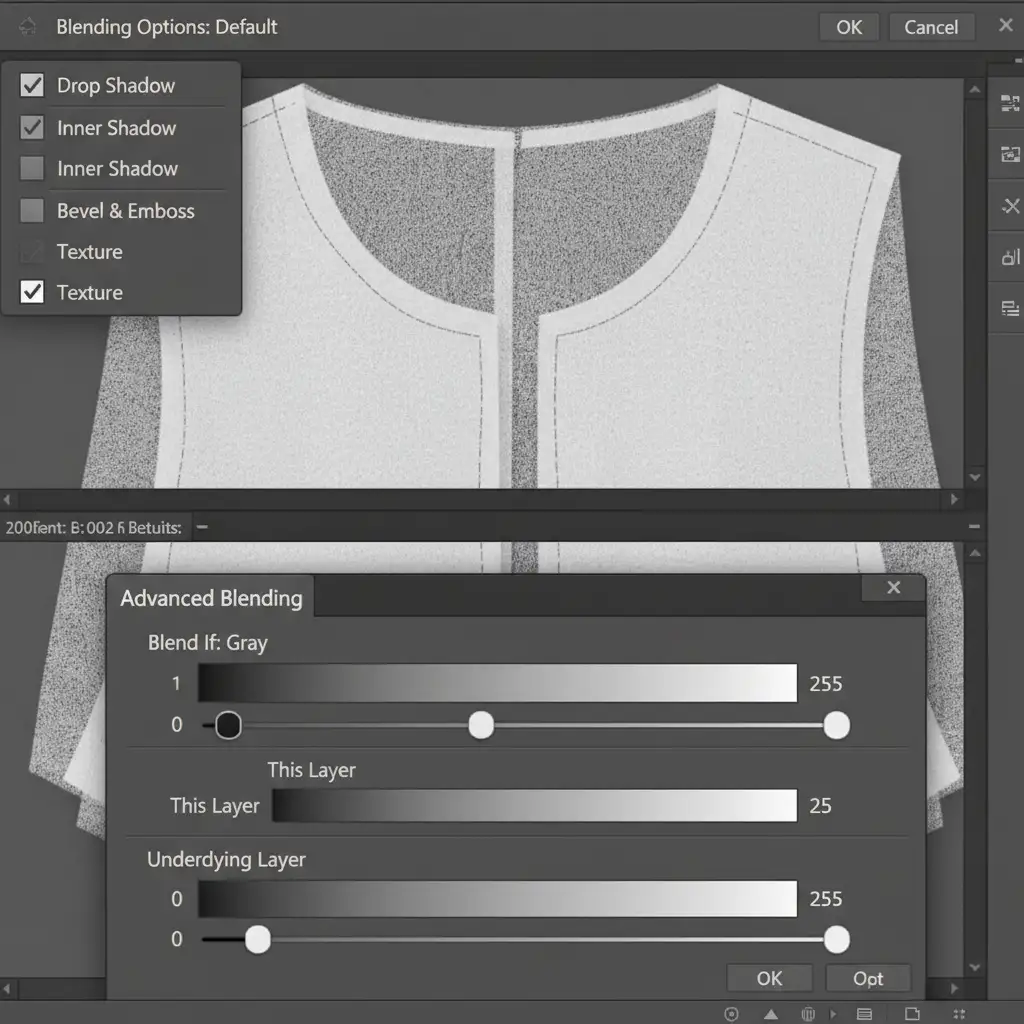
- Double-click the front sheer layer to open the Layer Style dialogue box.
- Navigate to the Blend If section at the bottom.
- Go to the Underlying Layer slider. Hold Alt/Opt and click the black or white toggle to split it.
- Dragging the split sliders allows the back inner neck to naturally push through the translucent gaps in the front mesh without compromising the front fabric’s structural texture.
Scale Your E-Commerce Retouching with the Experts
Mastering ghost mannequin sheer mesh fabric retouching requires an advanced understanding of layer masking, luminosity, and fabric physics. While these techniques yield flawless results, they are incredibly time-consuming—especially when you are processing hundreds of SKUs for a seasonal catalog launch.
You don’t have to bottleneck your production pipeline.
Image Work India and Cloud Retouch specialize in high-volume, pixel-perfect e-commerce image editing. Our team of Photoshop experts handles the most complex sheer, mesh, and lace garments daily, delivering flawless invisible mannequin effects that elevate your brand’s visual identity.
Stop struggling with tedious extractions and channel masks. Let Image Work India and Cloud Retouch handle your post-production so you can focus on growing your business. Contact us today for a custom quote and a free trial of our industry-leading retouching services!


