Are you still wasting hours manually duplicating, cropping, and exporting the exact same product photo for every social media channel? Multi-channel marketing demands that a single SKU be perfectly formatted as a square for Shopify, a vertical video cover for TikTok, a portrait for the Instagram feed, and a landscape banner for your website. Doing this one by one isn’t just tedious—it destroys your productivity and profit margins. In this guide, we’ll show you how to batch resize product images for 4 platforms instantly using Adobe Photoshop CC 2023/2024, saving you exponential time and effort.
The Core Problem: Multi-Platform Aspect Ratio Chaos
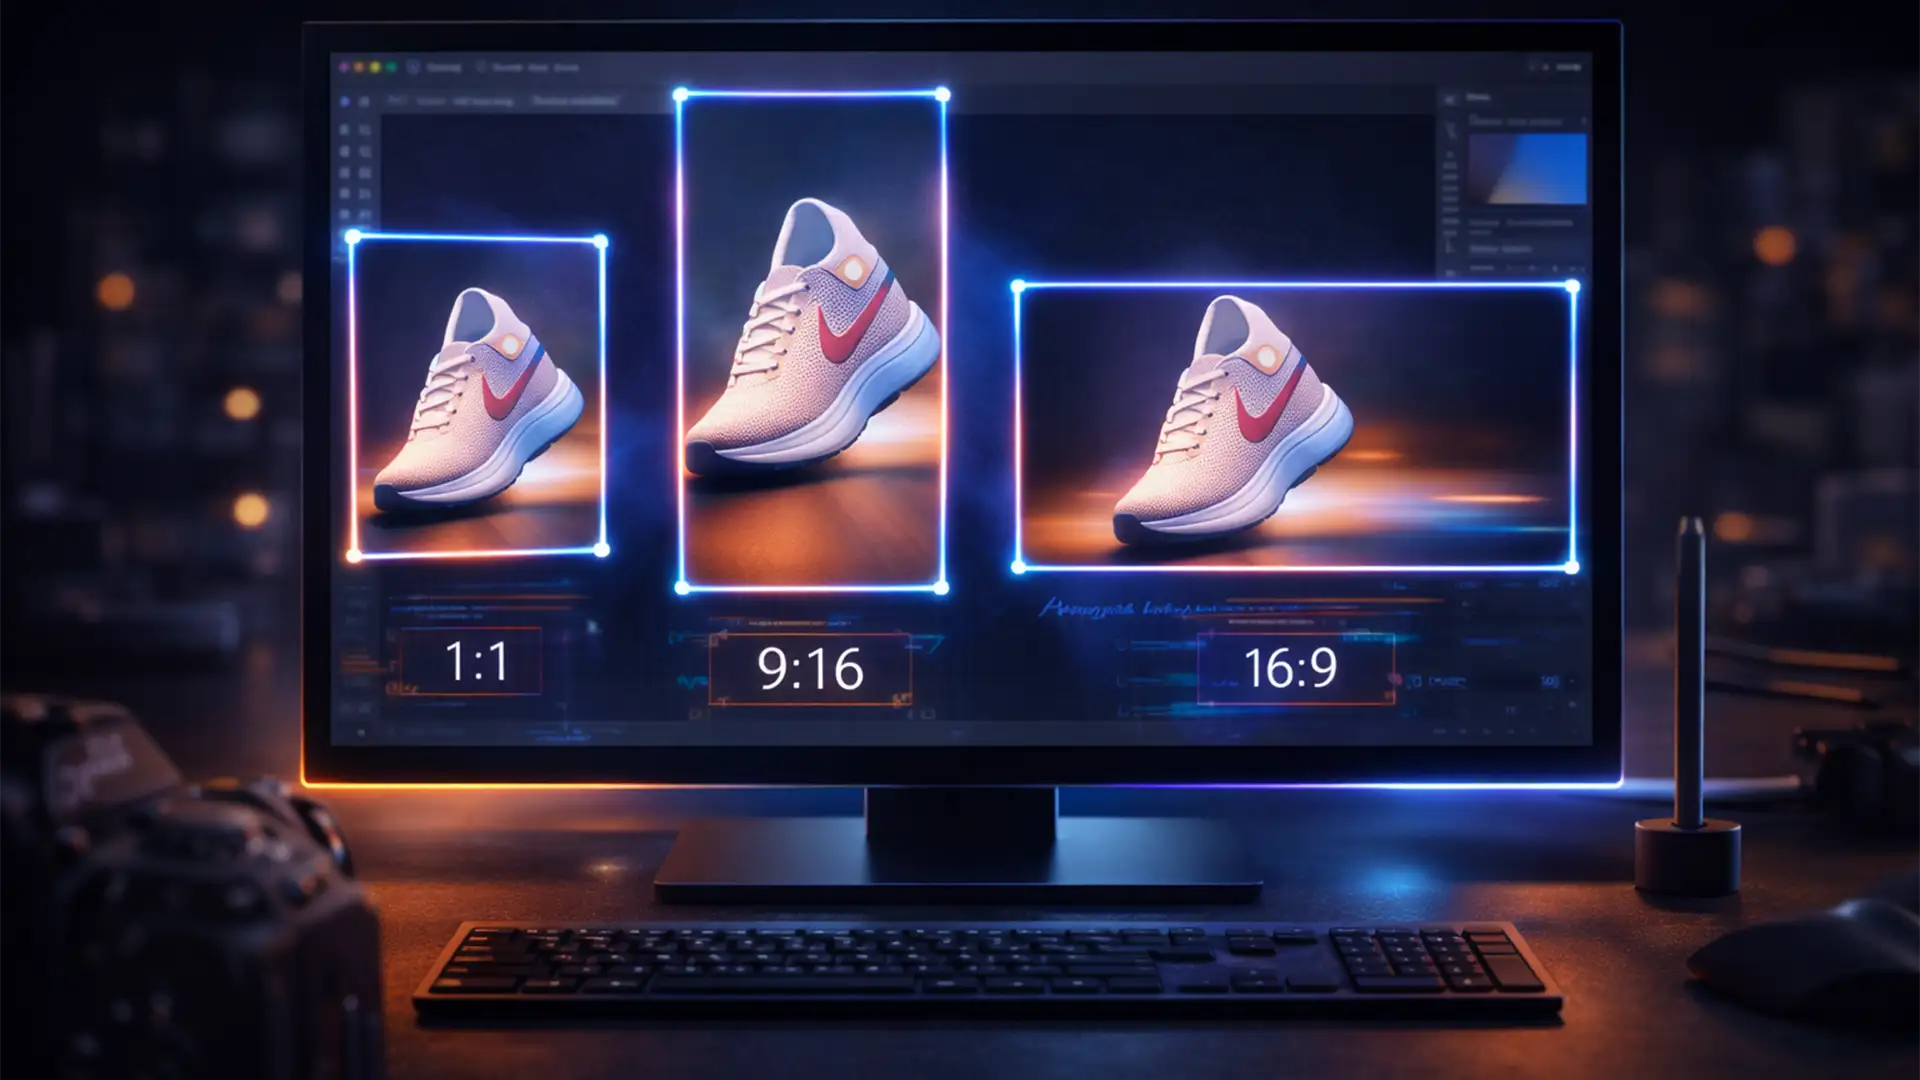
E-commerce managers and retouchers face a constant bottleneck: the multi-platform asset generation process. A single product shoot yields hundreds of images, but each one must be adapted to strict platform guidelines to ensure optimal resolution optimization:
- Shopify / Instagram Grid: 1:1 (Square)
- TikTok / Instagram Reels: 9:16 (Vertical)
- Instagram Post: 4:5 (Portrait)
- Website Banners / Twitter: 16:9 (Landscape)
Instead of manually adjusting the Canvas Size and exporting each variation, you can automate the entire sequence. Here are three professional workflows to eliminate the busywork.
Method 1: The Quick Fix – Photoshop Image Processor
If your only goal is to scale down high-resolution images into specific pixel dimensions without worrying about complex cropping, the Image Processor script is your fastest route.
How to Use the Image Processor Script
- Navigate to File > Scripts > Image Processor.
- Select the folder containing your original high-res product photos.
- Choose your destination folder.
- Under “File Type,” check “Save as JPEG” and input your desired dimensions (e.g., W: 1080, H: 1080).
- Click “Run.”
Photoshop will rapidly open, resize, and save every image in the folder without you having to touch a single file. However, for precise multi-platform cropping, you need a more advanced setup.
Method 2: The Pro Workaround – Custom Photoshop Actions
To truly batch resize product images for 4 platforms, you need to teach Photoshop your exact workflow. Photoshop Actions allow you to record iterative resizing and saving functions so you can apply them to entire folders of SKUs.
Step 1: Record Your Action
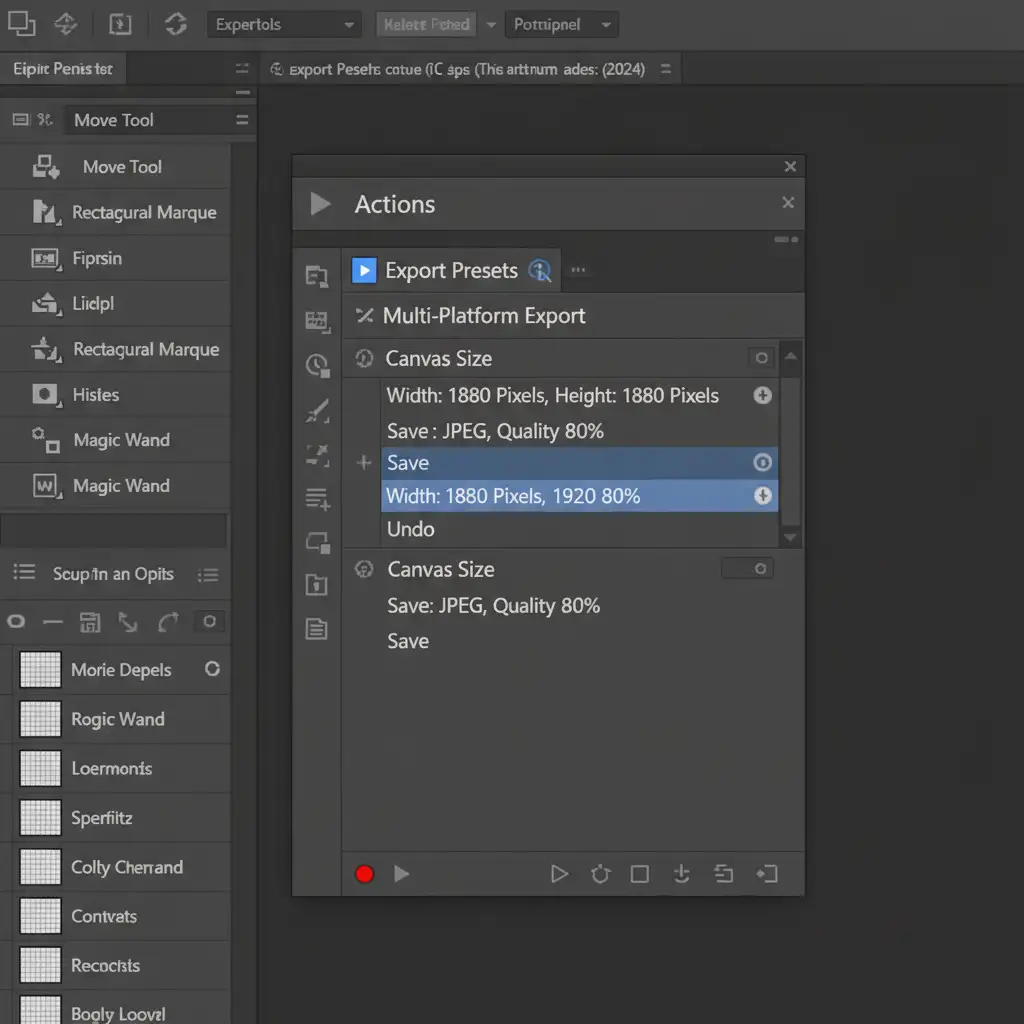
Open a single product image in Photoshop. Open your Actions panel (Window > Actions), create a new set, and click the “+” icon to start recording.
Execute the following steps while recording:
- Go to Image > Canvas Size and set the dimensions to 1080×1080 pixels (Shopify/IG).
- Use File > Save As (or Export As) to save the square version to a specific folder.
- Undo the Canvas Size change (Ctrl/Cmd + Z).
- Go back to Image > Canvas Size and set it to 1080×1920 pixels (TikTok).
- Save this version to a different folder.
- Repeat for 4:5 and 16:9 Aspect Ratios.
- Stop recording.
Step 2: Run Batch Automate
Now, apply this recorded action to your entire product catalog.
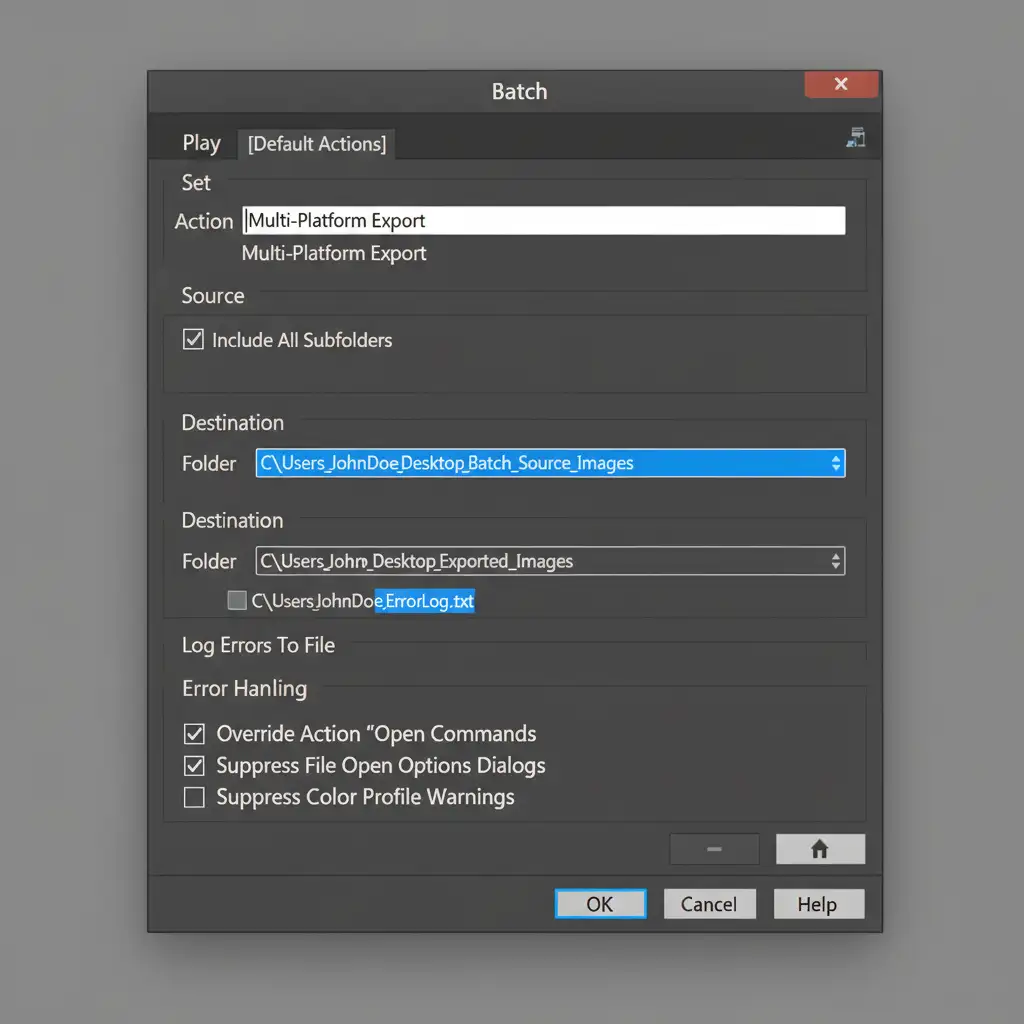
- Go to File > Automate > Batch.
- Select your newly created Action from the dropdown menu.
- Choose your Source folder (where your unedited SKUs live).
- Choose your Destination folder.
- Click “OK” and watch Photoshop process hundreds of images automatically.
Method 3: The Technical Deep-Dive – The Artboard Workflow
For high-end ecommerce retouching, the Artboard workflow combined with Smart Objects is the ultimate solution. Artboards provide a multi-canvas workspace natively suited for UI/UX and multi-platform asset generation. This method ensures lossless scaling and perfect composition control.
Step 1: Set Up the Master PSD
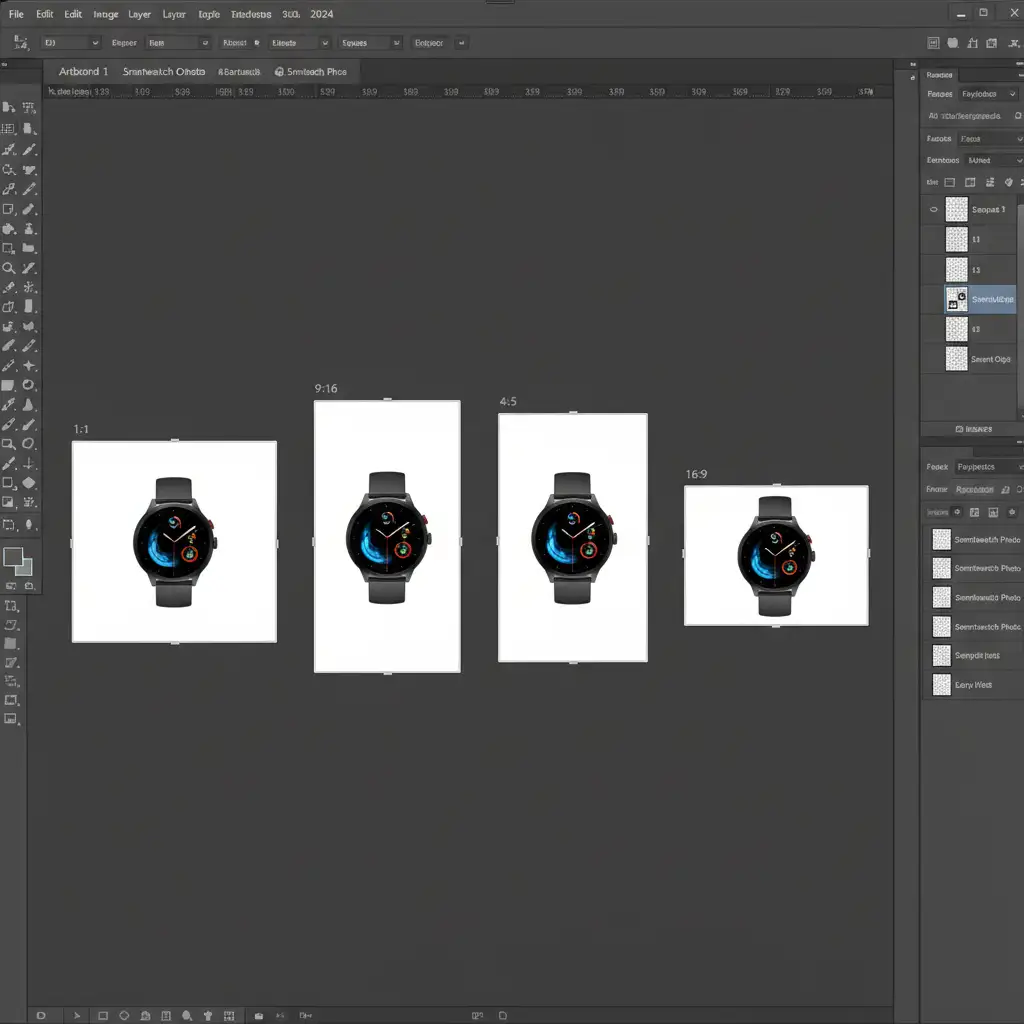
Create a new Photoshop document and use the Artboard tool to draw four distinct canvases side-by-side:
- Artboard 1: 1080 x 1080 (Shopify)
- Artboard 2: 1080 x 1920 (TikTok)
- Artboard 3: 1080 x 1350 (IG Portrait)
- Artboard 4: 1920 x 1080 (Web Banner)
Step 2: Use Linked Smart Objects
Place your product image into the document as a Linked Smart Object (File > Place Linked). Duplicate this exact same Smart Object layer into all four Artboards. Resize and position the product within each Artboard so it looks perfect for that specific aspect ratio.
Because they are linked, if you ever need to update the product photo (e.g., swapping a red shoe for a blue shoe), you only update the Smart Object once, and it instantly updates across all four Artboards perfectly positioned.
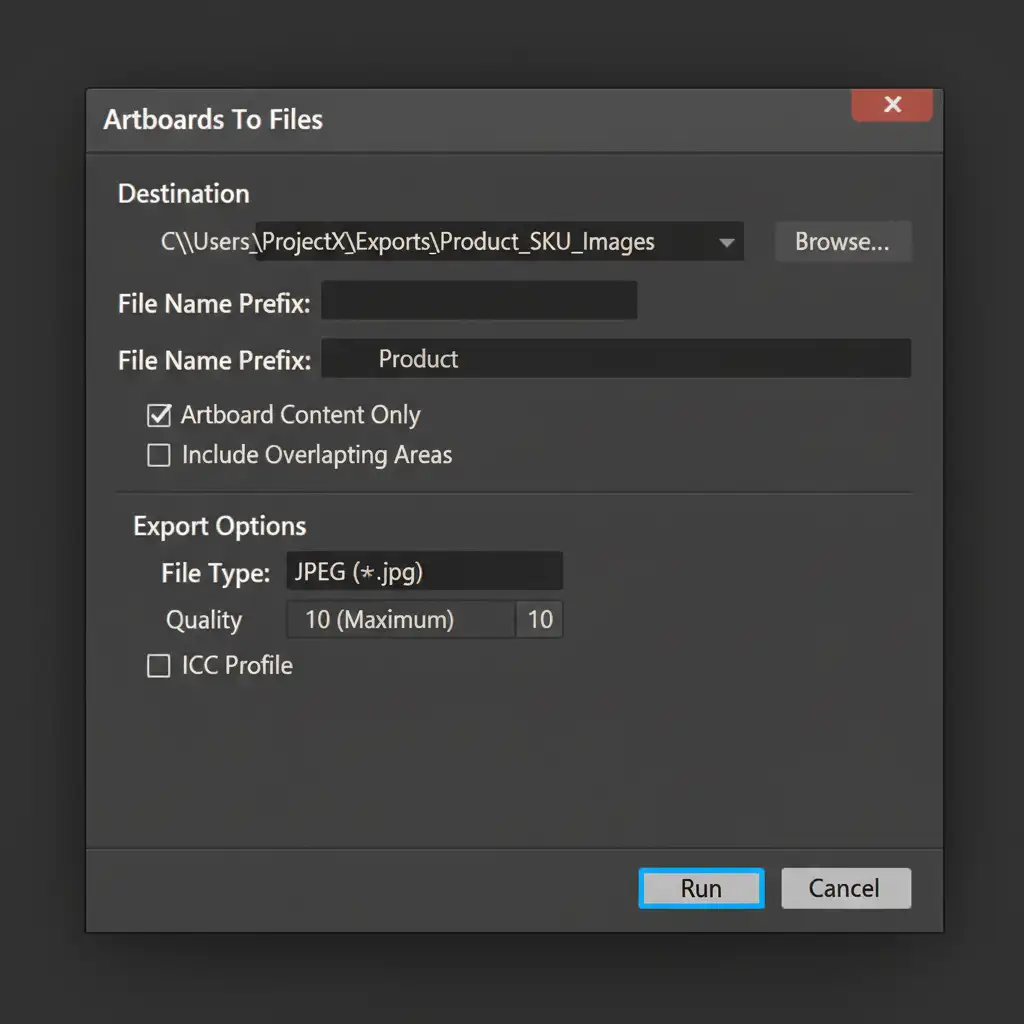
Step 3: Export Artboards to Files
Once your master file is set, exporting is a one-click process.
- Go to File > Export > Artboards to Files.
- Choose your destination folder and file prefix (e.g., “SKU_12345”).
- Select “Artboard Content Only” and choose JPEG.
- Click “Run.”
Photoshop will instantly generate all four platform variations perfectly cropped and optimized.
Scale Your Ecommerce Image Editing with Image Work India
Mastering how to batch resize product images for 4 platforms using Batch Automate and Artboards will save you countless hours. However, if you are managing massive seasonal catalog updates, even automated scripts require oversight, file management, and quality control.
Need thousands of SKUs formatted, retouched, and prepped for multi-channel distribution overnight? Don’t let aspect ratios slow down your product launches.
Hire Image Work India and Cloud Retouch for precision bulk processing and zero-headache asset delivery. Our expert retouching teams handle the complex formatting, background removal, and resolution optimization so your team can focus on selling. [Contact us today for a custom quote on bulk ecommerce image editing.]


