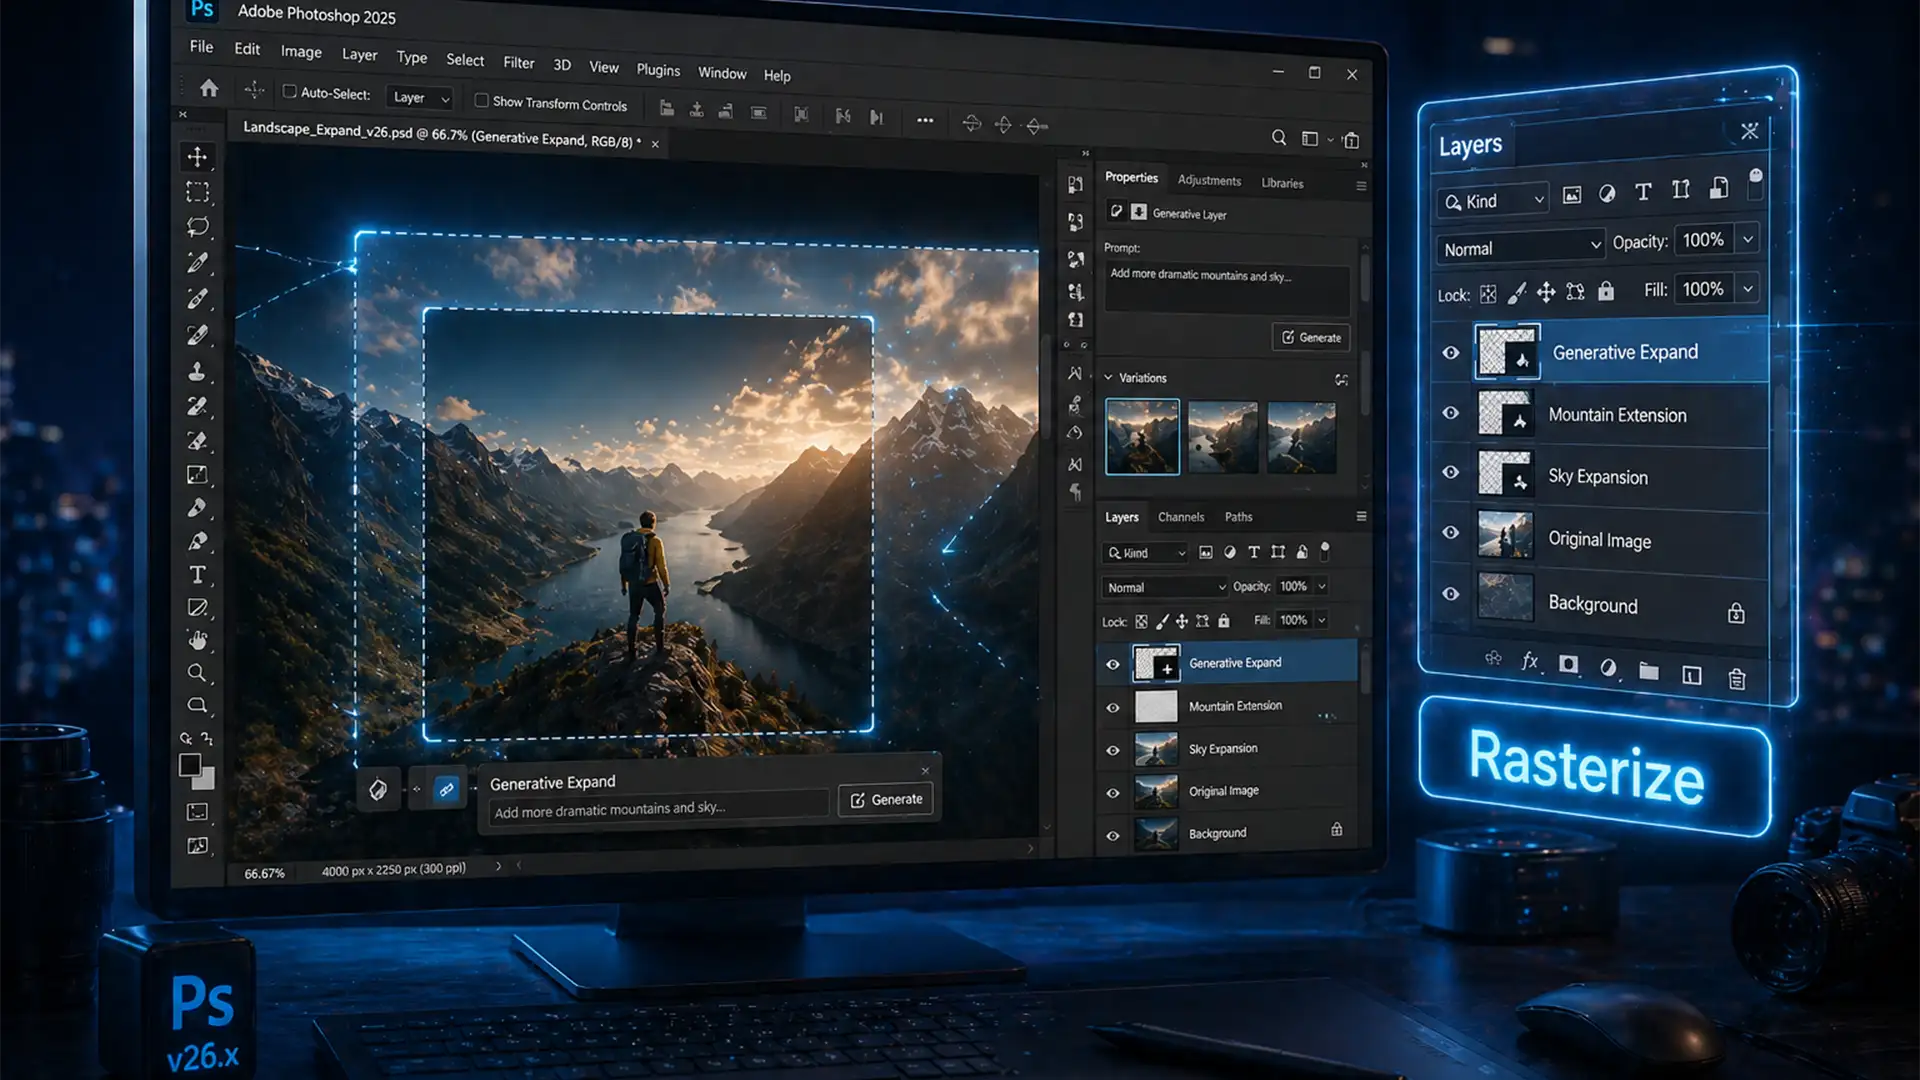
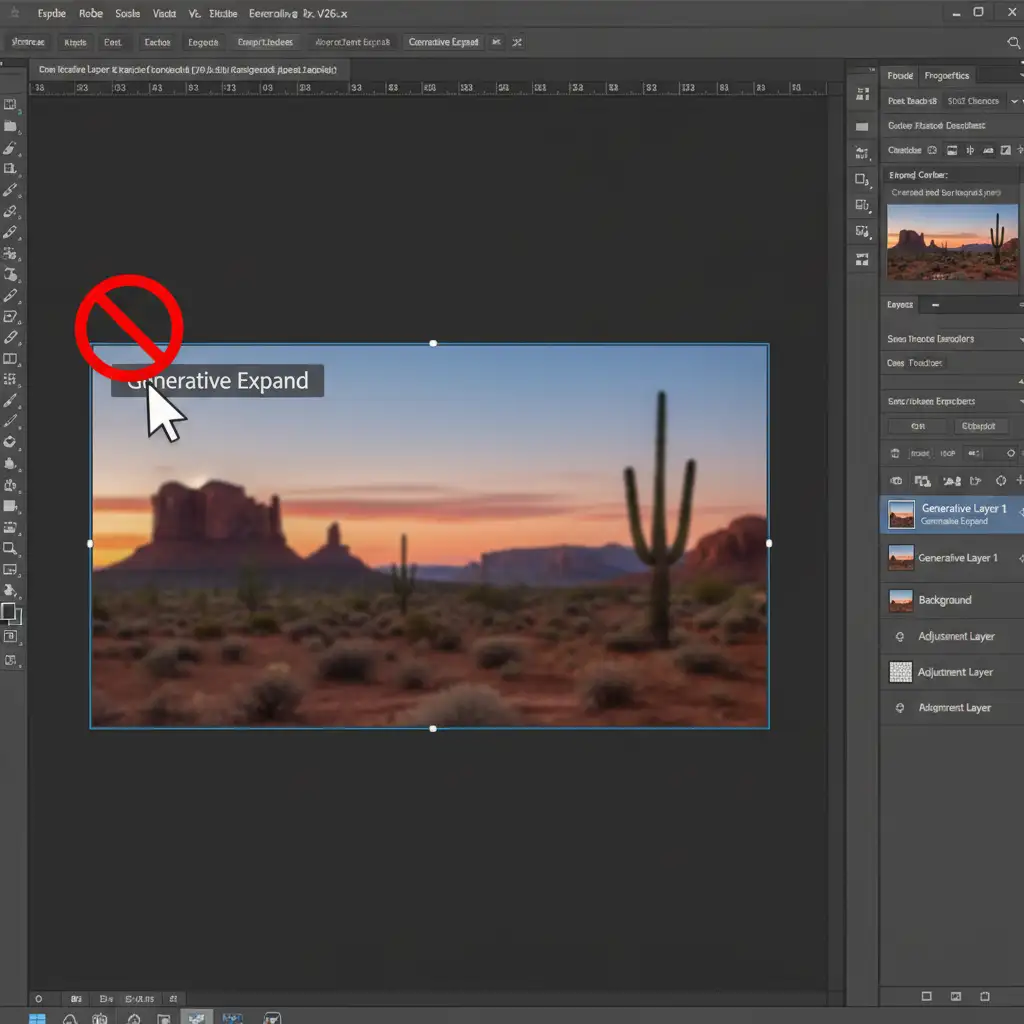
You just used Adobe Firefly to magically expand your canvas. The new background looks incredible, but there is a tiny artifact you need to clean up. You grab the Spot Healing Brush, hover over the image, and BAM—you get the dreaded “no” symbol. Sound familiar?
If you are trying to edit area after Generative Expand Photoshop blocks your standard tools, you aren’t alone. Since Photoshop v25.0, these AI features place content on a special layer, preventing direct pixel manipulation. In this guide, we will show you exactly how to unlock that pixel data and seamlessly blend your AI expansions using three proven, professional methods.
Why You Can’t Edit a Generative Layer in Photoshop
When you use Generative Fill or Generative Expand in Adobe Photoshop v25.0 and newer (including the latest v26.x releases), the software utilizes Adobe Firefly to generate new visual content. However, this new content isn’t placed on a standard pixel layer.
Instead, it is generated on a dedicated Generative Layer. This layer acts very similarly to a Smart Object. It is linked directly to cloud-based prompt data and variation properties rather than raw, editable pixel data.
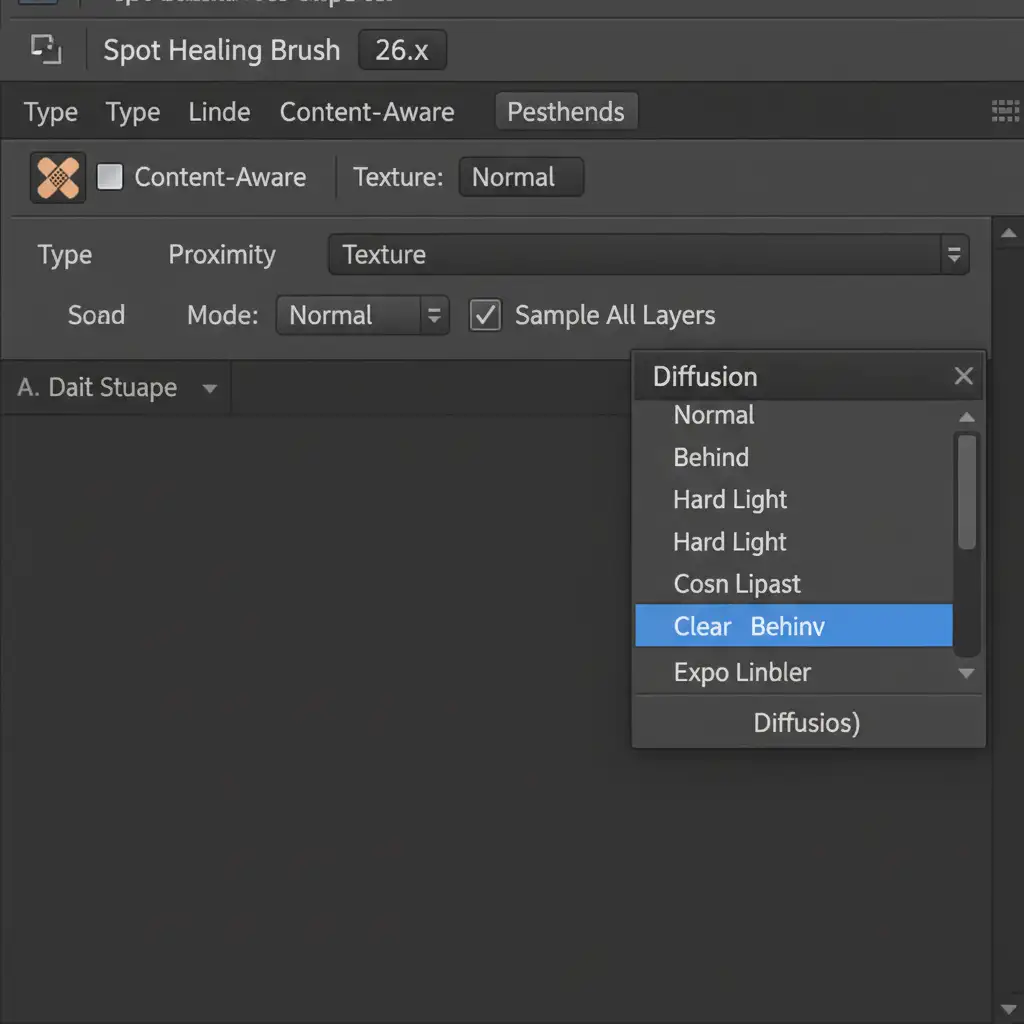
Because of this architecture, when you attempt to use direct pixel-manipulation tools—such as the Spot Healing Brush, the Clone Stamp Tool, or the Eraser—Photoshop immediately blocks the action. The software displays a universal ‘no’ symbol (a circle with a diagonal line) because there are no raw pixels for the brush to interact with.
To bypass this restriction, you must either convert the AI data into standard pixels or use multi-layer sampling techniques. Here are the three best ways to do it.
3 Ways to Edit Area After Generative Expand in Photoshop
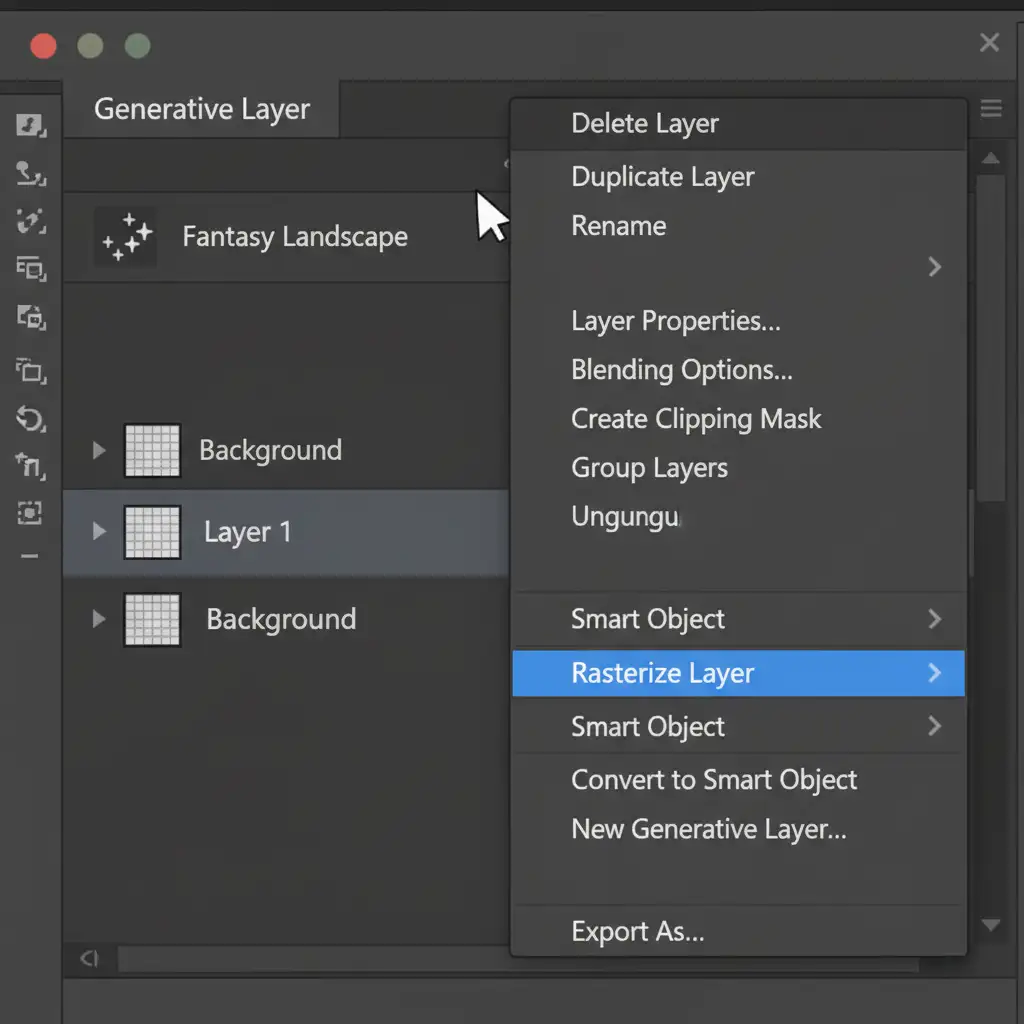
Method 1: The Quick Fix – Rasterize the Layer (Destructive)
If you are 100% satisfied with the AI generation and no longer need to access the prompt variations, the fastest way to enable editing is to Rasterize the layer. Rasterizing simply converts the dynamic AI data into a flat layer of raw pixels.
How to do it:
- Navigate to your Layers panel.
- Right-click on the active Generative Layer.
- Select Rasterize Layer from the context menu.
Warning: This is a destructive workflow. Once rasterized, you lose all Adobe Firefly prompt properties and cannot cycle through alternate AI variations. However, you can now immediately use your Spot Healing Brush directly on the layer.
Method 2: The Pro Workaround – Create a Stamp Visible Layer
If you want to preserve your original Generative Layer but still need a flat canvas to work on, the “Stamp Visible” command is the industry standard for professional retouchers.
This command takes everything currently visible on your canvas and merges it into a brand-new flat pixel layer at the very top of your stack.
How to do it:
- Ensure your Generative Layer (and any underlying image layers) are visible.
- Select the top-most layer in your stack.
- Press Ctrl+Alt+Shift+E (Windows) or Cmd+Option+Shift+E (Mac).
You now have a fully editable pixel layer to clone and heal, while your original AI generation remains safely untouched underneath.
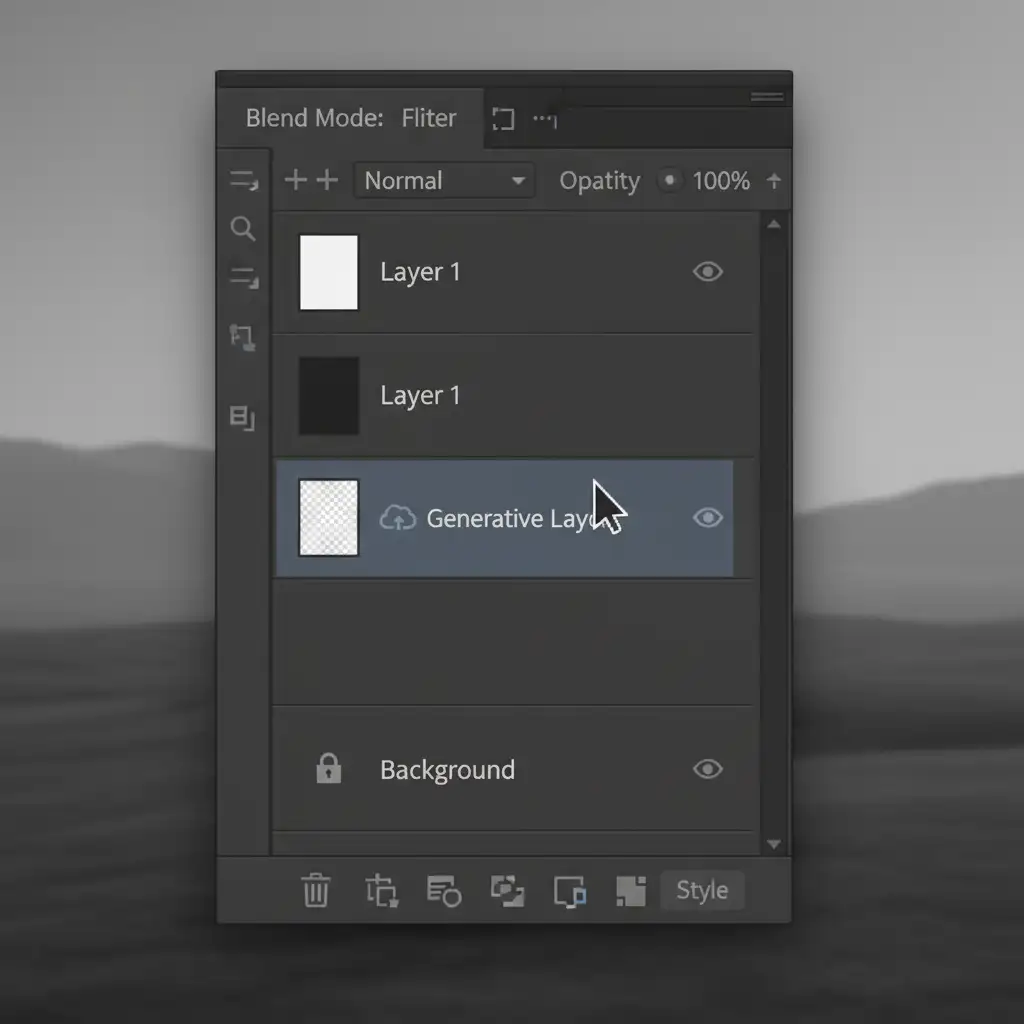
Method 3: The Technical Deep-Dive – Non-Destructive Blank Layer Sampling
For the ultimate non-destructive editing workflow, you don’t need to merge or rasterize anything. You can simply tell your retouching tools to “look” at the Generative Layer while applying the actual fixes to a completely empty layer.
How to do it:
- Create a new, blank layer directly above your Generative Layer.
- Select your preferred retouching tool (e.g., the Clone Stamp Tool or Spot Healing Brush).
- Look up at the top Options Bar in Photoshop.
- Find the Sample dropdown menu and change it from “Current Layer” to All Layers (or “Current & Below”).
- Paint your corrections onto the blank layer.
Because the tool is sampling all layers, it pulls the visual data from the AI expansion below, but applies your brush strokes to the lightweight empty layer. This keeps your file size down and your AI layers perfectly intact.
Skip the Hassle: Let Image Work India & Cloud Retouch Handle It
Mastering Photoshop layer management and non-destructive AI workflows takes time, patience, and a deep understanding of the software’s architecture. When you are managing high-volume e-commerce catalogs or complex commercial photography, you don’t have time to wrestle with blocked cursors and layer stacks.
Struggling to seamlessly blend AI expansions with your original product photos? Let the experts at Image Work India & Cloud Retouch handle the complex masking, retouching, and pixel-perfect blending for your e-commerce campaigns. Our dedicated team of professional retouchers ensures your images are flawless, natural, and ready to convert.
[Contact us today] to learn how our advanced retouching services can streamline your post-production workflow and elevate your brand’s visual identity.


