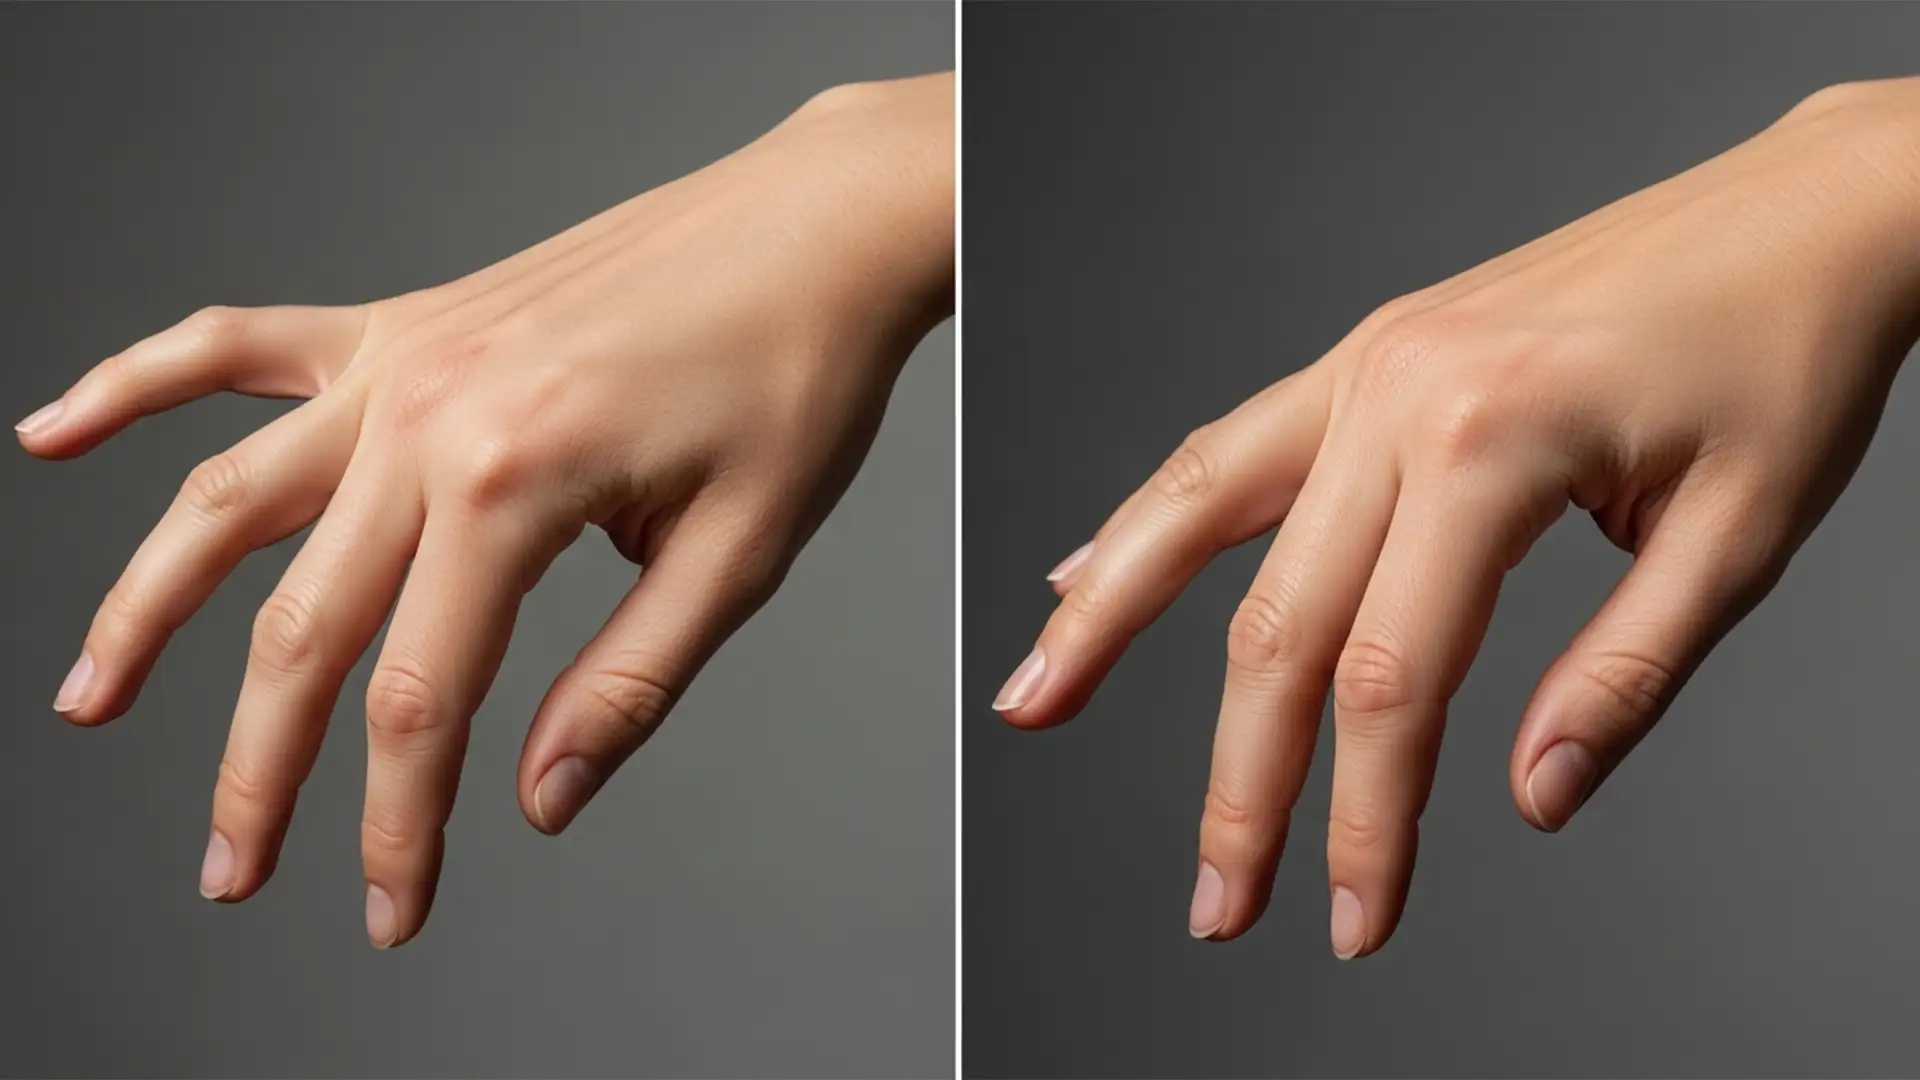
You finally generate the perfect commercial portrait. The lighting is dramatic, the styling is flawless, and the facial details are hyper-realistic. Then, you zoom in on the extremities. Instead of elegant fingers, you are staring at melted knuckles, unnatural bends, and a six-fingered anomaly.
If you want to use generative imagery for commercial campaigns, learning how to fix AI distorted hands in model photography is not optional—it is a mandatory skill.
AI image generators like Midjourney v6, DALL-E 3, and Stable Diffusion XL consistently struggle with human anatomy. The complex articulation and overlapping geometry of hands confuse their training algorithms. In this guide, we will walk you through the professional Adobe Photoshop v25.x workflows required to restore anatomical proportions and salvage your AI-generated portraits.
Why AI Image Generators Struggle with Human Anatomy
Before diving into the fixes, it helps to understand the root cause. AI models do not understand 3D skeletal structures; they recognize 2D pixel patterns. Because hands are highly articulated and constantly photographed from infinite angles—often gripping objects or overlapping—the AI struggles to predict where one finger ends and another begins.
To correct these errors, we must rely on a blend of modern AI-assisted inpainting and traditional high-end retouching techniques.
3 Methods to Fix AI Distorted Hands in Model Photography
Depending on the severity of the distortion, you can choose from three distinct professional workflows.
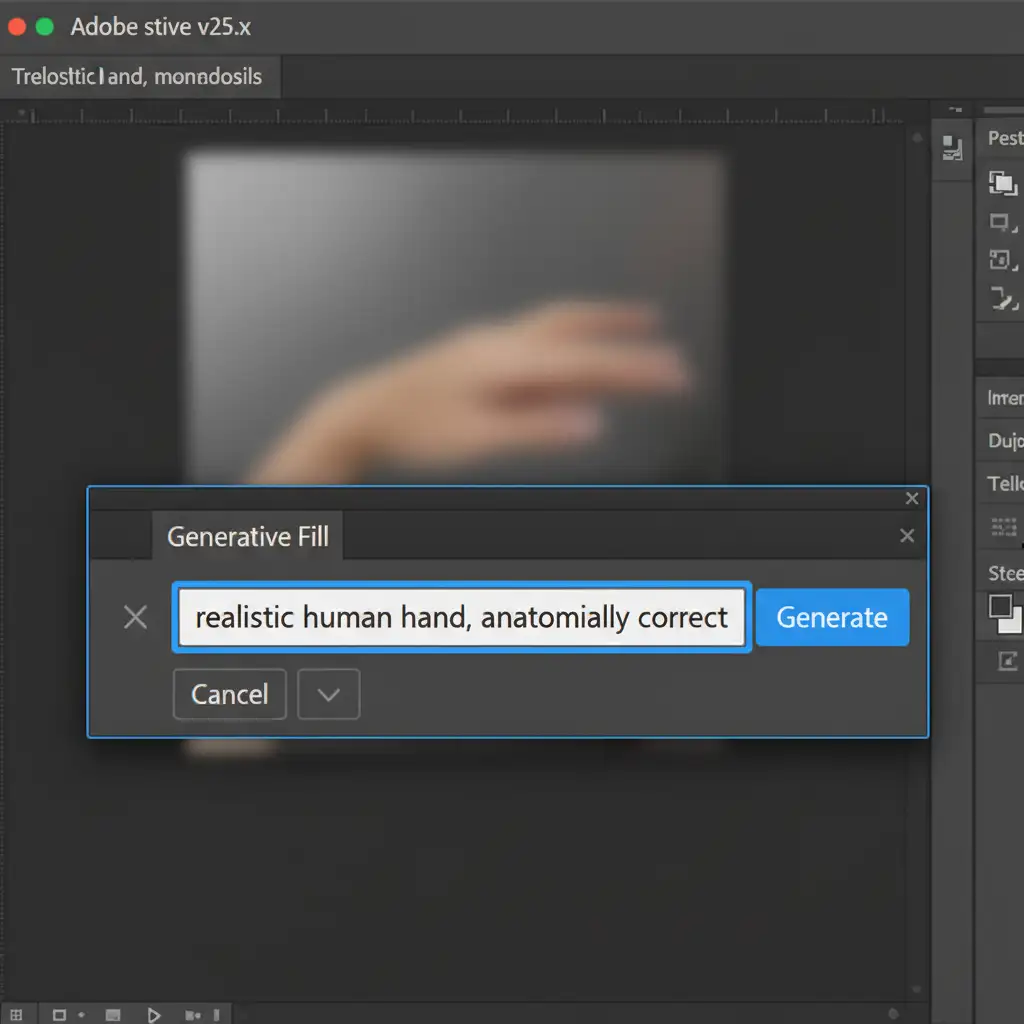
Method 1: The Quick Fix Using Photoshop Generative Fill
For moderate anatomical errors, Photoshop’s native AI inpainting is the fastest route. Adobe’s Firefly model is specifically optimized to read the surrounding context of an image, making it highly effective for localized replacements.
Step-by-Step Workflow:
- Open your image in Adobe Photoshop v25.x or newer.
- Select the Lasso Tool (L).
- Draw a loose selection around the distorted hand. Crucial tip: Leave a slight buffer of background pixels around the edges to give the AI context for lighting and depth.
- In the contextual task bar, click Generative Fill.
- Type the following prompt: realistic human hand, anatomically correct.
- Hit generate and cycle through the variations until you find a structurally sound match.
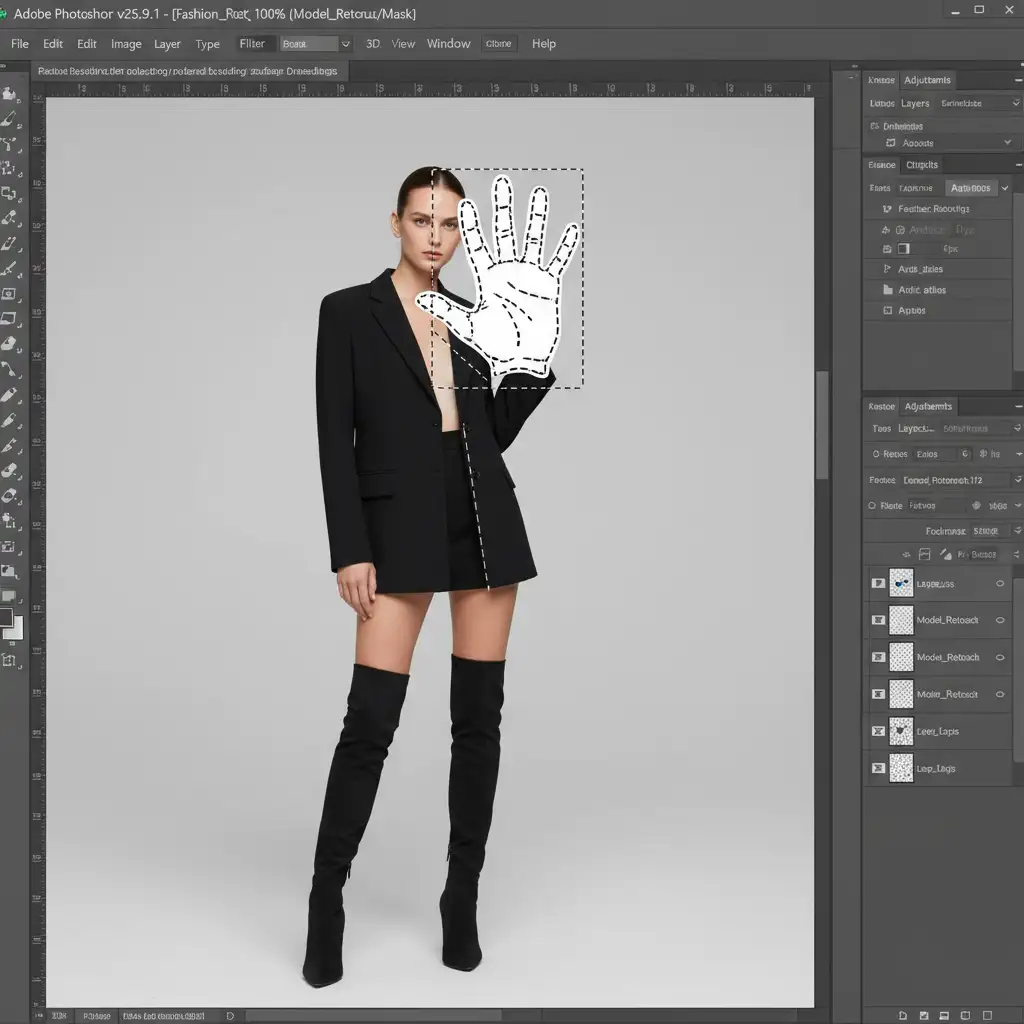
Method 2: The Pro Workaround with Traditional Compositing
When Generative Fill fails to match the specific pose or lighting of your commercial shot, you must rely on traditional compositing. This method guarantees absolute control over anatomical proportions.
Step-by-Step Workflow:
- Source a high-resolution stock photo of a real human hand in a similar pose and lighting setup.
- Import the stock image into your document as a New Layer.
- Use Free Transform (Ctrl/Cmd + T) to scale, rotate, and align the stock hand over the distorted AI hand.
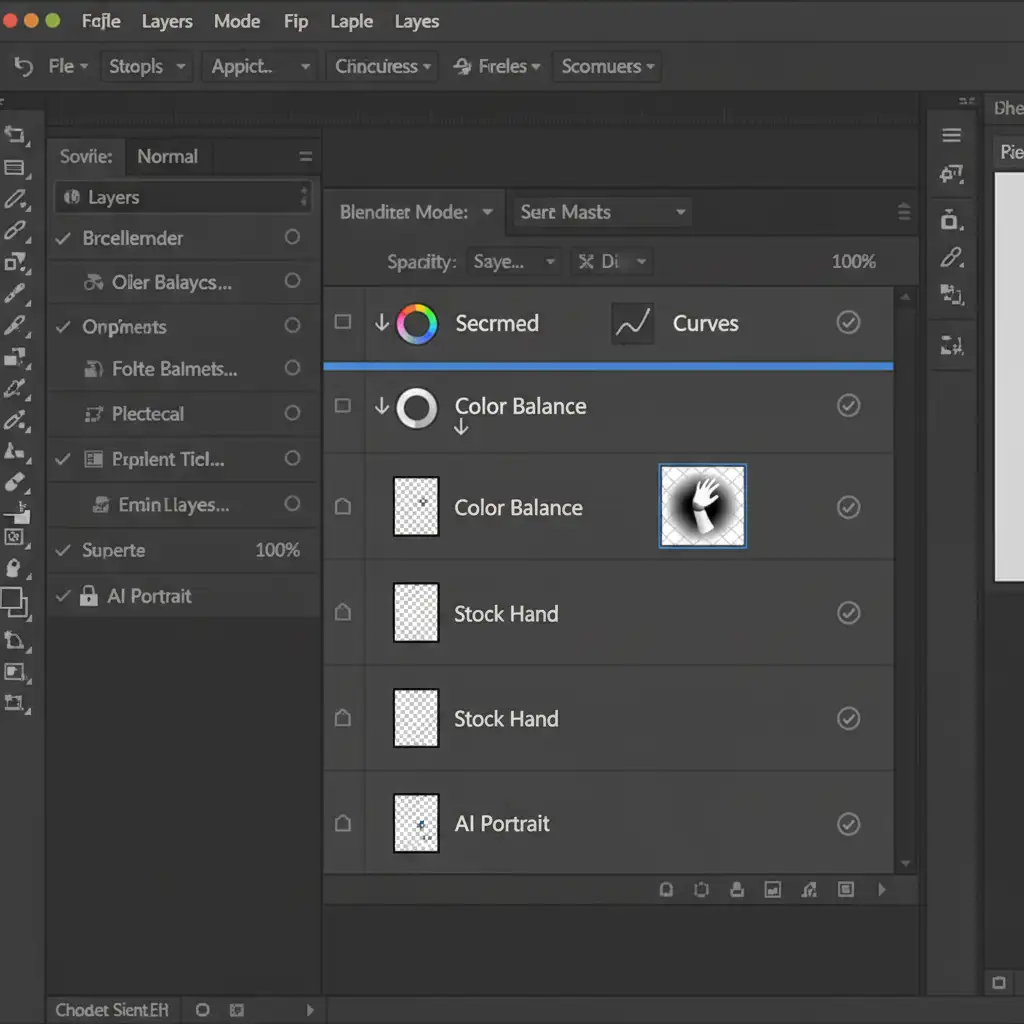
- Add a Layer Mask to the new hand layer. Use a soft black brush to seamlessly blend the wrist into the model’s arm.
- To match the lighting and skin tone, create Color Balance and Curves adjustment layers.
- Alt-click (or Option-click) between the adjustment layers and the hand layer to create a Clipping Mask. This ensures your color grading only affects the new hand, not the entire image.
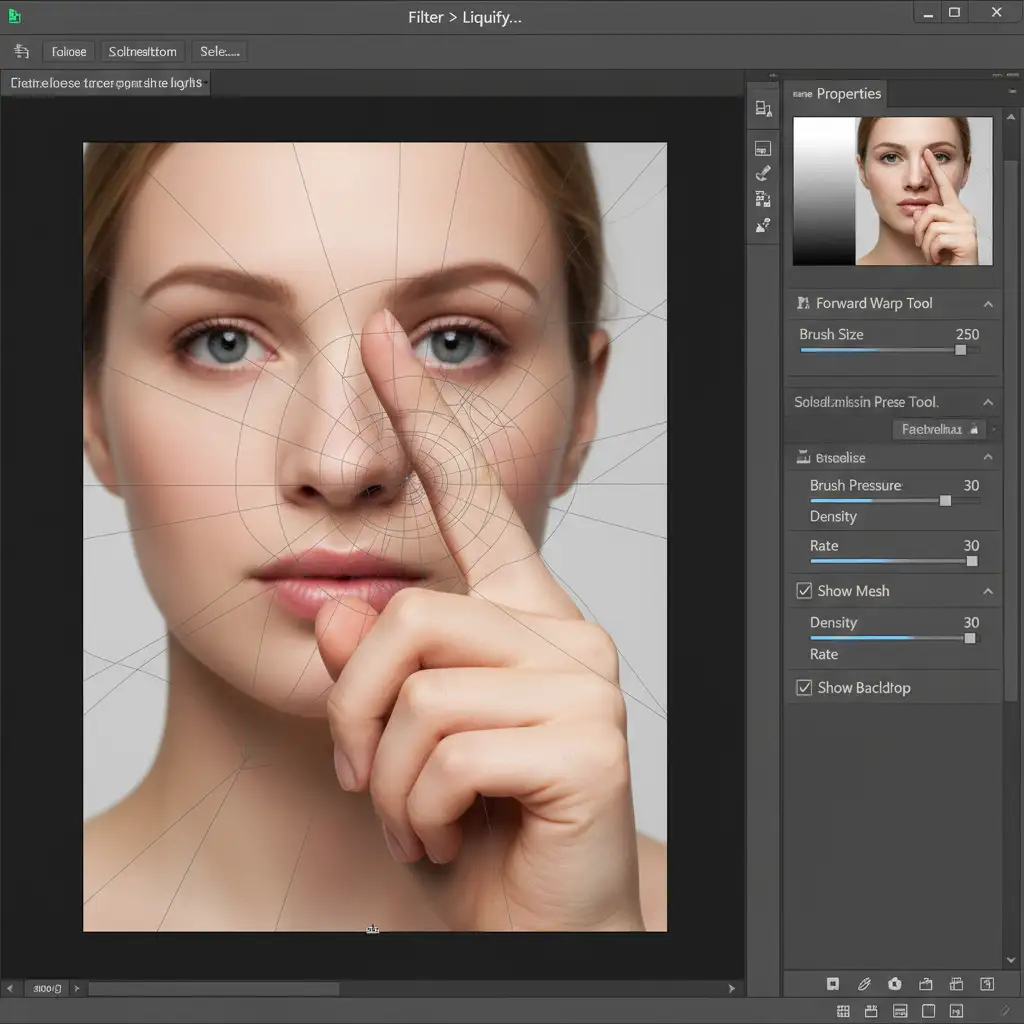
Method 3: The Technical Deep-Dive (Liquify & Frequency Separation)
Sometimes the AI gets the finger count right but leaves you with melted knuckles, unnatural bends, or strange pixelation artifacts. This requires surgical manual retouching.
Step-by-Step Workflow:
- Duplicate your background layer (Ctrl/Cmd + J).
- Open the Liquify tool (Filter > Liquify).
- Select the Forward Warp Tool (W). Carefully push and reshape the melted knuckles and bent joints to restore proper bone structure.
- Once the shape is corrected, you will likely notice AI pixelation or smoothed-out skin.
- Apply a Frequency Separation action to separate your image into color/tone (Low Frequency) and texture (High Frequency).
- Use the Clone Stamp tool on the High Frequency layer to transplant realistic skin texture over the AI artifacts without destroying the underlying lighting.
Video Workflow: Mastering Anatomy Correction
Seeing these techniques in motion can dramatically speed up your learning curve. Watch the workflow below to see how these three methods integrate into a single, seamless retouching session.
Outsource Your High-End Retouching to the Experts
Knowing how to fix AI distorted hands in model photography is essential, but executing it flawlessly takes hours of meticulous pixel-pushing. When you are managing a high-volume commercial campaign, time is your most valuable asset.
If you are struggling with AI artifacts, melted extremities, or anatomical errors in your generative photography, let the experts handle it. Image Work India and Cloud Retouch specialize in high-end anatomy correction, compositing, and commercial retouching. We seamlessly blend AI generation with traditional, pixel-perfect manual retouching to deliver flawless, anatomically perfect model portraits ready for global campaigns.
Stop fighting with six-fingered AI hands. Contact Image Work India and Cloud Retouch today and let our dedicated team of senior retouchers perfect your visual assets.


