![Fix Photoshop Generative Fill Selection Bleeding [2024]](https://imageworkindia.com/wp-content/uploads/2026/04/fix-photoshop-generative-fill-selection-bleeding-Featured-Image.webp)
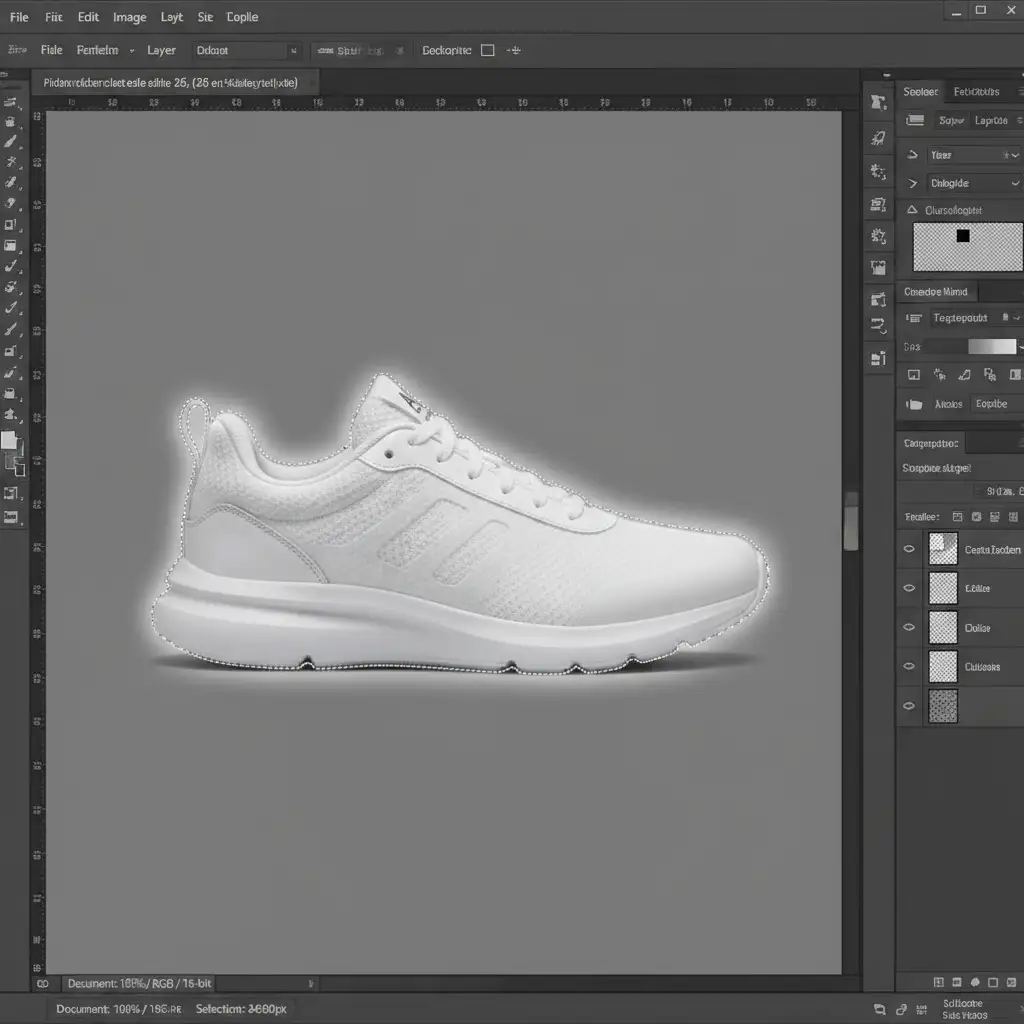
You meticulously outline your product with the Pen Tool, activate Generative Fill to extend the background, and wait for the magic. But instead of a clean composite, you get a blurry, feathered mess. The AI background has bled directly into your subject, ruining the crisp lines.
If you are struggling with this frustrating edge halo, you are not alone. In recent updates (v25.0 through v26.0), the Firefly Image 3 model automatically applies feathering to blend generated pixels with surrounding environments.
In this guide, we will break down the ultimate Photoshop Generative Fill selection bleeding fix to stop pixel leakage and restore razor-sharp edges to your product photography.
Why Does Generative Fill Bleed Over Hard Edges?
The core problem lies in how the Firefly AI algorithm interprets selections. When you create a selection (the classic marching ants), the AI assumes you want a seamless transition between the generated pixels and the existing image.
To achieve this, Photoshop automatically applies a slight, invisible feathering to the edge. While this is great for blending a generated cloud into a sky, it is disastrous for high-end compositing and e-commerce product shots. The result is pixel leakage-a soft edge halo where the generated background bleeds over the hard edge of your product.
Here is how to bypass the AI’s default behavior and force a hard edge.
The Ultimate Photoshop Generative Fill Selection Bleeding Fix
Depending on your workflow and the complexity of your subject, there are three proven methods to stop the bleed.
Method 1: The Quick Fix – Selection Contraction
The fastest way to prevent the AI from touching your product’s edge is to physically move the selection boundary away from the subject. By forcing the AI to generate pixels slightly further out, the automatic feathering never reaches your crisp edges.
- Make your initial selection around your subject.
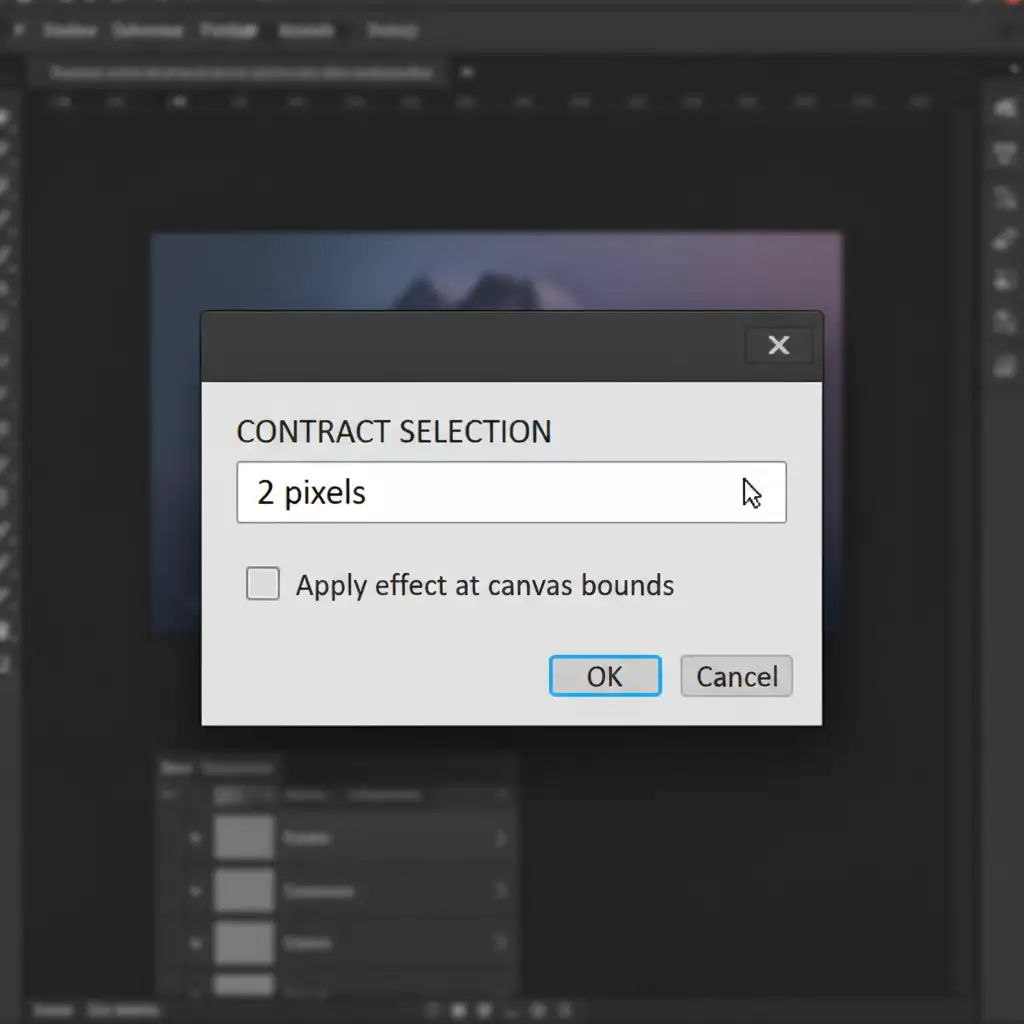
- Navigate to the top menu and select Select > Modify > Contract.
- Shrink your selection by 1 to 2 pixels.
- Ensure your manual Feather setting (Select > Modify > Feather) is strictly set to 0px.
- Apply Generative Fill.
Method 2: The Pro Workaround – Layer Masking Isolation
For high-end product photography, you cannot risk the AI touching your main subject at all. This method guarantees zero pixel leakage by placing the generated pixels entirely beneath a protected, razor-sharp layer mask.
- Duplicate your Background: Press Ctrl/Cmd + J to duplicate your original image.
- Isolate the Subject: On the top layer, use the Pen Tool or Object Selection Tool to create a flawless, hard-edged selection of your product.
- Create the Mask: Click the Layer Mask icon to hide the background on this top layer. (Optional: Convert this layer to a Smart Object to protect the pixels further).
- Generate on the Bottom Layer: Select your bottom layer, make your rough selection for the background expansion, and run Generative Fill.
Because your perfectly masked subject sits above the Generative Fill layer, any edge bleeding happens underneath the subject, rendering it completely invisible.

Method 3: The Technical Deep-Dive – Reference Images & Density Adjustments
If you are using Photoshop v25.x or newer, you can leverage the Contextual Task Bar to guide the Firefly Image 3 model structurally.
Sometimes, the AI’s memory gets stuck on a previous feathered mask. If you notice persistent halos, first clear your cache by navigating to Edit > Purge > All.
Next, use a Reference Image to force the AI to understand the lighting and edge density you require:
- Make your selection and click Generative Fill on the Contextual Task Bar.
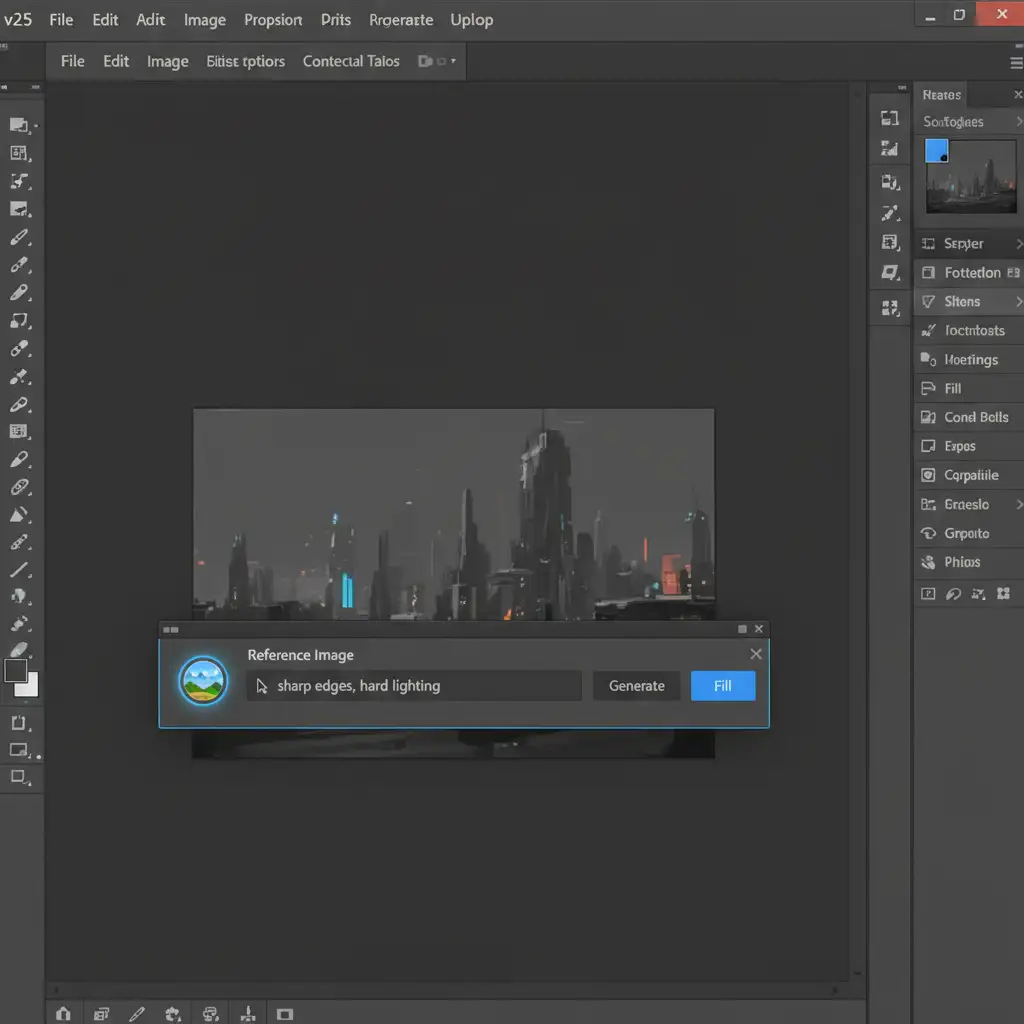
- Click the Reference Image icon (it looks like a small picture with a plus sign).
- Upload a clean, hard-edged reference photo.
- In the text prompt, explicitly type terms like “sharp edges, hard lighting, studio background” to override the AI’s default soft-blending tendencies.
When AI Fails: Flawless E-Commerce Edges with Image Work India
While these workarounds provide a reliable Photoshop Generative Fill selection bleeding fix, managing pixel leakage on hundreds of product photos is a massive drain on your studio’s time. AI is powerful, but it still struggles to replicate the mathematical perfection of a manually drawn vector path.
Struggling with AI artifacts and edge bleeding on high-volume e-commerce shots? Stop fighting the algorithm.
Hire Image Work India and Cloud Retouch for pixel-perfect, manual masking and clipping path services that AI just can’t match. Our expert retouchers guarantee razor-sharp edges, flawless composites, and zero halos-delivered on time, every time. Contact us today to scale your post-production workflow without sacrificing quality.


