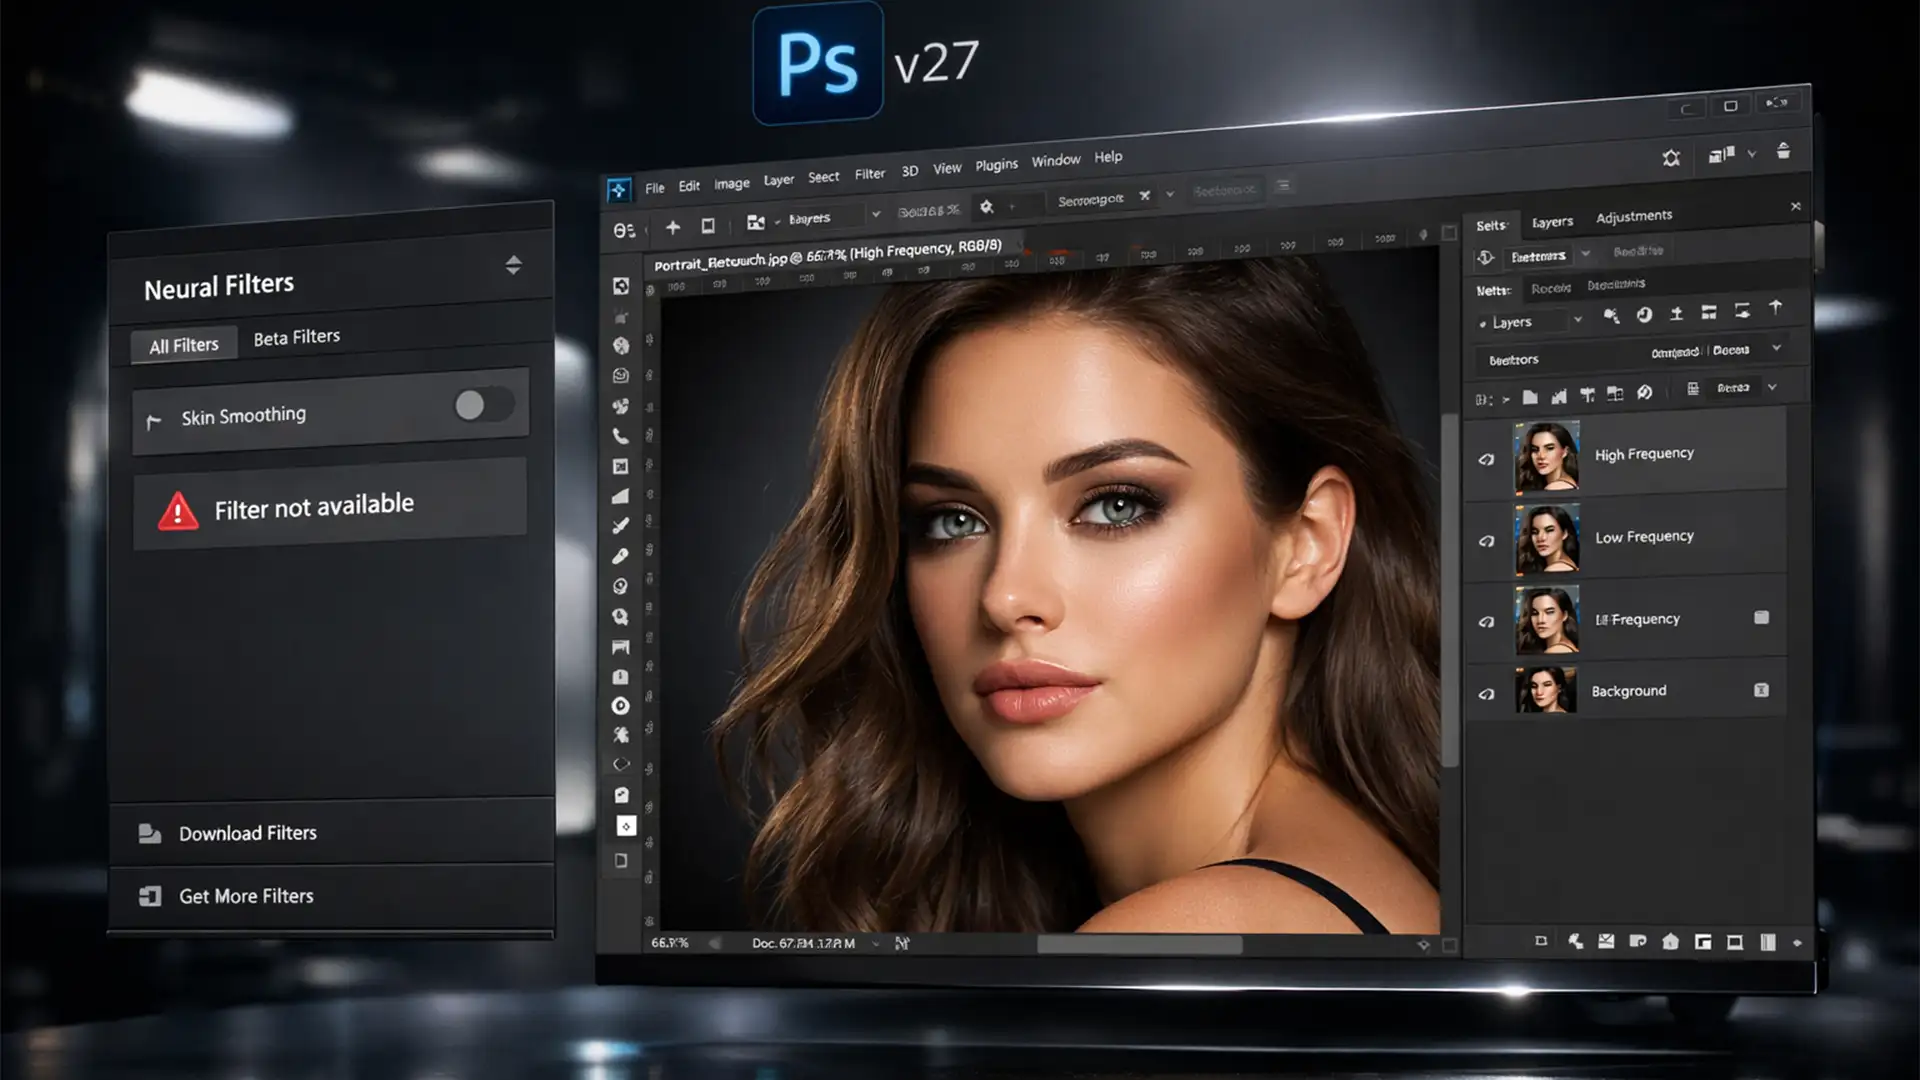
You are on a tight deadline, ready to retouch a portrait in Photoshop CC v27, but when you open the Neural Filters gallery, the Skin Smoothing option is completely grayed out. Or worse, it is stuck in an endless loading loop.
This Photoshop Neural Filter Skin Smoothing disabled error fix is one of the most highly searched technical solutions for modern retouchers. Whether this glitch is caused by a corrupted PluginCache folder or a background sync failure, it completely derails your workflow.
In this comprehensive guide, we will walk you through the exact technical steps to force the Neural Engine database to rebuild and get your filters working again. Plus, we will show you why skipping the AI entirely in favor of manual Frequency Separation is the ultimate secret to avoiding that dreaded “waxy” AI skin.
Why is the Photoshop Skin Smoothing Filter Disabled?
In Photoshop CC v27.x, the Neural Filters operate on the Adobe UXP (Unified Extensibility Platform) architecture. These filters rely on cloud-based processing and local caching. The disabled error occurs due to three primary reasons:
- Token Sync Failure: The Creative Cloud Desktop app fails to verify your active subscription token, locking the com.adobe.nfp.gallery cache.
- Corrupted Downloads: A background update to the Neural Engine database gets interrupted, corrupting the local PluginData folder.
- Hardware Acceleration Drops: If your graphics drivers update quietly in the background, Photoshop may disable GPU acceleration, which immediately grays out AI-heavy tools.
How to Fix the Photoshop Neural Filter Skin Smoothing Error
Method 1: The Quick Fix (Force a Server Sync)
Often, the easiest way to resolve a locked UXP cache is to force Adobe’s servers to issue a fresh session token.
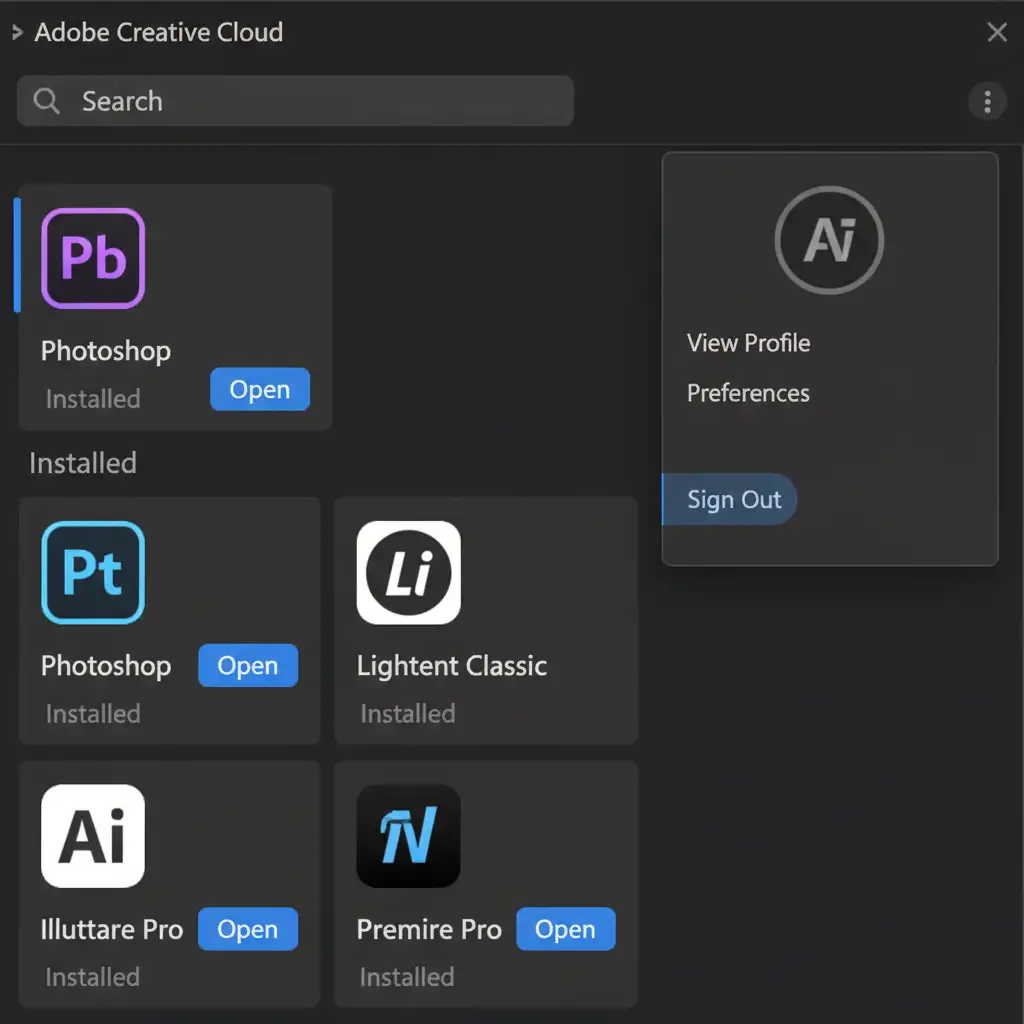
- Save your work and close Photoshop entirely.
- Open the Creative Cloud Desktop application.
- Click on your profile picture in the top right corner and select Sign Out.
- Wait 30 seconds, then log back in with your Adobe credentials.
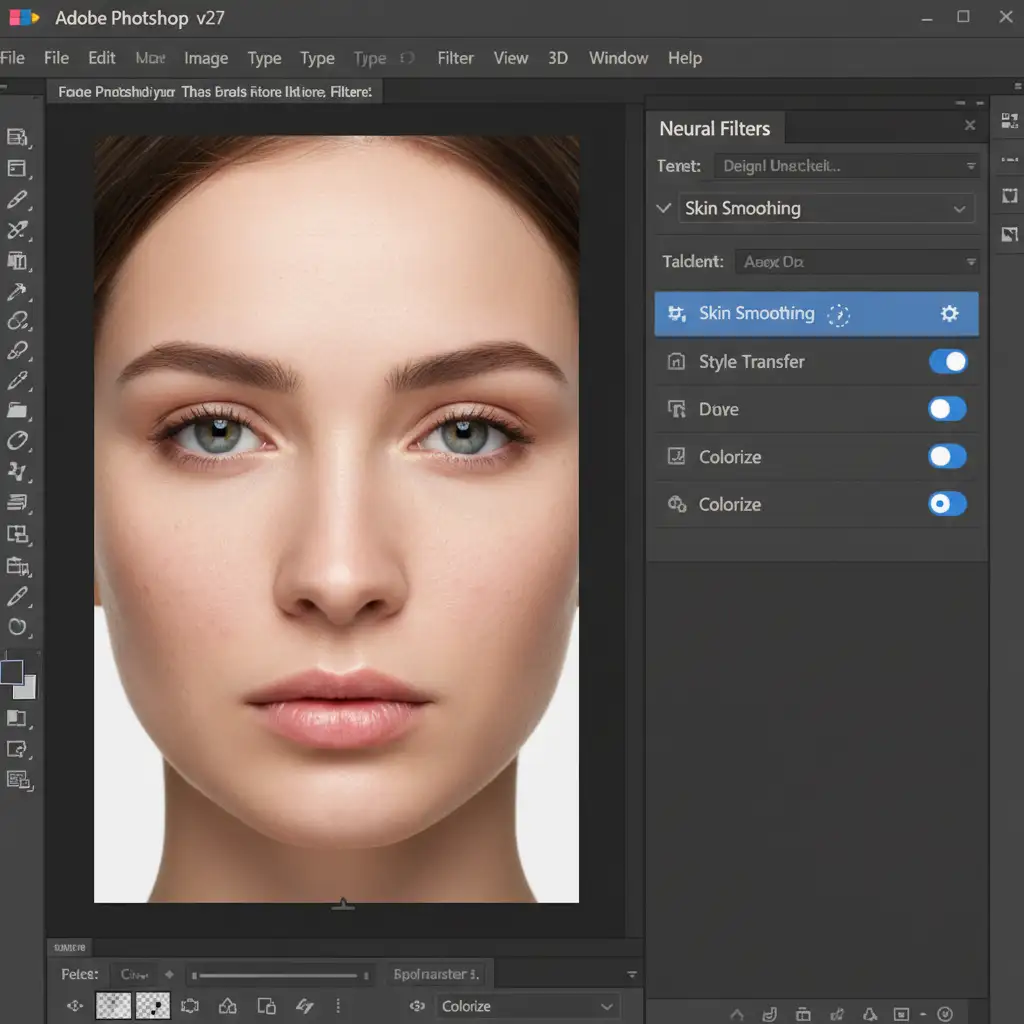
- Relaunch Photoshop, open an image, and navigate to Filter > Neural Filters.
- Click the small cloud icon next to Skin Smoothing to force a fresh download.
Method 2: The Technical Deep-Dive (Clear the PluginCache Folder)
If logging out doesn’t work, your local cache is corrupted. You must manually delete the cache so Photoshop can rebuild its Neural Engine database.
- Close Photoshop CC v27 completely.
- Navigate to the hidden UXP PluginStorage folder on your operating system:
- Windows: %AppData%\Adobe\UXP\PluginsStorage\PHSP\24\Internal\com.adobe.nfp.gallery\PluginData
- Mac: ~/Library/Application Support/Adobe/UXP/PluginsStorage/PHSP/24/Internal/com.adobe.nfp.gallery/PluginData
- Locate the PluginCache folder.
- Delete the entire folder (do not worry, Photoshop will automatically generate a clean version upon restart).
- Relaunch Photoshop. The filters will now be available to download and apply.

Method 3: Verify GPU Acceleration
Neural Filters require hardware acceleration to render. Navigate to Edit > Preferences > Performance (Windows) or Photoshop > Settings > Performance (Mac). Ensure that Use Graphics Processor is checked. If it is grayed out, you need to update your Nvidia, AMD, or Intel graphics drivers.
The Pro Workaround: Ditch the Waxy AI for Manual Frequency Separation
Even when the Neural Filters work perfectly, AI skin smoothing often destroys natural skin texture, resulting in a plastic, waxy appearance. High-end commercial retouching relies on non-destructive editing techniques.
If you want flawless skin that retains its natural pores, you need to use Frequency Separation.
Step-by-Step 5-Minute Frequency Separation Workflow
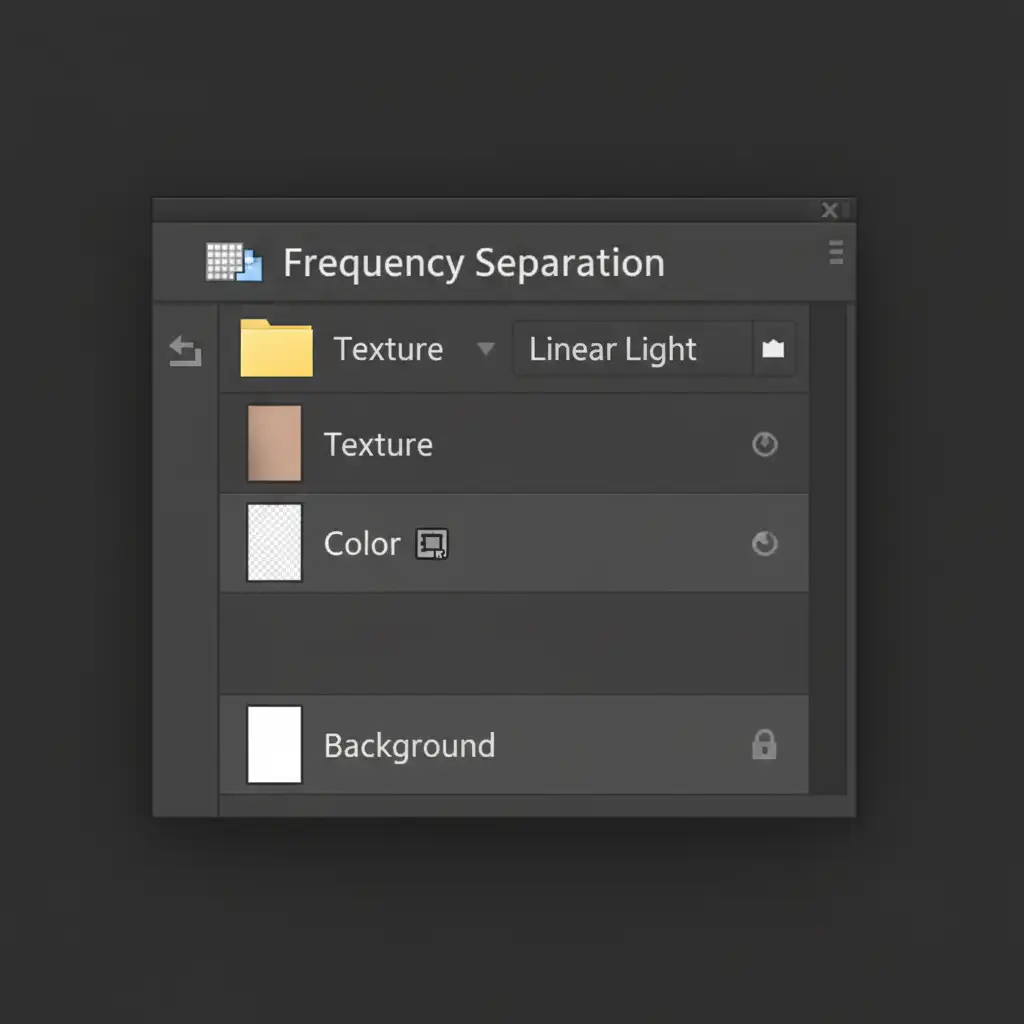
Frequency Separation splits your image into two layers: one for color and tone, and one for fine details and texture.
- Duplicate Layers: Duplicate your background layer twice. Name the bottom duplicate “Color” and the top duplicate “Texture”.
- Blur the Color Layer: Hide the Texture layer. Select the Color layer and apply a Gaussian Blur (Filter > Blur > Gaussian Blur). Adjust the radius until the skin texture just disappears (usually between 4-8 pixels).
- Apply Image to Texture: Unhide and select the Texture layer. Go to Image > Apply Image.
- Layer: Color
- Blending: Subtract
- Scale: 2
- Offset: 128
- Change Blend Mode: Change the Texture layer’s blend mode to Linear Light. Your image should now look exactly like the original.
- Retouch: Select the Mixer Brush tool. On the Color layer, gently blend the skin tones to remove blotchiness. Because the texture is safely isolated on the layer above, the skin retains its realistic, porous look.
(Pro Tip: For advanced workflows, you can convert your layers to Smart Filters or use a High Pass filter method for even more control over the texture frequencies.)
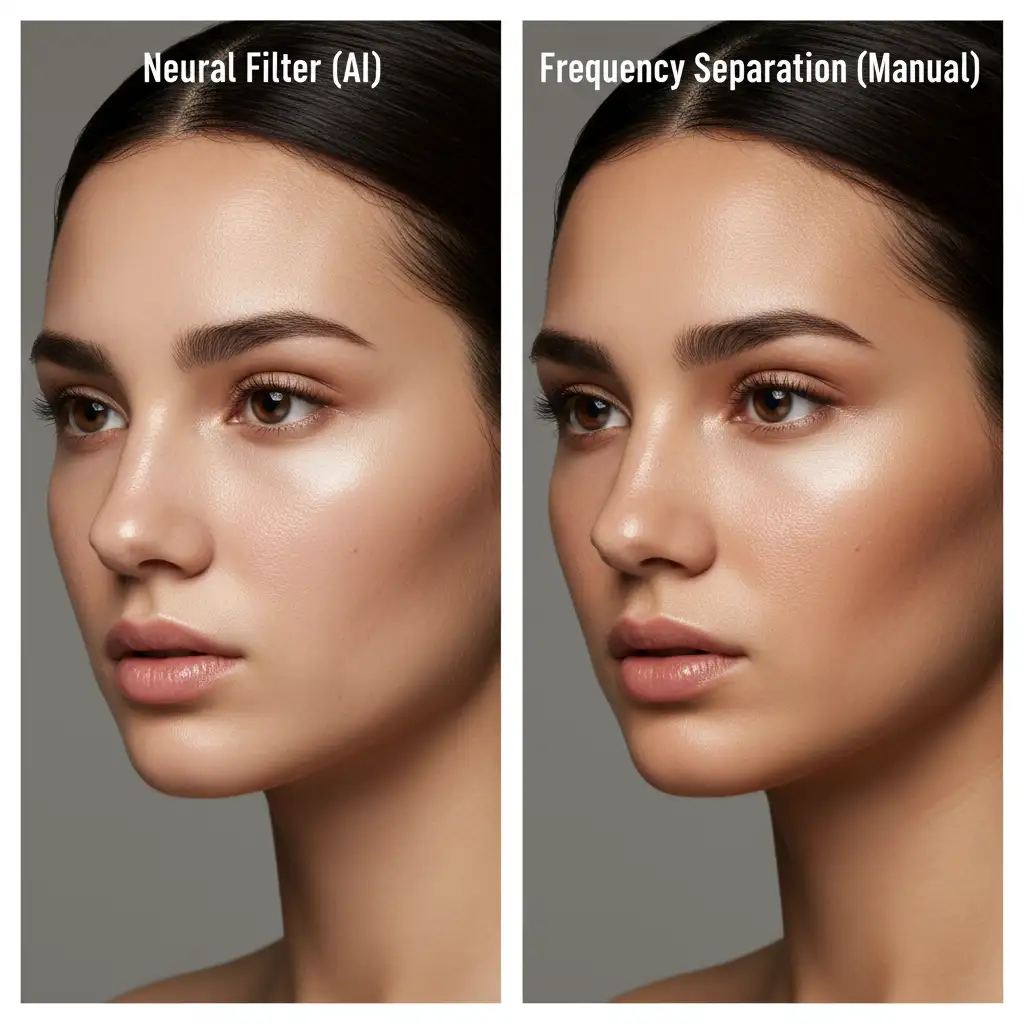
AI vs. Manual Retouching: The Difference is Clear
When you compare the two methods side-by-side, the limitations of the Neural Filter become obvious. AI blurs indiscriminately, while manual separation allows for precise, artistic control.
Stop Fighting Software Errors. Let the Pros Handle It.
Fixing the Photoshop Neural Filter Skin Smoothing disabled error is a great technical skill to have, but relying on automated filters will never give you the high-end, magazine-quality results your clients demand.
If you are tired of battling waxy AI-generated skin, corrupted cache folders, and tedious manual retouching workflows, it is time to scale your business.
At Image Work India and Cloud Retouch, our team of expert retouchers specializes in pixel-perfect, manual Frequency Separation. We handle high-volume portrait, fashion, and commercial retouching so you can focus on what you do best-shooting incredible images.
Don’t let software bugs slow you down. [Contact Image Work India and Cloud Retouch today] to outsource your retouching and deliver flawless, non-destructive results to your clients every single time.


