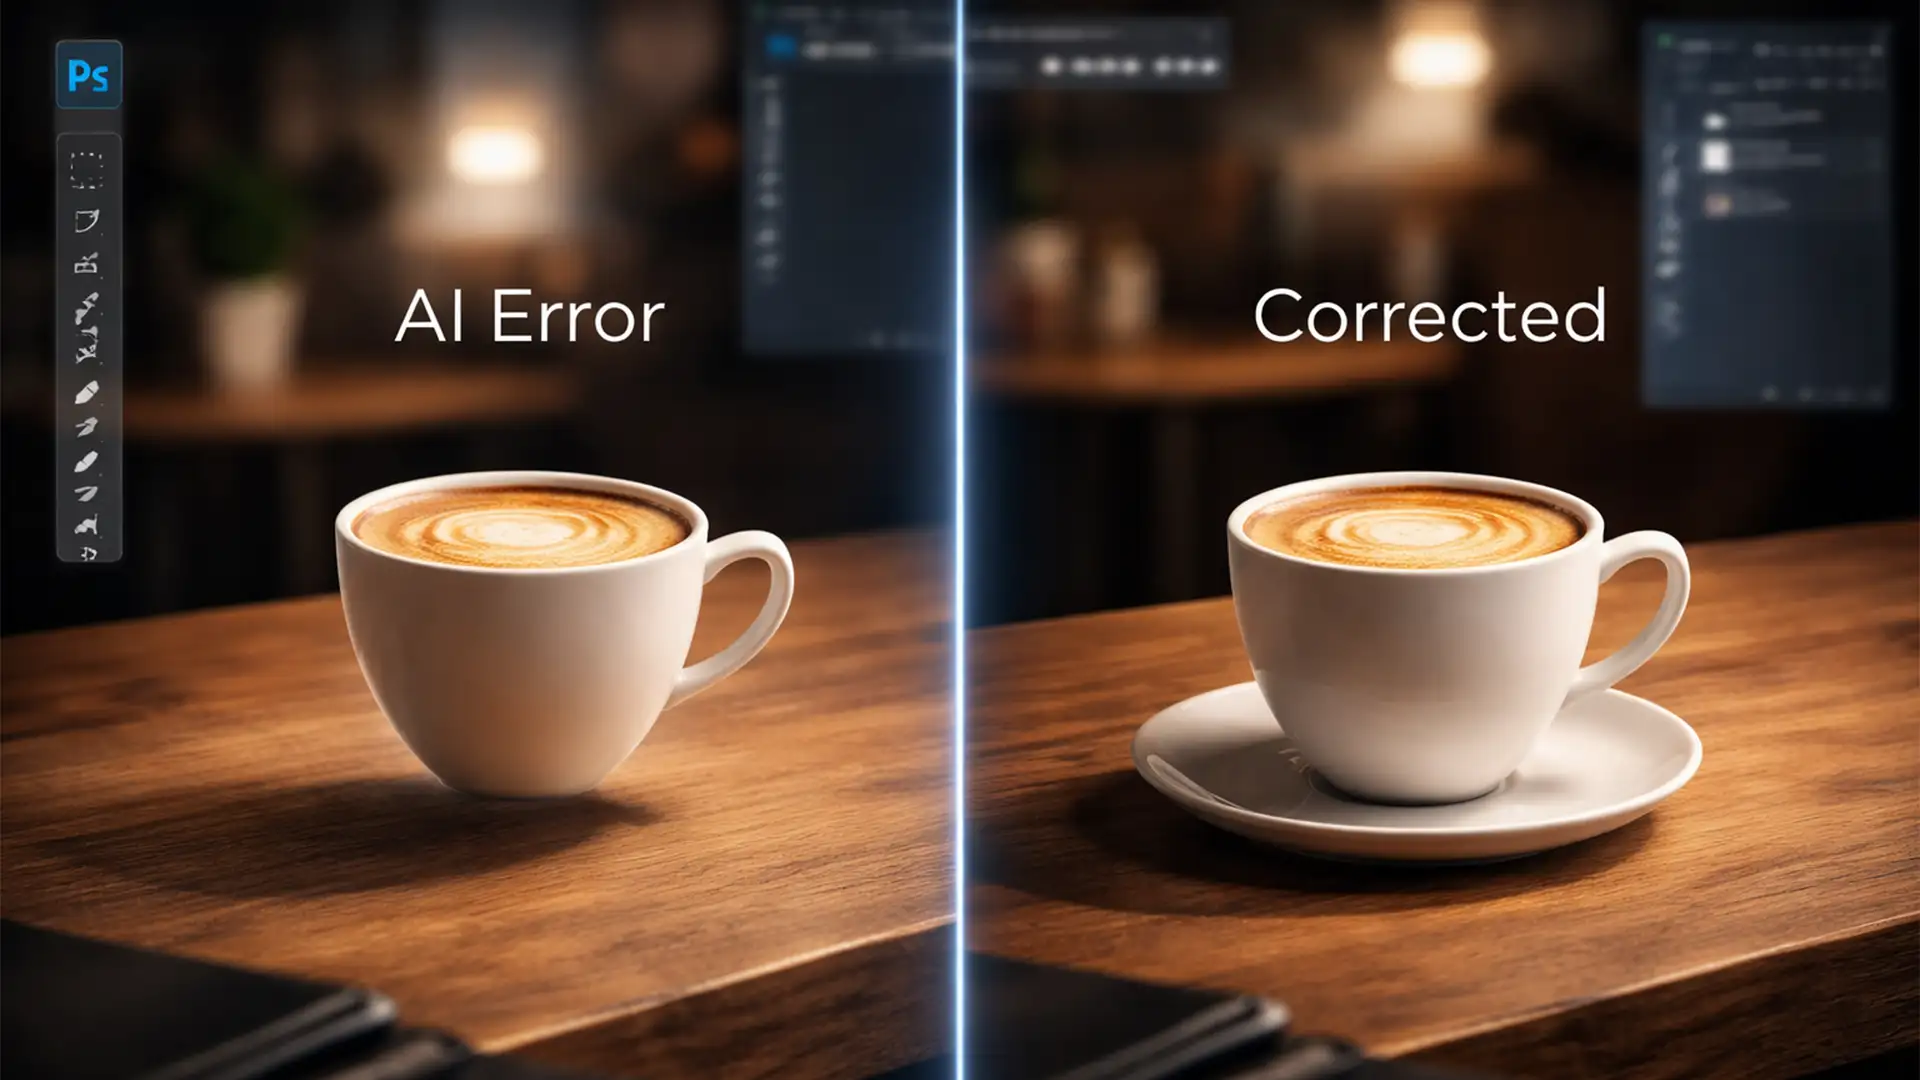
You just generated the perfect object using Adobe Photoshop 2024’s Generative Fill. The lighting on the object matches, the resolution is crisp, and it fits the scene perfectly—until you look closely at the base. It looks like it is hovering an inch off the ground.
This visual disconnect ruins an otherwise perfect composite. If you are struggling with fixing generative fill floating shadows, you are not alone. While AI tools are incredible for generating pixels, they often fail at physics.
In this guide, we will break down exactly why this happens and provide three professional techniques to ground your AI-generated elements permanently.
Why Does Adobe Firefly Struggle with Ambient Occlusion?
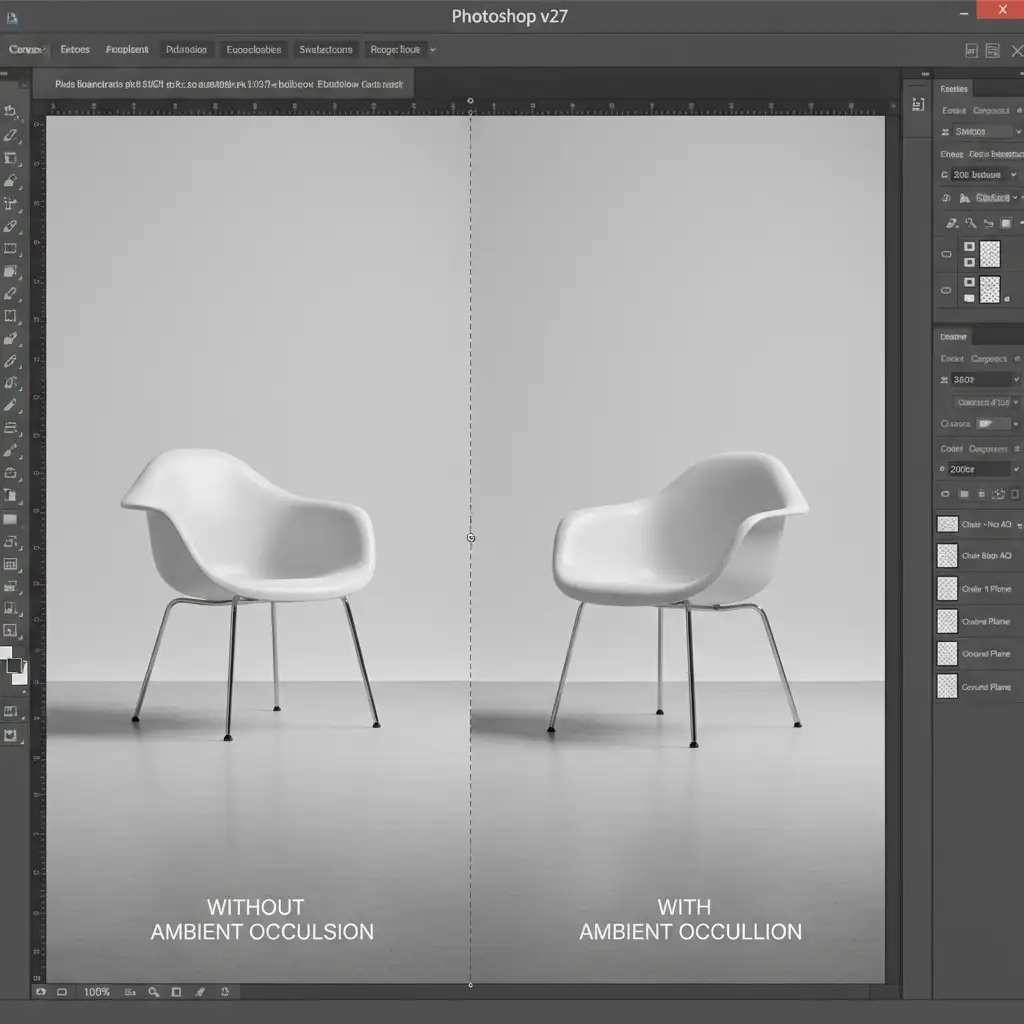
In Photoshop 2024 (version 25.x), the Generative Fill engine powered by Adobe Firefly does an excellent job blending edges, but it frequently fails to render accurate ambient occlusion or proper contact shadows when inserting objects into complex lighting environments.
The algorithmic limitation occurs because the AI struggles to consistently interpret multi-directional lighting, complex specular highlights, or irregular ground planes from the base plate alone. Because Firefly doesn’t truly “understand” 3D space, it often pastes the object without generating the necessary shadow beneath it, necessitating manual shadow reconstruction.
3 Ways to Fix Generative Fill Floating Shadows
Depending on your deadline and the complexity of your composite, you can use one of these three methods to build realistic shadows and ground your elements.
Method 1: The Quick Fix (Drop Shadow Layer Style)
If you are working with a relatively flat background and simple overhead lighting, a traditional layer style is the fastest way to anchor your object.
- Double-click your generated object layer to open the Layer Style panel.
- Check and select Drop Shadow.
- Crucial Step: Uncheck Use Global Light. This ensures your shadow angle doesn’t accidentally alter other layer styles in your document.
- Adjust the Angle, Distance, and Size to match the primary scene light source. Keep the distance tight to simulate a contact shadow.
Method 2: The Pro Workaround (Painting Contact Shadows)
For a commercial-grade finish, you need to manually paint the shadow where the object physically touches the ground. This recreates the ambient occlusion that the AI missed.
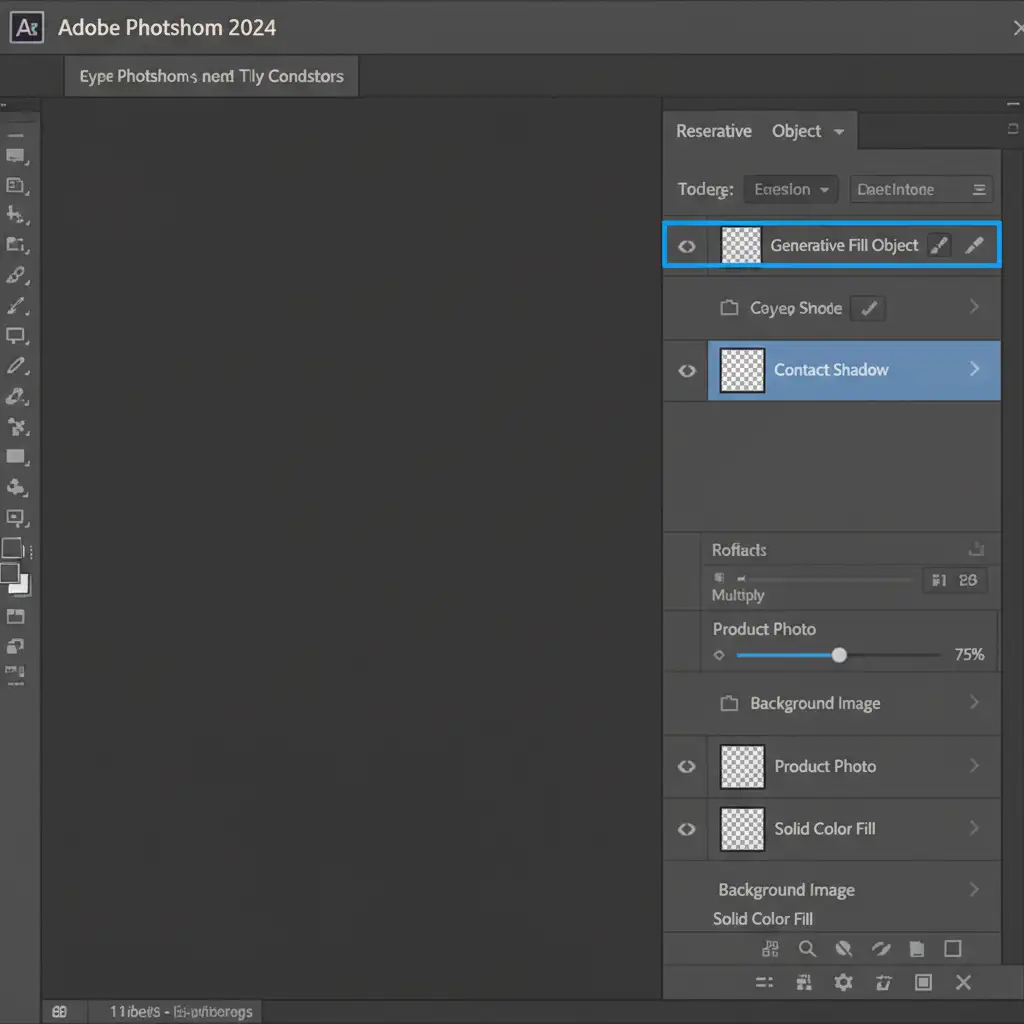
- Create a new blank layer and drag it below your generated AI object.
- Set this new layer’s blend mode to Multiply Blend Mode.
- Select the Brush tool (B).
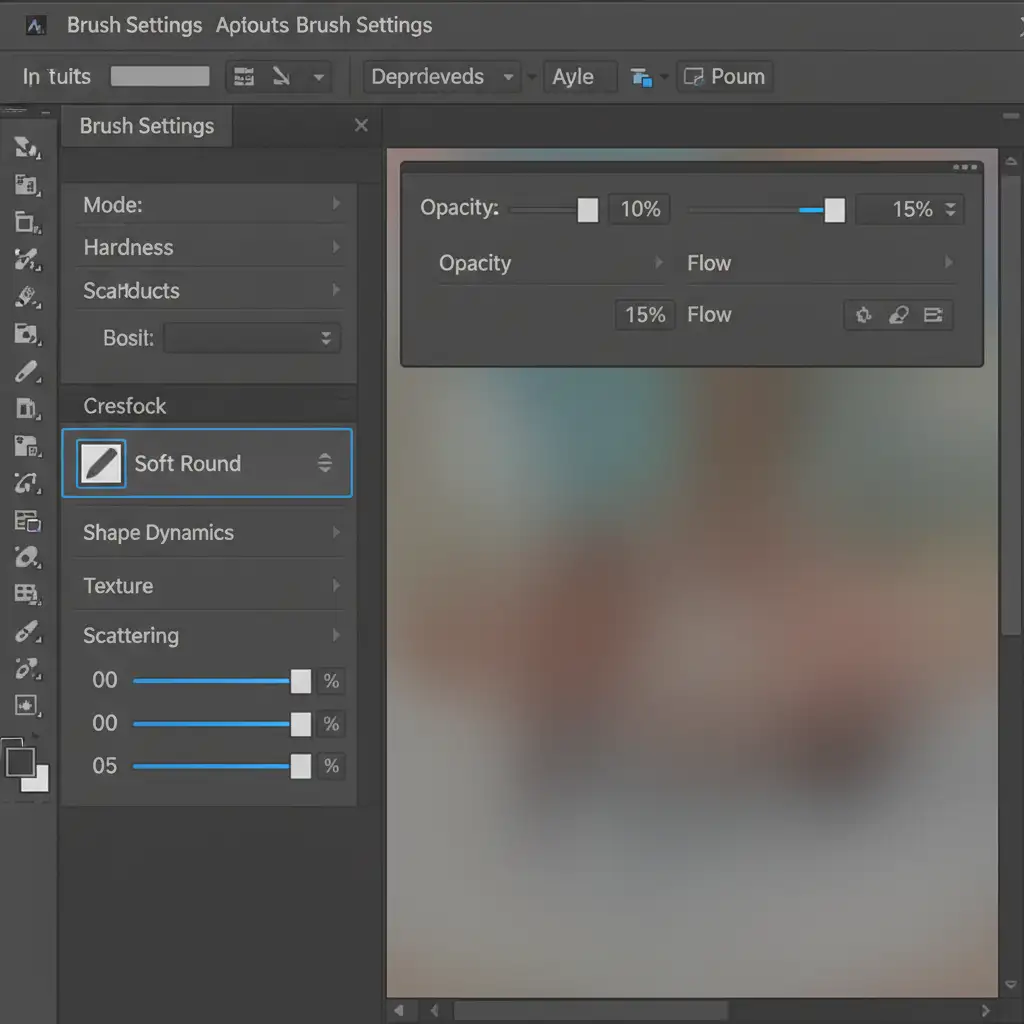
To make this look realistic, you must use specific brush settings:
- Choose a soft, round brush with black paint.
- Drop your brush Opacity to 10% and Flow to 15%.
- Slowly paint the immediate contact point where the object touches the ground plane. Build the depth gradually using multiple gentle strokes rather than one heavy click.
Method 3: The Technical Deep-Dive (Perspective Blur Technique)
When dealing with strong directional light (like golden hour sunlight or a harsh studio strobe), you need a cast shadow that matches the exact shape of your object.
- Duplicate your generated object layer (Ctrl/Cmd + J).
- Lock transparent pixels on the duplicated layer and fill it completely with black.
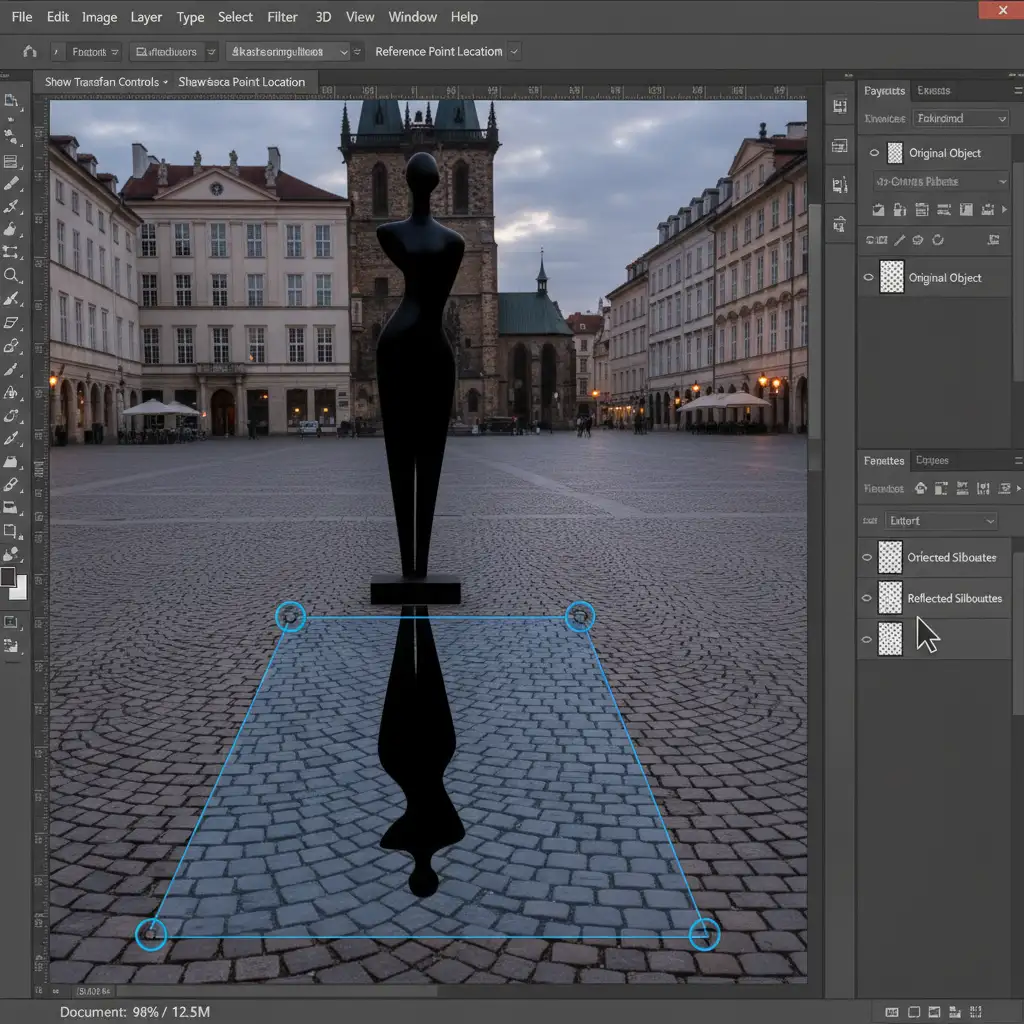
- Flip the black silhouette vertically (Edit > Transform > Flip Vertical).
- Move this shadow layer below your main object layer.
- Go to Edit > Transform > Distort to initiate a Perspective Transform. Drag the bounding box corners to lay the shadow flat against the ground plane, matching the perspective of the scene.
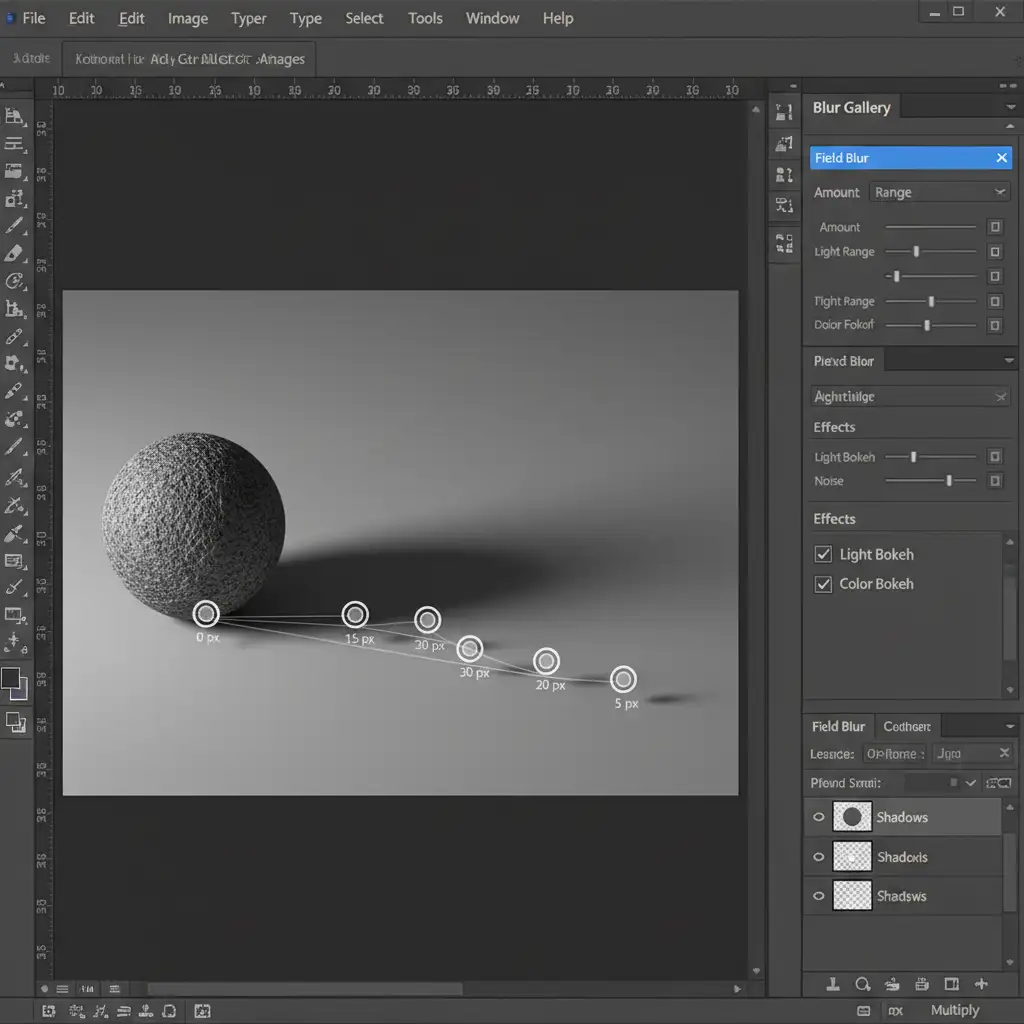
Once the shape is correct, it needs realistic light falloff. While a standard Gaussian Blur works for simple scenes, Field Blur provides superior optical integration.
- Go to Filter > Blur Gallery > Field Blur.
- Place one pin near the base of the object with a very low blur amount (shadows are sharper close to the object).
- Place a second pin at the far edge of the cast shadow and increase the blur amount.
- Finally, add a Layer Mask to the shadow layer and use a gradient to gently decrease the shadow’s opacity towards its furthest edge.
Need Flawless Composites? Let the Experts Handle It
Fixing generative fill floating shadows requires a deep understanding of lighting physics, perspective, and advanced Photoshop masking techniques. While these manual methods are highly effective, they are also incredibly time-consuming—especially when you are processing dozens or hundreds of e-commerce product images or commercial composites.
Struggling to make your AI composites look perfectly photo-real? Let the expert retouching team at Image Work India and Cloud Retouch handle the heavy lifting. Our team of professional retouchers specializes in complex lighting, precise color matching, and flawless shadow grounding.
We ensure your final images look like high-end commercial photography, not AI-generated shortcuts. Contact us today to streamline your post-production workflow and deliver absolute perfection to your clients.


