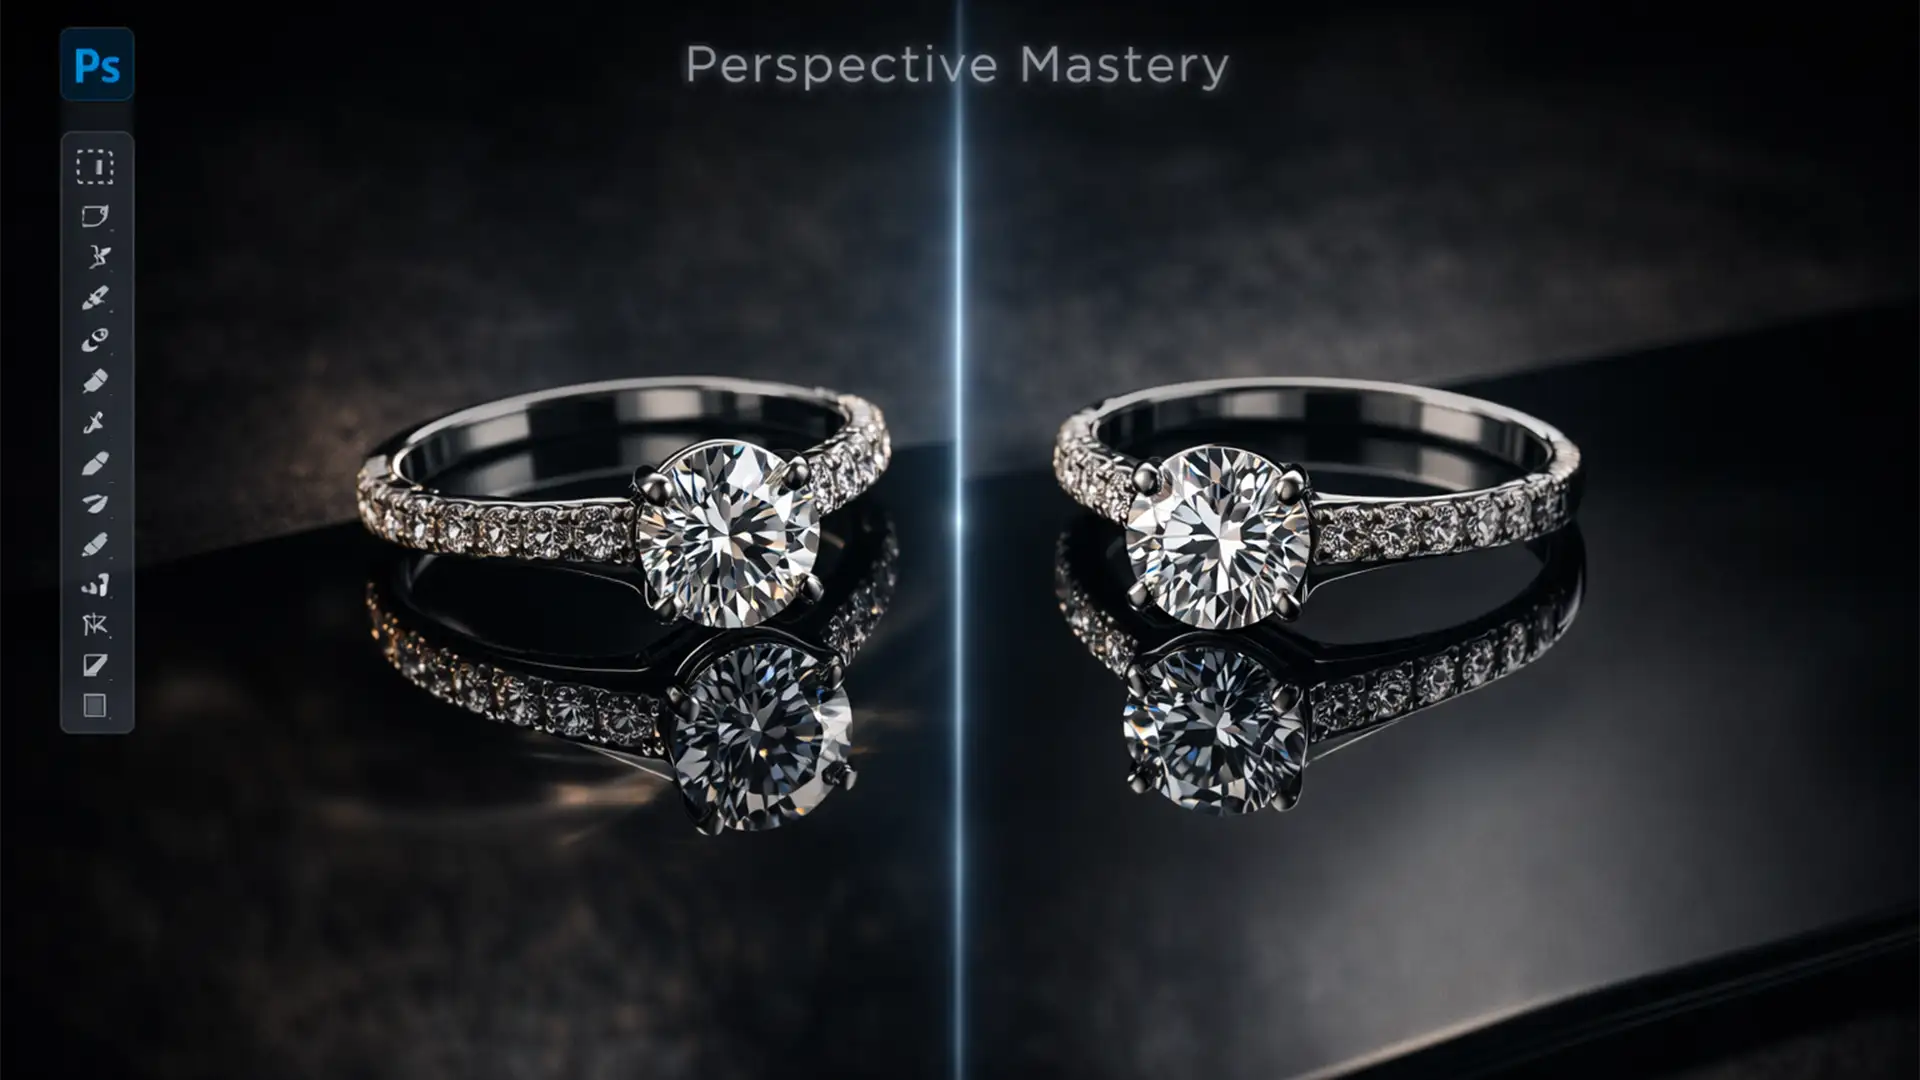
You’ve just shot a stunning diamond ring at a perfect 45-degree angle. You bring it into Adobe Photoshop v25.x, duplicate the layer, flip it vertically, and… it looks terrible. The bottom edges don’t meet, the angles clash, and instead of a luxurious reflection, grounded product, your jewelry looks like it’s floating in mid-air.
This “floating effect” is the bane of e-commerce jewelry retouching. Because macro lenses distort perspective, a raw vertical flip completely ignores the true vanishing points. Today, we are moving past basic drop shadows. We will show you exactly how to master matching reflection perspective for jewelry photography, ensuring your catalog looks premium, mathematically accurate, and ready to convert.
Why the “Vertical Flip” Fails in Jewelry Retouching
When photographing jewelry, photographers frequently use macro lenses and shoot at downward angles (typically 30 to 45 degrees) to capture the top facets of a stone or the face of a watch.
Because of this specific angle of incidence, the bottom of the jewelry curves away from the lens along the Z-axis. When you simply duplicate and flip the isolated clipping path layer vertically in Photoshop, you are mirroring the front of the object, not the bottom. This mismatch causes the base contact points to misalign, resulting in a reflection that appears to float or break away from the product.
To fix this, you must manipulate the Z-axis depth of the reflection to match the camera’s original focal length. Here are three ways to achieve this in Photoshop CC 2024.
3 Methods for Matching Reflection Perspective for Jewelry Photography
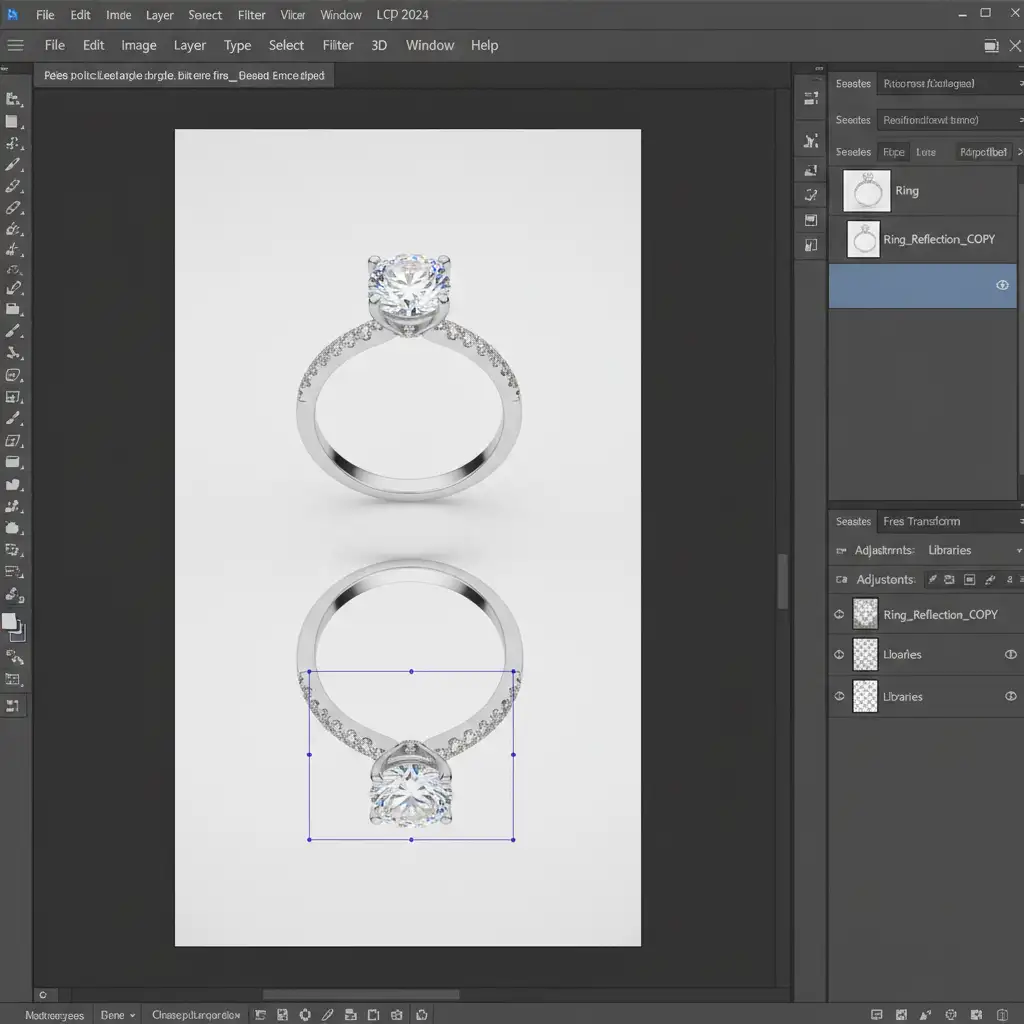
Method 1: The Quick Fix (Free Transform & Skew)
If you are working with relatively flat or simple geometric jewelry, Photoshop’s Free Transform tools can quickly bridge the gap.
- Isolate your jewelry using a precise clipping path.
- Duplicate the layer and flip it vertically (Edit > Transform > Flip Vertical).
- Press Ctrl+T (Windows) or Cmd+T (Mac) to bring up the Free Transform bounding box.
- Hold Ctrl (or Cmd) to activate the Skew tool. Click and drag the top corner handles inward or outward to force the base of the reflection to meet the base of the actual jewelry.
- Use the Perspective transform option to taper the bottom of the reflection, mimicking how objects recede into the distance.

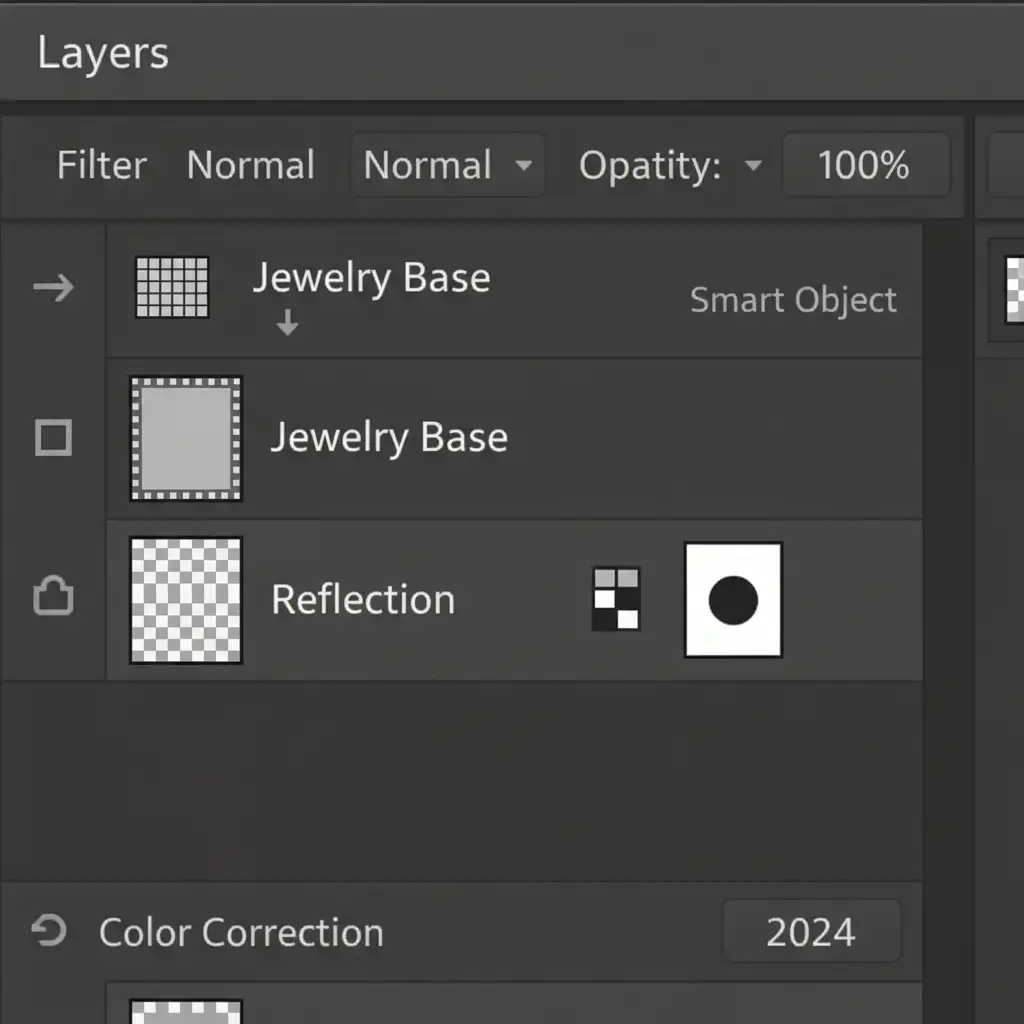
Method 2: The Pro Workaround (Smart Objects & Puppet Warp)
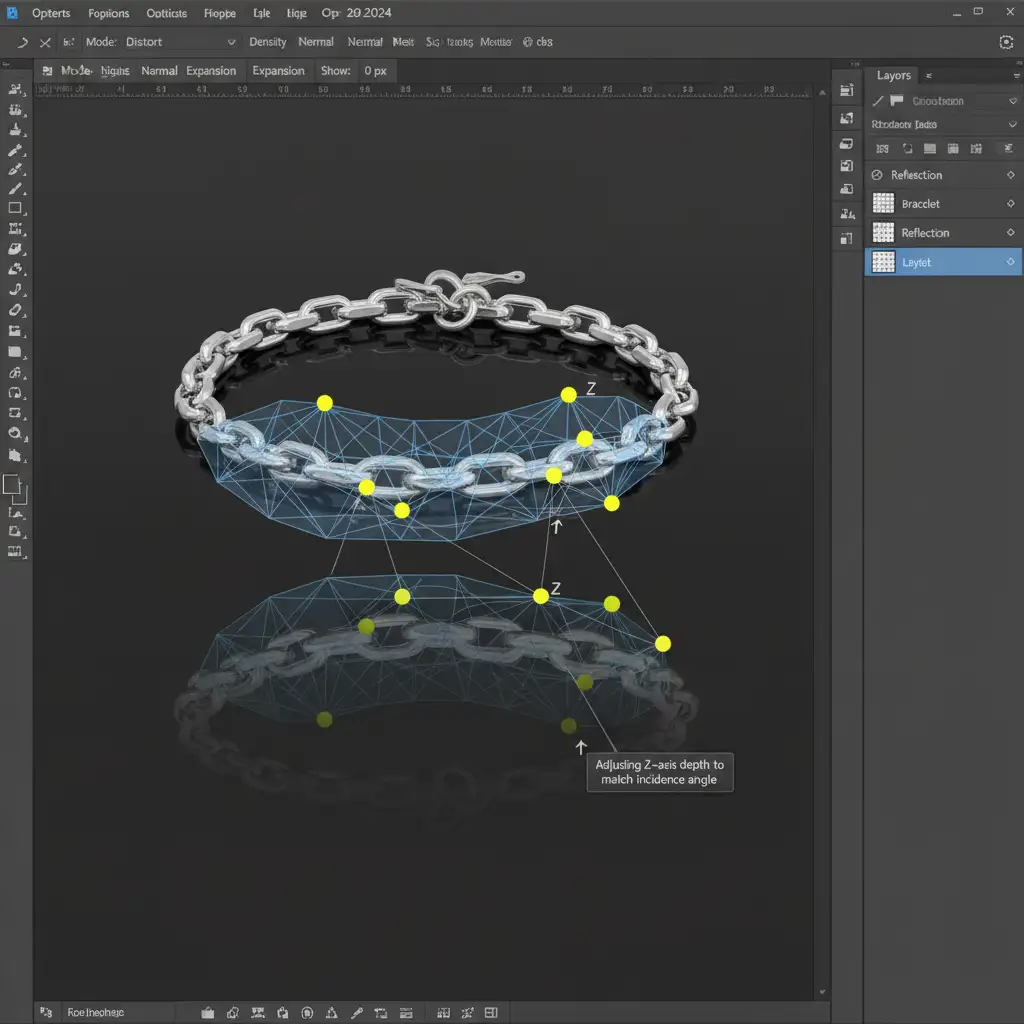
Curved items, such as bangle bracelets or intricate necklace chains, cannot be fixed with a simple skew. The curves require localized bending.
- Convert your duplicated reflection layer into a Smart Object. This protects your pixel data and allows for non-destructive editing.
- Go to Edit > Puppet Warp. A mesh will appear over your reflection.
- Place pins along the base where the reflection should touch the jewelry to lock those areas in place.
- Place additional pins along the curves of the band or chain. Gently drag these pins to bend the reflection so it curves naturally away from the viewer, aligning the visual weight with the correct angle of incidence.
Method 3: The Technical Deep-Dive (Perspective Warp & Vanishing Points)
For high-end luxury retouching where mathematical accuracy is non-negotiable, you must align the reflection to the exact vanishing point of the image.
- Select your reflection layer and navigate to Edit > Perspective Warp.
- Draw a structural grid over the reflection. Press Enter to switch from Layout mode to Warp mode.
- Adjust the pins to match the camera’s focal length. If the original shot was taken at a sharp downward angle, warp the reflection so the bottom tapers aggressively toward the vanishing point.
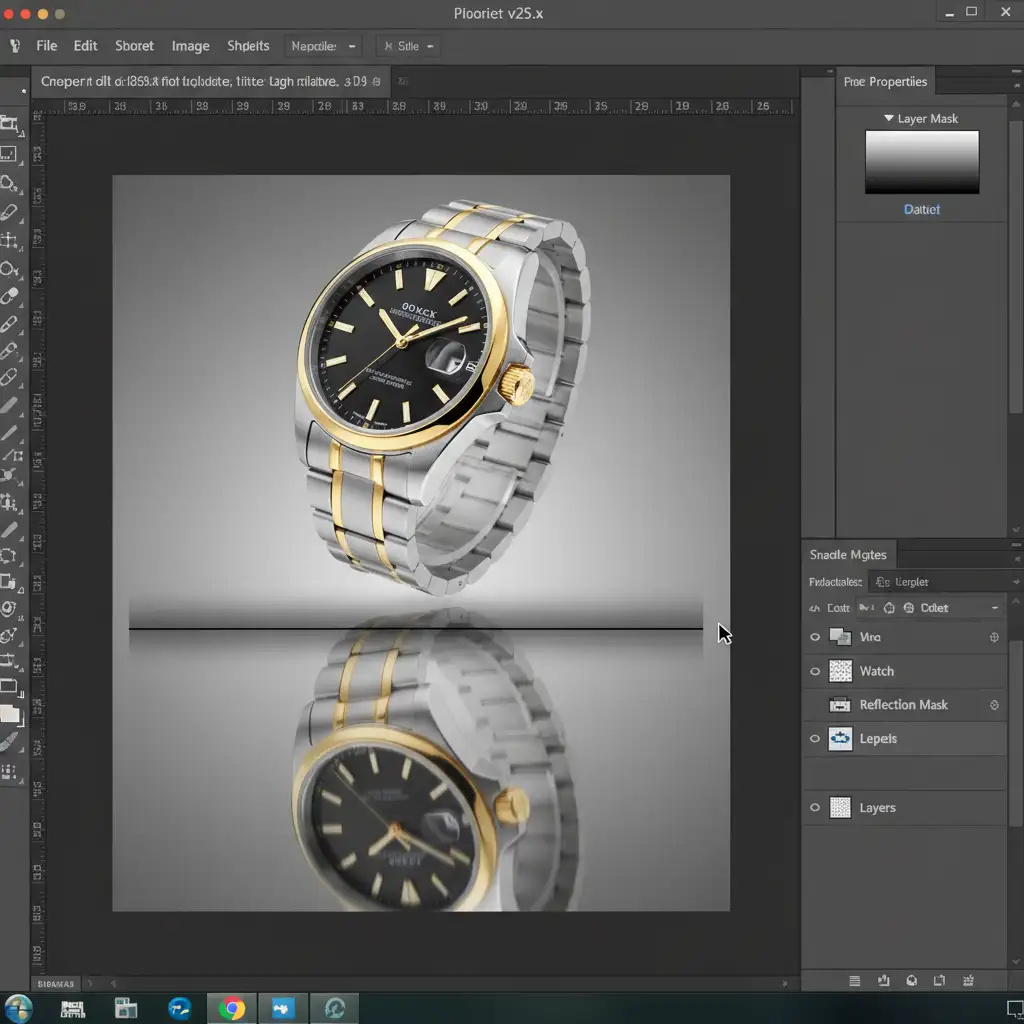
- The Fade: A reflection is rarely perfectly sharp. Add a Layer Mask to your reflection layer.
- Use the Gradient tool to draw a linear black-to-white line from the bottom of the canvas up to the base of the jewelry. This creates a realistic gradient fade.
- Finally, apply a subtle Gaussian blur (1-2 pixels) to the reflection layer to soften the edges, and paint in a dark, narrow contact shadow right where the jewelry meets the floor to ground the piece completely.
The Final Polish: Grounding Your Jewelry
By moving away from basic vertical flips and utilizing perspective warping and mesh manipulation, your product photos transition from looking like cheap digital composites to high-end, studio-grade imagery.
Stop Struggling with Complex Perspective Warping
Matching reflection perspective for jewelry photography requires a deep understanding of optics, Z-axis depth, and advanced Photoshop algorithms. When you are processing hundreds of SKUs for an upcoming e-commerce launch, manually adjusting puppet warps and vanishing points drains your time and resources.
Image Work India and Cloud Retouch specialize in high-end jewelry retouching. Our team of expert retouchers understands the exact mathematics of camera angles and lighting falloff. We handle the complex clipping paths, contact shadows, and perspective-accurate reflections so your jewelry looks flawless, grounded, and ready to drive sales.
Stop settling for floating reflections. Partner with Image Work India and Cloud Retouch today, and let us elevate your product catalog to the luxury standard it deserves.


