
You just spent twenty minutes meticulously crafting the perfect ground reflection for a product shot. You rasterized the layer, applied a blur, and erased the edges for a smooth fade. Then, the client email arrives: “Can we swap the product for the updated packaging?”
Because you used destructive editing techniques, you now have to start the entire reflection process over from scratch.
For product editors and retouchers, permanent pixel alterations make client revisions a nightmare. In Photoshop CC 2024 (v25.x), there is a better way. By implementing a non-destructive ground reflection workflow in Photoshop, you can ensure that any updates to the source image automatically propagate to the reflection-with all transformations, fades, and filters perfectly intact.
Here is how to stop wasting time on re-edits and build a bulletproof, scalable workflow.
Why Destructive Reflections Ruin Studio Efficiency
The traditional method of creating reflections involves duplicating a layer, flipping it, and then using the Eraser tool or a rasterized gradient to fade the bottom. The moment you rasterize a layer or permanently delete pixels, you lose the ability to tweak opacity, adjust lighting, or swap the base product without redoing the work.
A true non-destructive editing workflow relies on Smart Objects and Layer Masking. This ensures your base pixels remain untouched while allowing infinite adjustments.
Method A: The Quick Fix Using Smart Objects and Layer Masks
If you need a fast, reliable reflection for a standard e-commerce background, this is your baseline workflow.
- Convert to Smart Object: Select your primary product layer. Right-click and choose “Convert to Smart Object.” This protects your base image.
- Duplicate and Flip: Press Ctrl/Cmd + J to duplicate the Smart Object. Press Ctrl/Cmd + T to transform, right-click, and select “Flip Vertical.” Move this layer below your product.
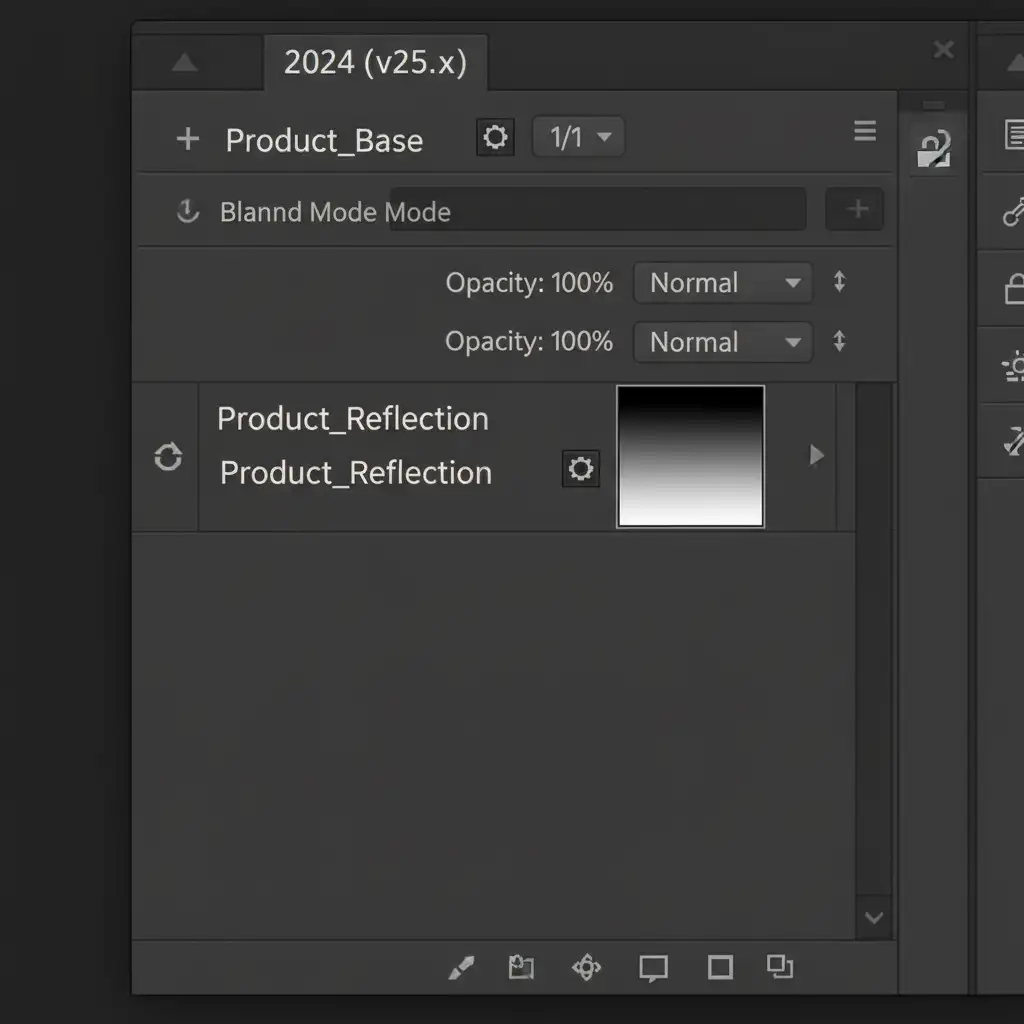
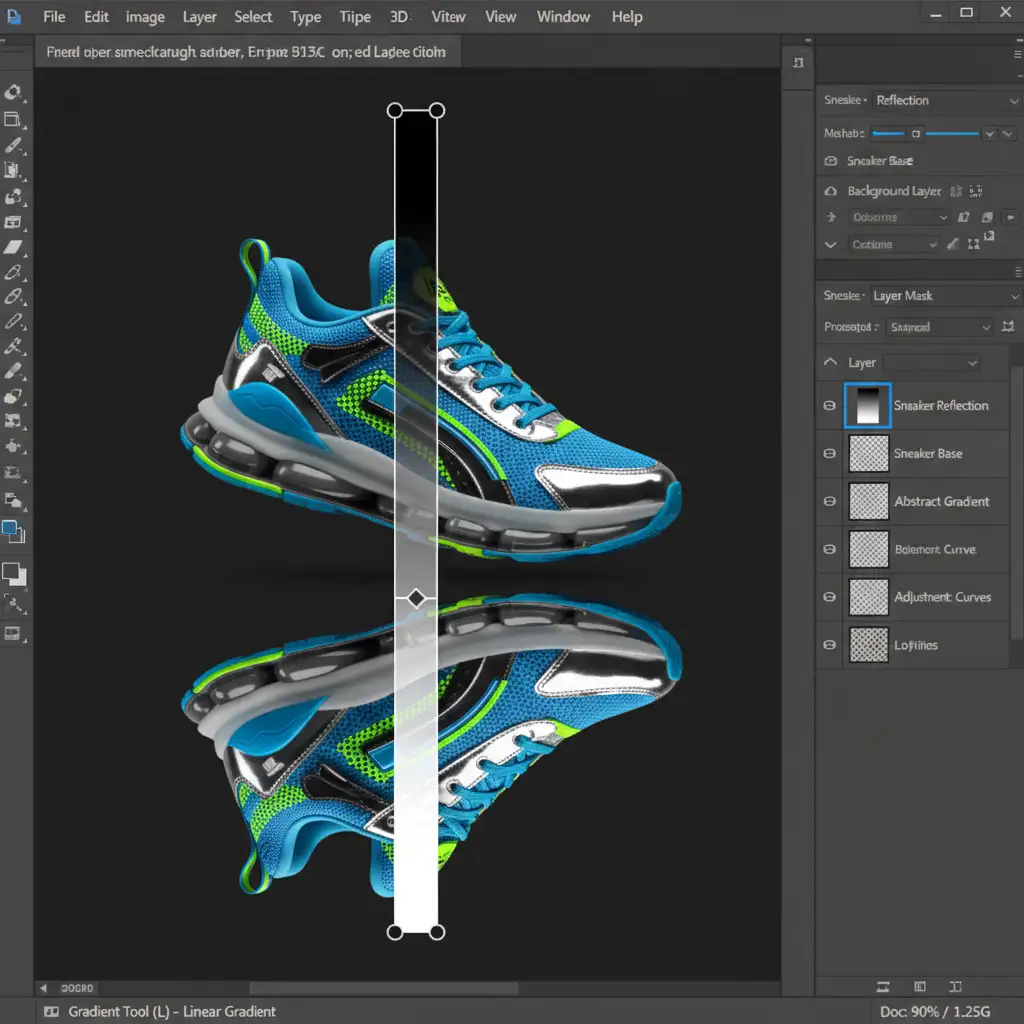
- Apply a Layer Mask: Click the Layer Mask icon at the bottom of the Layers panel.
- Fade with the Gradient Tool: Select the Gradient Tool (G). Set it to a basic Black-to-White gradient. Drag vertically from the bottom of the reflection upwards on the Layer Mask. This creates a seamless fade without deleting a single pixel.
Method B: The Pro Workaround Using Linked Layers
When working on high-volume catalogs where product labels or colors change frequently, Linked Smart Objects are a lifesaver.
- Create a Master PSB: Save your isolated product as a separate .psb or .psd file.
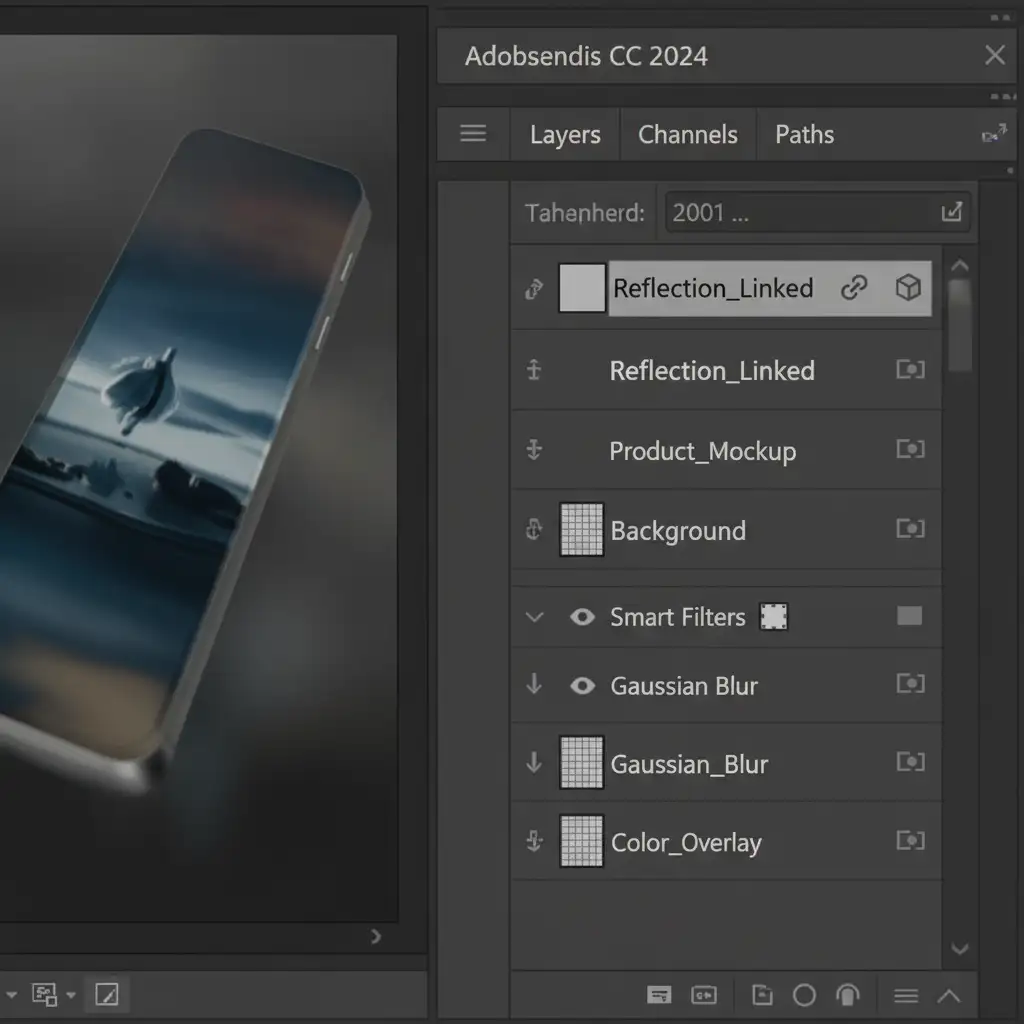
- Place Linked Layers: In your main composition, go to File > Place Linked and select your product file. Do this twice-once for the main product, once for the reflection.
- Transform and Filter: Flip the reflection layer vertically. Because it is a Smart Object, you can now apply Smart Filters non-destructively. Add a Gaussian Blur (Filter > Blur > Gaussian Blur) to soften the reflection’s floor contact.
- The Magic of Updating: When the client requests a product swap, simply open the linked .psb file, drop in the new product, and save. Both the main product and the blurred reflection will update automatically in your master file.
Method C: The Technical Deep-Dive for Complex Surfaces
Standard reflections look fake on textured surfaces like concrete, wood, or water. To make the reflection interact naturally with the background while retaining full adjustability, you need advanced blending.
Integrating Displacement Maps
Instead of manually warping the reflection to match a bumpy surface, use a Displacement Map.
- Save a black-and-white, high-contrast version of your background texture as a PSD.
- Select your reflection Smart Object layer.
- Go to Filter > Distort > Displace. Choose your saved texture PSD. This filter will map the reflection to the grooves of the surface non-destructively.
Mastering Blend If for Realism
To ensure the reflection blends into the floor’s highlights and shadows naturally, use the Blend If sliders.
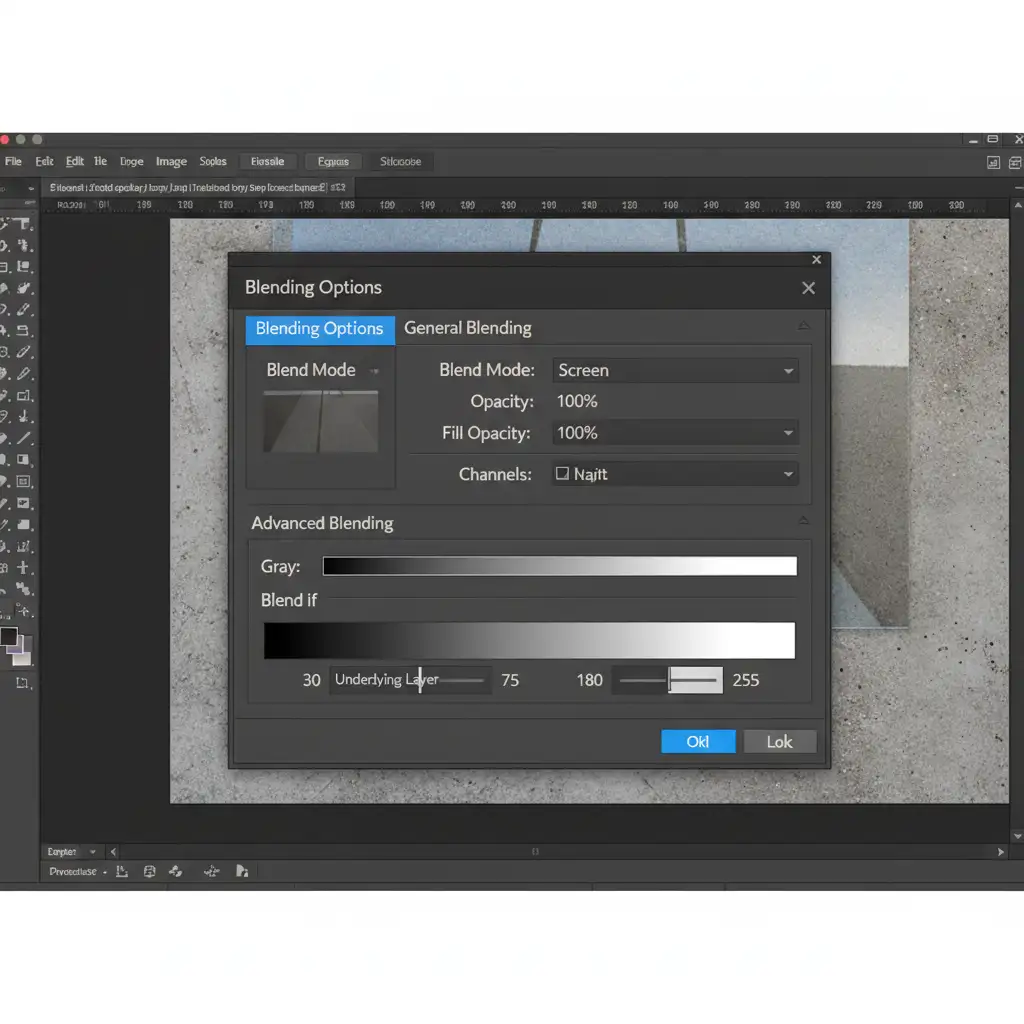
- Double-click the reflection layer to open the Layer Style dialog.
- Locate the “Blend If” section at the bottom.
- Hold Alt/Option and click the underlying layer sliders to split the toggles. Drag them gently to hide the reflection in the deepest shadows or brightest highlights of the background texture.
- Lower the overall layer Opacity to taste.
Scale Your E-Commerce Imagery with Image Work India
Mastering a non-destructive ground reflection workflow in Photoshop saves hours of frustration, but executing it flawlessly across hundreds of product SKUs requires dedicated time and resources.
If you need pixel-perfect, scalable e-commerce edits without the bottleneck of doing it in-house, Image Work India and Cloud Retouch are your dedicated post-production partners. We specialize in high-volume, non-destructive product retouching that adapts instantly to your brand guidelines.
From complex clipping paths to dynamic, photorealistic reflections, our expert team ensures your images are retail-ready and fully adjustable for future campaigns. Stop wasting time on tedious re-edits-let us handle the heavy lifting so you can focus on growing your brand. Contact us today to streamline your post-production workflow.


