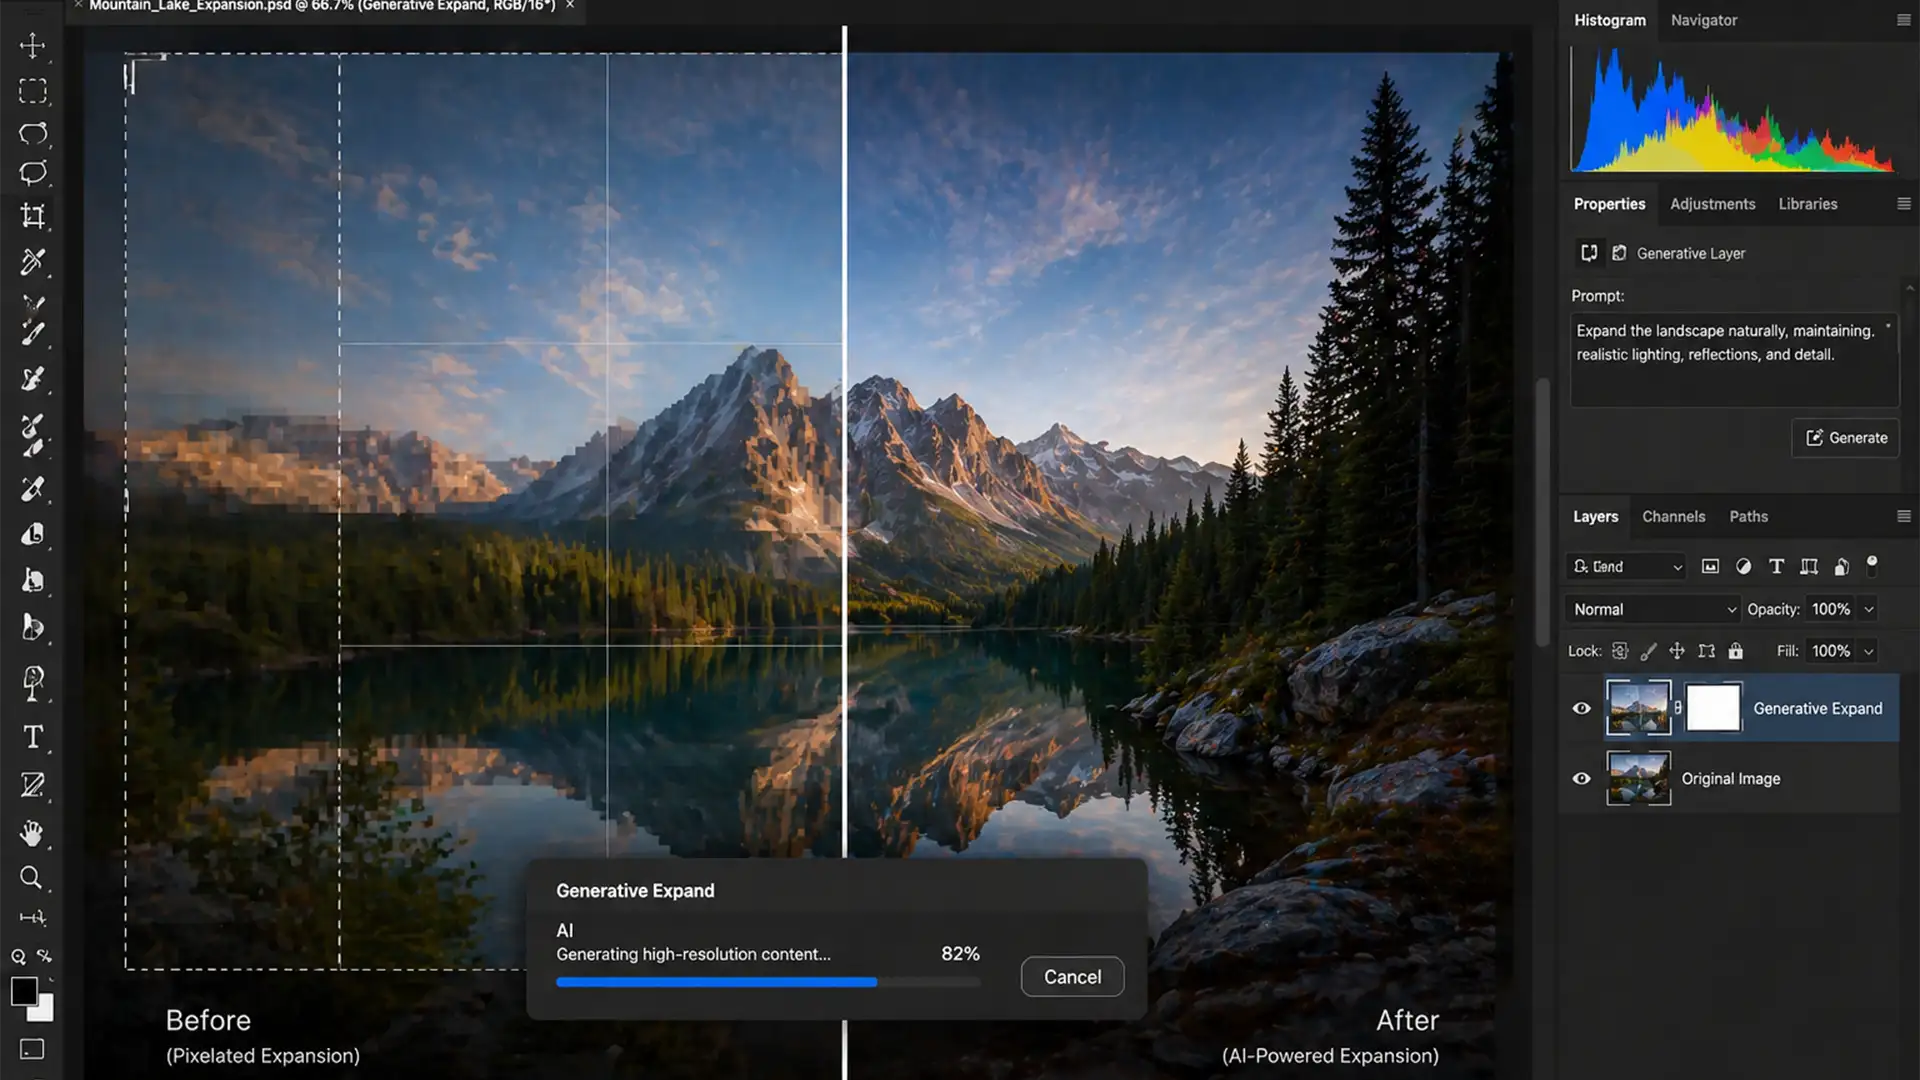
You just shot a brilliant high-resolution campaign, but the client suddenly needs the images in a wider aspect ratio. You fire up Photoshop v25.0, drag the Crop Tool outward, and hit Generative Expand. The result? A glaring, blurry seam exactly where your original image ends and the AI generation begins.
This frustrating resolution mismatch happens because Adobe’s Firefly AI historically caps its generation at 1024×1024 pixel patches, stretching the output to fit your massive canvas. If you are looking for a reliable Photoshop Generative Expand blurring edges fix, you are in the right place. Let’s eliminate those pixelated borders and restore professional sharpness to your workflow.
Why Does Generative Expand Create Blurry Edges?
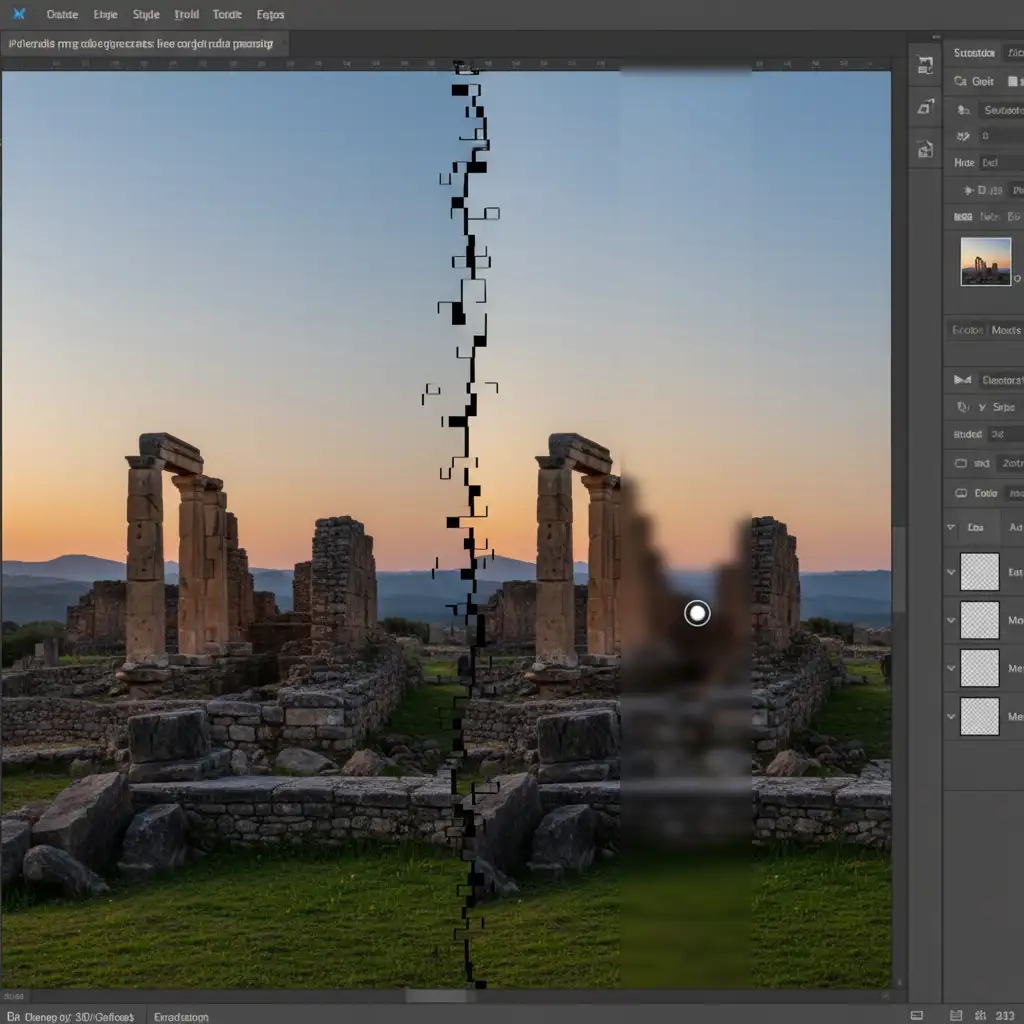
When working with large commercial files, expanding your canvas size forces the AI to cover a massive pixel area. Because Firefly AI generates data in limited resolution chunks, Photoshop relies on interpolation to scale the generated patch up to your document’s native resolution.
Furthermore, Photoshop’s anti-aliasing at the very edge of your original image creates a microscopically soft border. When the AI samples this soft edge to begin its generation, it multiplies that softness, resulting in noticeable pixelation and a distinct blur line.
Here are three proven methods to bypass this limitation.
Method 1: The Quick Fix (Inward Cropping)
The fastest way to prevent edge blurring is to change how the AI samples your original image. Instead of leaving the prompt blank, use highly descriptive keywords that match the texture of your scene. Then, adjust your crop boundary.
Step-by-Step Execution
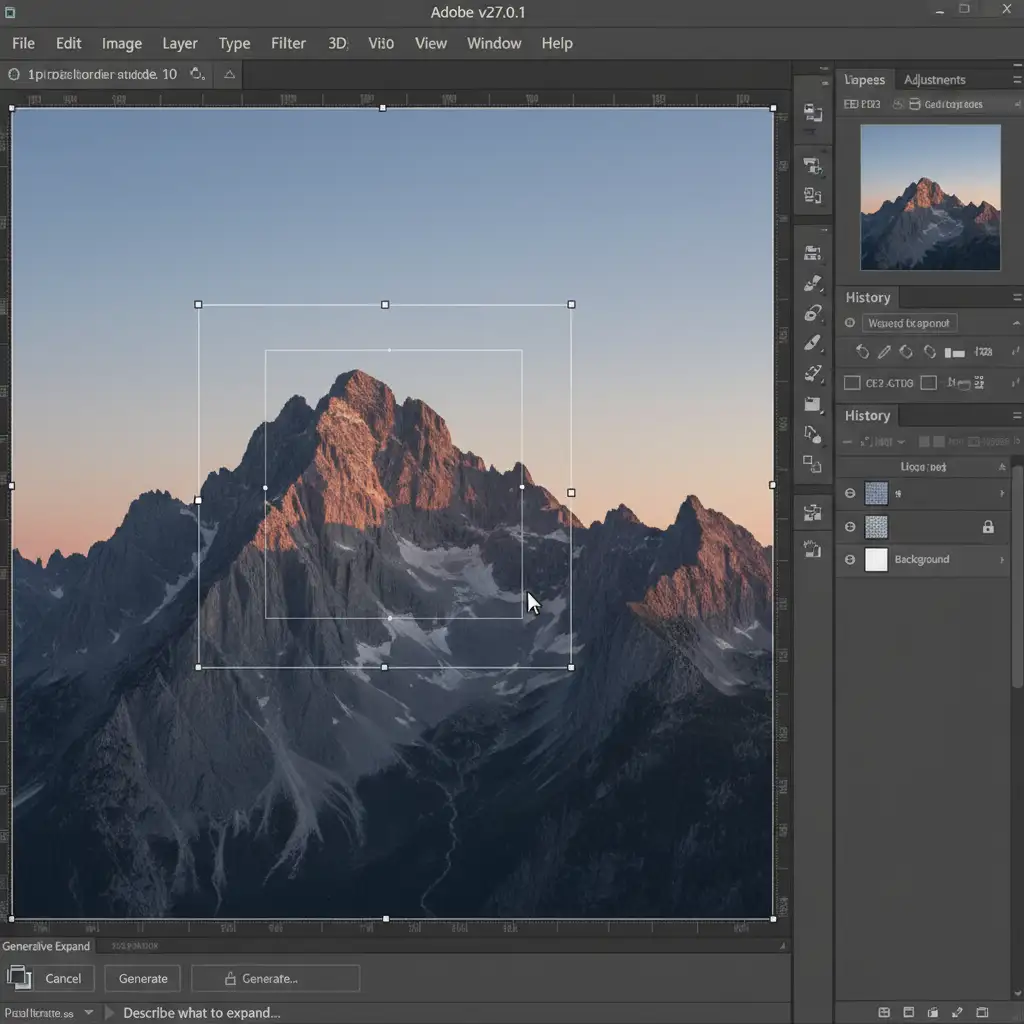
- Activate the Crop Tool (C).
- Drag your canvas outward to the desired new dimensions.
- Before hitting generate, drag the inner crop boundaries inward to cut into your original image by about 5 to 10 pixels.
- Hit Generate.
By overlapping the boundary, you force the AI to sample deeper into the sharp, high-contrast pixels of your image rather than the anti-aliased border.
Method 2: The Pro Workaround (Masking & Noise Matching)
For commercial retouching where flawless transitions are mandatory, you cannot rely on AI alone. You must manually blend the high-resolution original data with the generated background using precise layer masking and noise matching.
Step 1: Feather the Transition
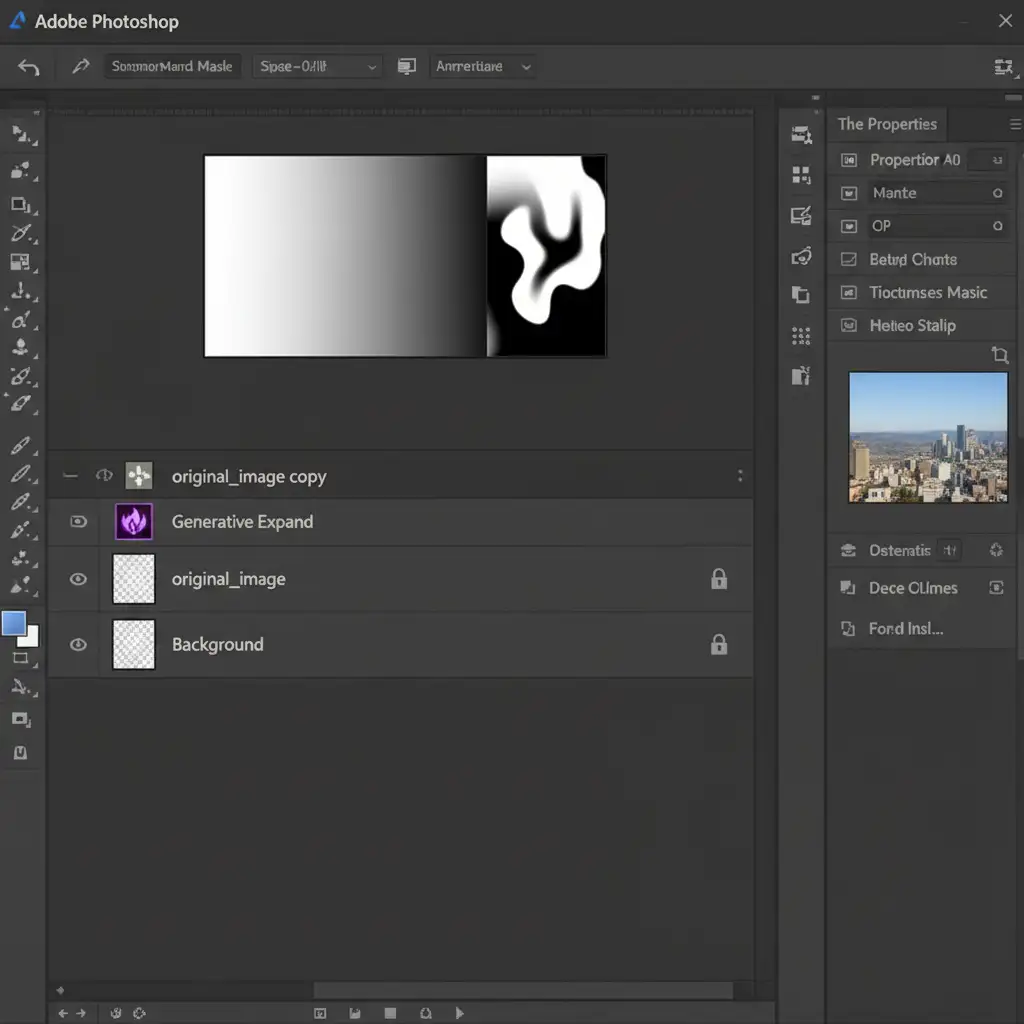
Generate your expansion as usual. Once the Generative Fill layer is created, duplicate your original high-resolution base layer and drag it to the top of the layer stack. Add a Layer Mask to this top layer. Select a soft-edged Brush Tool (B) set to 30 percent opacity and gently feather the edge where the original image meets the generated pixels.
Step 2: Match the Grain Structure
AI-generated pixels are often unnaturally smooth. To blend the expansion perfectly, you must match the digital noise of the original photograph.
- Create a new layer above your Generative layer and clip it (Create Clipping Mask).
- Fill it with 50% gray and set the blend mode to Overlay.
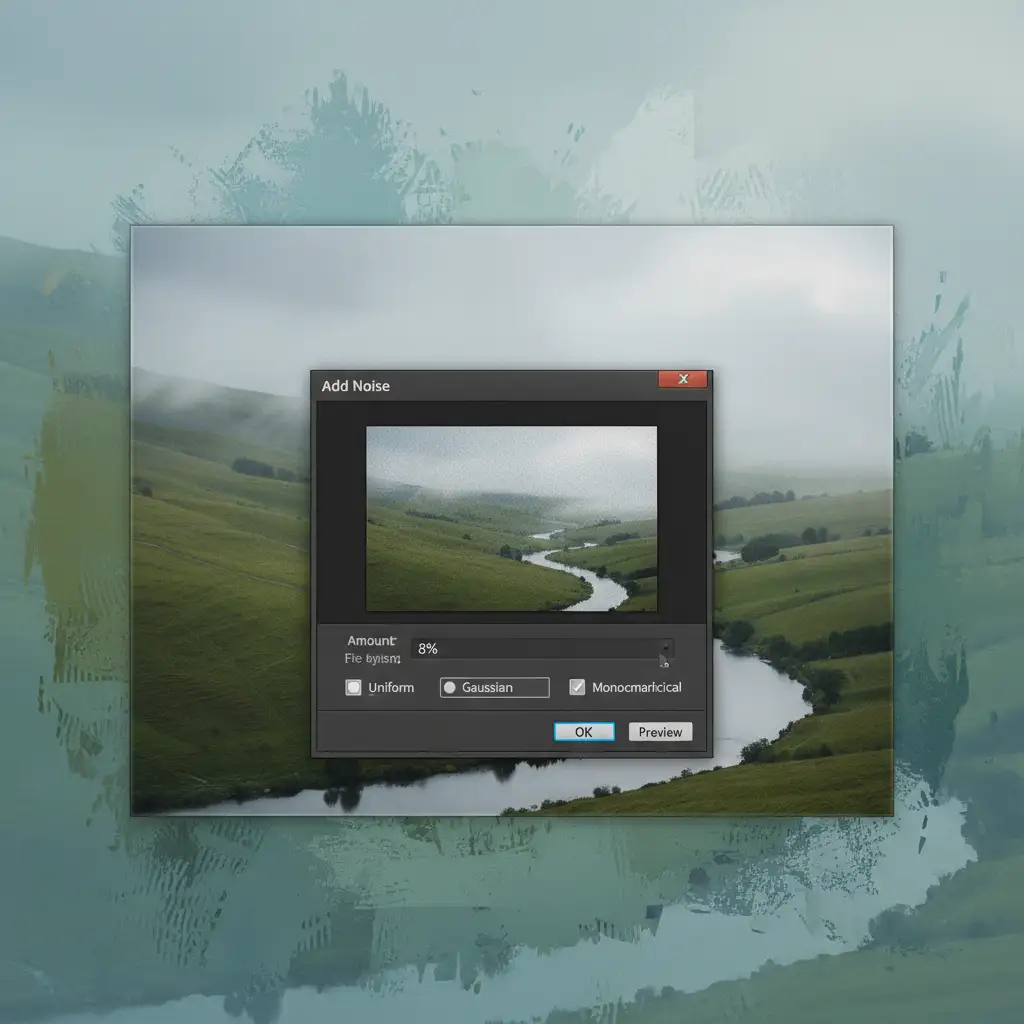
- Go to Filter > Noise > Add Noise.
- Adjust the amount and distribution (Uniform/Gaussian) to match the original photo’s grain.
Method 3: The Technical Deep-Dive
If you are dealing with massive billboard-sized files, you need to work around the AI’s patch-size limitations mathematically.
Incremental Generation
Do not expand a 5000-pixel canvas all at once. Instead, use the Crop Tool to expand the canvas in smaller, 1024×1024 pixel increments. Generate the first section, flatten or merge, and then expand again. This keeps the AI operating at its native 1:1 resolution, completely eliminating the resolution mismatch.
The Downscale-Upsample Technique
Alternatively, you can temporarily reduce your document’s overall size:
- Downscale your original image to a lower resolution (e.g., 2000px on the long edge).
- Run Generative Expand to fill the new canvas.
- Flatten the image.
- Go to Image > Image Size and upsample the entire merged document back to the original high resolution, ensuring you select Preserve Details 2.0 in the resampling dropdown to maintain edge sharpness.
Need Flawless Commercial Retouching? Let Us Help
Mastering the perfect Photoshop Generative Expand blurring edges fix takes time, patience, and a deep understanding of pixel interpolation. When you are on a tight deadline for a major commercial campaign, you can’t afford to waste hours fighting AI artifacts, pixelation, and blurry seams.
Struggling with AI generation artifacts on your commercial campaigns? Hire Image Work India and Cloud Retouch for pixel-perfect, high-resolution image expansions and pro-grade retouching. Our team of expert retouchers manually refines every AI generation, ensuring flawless layer masking, precise noise matching, and pristine edge transitions that meet the highest industry standards.
Contact us today to ensure your expanded images look perfectly natural, no matter how large the canvas.


