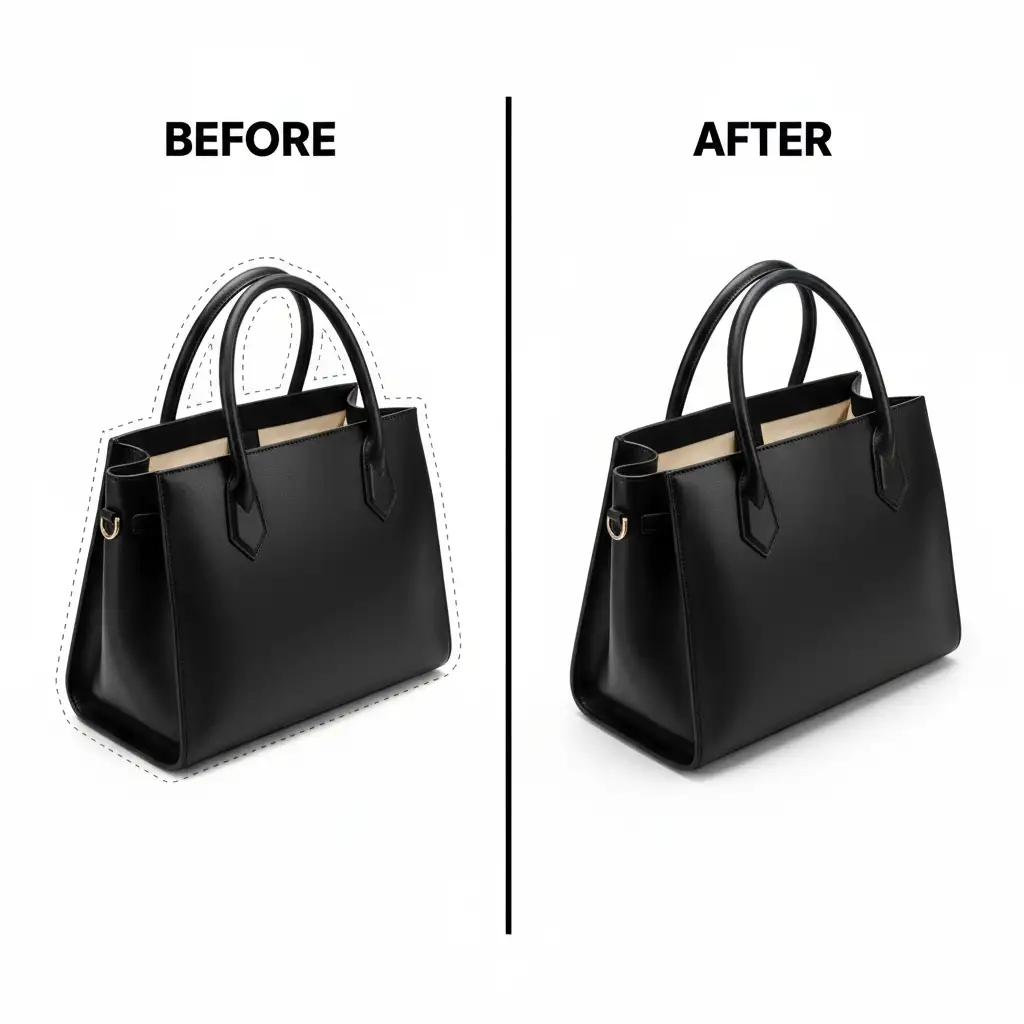
You’ve just finished a high-end product shoot for a luxury accessories line. But when you remove the acrylic inserts, stands, or mannequin heads in post-production, disaster strikes. Your structured bags and hats suddenly look flat, lifeless, and completely devoid of their natural 3D volume. Standard background removal simply doesn’t cut it for accessories. To sell high-ticket items, customers need to see the interior depth, rigid shape, and structural integrity of the product. If you are struggling with lighting mismatches or misaligned straps during the editing process, this guide to creating an invisible mannequin for structured bags and hats is your ultimate solution.
Why Structured Accessories Fail in Post-Production
In Adobe Photoshop v25.x (2024), the primary challenge with structured accessories is retaining volume once physical supports are masked out. When you shoot a bag or a hat, it usually requires an acrylic stand or a foam block to hold its shape.
Removing these supports via basic background removal leaves a gaping, unnatural hole where the interior lining should be. The technical workflow to fix this requires merging an exterior “hero” shot with a separate inner lining shot. However, retouchers frequently run into pain points like lighting mismatches between the two exposures, misalignment of hardware, and the loss of natural shadows that define the item’s rigidity.
3 Workflows for Flawless Bag and Hat Composites
To achieve true 3D realism, you need to move beyond basic erasing. Here are three methods, ranging from a quick AI fix to professional studio compositing.
Method 1: The Quick Fix (Generative Fill)
For simple shapes or lower-budget e-commerce shoots, you can leverage Adobe’s AI capabilities to reconstruct missing interiors.
- Select your product using Photoshop’s Object Selection Tool to isolate the bag or hat from the background.
- Invert the selection to target the empty space where the stand or mannequin head used to be.
- Utilize Generative Fill via the Contextual Task Bar. Prompt it to “recreate interior fabric lining.”
Note: While fast, this method often lacks physical accuracy and may generate interior linings that do not match the actual physical product.
Method 2: The Pro Workaround (Multi-Shot Compositing)
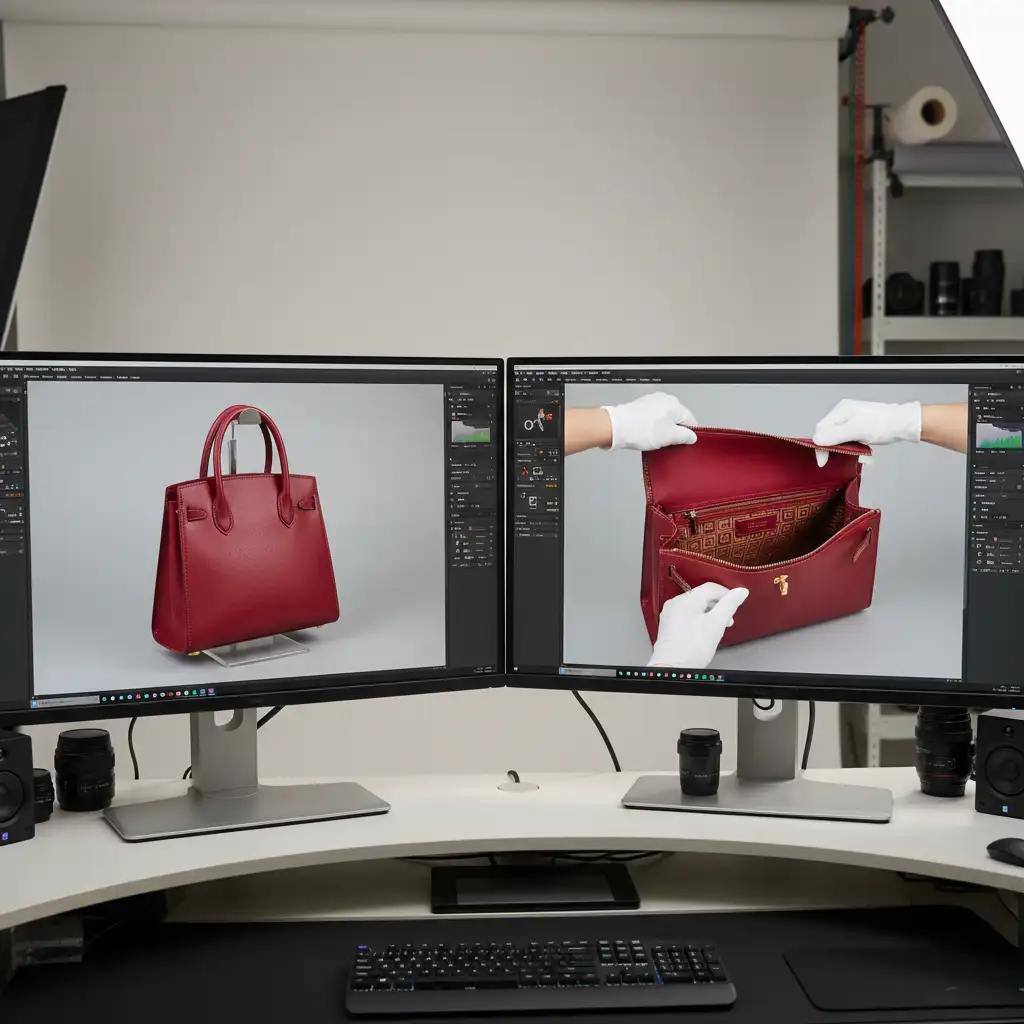
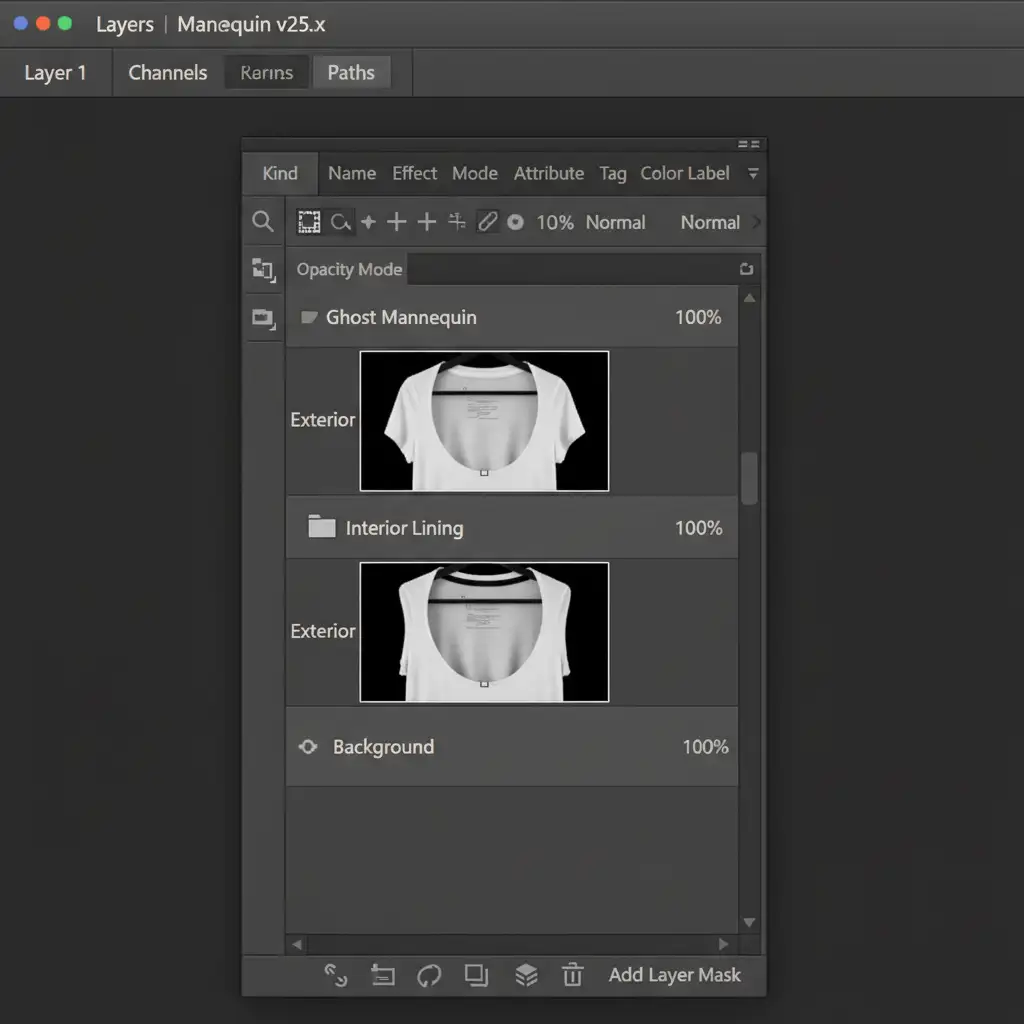
To create an authentic ghost mannequin effect, you must use actual photography of the product’s interior. This requires a composite image built from two separate photographs.
- Shoot the Plates: Shoot the exterior of the bag/hat on a stand. Then, shoot the interior lining separately, ensuring the lighting angle matches the hero shot.
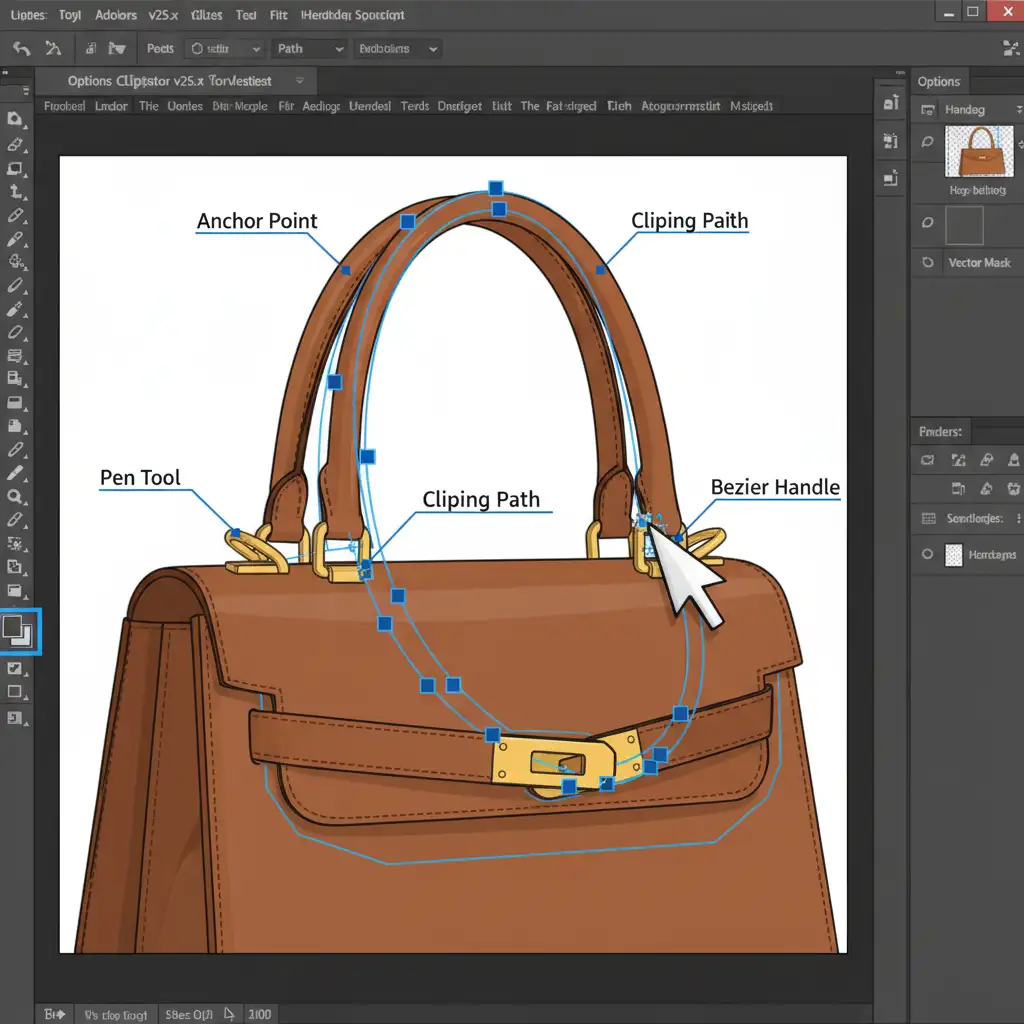
- Path Creation: Use the Pen Tool to draw a precise clipping path around the exterior of the product.
- Masking: Convert the pen tool path into a selection and apply it as a Layer Mask to isolate the exterior.
- Alignment: Bring in your interior lining shot. Place it on a layer below the exterior. Use the Transform and Warp tools to align the inner lining with the exterior opening perfectly, ensuring straps and hardware match up.
Method 3: The Technical Deep-Dive (Texture & Shadow Reconstruction)
The secret to luxury e-commerce retouching lies in the micro-details. Merging two photos often reveals fabric creases from the stands or a lack of depth where the two images meet.
- Clean up Creases: Use Frequency Separation to smooth out fabric wrinkles or leather dents caused by the physical stands without destroying the underlying material texture.
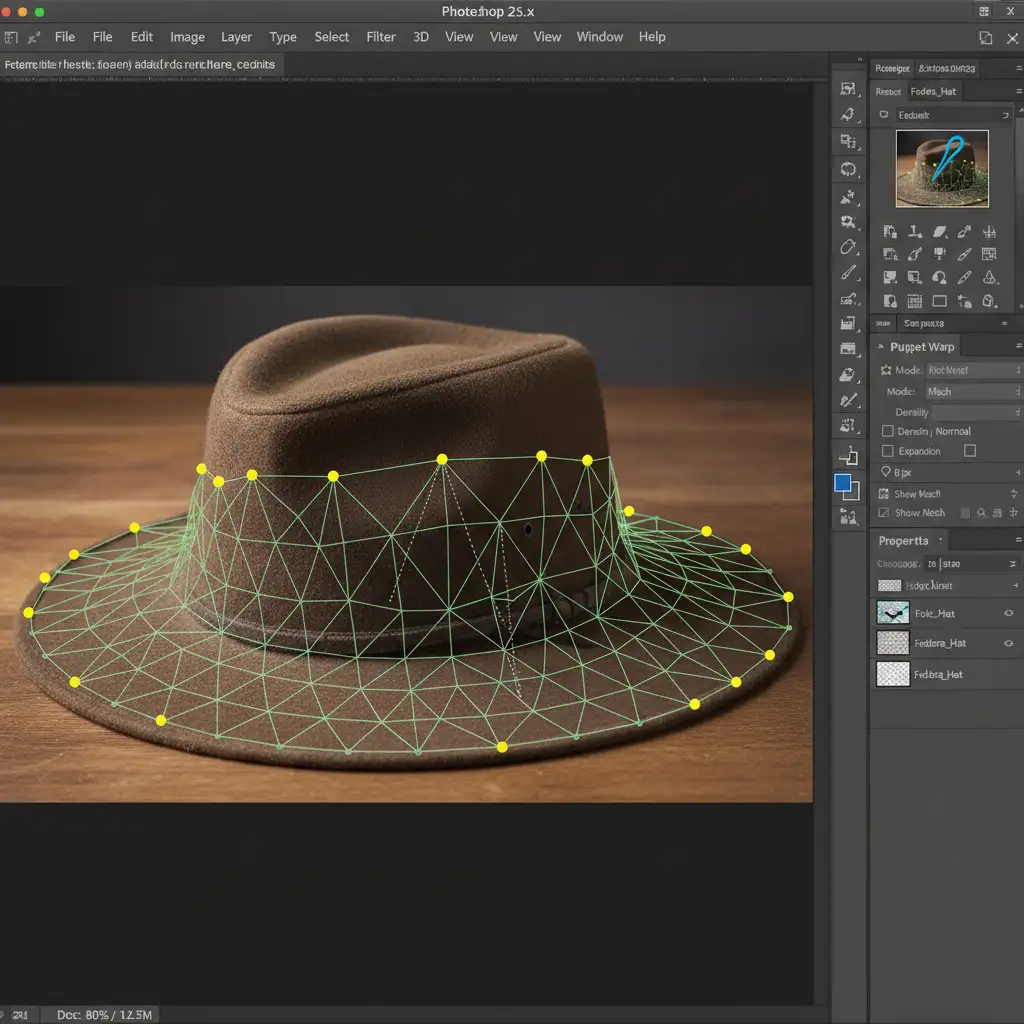
- Fix Structural Sagging: If the straps or hat brims sagged during the interior shot, use the Puppet Warp tool. Drop pins along the edge of the material and gently push the mesh to restore the rigid structural curve.
- Restore Depth: Create a new layer set to ‘Overlay’ blend mode and fill it with 50 percent gray. Use non-destructive Dodge and Burn techniques to paint in shadows along the inside lip of the bag or hat. This recreates the ambient occlusion that naturally occurs inside a hollow object, cementing the 3D illusion.
The Final Polish: 3D Volume Retention
By combining precise clipping paths, multi-shot compositing, and advanced shadow reconstruction, your structured accessories will leap off the screen. The invisible mannequin technique ensures your customers see exactly how the product holds its shape in real life, increasing perceived value and driving conversions.
Elevate Your E-Commerce Imagery with Image Work India
Struggling to maintain the luxury feel of your structured accessories in post-production? Perfecting the invisible mannequin for structured bags and hats requires hours of meticulous pen tool work, advanced masking, and an expert eye for lighting.
Don’t let flat, lifeless product photos hurt your sales. Hire Image Work India and Cloud Retouch for pixel-perfect ghost mannequin compositing. Our expert retouchers specialize in complex structural retouching, ensuring your bags, hats, and accessories retain flawless 3D volume and premium realism. Contact us today to streamline your post-production workflow and elevate your brand’s visual standard.


