You’ve just scanned a priceless analog photo, only to find it devastated by severe UV fading and aggressive light leaks. Naturally, you click “Auto-Color” or run it through an AI Neural Filter in Photoshop. The result? Horrific color banding, blown-out highlights, and unnatural midtone shifts.
When analog film suffers from dye sublimation fading, the damage disproportionately destroys specific color channels—usually the blue or red dye layers. Automated tools attempt a global fix, which fundamentally misinterprets localized pixel degradation. If you want true archival quality, manual color correction for light damaged photos is strictly required.
In this technical guide, we will explore the advanced, channel-specific workflows in Adobe Photoshop v24.x and v25.x that professional archivists use to neutralize uneven fading and restore irreparable scans.
Why Automated Tools Fail at Analog Restoration
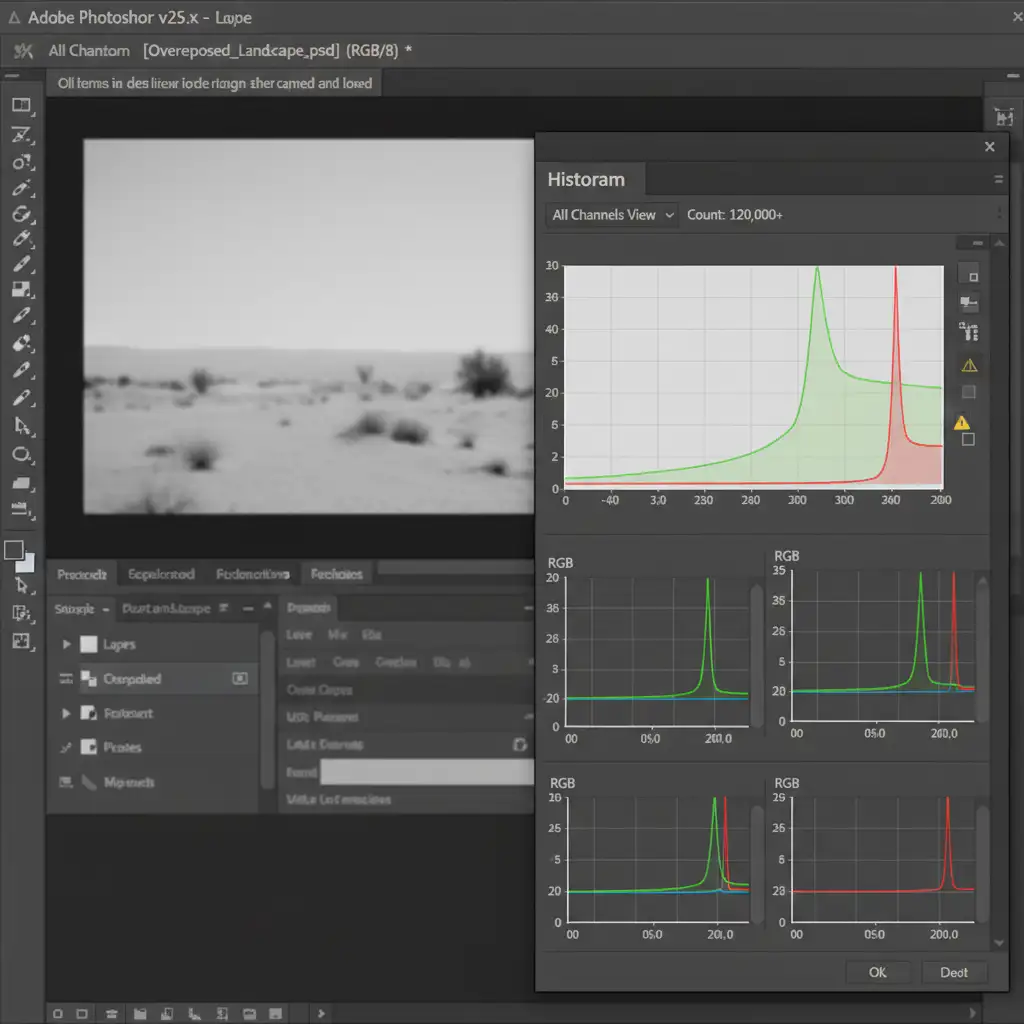
Light leaks and UV damage are not uniform. They attack the chemical layers of film unevenly. When you apply a global adjustment to an image with a destroyed blue channel, Photoshop’s algorithms overcompensate, pushing the remaining intact channels to the extreme. This results in histogram clipping and a complete loss of texture.
To fix this, we must abandon global edits and utilize targeted adjustment layer techniques that isolate and repair individual RGB channels.
Method 1: The Quick Fix – Localized Hue/Saturation
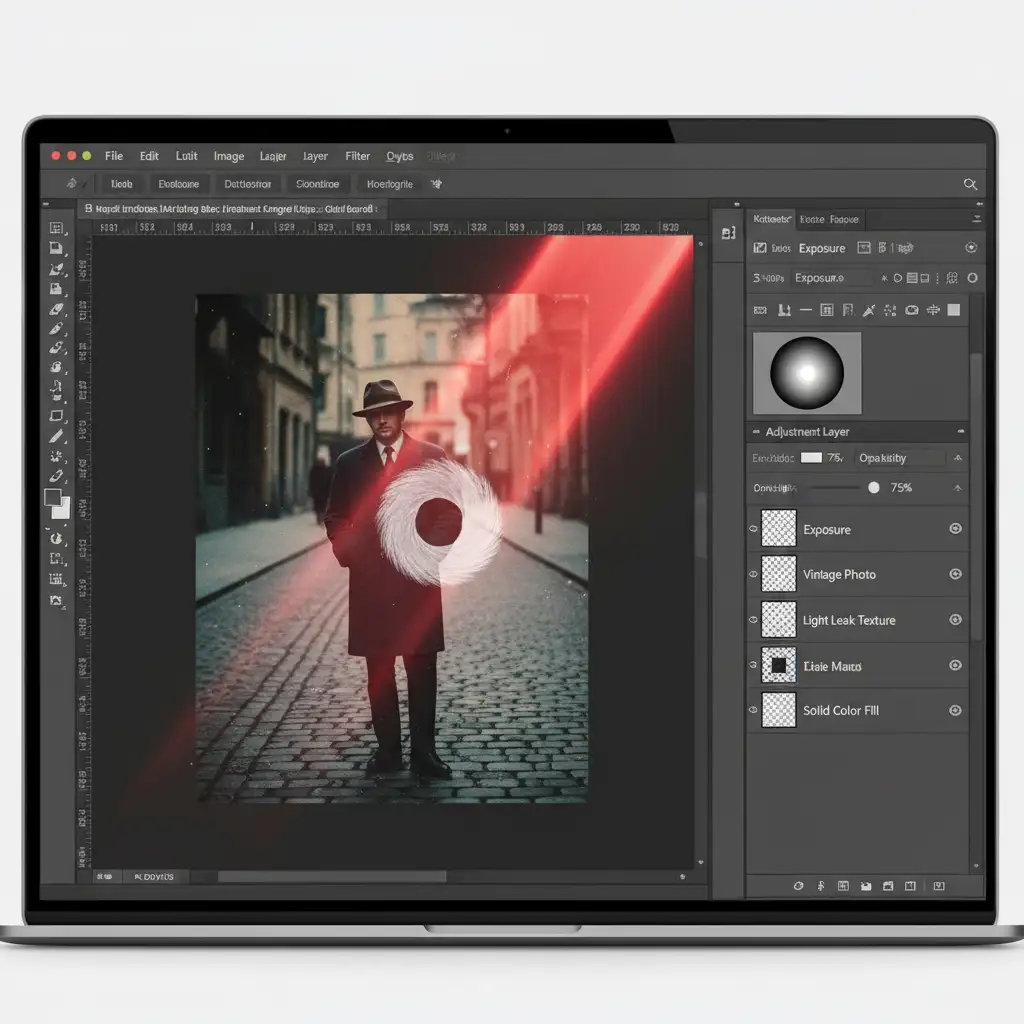
For isolated light leaks (typically bright red or orange flares at the edge of the frame), a localized hue and saturation adjustment is the most efficient starting point.
- Create the Adjustment: Go to Layer > New Adjustment Layer > Hue/Saturation.
- Target the Cast: Instead of editing the ‘Master’ channel, use the dropdown to select the specific color cast (e.g., ‘Reds’ or ‘Yellows’).
- Neutralize: Drop the saturation slider until the light leak blends with the underlying tones.
- Isolate with a Mask: Invert the layer mask to black (Ctrl/Cmd + I). Select a soft-edged brush with white paint, and gently paint over the light leak. For complex edges, consider using a luminosity mask to protect shadow details.
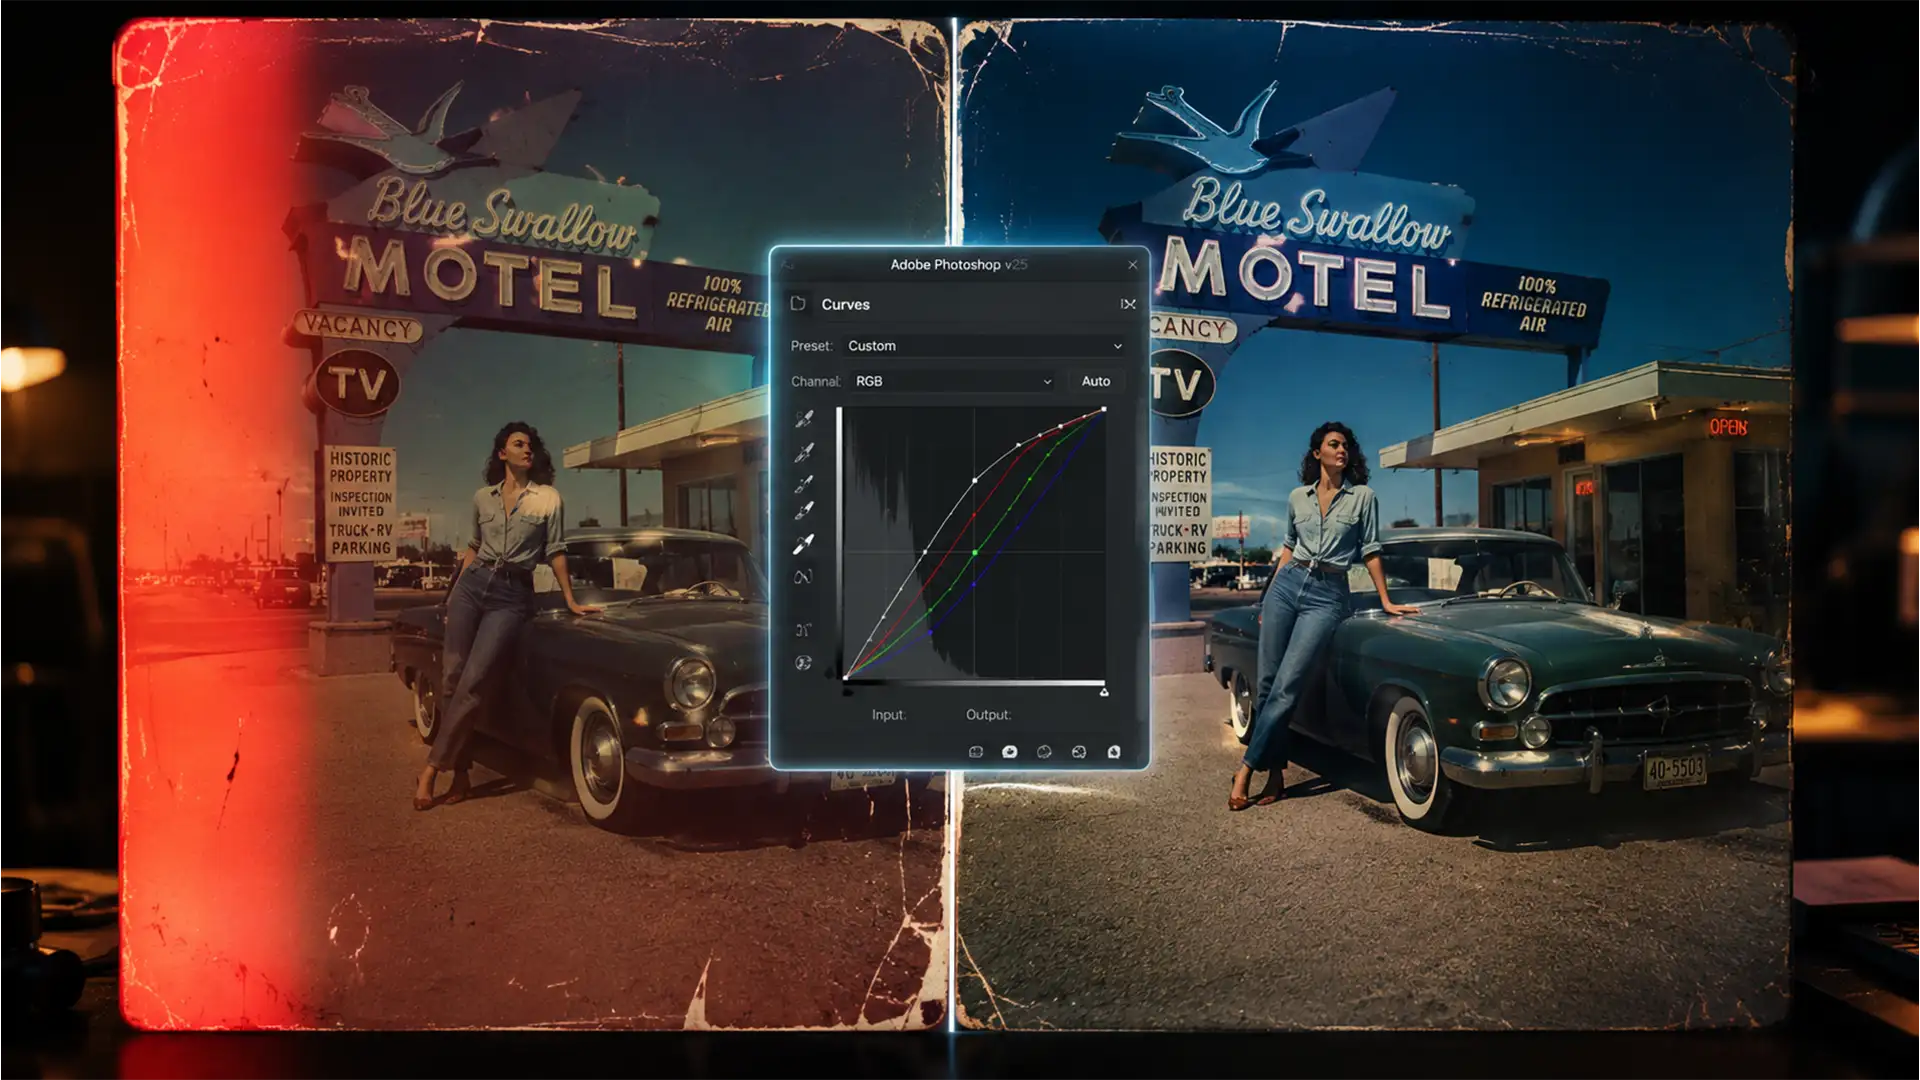
Method 2: The Pro Workaround – Channel-by-Channel Curves
When an image suffers from severe, full-frame UV fading, Hue/Saturation will not suffice. You must rebuild the contrast and color balance using precise black point calibration on a per-channel basis.
- Add a Curves Layer: Create a new Curves Adjustment Layer.
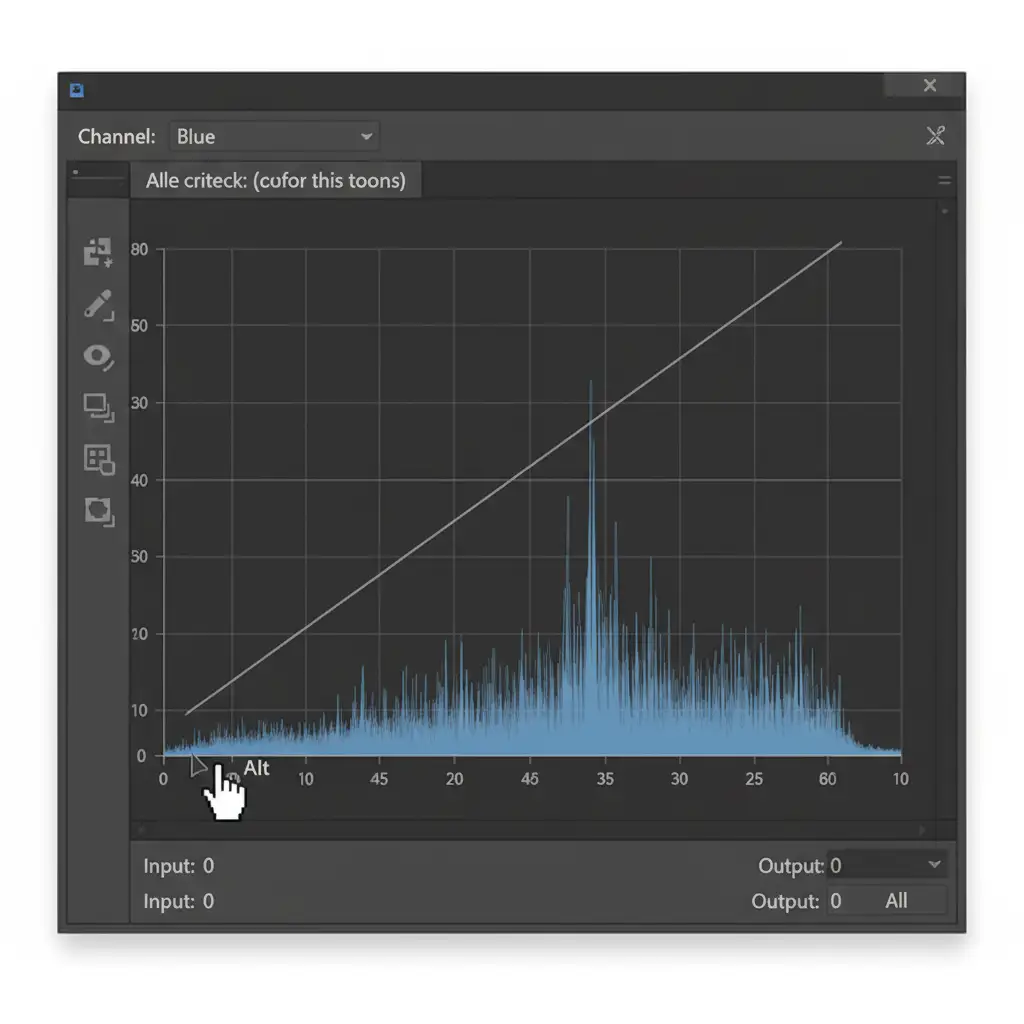
- Isolate Channels: Do not use the master RGB channel. Click the dropdown and select the Red channel.
- Calibrate the Black Point: Hold Alt (Windows) or Option (Mac) and click the black point slider on the bottom left of the curve. This activates the clipping preview. Drag the slider to the right until you just begin to see clipped pixels. Repeat this for the white point slider.
- Repeat for Green and Blue: Switch to the Green and Blue channels and repeat the exact same process.
By manually stretching the histogram of each individual channel to the edge of its available data, you neutralize the uneven fading perfectly without introducing global color casts. You can then use a clipping mask to apply this correction exclusively to the affected scan layer.
Method 3: Technical Deep-Dive – LAB Color Space Restoration
For the most extreme cases of light damage where color data seems entirely lost, professionals rely on the LAB color space. LAB separates the image’s luminosity (Lightness) from its color data (‘a’ and ‘b’ channels), allowing for aggressive color restoration without destroying image texture.
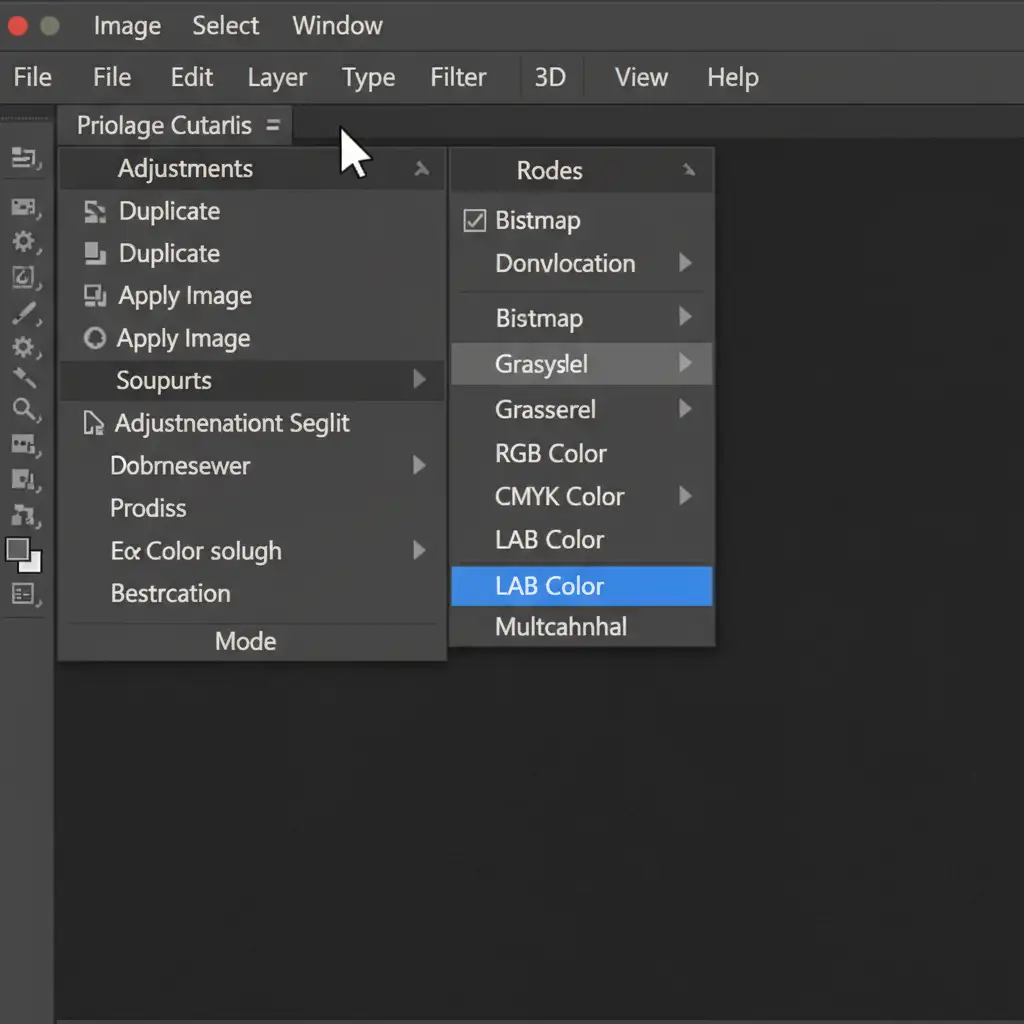
- Convert Color Space: Navigate to Image > Mode > LAB Color. (Flatten the image if prompted, or apply this to a merged duplicate layer).
- Apply LAB Curves: Add a Curves adjustment layer.
- Target ‘a’ and ‘b’: The ‘a’ channel controls Green-Magenta, and the ‘b’ channel controls Blue-Yellow. Select the ‘a’ channel and drag both the black and white points inward by an equal amount (e.g., 20 units each). Repeat this exact symmetrical adjustment for the ‘b’ channel.
- Preserve Lightness: Because you have not touched the ‘Lightness’ (L) channel, you aggressively push color back into the faded dyes without blowing out highlights or ruining the contrast.
- Finalize: Convert back to Image > Mode > RGB Color. From here, you can utilize frequency separation to clean up any physical dust or scratches on the newly color-corrected image.
Expert Analog Restoration by Image Work India & Cloud Retouch
Mastering manual color correction for light damaged photos requires a deep understanding of color theory, histogram data, and channel-level pixel manipulation. While these techniques are highly effective, they are incredibly time-consuming—especially when dealing with high-volume archival batches or complex, irreparably damaged family heirlooms.
If you are struggling with archival-quality photo restoration, let the experts at Image Work India and Cloud Retouch handle it. Our dedicated team of professional retouchers specializes in complex, light-damaged scans, utilizing precision manual editing that automated tools and AI simply cannot match. From channel-by-channel curve adjustments to advanced LAB color space restoration, we bring your faded memories back to vibrant life.
[Contact Image Work India and Cloud Retouch today] to partner with us for your professional photo restoration and high-end retouching needs.


