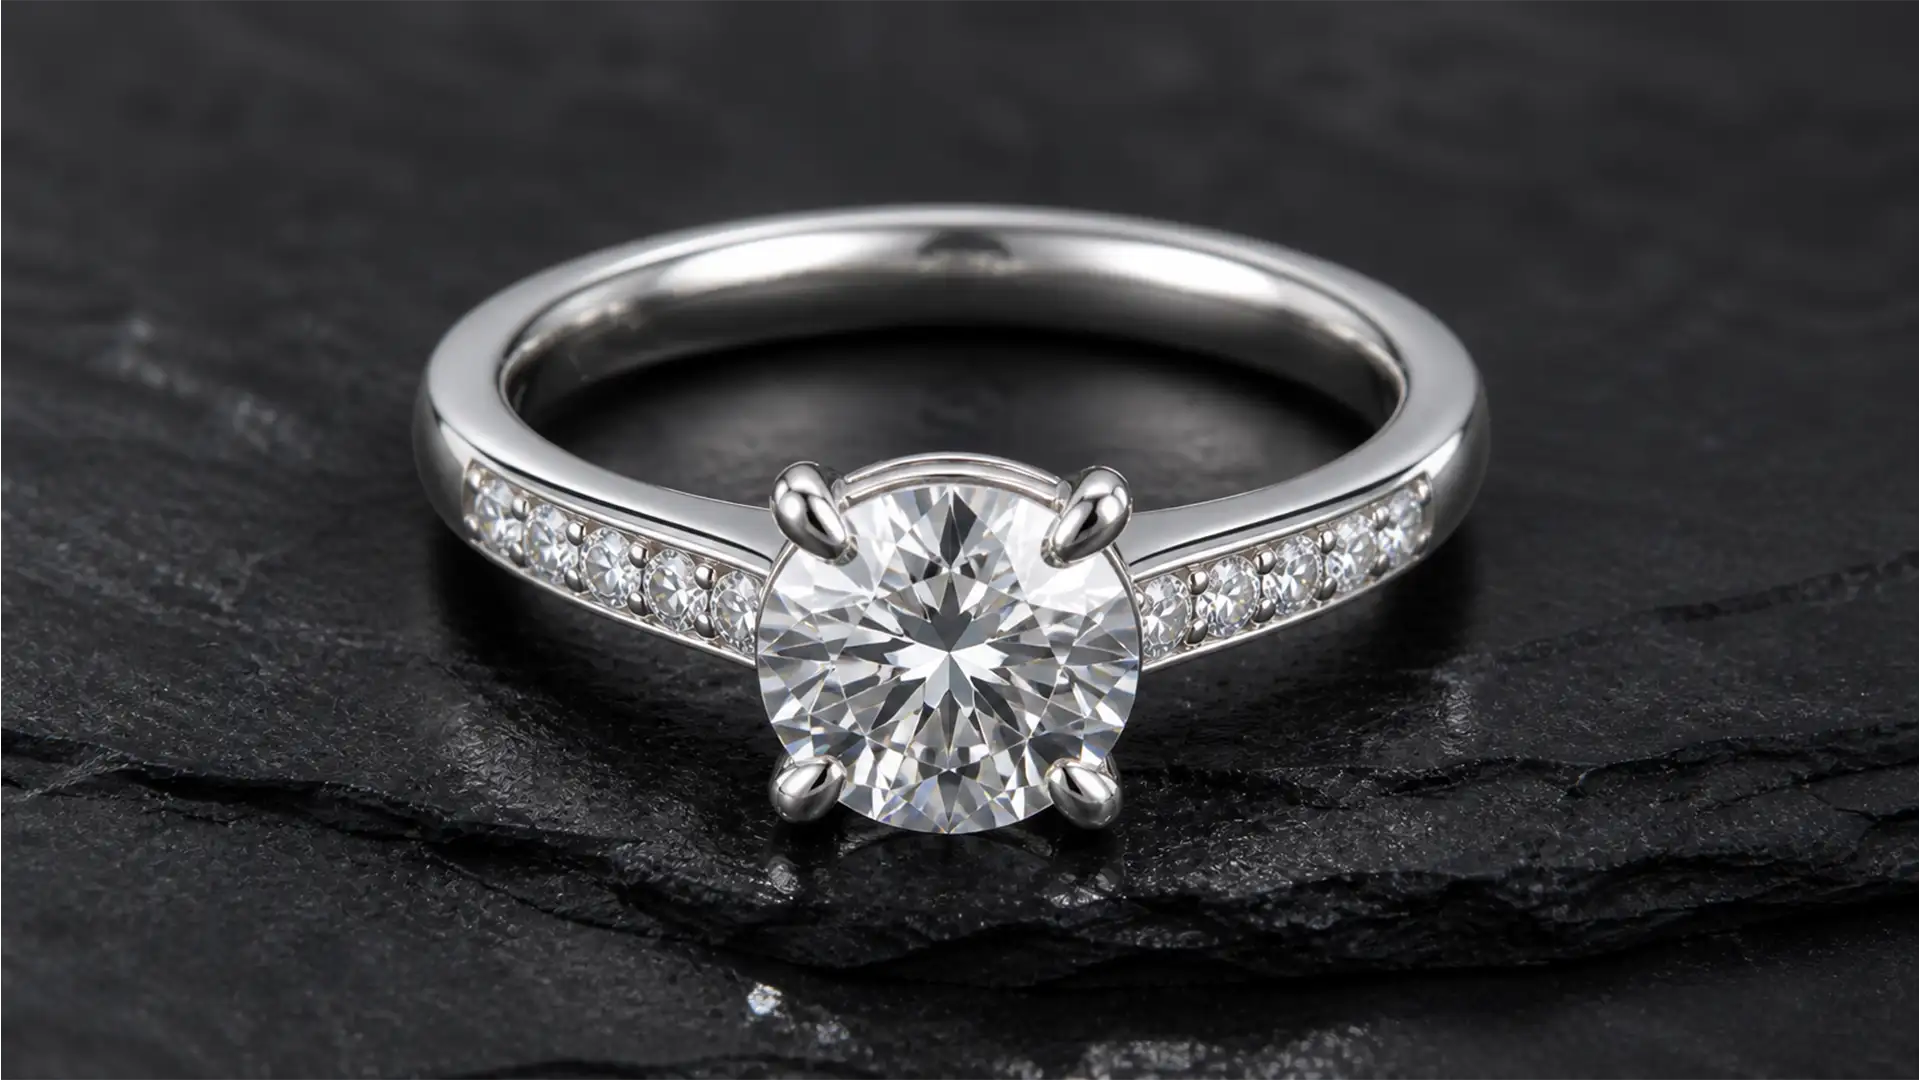
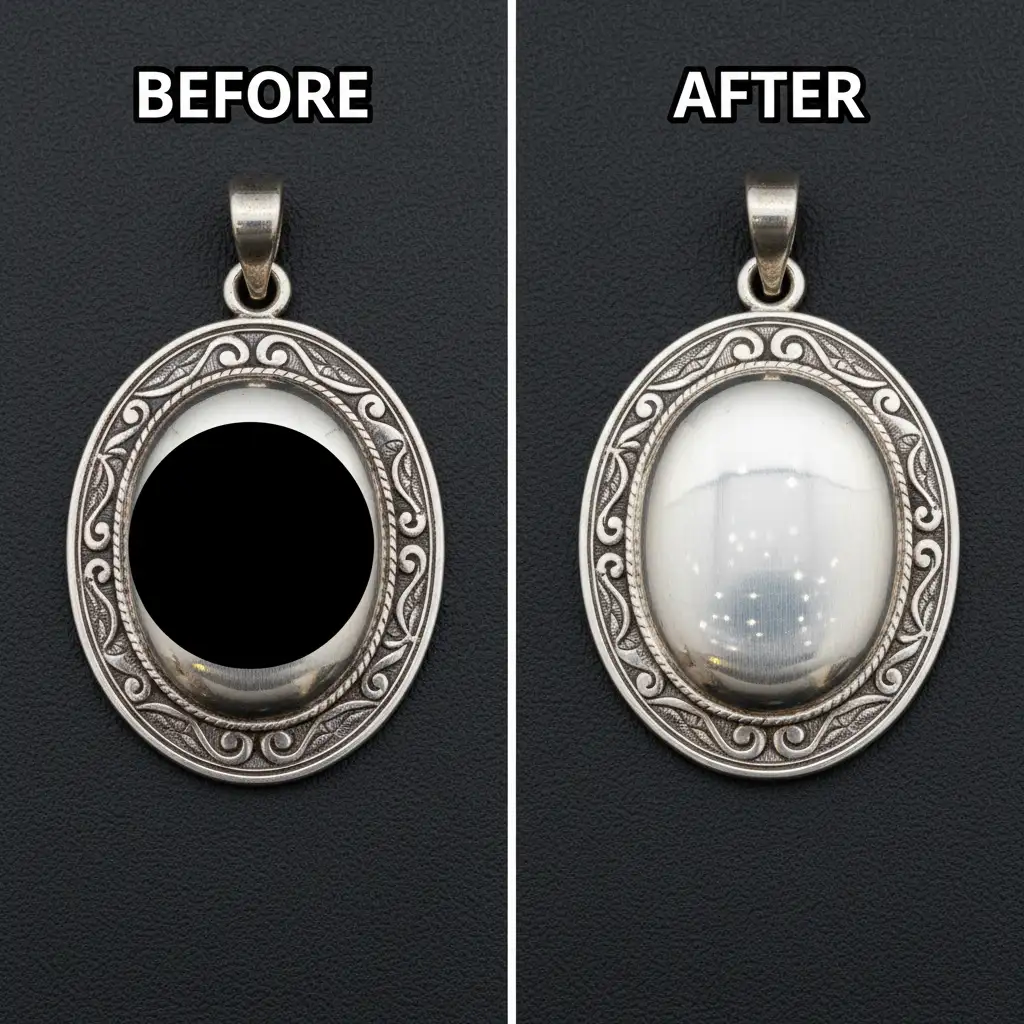
You’ve just wrapped a high-end macro jewelry photography session. The lighting was perfect, but when you open the RAW files in Adobe Photoshop, your heart sinks. Staring back at you from the highly polished silver and gold surfaces are deep, distracting black camera reflections.
Because polished metals act exactly like mirrors, your camera lens has essentially photobombed your shot. Trying to clone out these pure black anomalies (RGB values near 0,0,0) often destroys the natural specular highlight, leaving the metal looking flat, muddy, and plastic.
If you are struggling with removing black camera reflections from jewelry without ruining the natural metallic shine, you need to move beyond basic cloning. Here is the technical workflow for restoring flawless, e-commerce-ready metal in Photoshop v24.x-v25.x.
Why Polished Metal Captures Camera Reflections
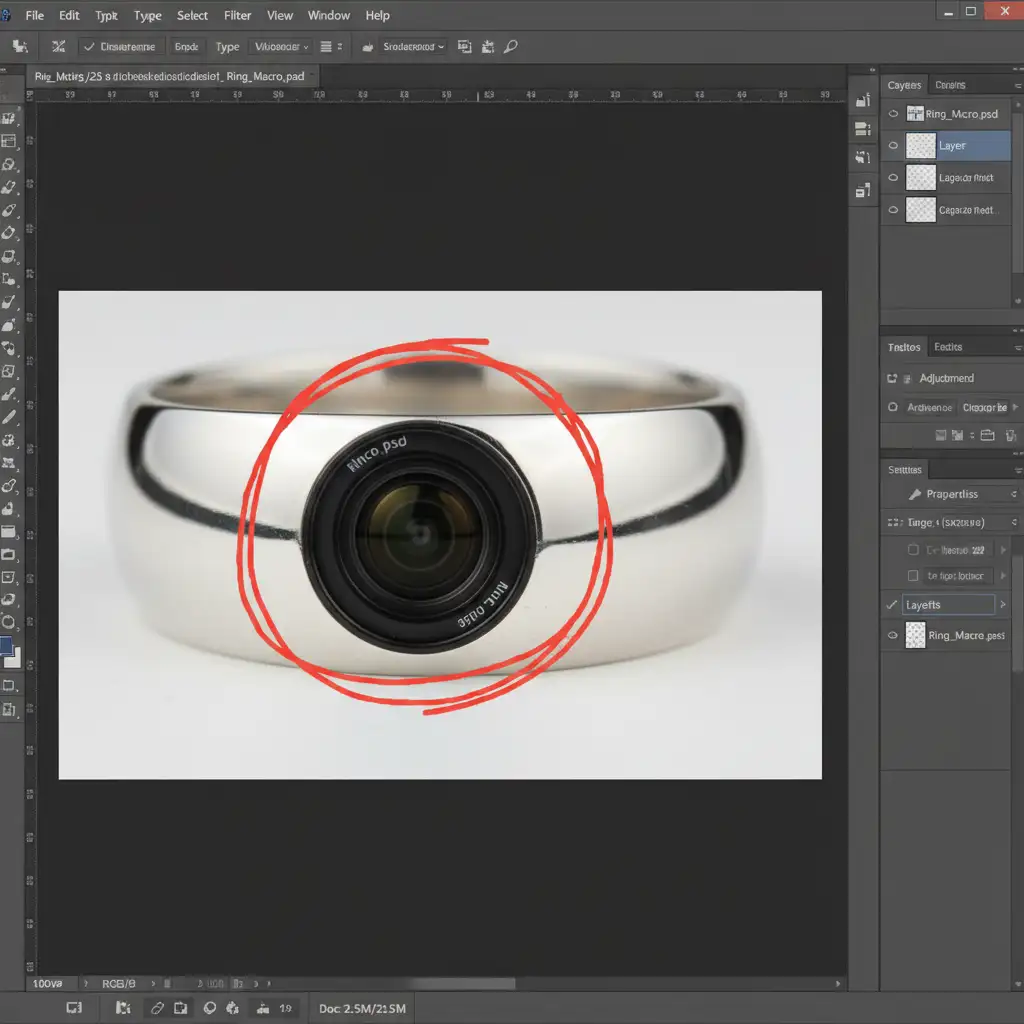
In macro photography, the closer you get to your subject, the more of the surrounding environment the subject reflects. When shooting highly reflective materials like silver, gold, or platinum, the dark barrel of your camera lens blocks the studio lighting, creating a dead zone of light.
This presents as a deep black clipped shadow on surfaces that should exhibit a smooth, bright metallic gradient. Standard tools like Content-Aware Fill often duplicate unwanted patterns or smudge the texture, making it obvious the image was altered. To fix this, we must separate the texture of the metal from its color and lighting.
3 Ways to Fix Black Reflections in Photoshop v24.x-v25.x
Depending on the size and severity of the reflection, here are three progressive techniques to restore your jewelry images.
Method 1: The Quick Fix (For Small Spots)
If the macro photography reflection is small or broken up by the shape of the jewelry (like prongs or intricate filigree), the newer AI-driven tools in Photoshop are highly effective.
- Create a new blank layer at the top of your layer stack for non-destructive retouching.
- Select the Remove Tool (J) or the Spot Healing Brush.
- Ensure “Sample All Layers” is checked in the top options bar.
- Carefully paint over the small, irregular black spots. The tool will use advanced luminance targeting to analyze the surrounding bright metal and blend the spot seamlessly.
Method 2: The Pro Workaround (Frequency Separation)
When the black reflection covers a larger area, standard healing tools will flatten the metal’s natural grain. The solution is Frequency Separation, which allows you to fix the lighting (color/tone) without destroying the micro-texture of the metal.
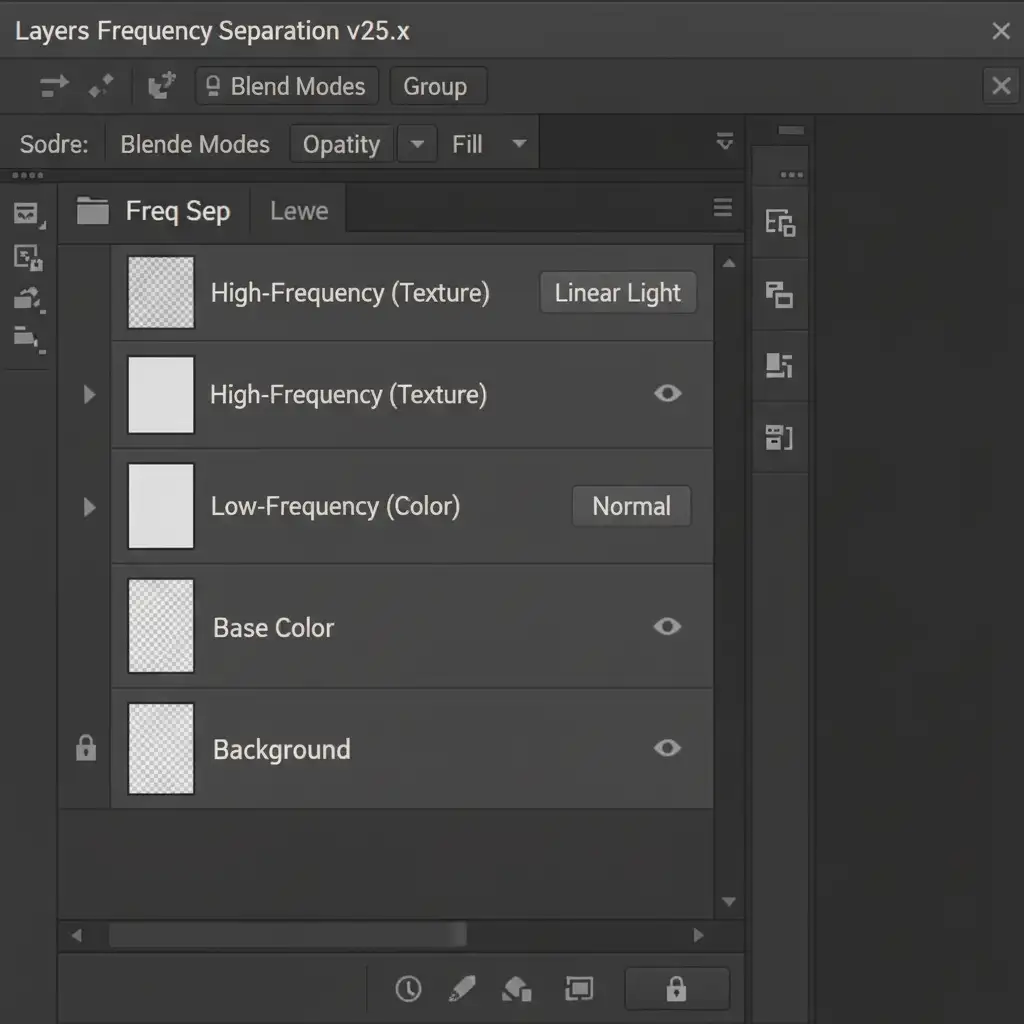
- Duplicate your base layer twice. Name the top layer “High-Frequency (Texture)” and the middle layer “Low-Frequency (Color)”.
- Apply a Gaussian Blur to the Low-Frequency layer until the metal grain disappears.
- Apply the “Apply Image” command to the High-Frequency layer (subtracting the Low-Frequency layer), then set its blend mode to Linear Light.
- Select the Low-Frequency layer.
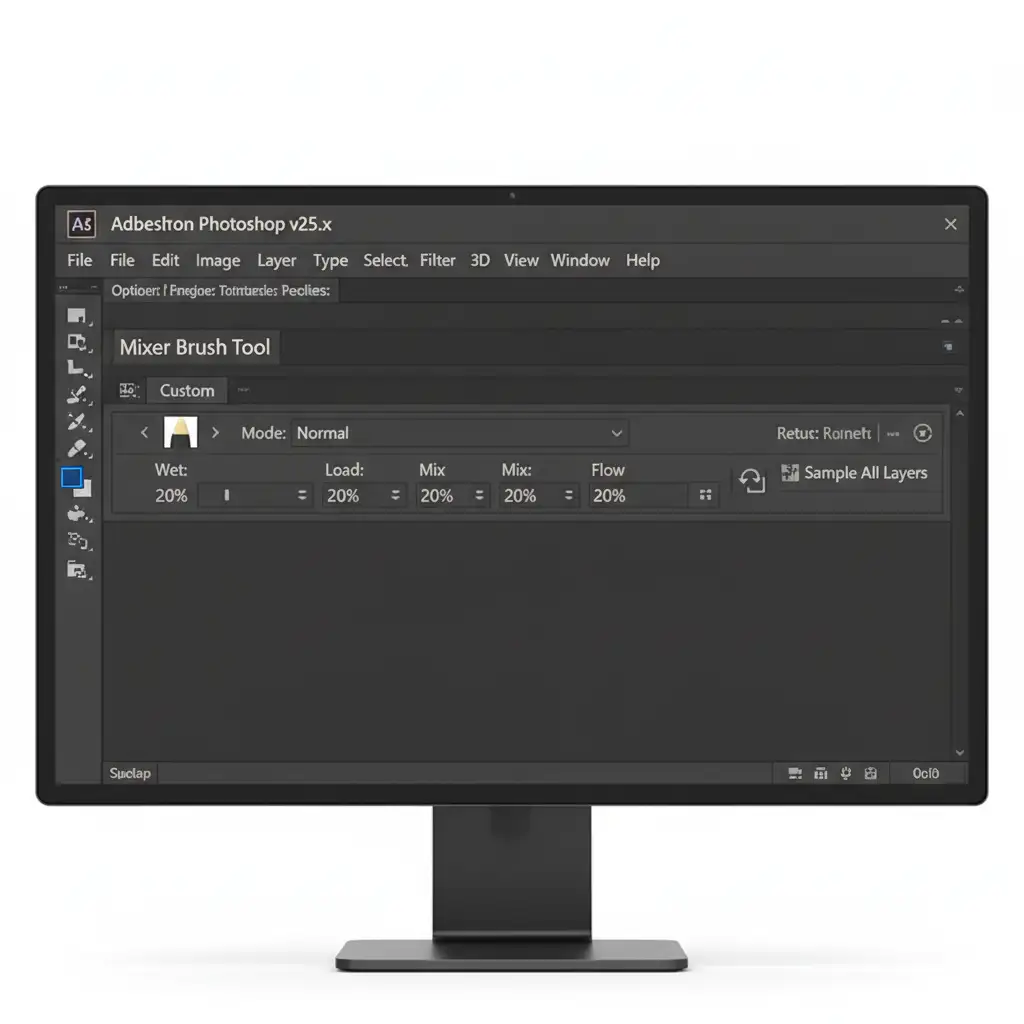
Now, select the Mixer Brush Tool. This is where the magic happens.
Set your Mixer Brush to softly drag the adjacent bright metallic tones directly over the black reflection. Because you are only painting on the Low-Frequency layer, the metal’s grain remains perfectly intact on the High-Frequency layer above.
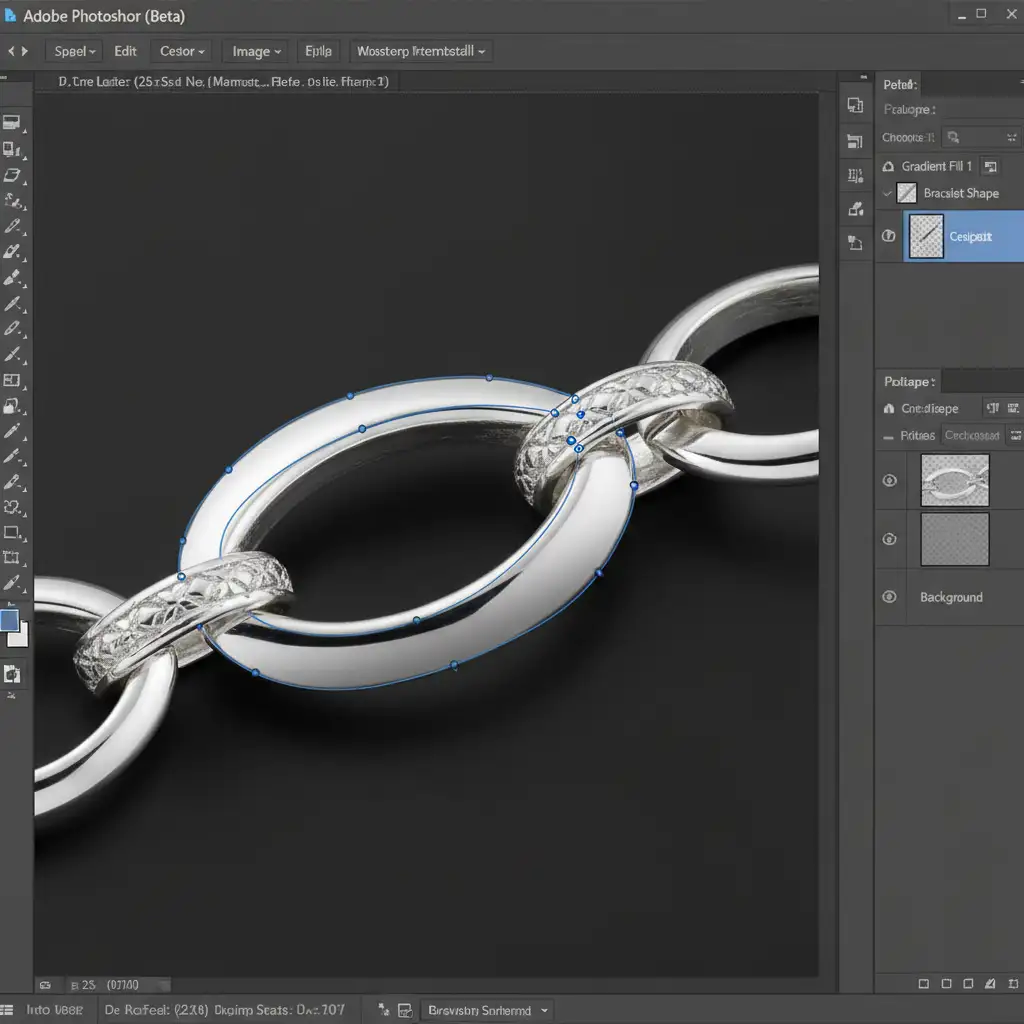
Method 3: The Technical Deep-Dive (Vector Rebuilding)
For massive, curved metallic surfaces where the reflection has completely obliterated the specular highlight, you must recreate the lighting from scratch using vector redrawing.
- Trace the Shape: Use the Pen Tool (P) to trace the exact curve of the affected area. Convert this path to a selection.
- Create a Gradient: Create a new layer. Apply a Custom Metallic Gradient (G) that mimics the surrounding studio lighting (a mix of bright whites, soft grays, and subtle environmental tones).
- Restrict the Effect: Use a Clipping Mask to restrict your new gradient strictly to the specific metal piece you traced.
The Secret to Realistic Metal: Reintroducing Grain
If you use Method 3, your new metallic gradient will look too perfect. It will look like a 3D render rather than a photograph.
To blend your vector redrawing with the rest of the image, you must match the photograph’s natural sensor grain. On your gradient layer, add a slight Gaussian Blur (0.5px to 1px) to soften the digital edge. Then, go to Filter > Noise > Add Noise. Apply a uniform, monochromatic noise of around 1-2%. This subtle addition bridges the gap between digital gradient and realistic, polished metal.
Stop Struggling with Macro Photography Reflections
Removing black camera reflections from jewelry requires a deep understanding of luminance targeting, light behavior, and advanced Photoshop techniques. While Frequency Separation and vector redrawing yield flawless results, they are incredibly time-consuming—especially when you have a gallery of hundreds of e-commerce product photos to deliver.
Stop wasting hours struggling with complex metallic reflections. Outsource your high-end jewelry editing to the experts at Image Work India and Cloud Retouch. Our dedicated team of professional retouchers specializes in non-destructive jewelry editing, ensuring your metals shine brilliantly, your gems sparkle, and your products are flawlessly e-commerce-ready.
Contact us today to streamline your post-production workflow and deliver perfection to your clients every single time.


