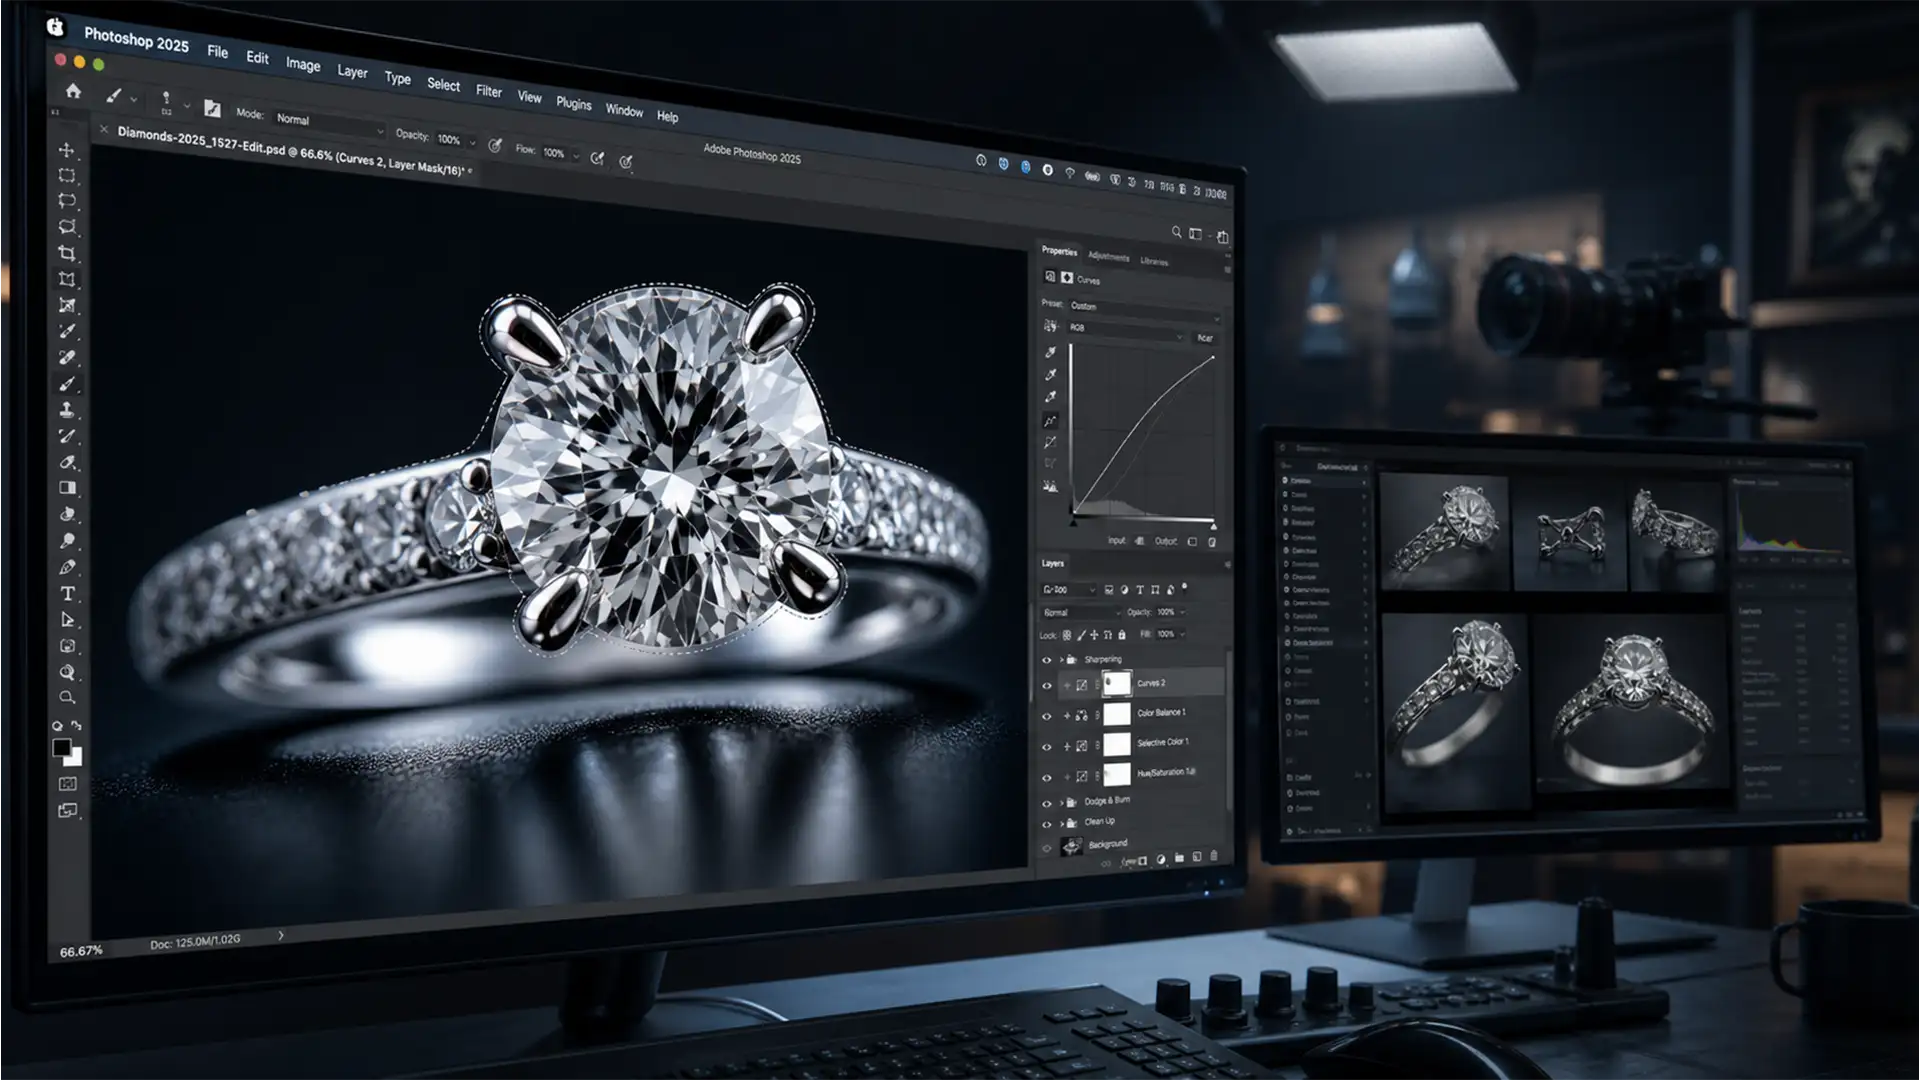
You’ve spent hours capturing the perfect multi-frame macro sequence of a diamond ring. But when you run Photoshop’s Auto-Blend Layers, disaster strikes: ugly, translucent halos and ghosting artifacts wrap around the prongs and high-contrast edges. Sound familiar?
For high-end jewelry photography, automated algorithms frequently fall short. The extreme shallow depth of field combined with focus breathing causes objects to change apparent size across frames. When Photoshop interpolates these variations, it generates edge halos that ruin the premium feel of the product.
To achieve flawless results, you need to transition from automated blending to manual, pixel-level control. Here is the definitive guide to eliminating focus stacking halos in macro jewelry photography.
Why Photoshop Auto-Blend Fails on Macro Jewelry
In Photoshop v25.x and later, Auto-Blend Layers relies on edge detection algorithms optimized for standard landscape or product photography. However, a macro lens introduces complex physical challenges.
As you adjust focus through a piece of jewelry, focus shift and focus breathing occur. A diamond prong in the foreground may appear slightly larger in one frame and smaller in the next. When the software attempts interpolation to merge these frames, it gets confused by the overlapping translucent boundaries, resulting in ghosting artifacts and halos along high-contrast edges.
To fix this, we must bypass the algorithm’s mistakes using three professional manual workarounds.
3 Professional Methods to Fix Focus Stacking Halos
Before diving into manual corrections, ensure you are optimizing your initial Auto-Blend settings. If the algorithm is heavily distorting the luminosity of your jewelry, uncheck “Seamless Tones and Colors” before blending.

Method 1: The Quick Fix – Manual Layer Mask Recovery
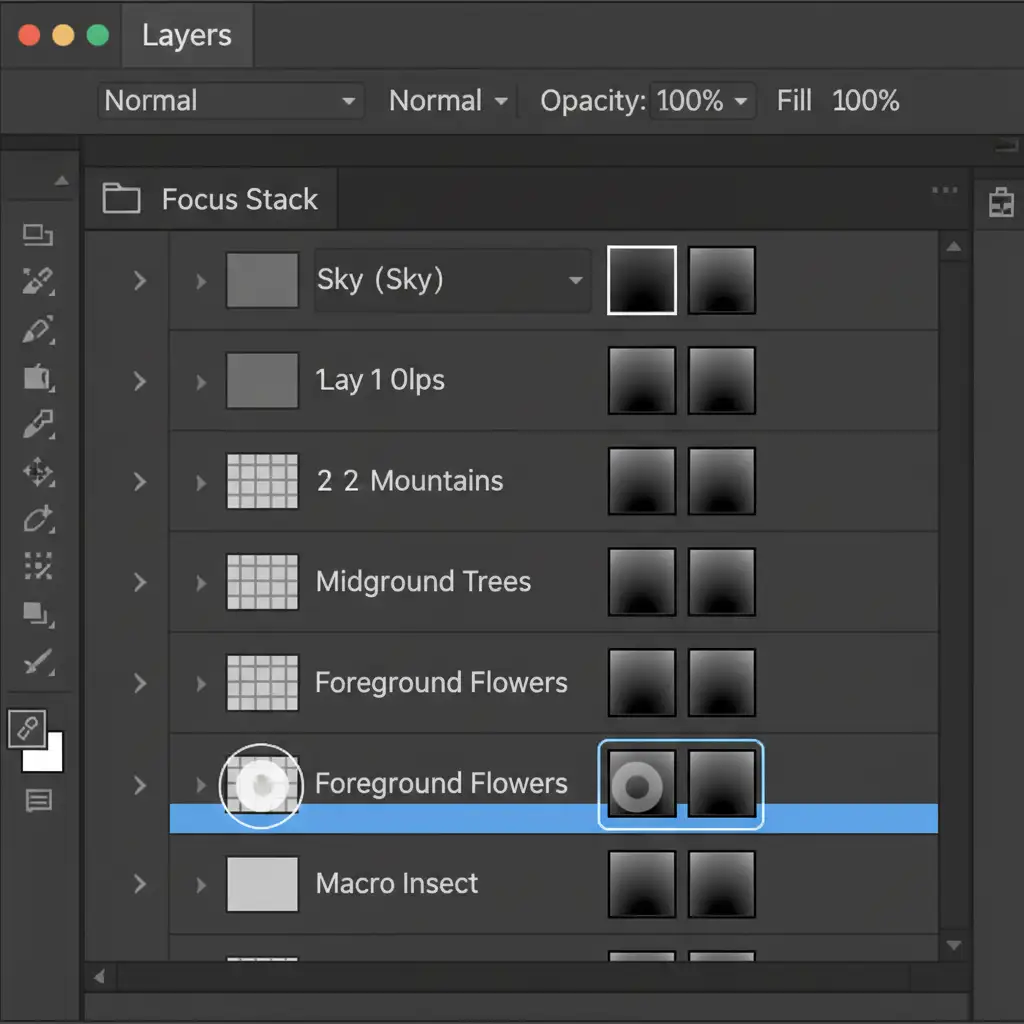
The biggest mistake retouchers make is flattening the image immediately after the focus stack completes. To fix halos, you must keep all layers intact.
- Run Auto-Blend Layers, but do not flatten the document.
- Zoom in to the haloed area on your jewelry piece.
- Toggle the visibility of your individual layers to find the exact source layer that contains the sharpest focus for that specific prong or edge.
- Select the layer mask of that sharp layer.
- Using a soft white brush, manually paint over the flawed auto-mask to override the algorithm and reveal the clean, halo-free edge.
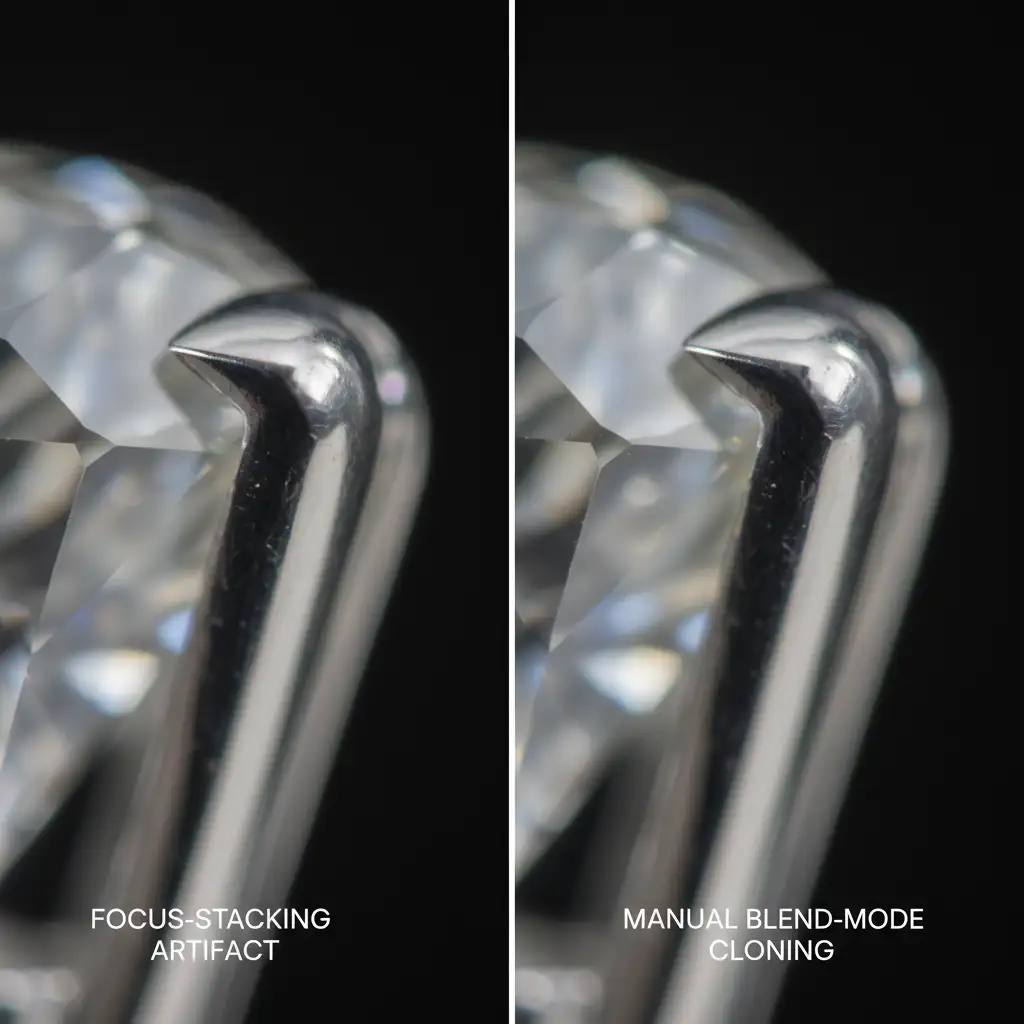
Method 2: Targeted Cloning via Blend Modes
Sometimes, the halo exists across multiple layers, making mask recovery impossible. In this scenario, targeted cloning is your best option.
- Create a new merged layer at the top of your stack (Ctrl+Alt+Shift+E / Cmd+Option+Shift+E).
- Select the Clone Stamp tool.
- Change the Clone Stamp’s Blend Mode in the top toolbar to either Darken or Lighten, depending on the halo. If the halo is a light ghosting over a dark background, use Darken. If it’s a dark halo over a bright metal edge, use Lighten.
- Sample a clean area directly adjacent to the halo and paint over the artifact.
Because of the blend mode restriction, the Clone Stamp will only replace the offending halo pixels while leaving the sharp, underlying jewelry edges completely intact.
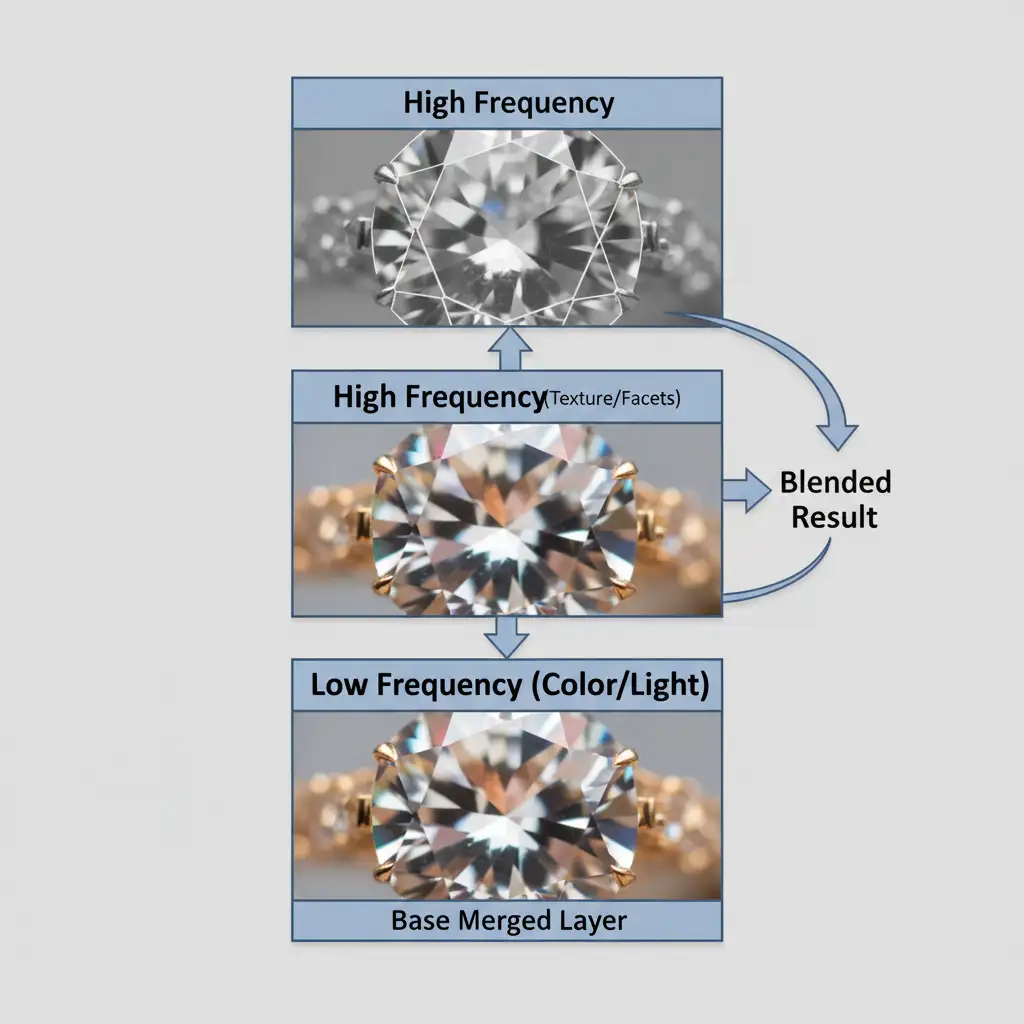
Method 3: The Technical Deep-Dive – Frequency Separation Fix
When you are dealing with a severe focus stacking failure where complex halos have destroyed both the texture of the metal and the color of the gemstone, you must use frequency separation.
- Create a merged stacked image.
- Split this merged layer into two distinct layers: High Frequency (containing only the texture, facets, and sharp edges) and Low Frequency (containing only the color, shadows, and light).
- Select the Low Frequency layer.
- Use the Clone Stamp or Mixer Brush to carefully paint out the color bleed and haloing.
Because you are only altering the Low Frequency layer, the razor-sharp edge details on the High Frequency layer remain untouched. This allows you to surgically remove the halo without softening the jewelry’s intricate details.
Flawless Jewelry Retouching Without the Hassle
Fixing focus stacking halos jewelry macro errors is a time-consuming, highly technical process. At a difficulty level of 8/10, manual mask recovery, blend mode cloning, and frequency separation can add hours to your post-production workflow.
You don’t have to do this alone.
At Image Work India and Cloud Retouch, our expert retouchers specialize in high-end jewelry photography. From complex focus stack merging and pristine clipping path creation to flawless dust and scratch removal, we deliver pixel-perfect results that elevate your brand.
Stop wrestling with automated algorithms and ghosting artifacts. Let us handle the tedious pixel-pushing so you can focus on capturing stunning images. Contact Image Work India today for a free trial and experience world-class jewelry retouching.


