You’ve just shot a stunning piece of mixed metal jewelry—the undisputed top trend for 2025 e-commerce catalogs. But when you open the RAW file in Photoshop v25.x, panic sets in. If you adjust the global white balance to warm up the 18k gold, the sterling silver turns a sickly yellow. If you cool it down for crisp silver, the gold looks lifeless and desaturated.
This color contamination is the ultimate nightmare for jewelry retouchers. How do you balance the cool, cyan-biased luster of silver with the warm, magenta-biased richness of gold in a single macro exposure? Today, we are breaking down the exact Photoshop workflows to isolate, correct, and perfect mixed metals without destroying your dynamic range.
The Challenge: Why Global Adjustments Fail on Mixed Metals
Retouching mixed metal jewelry requires a fundamental understanding of how different materials reflect light. Silver requires cool, neutral highlights with a slight blue/cyan bias to look premium. Conversely, gold demands warm, rich specular highlights with a distinct yellow/magenta bias.
When you apply a global color correction, you force both metals to compromise. The result? Muddy silver or washed-out gold. To achieve high-end commercial results—after you’ve completed your standard frequency separation to clean up micro-scratches—you must separate the metals and control their color independently from their luminosity.
Here are the three best methods to achieve this in Photoshop.
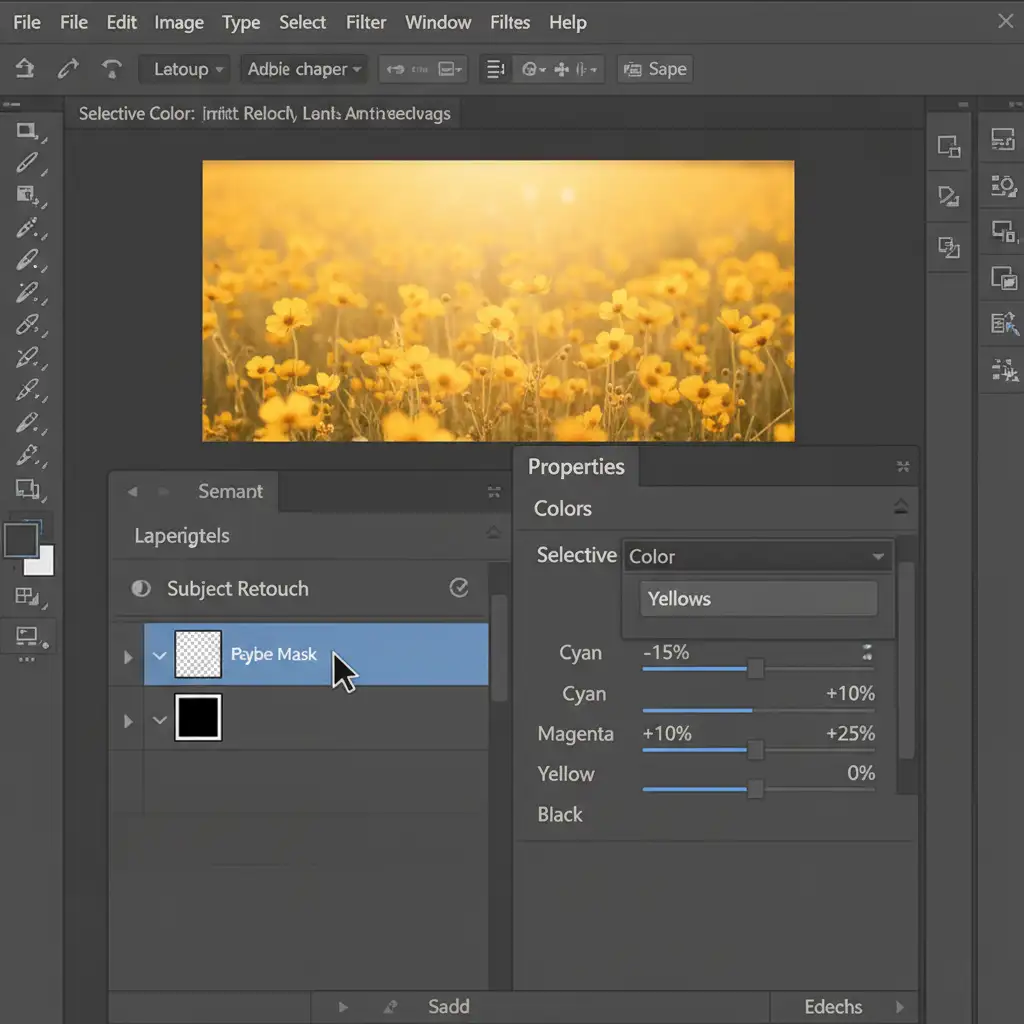
Method 1: The Quick Fix Using Selective Color
If you are on a tight deadline and dealing with a relatively simple piece of jewelry, the Selective Color adjustment layer is your fastest route to a clean image.
- Add a Selective Color Layer: Navigate to your adjustments panel and add a Selective Color layer.
- Target the Gold: Select “Yellows” from the dropdown menu. Decrease the Cyan slider to remove muddiness, and slightly boost the Magenta and Yellow sliders to enhance the gold’s vibrance.
- Target the Silver: Switch the dropdown to “Neutrals” or “Whites”. Slightly increase the Cyan and Blue values to cool down the silver.
- Masking: Because these adjustments might bleed into unwanted areas, apply a black layer mask. Use a soft white brush to carefully paint the adjustments exactly where they belong.
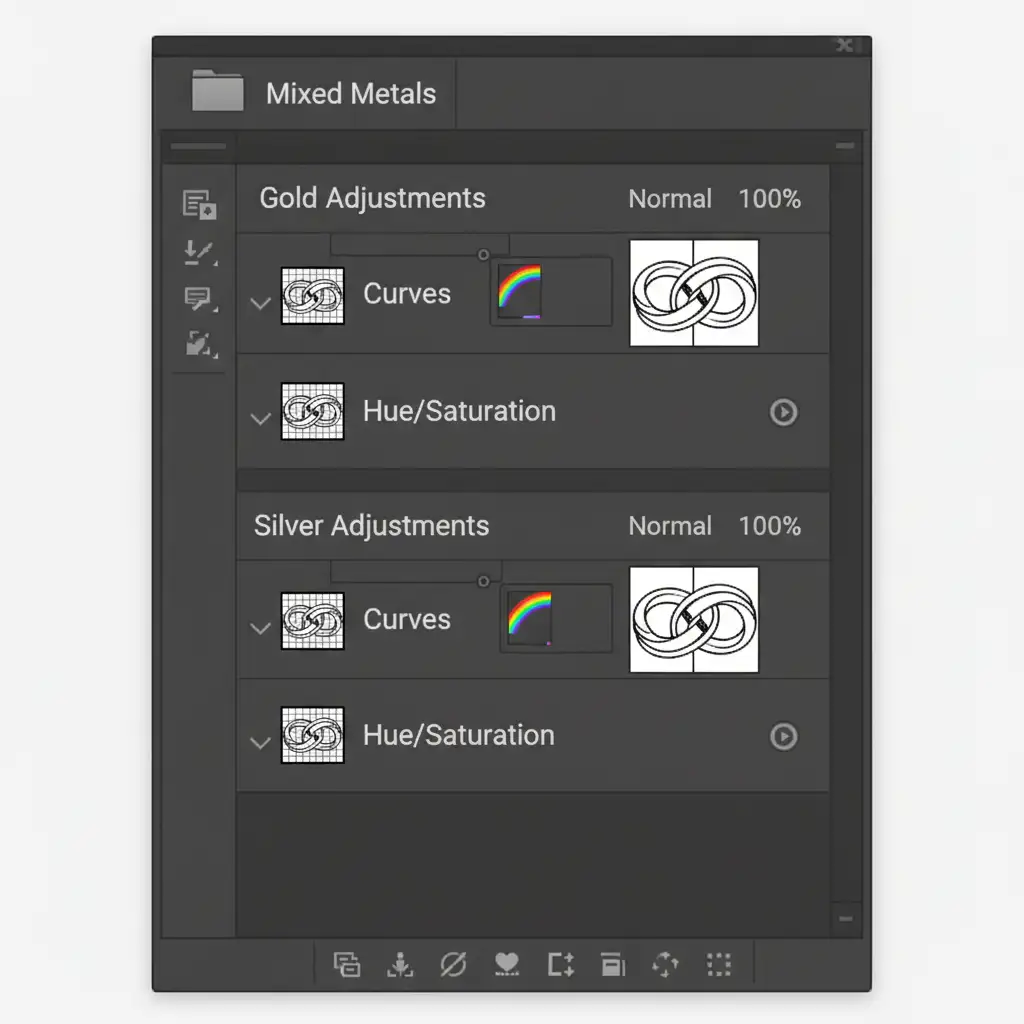
Method 2: The Pro Workaround Using Clipping Paths
For high-end e-commerce catalogs, soft brush masking isn’t accurate enough. Hard edges and complex interlocking links require the precision of the Pen Tool.
- Draw Your Paths: Zoom in to 300% and use the Pen Tool to draw precise paths around the gold components. Repeat the process on a new path for the silver components.
- Create Vector Masks: Convert these paths into selections and apply them as a Vector Mask to separate layer groups (one named “Gold”, one named “Silver”).
- Independent Adjustments: Inside the “Gold” group, apply a Curves adjustment to boost contrast and a Hue/Saturation layer to dial in the exact warmth. Inside the “Silver” group, use Curves to brighten the midtones and Hue/Saturation to completely desaturate any lingering yellow color contamination.
Because these adjustment layers are clipped to your vector masks, you have total, independent control over the color temperature and contrast of each metal.
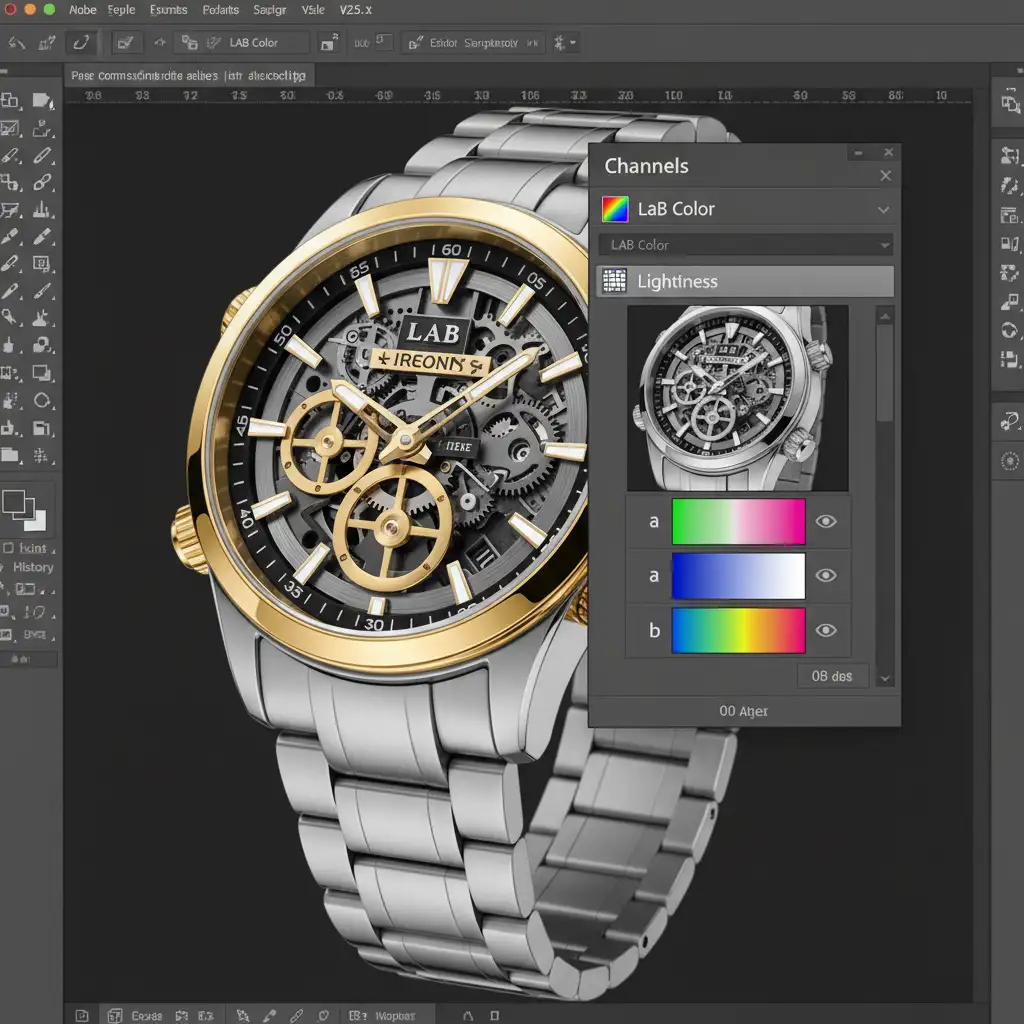
Method 3: The Technical Deep-Dive into LAB Color Space
When dealing with severe color cast issues—where the reflection of the gold is physically bleeding onto the surface of the silver—traditional RGB adjustments can degrade the pixel quality. For the absolute highest tier of jewelry retouching, we move to the LAB Color Space.
Unlike RGB, LAB color separates luminosity (Lightness) from color (the A and B channels).
- Convert to LAB: Go to Image > Mode > Lab Color.
- Target the B Channel: The ‘B’ channel controls the Blue/Yellow color opposition. By applying a Curves adjustment directly to the B channel, you can aggressively push the silver toward blue (cooling it down) or the gold toward yellow (warming it up).
- Preserve the Specular Highlights: Because you are only adjusting the A and B channels, the Lightness channel remains completely untouched. This ensures that the structural integrity, dynamic range, and brilliant white pop of your specular highlights are perfectly preserved.
Pro Tip: Combine LAB color adjustments with advanced luminosity masking to target only the shadows or midtones of the metal, leaving the brightest highlights pure white.
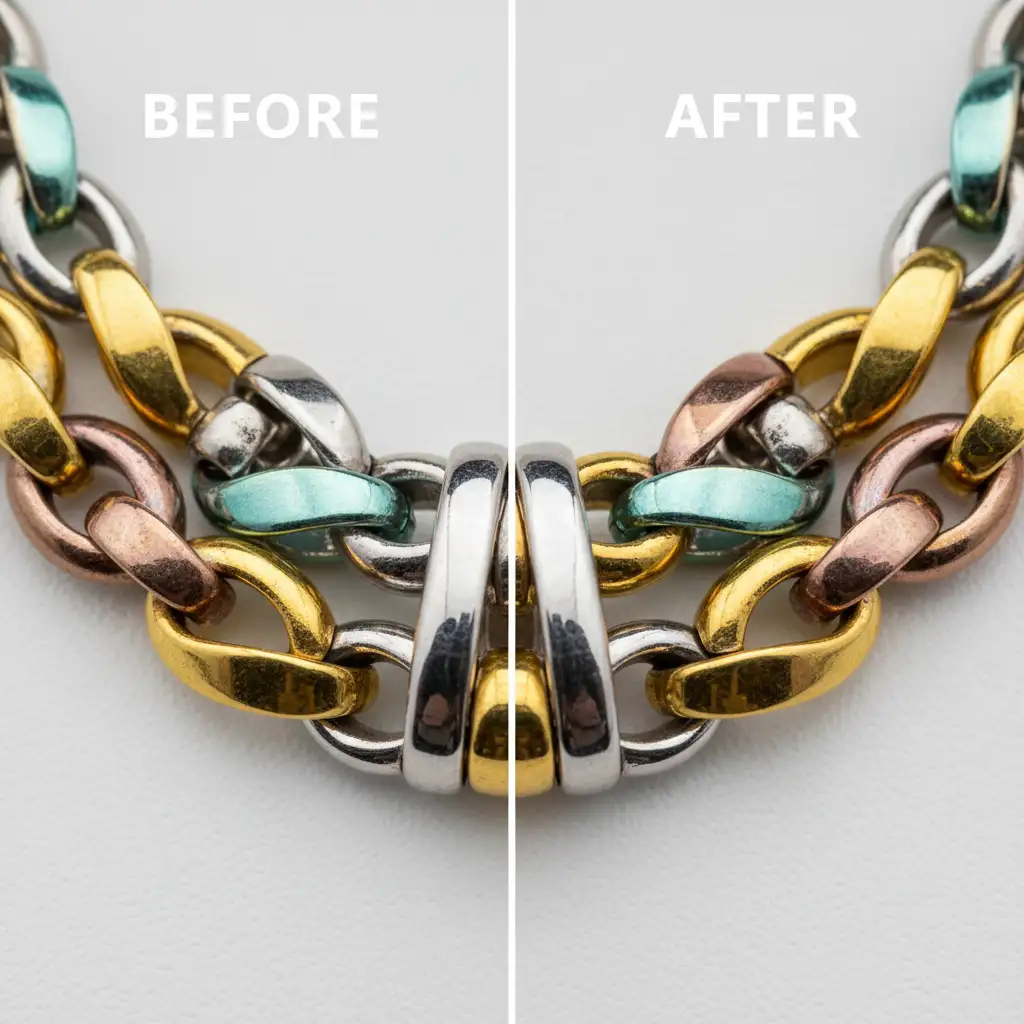
The Final Result: Flawless Mixed Metals
By abandoning global adjustments and embracing clipping paths, selective masking, and LAB color separation, you eliminate color contamination entirely. The result is a true-to-life representation of the jewelry that captures the authentic luster of both metals side-by-side.
Scale Your Jewelry Retouching with Image Work India
Retouching mixed metal jewelry requires an incredible amount of patience, technical skill, and time. Drawing pixel-perfect clipping paths around tiny interlocking chain links eats into the hours you should be spending shooting new products or growing your business.
Struggling to keep your mixed metal jewelry looking flawless and true to life? You don’t have to do it alone.
Hire Image Work India and Cloud Retouch for your high-volume post-production needs. Our expert team specializes in premium jewelry retouching, delivering flawless frequency separation, precise multi-path vector masks, and perfect color grading. We guarantee brilliant golds, icy silvers, and sparkling gemstones that drive e-commerce sales.
Contact us today to get a free trial on your most challenging mixed metal images!


