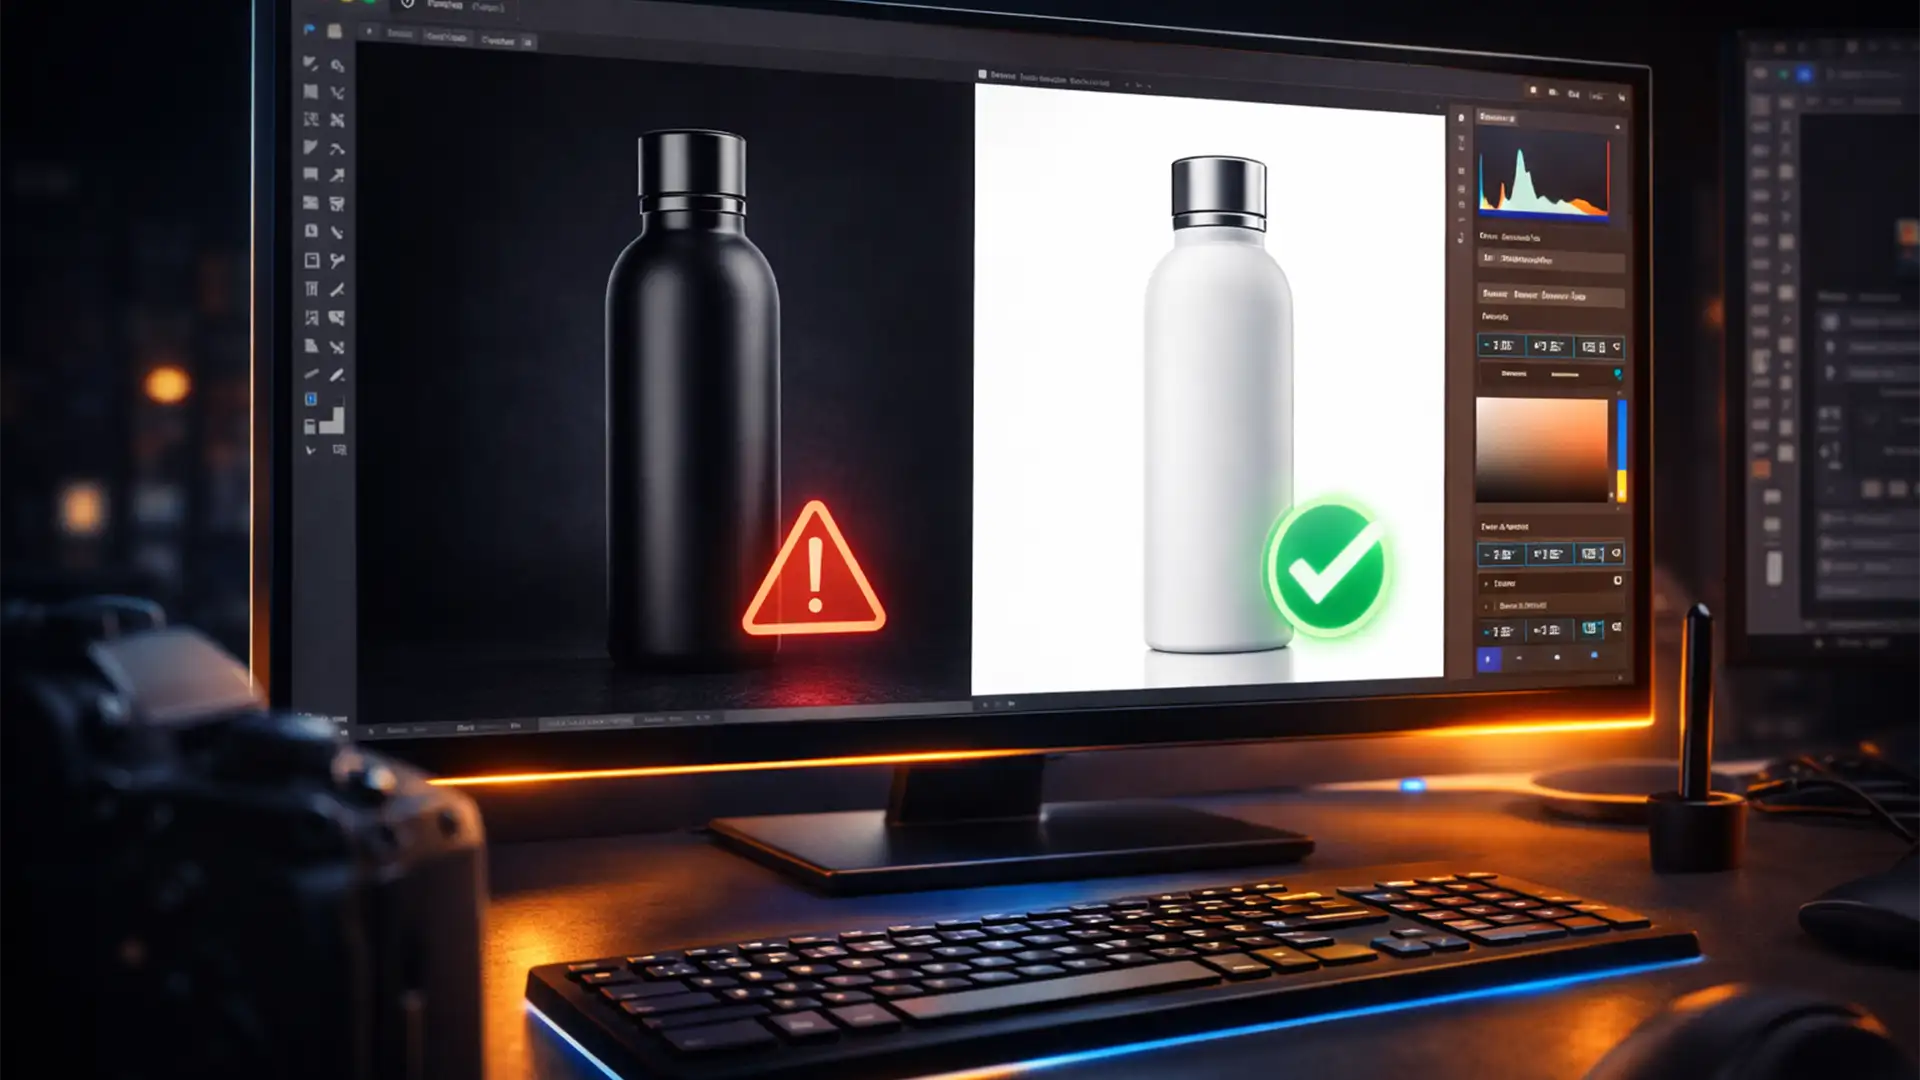
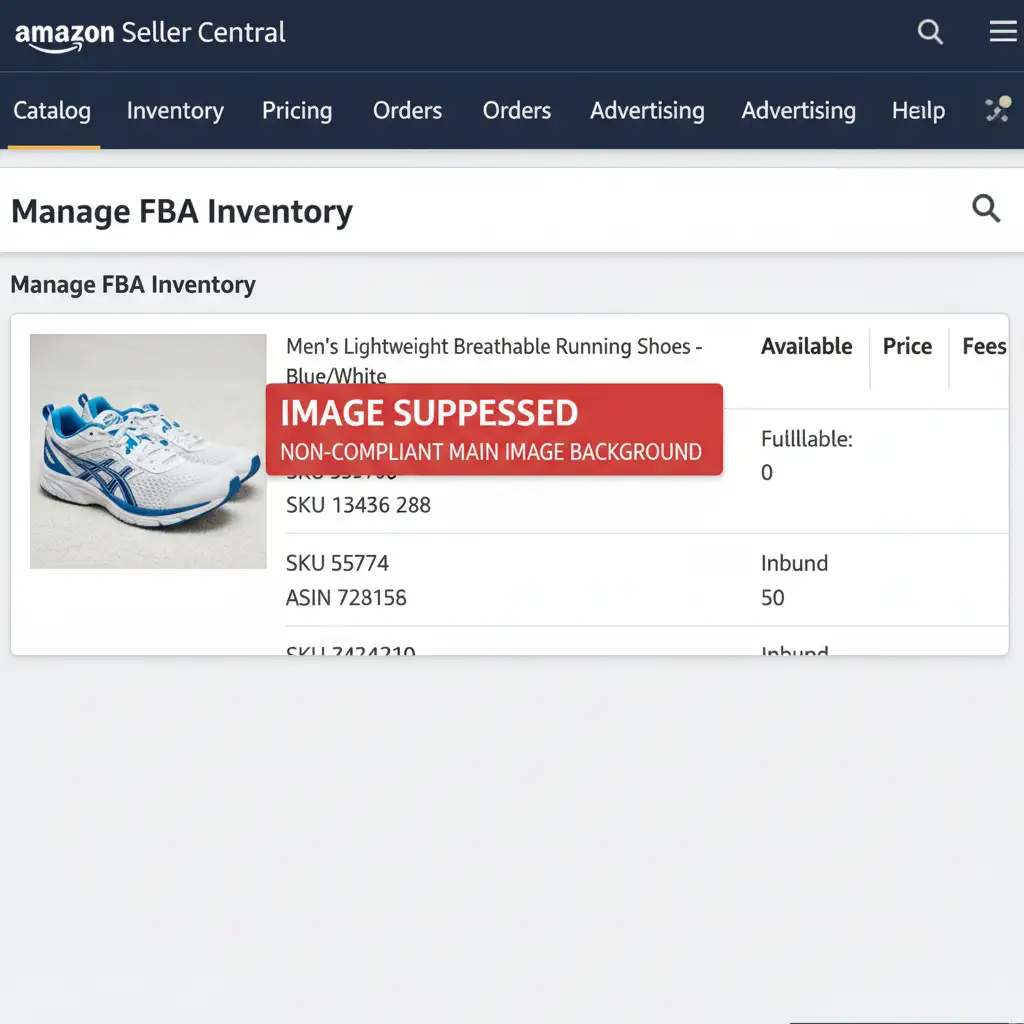
You wake up to a dreaded notification: your top-selling Amazon listing is suppressed. You check your main product images, and to the naked eye, they look perfectly white. But to Amazon’s ruthless A9 image audit algorithm, they aren’t. You are losing sales by the minute because of a nearly invisible technical error known as “shadow bleeding.”
When artificial drop shadows or natural reflections extend to the very edge of your image canvas, those border pixels register as light gray rather than a mathematically pure white background. If your RGB values aren’t exactly 255, 255, 255, Amazon bots will automatically take your listing offline.
Here is the definitive guide to executing an Amazon listing suppression shadow bleeding fix using Adobe Photoshop v25.x, ensuring your images pass strict automated audits every single time.
What is Shadow Bleeding in Amazon Product Images?
Amazon product image requirements state that the main product image must have a pure white background. This isn’t just a visual guideline; it is a strict mathematical rule. Every single pixel touching the border of your image canvas must read as RGB 255.
Shadow bleeding occurs when a product’s shadow organically fades out, but the canvas ends before the shadow completely dissipates. To the human eye, the edge looks white. To Amazon’s bots, the edge might be RGB 248 or 252. This triggers immediate listing suppression.
Diagnosing the Invisible Bleed in Photoshop v25.x
Before applying the fix, you need to prove that shadow bleeding is the culprit. You can diagnose this using the Color Sampler Tool.
- Open your suppressed image in Adobe Photoshop v25.x.
- Select the Color Sampler Tool (hidden under the Eyedropper Tool).
- Click on the extreme corners and edges of your image canvas where the shadow is closest.
- Open the Info Panel (Window > Info).
If the RGB values read anything less than 255 (e.g., R: 251, G: 251, B: 251), your shadow is bleeding off the canvas.

Step-by-Step Fixes for Amazon Shadow Bleeding
Depending on your timeline and Photoshop proficiency, there are three distinct ways to execute an Amazon listing suppression shadow bleeding fix.
Method A: The Quick Fix (Levels Adjustment)
If you need the listing back up immediately and the shadow bleed is minimal, forcing the white point is your fastest option.
- Add a Levels Adjustment Layer above your image.
- In the Properties panel, select the White Point Eyedropper (the right-most eyedropper icon).
- Click directly on the outer edge of the shadow where it touches the canvas border.
- This forces all pixels of that gray value (and lighter) to a pure white background (RGB 255).
- Caution: This may slightly blow out the highlights on your actual product, so use it sparingly.
Method B: The Pro Workaround (Clipping Paths & Layer Styles)
For a flawless, professional result that preserves product details while utilizing safe layer blending modes, you must isolate the product entirely.
- Create a Clipping Path: Use the Pen Tool (P) to draw a precise path around your product. Avoid the Magic Wand, as it creates jagged edges.
- Apply Image Masking: Turn the path into a selection and mask out the original background.
- Set the Pure White Background: Create a Solid Color Fill layer beneath your product, setting the hex code to #FFFFFF (RGB 255, 255, 255).
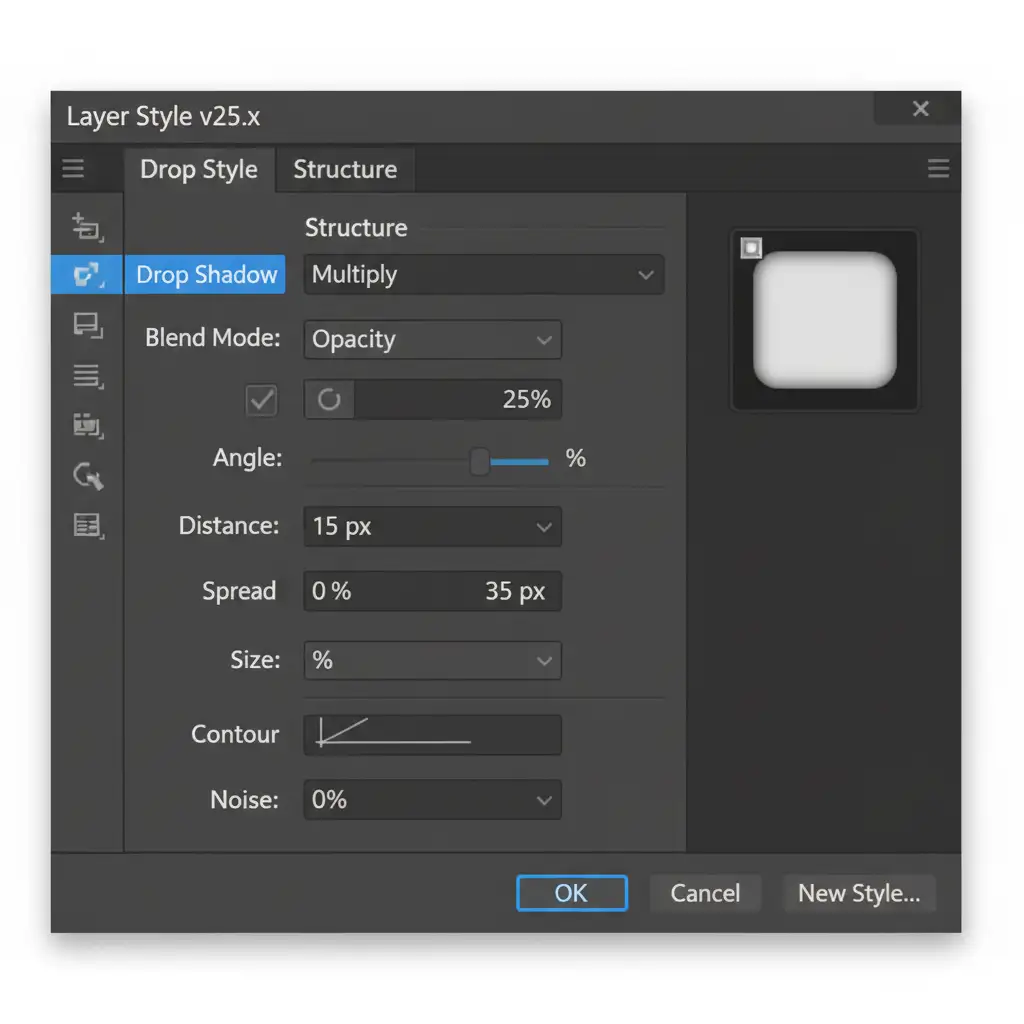
- Control the Drop Shadow Spread: Double-click the product layer to open Layer Styles. Add a Drop Shadow. Crucially, adjust the Size and Spread parameters so the shadow visually fades to 0% opacity well before it reaches the edge of the canvas.
Method C: The Technical Deep-Dive (Threshold Adjustment Layer)
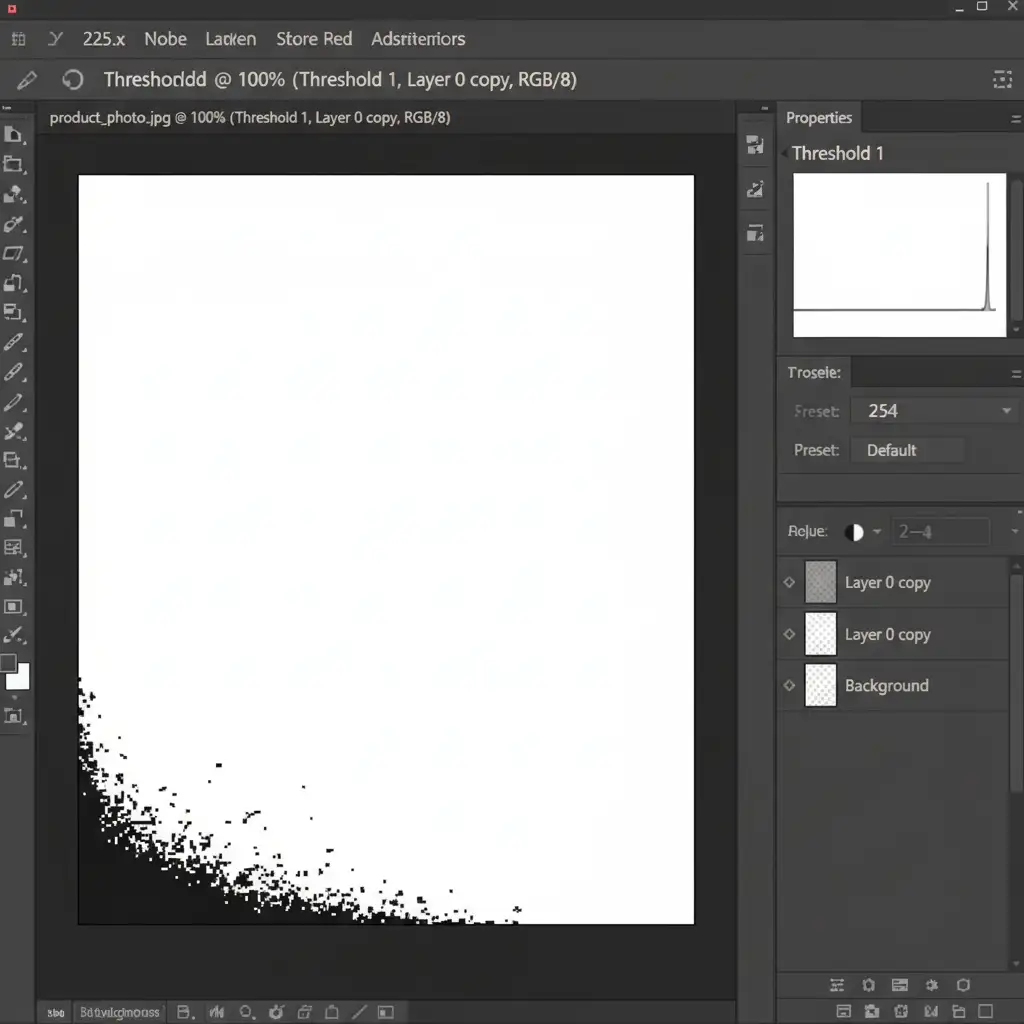
To guarantee your image will pass the Amazon A9 audit without relying on guesswork, use a Threshold adjustment. This method temporarily turns your image into a stark black-and-white map, revealing exactly where the problem lies.
- Add a Threshold Adjustment Layer to the very top of your layer stack.
- Drag the slider to level 254.
- Because pure white is 255, setting the threshold to 254 means any pixel that is not mathematically pure white will turn pitch black.
- Look at the edges of your canvas. If you see black clusters touching the border, that is your invisible shadow bleed.
- Select your shadow layer mask or Eraser Tool (with a soft brush) and gently paint away the black areas near the edges until the border is completely white.
- Delete the Threshold layer and export your image as a high-quality JPEG.
Best Practices to Prevent Future Listing Suppressions
To keep your Amazon listings active and profitable, build these checks into your standard operating procedures:
- Leave Padding: Never let your product or its shadow touch the edge of the crop box. Aim for the product to fill 85% of the frame, leaving a generous pure white border.
- Avoid Natural Shadows: While natural lighting looks great, scanning natural shadows is risky. It is safer to use image masking to remove the original background entirely and rebuild a controlled drop shadow in post-production.
- Verify Before Uploading: Always use the Color Sampler Tool to verify all four corners and edge midpoints read RGB 255 before uploading to Seller Central.
Stop Losing Sales to Image Suppressions
Fixing an Amazon listing suppression shadow bleeding error manually can be incredibly tedious, especially if you have a catalog of hundreds or thousands of SKUs. Every minute your listing is down, your competitors are capturing your sales.
You don’t have to fight Amazon’s automated bots alone. Let the experts at Image Work India and Cloud Retouch handle your product photo editing. Our specialized teams use flawless clipping paths, advanced image masking, and precise drop shadow techniques to guarantee 100 percent Amazon-compliant images.
We ensure your backgrounds are mathematically perfect (RGB 255) so you never have to deal with unexpected listing suppressions again. [Contact Image Work India today] to streamline your e-commerce visuals and keep your listings active, optimized, and converting.


