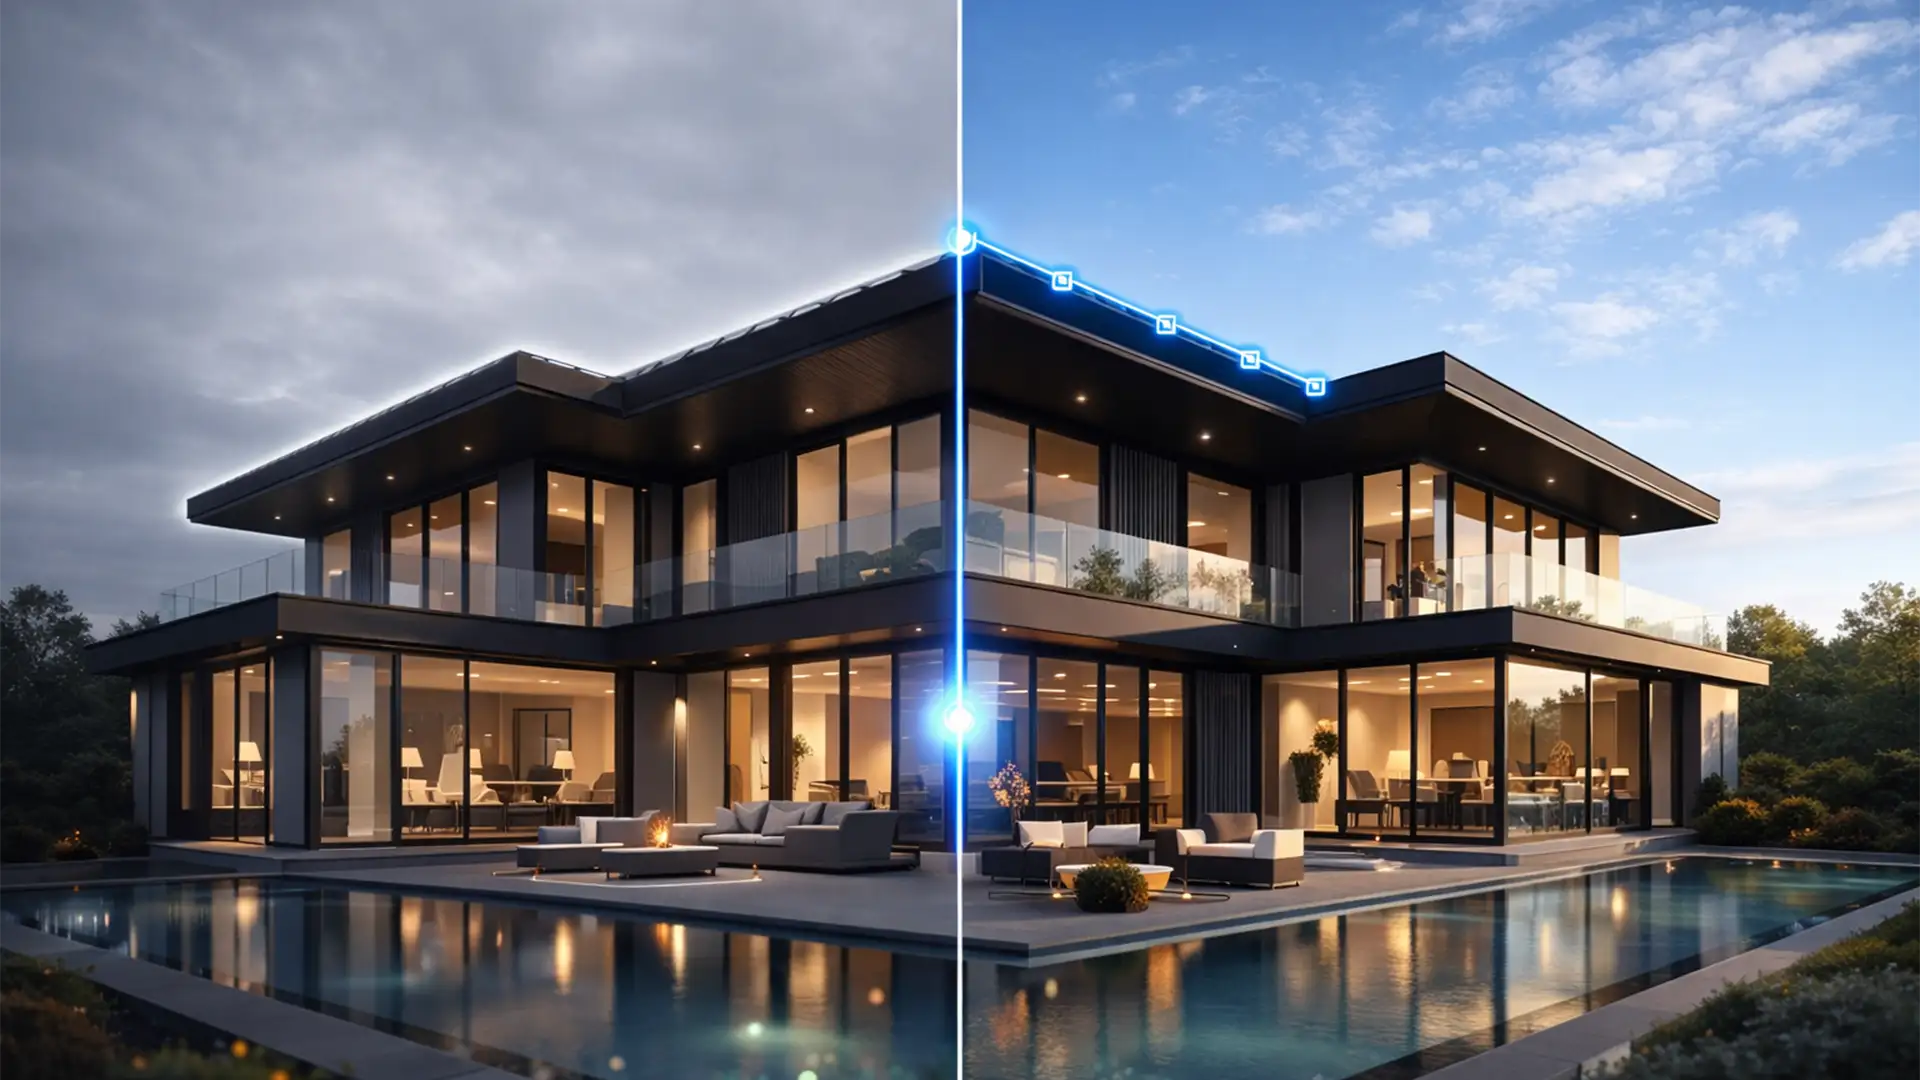
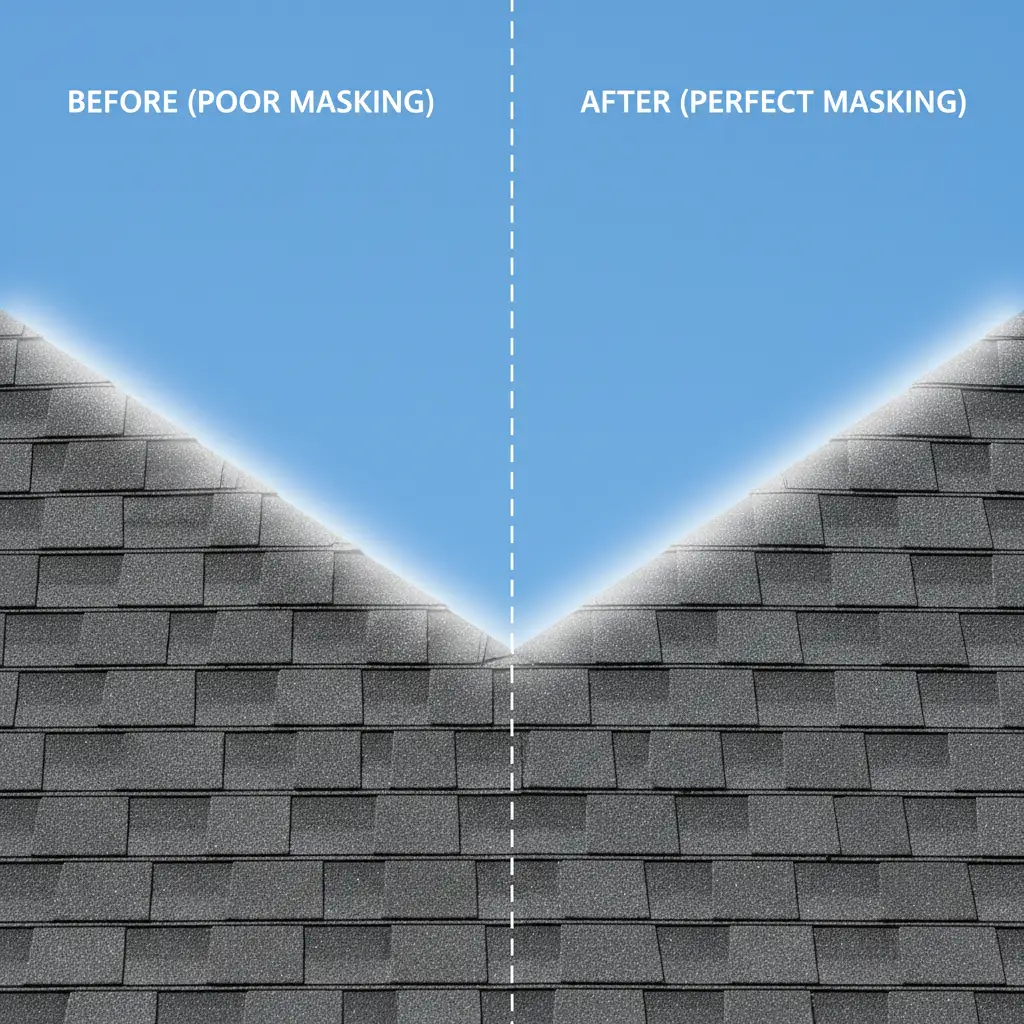
You’ve just shot a stunning property, but the weather didn’t cooperate. You are left with a flat, blown-out overcast sky. No problem, right? Just use Photoshop’s automated tools. But wait—when you drop in that crisp blue sky, a glaring white edge halo traces the rooflines, trees, and pale trims.
This dreaded grey fringe screams “fake” and can instantly ruin a high-end real estate listing. If you’re desperately searching for a reliable real estate sky replacement overcast fix, you aren’t alone. Even in Adobe Photoshop v24.x and v25.x, automated AI struggles to calculate pixel boundaries when there is zero contrast between a white sky and a light-colored building.
Here is exactly how to fix those stubborn edge halos and achieve flawless skies every time.
Why Photoshop Struggles with Overcast Skies
When you use the automated Sky Replacement tool or AI Select Subject, the algorithm looks for contrast to build its layer mask. On a clear day, the contrast between a blue sky and a house is obvious. On an overcast day, a blown-out white sky blends seamlessly into pale trims, white roofs, or the reflective sheen of tree leaves.
Because the software cannot find the exact edge, it guesses. The result? It leaves behind a few pixels of the original sky, creating an unrealistic edge halo. To fix this, we need to move beyond the basic tools and utilize advanced masking, blend modes, and defringing techniques.
Method A: The Quick Fix (Sky Replacement Edge Shift)
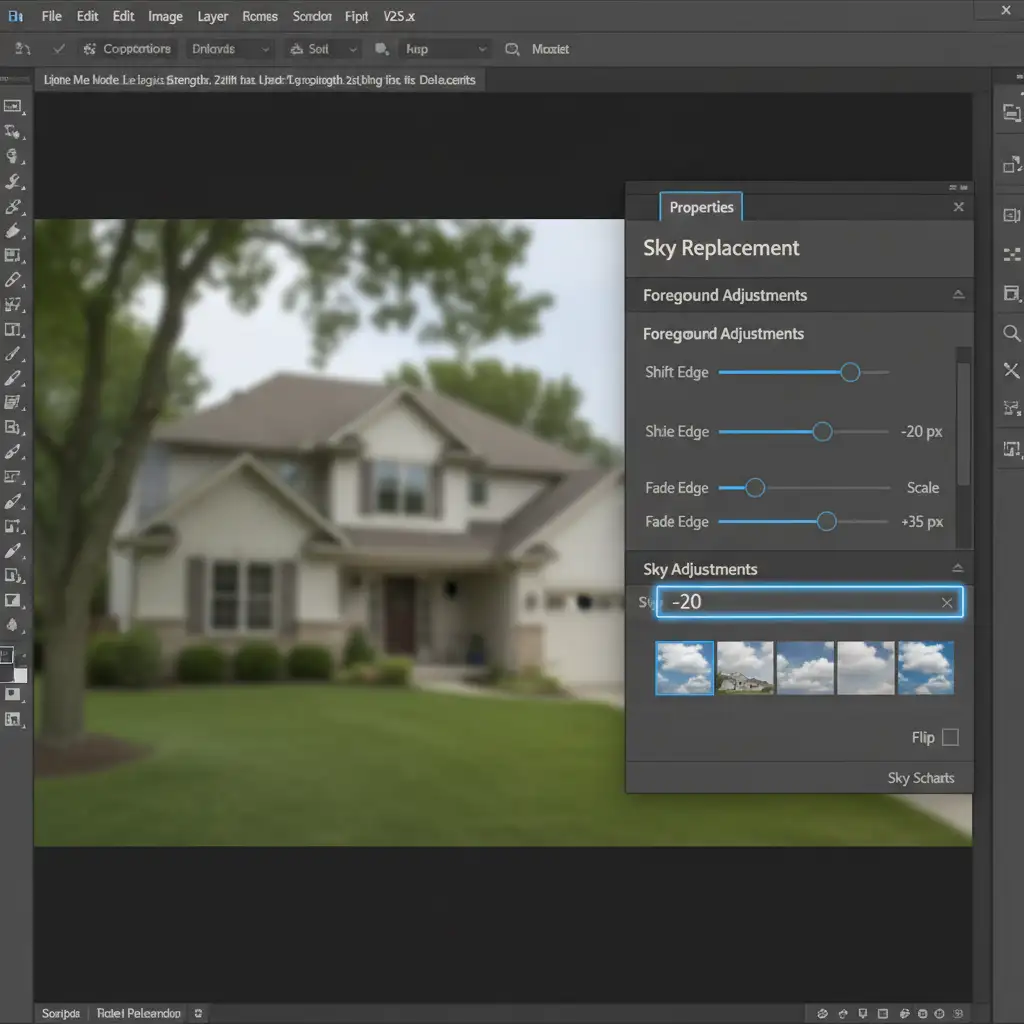
If the edge halo is relatively minor, you can often correct it directly within the native Sky Replacement dialogue box by manipulating the foreground adjustments.
- Open your image in Photoshop and navigate to Edit > Sky Replacement.
- Select your new sky. You will likely notice the white fringe immediately.
- In the properties panel, expand the Foreground Adjustments and Sky Adjustments sections.
- Locate the Shift Edge slider. Drag this to the left (negative values). Typically, a setting between -15 to -25 will contract the mask just enough to bite into the roofline and hide the halo.
- Slightly increase the Fade Edge slider to soften the transition so the hard edge doesn’t look artificially sharp.
Method B: The Pro Workaround (Multiply Blend Mode & Advanced Masking)
When adjusting the edge shift isn’t enough—especially around complex elements like tree branches—you need to leverage blend modes. This is a staple technique in professional real estate photo editing.
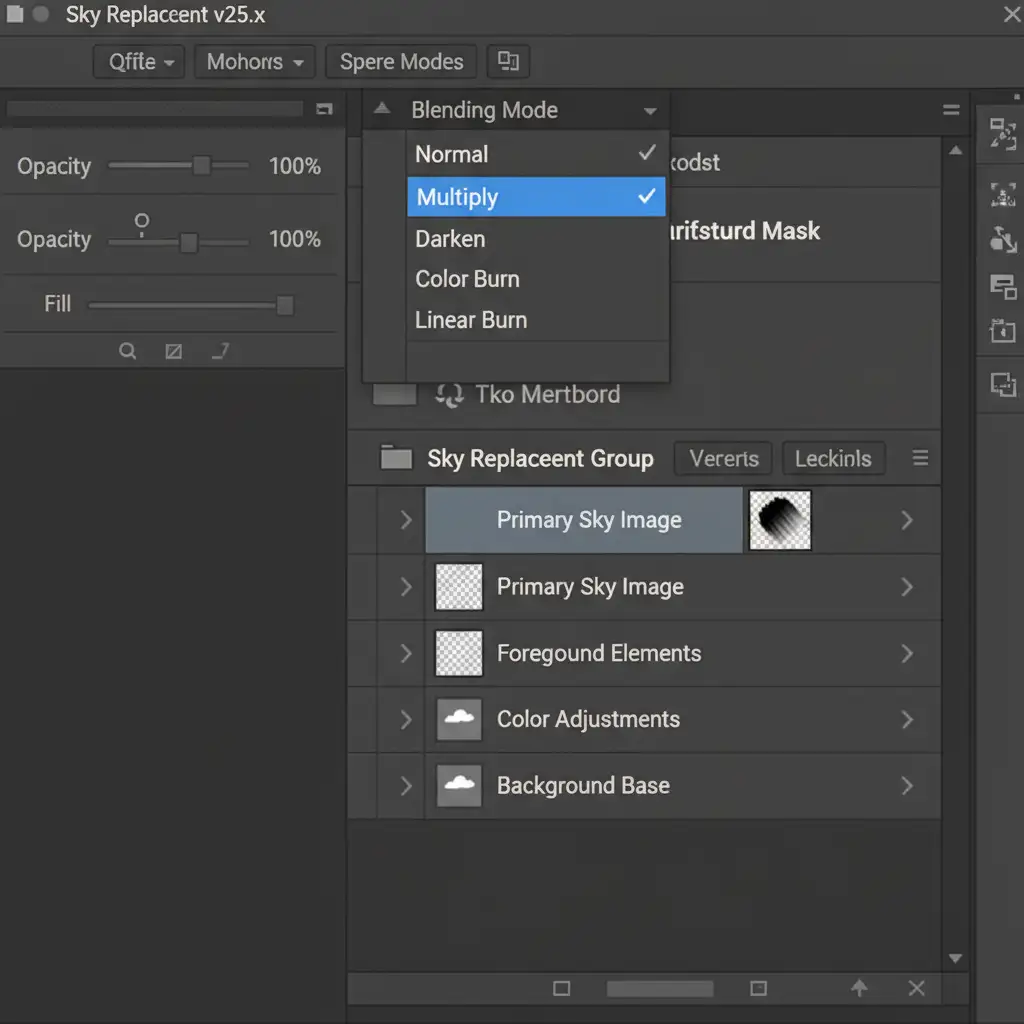
- Run the Sky Replacement tool as usual, but ensure the “Output To” dropdown is set to New Layers. Click OK.
- In your Layers panel, locate the newly created Sky Replacement group.
- Select the actual sky image layer (not the mask or the whole group).
- Change the layer’s blending mode from Normal to Multiply.
- Why this works: The Multiply blend mode hides white pixels and only allows the darker pixels of the new blue sky to organically blend over the white edge halos left by the overcast sky.
- If the sky bleeds into the house too much, select the layer mask. Use a soft brush set to 20% opacity and paint with black to gently reveal the original property details without bringing back the halo.
Method C: The Technical Deep-Dive (Defringe and Select & Mask)
For properties with highly complex rooflines, intricate architecture, or severe overcast blowouts, you must manually strip the halo pixels before the new sky is even introduced.
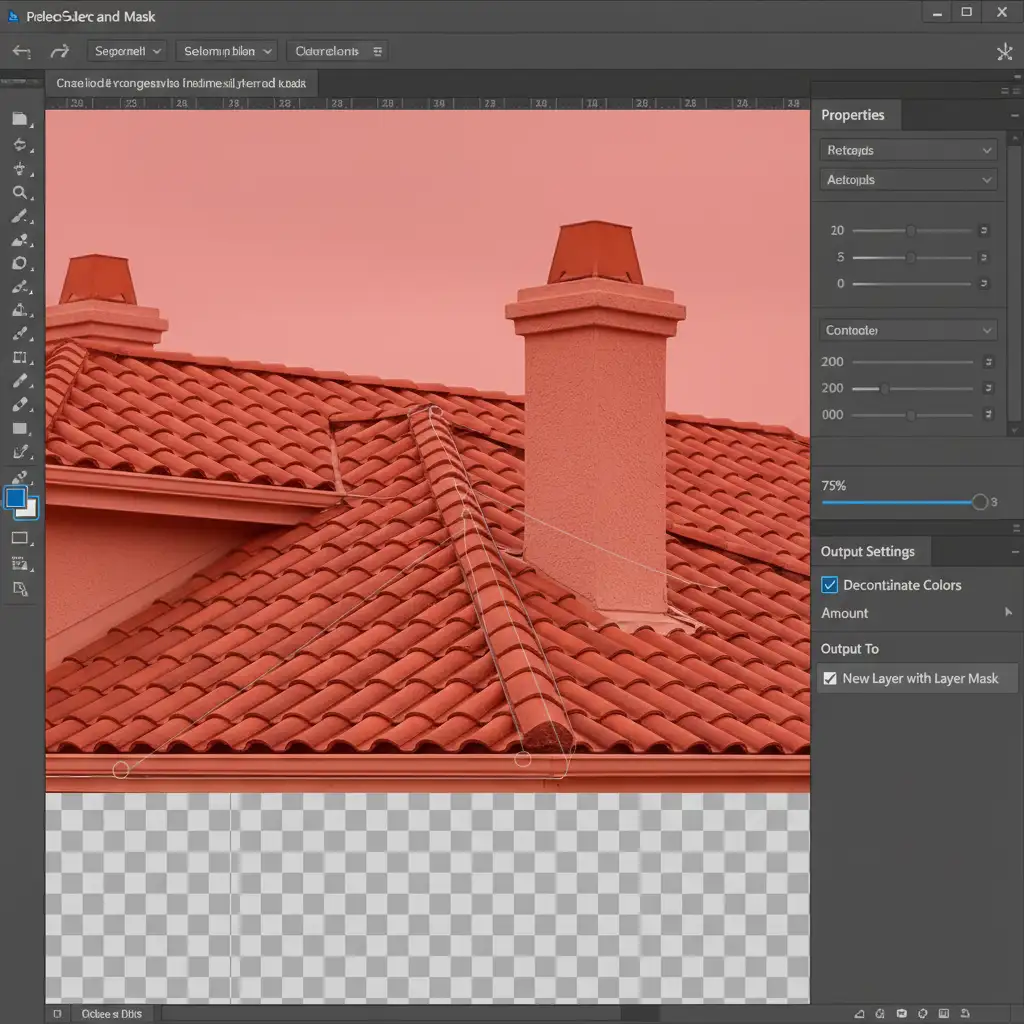
Step 1: Initial Selection and Refinement
Before opening the sky replacement tool, manually select the overcast sky using the Magic Wand or Object Selection tool until you see the marching ants. Next, go to Select > Select and Mask.
Step 2: Decontaminate Colors
Inside the Select and Mask workspace, select the Refine Edge Brush from the left toolbar. Carefully brush over the complex transition areas—like the rooflines and the gaps in the trees. Scroll down to the Output Settings on the right panel and check the box for Decontaminate Colors. This forces Photoshop to mathematically remove the grey/white color cast bleeding onto the edges of the property. Output to a New Layer with Layer Mask.
Step 3: The Defringe Command
Even with advanced masking, a microscopic white line might remain.
- Apply the layer mask (right-click the mask > Apply Layer Mask).
- Go to Layer > Matting > Defringe.
- Set the pixel width to 1 or 2 pixels and click OK.
- This command permanently strips the remaining overcast halo pixels from the absolute edge of your subject. You can now drop your new sky plate on a layer beneath the house for a flawless, hyper-realistic composite.
Scale Your Real Estate Editing with the Experts
Mastering the real estate sky replacement overcast fix takes time, patience, and a deep understanding of Photoshop’s advanced masking capabilities. When you are processing hundreds of listing photos a week, spending ten minutes manually defringing a single roofline simply isn’t profitable.
Don’t let complex masking slow down your workflow. Let the professionals handle it.
Image Work India and Cloud Retouch specialize in flawless, high-volume real estate photo editing. From seamless sky replacements and edge halo removal to twilight conversions and HDR blending, our expert retouching teams deliver perfect listings in record time.
Stop fighting with overcast skies. [Contact Image Work India and Cloud Retouch today] to elevate your real estate portfolio and get your time back.


