
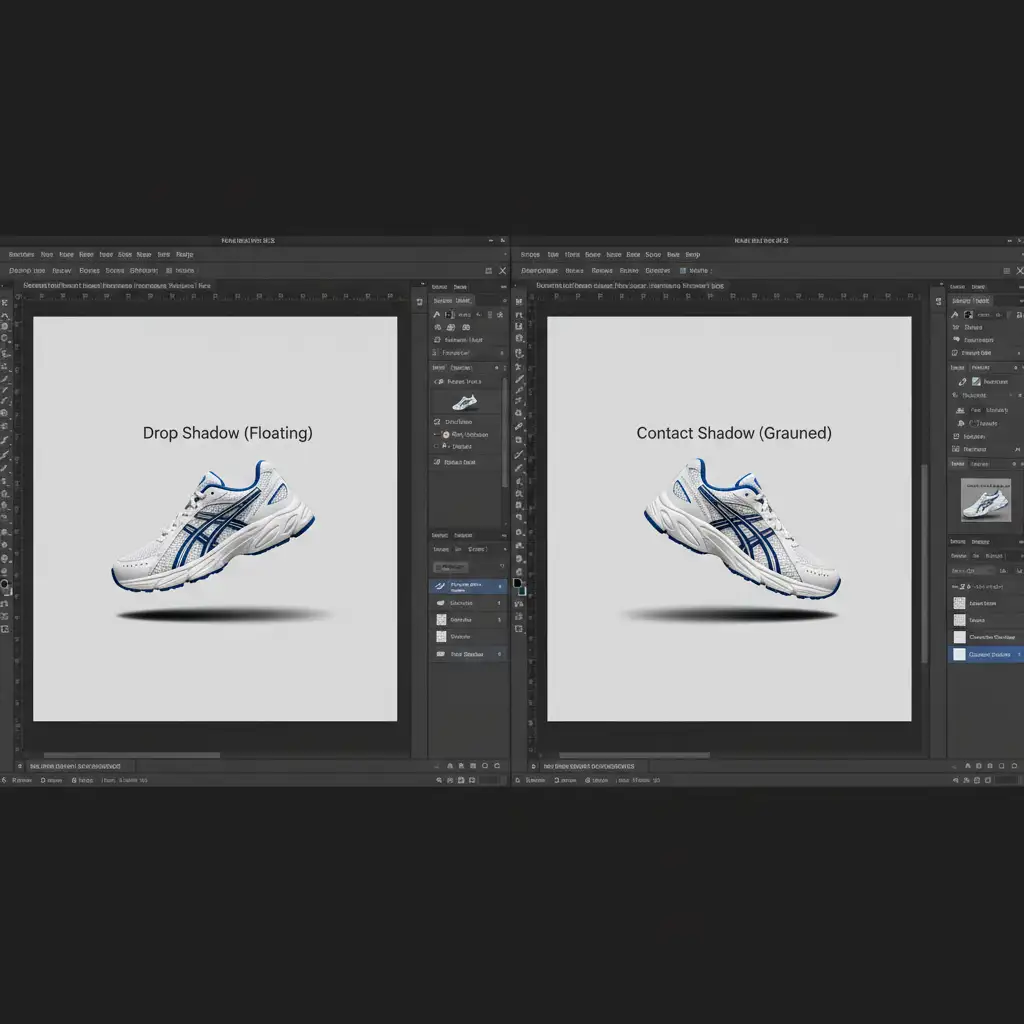
Have you ever spent hours perfectly masking a product, only to apply a drop shadow and realize it looks like it’s magically hovering above the background? You aren’t alone. In e-commerce editing, this “floating object” phenomenon is the number one conversion killer.
The battle of Contact Shadow vs Drop Shadow Photoshop workflows comes down to basic physics. The default drop shadow tool applies a uniform, equidistant shadow that completely ignores how light behaves in the real world. To achieve photorealism, you must master the occlusion shadow—the dense, dark anchor point where an object physically touches a surface.
In this guide, we will break down why global layer styles fail and walk you through three professional workflows in Photoshop v24.x and v25.x to ground your products perfectly.
Why the Default Drop Shadow Fails E-Commerce Photos
When you double-click a layer and add a Drop Shadow, Photoshop creates an identical silhouette of your product, offsets it, and blurs it. While this works for flat UI design, it is disastrous for 3D product photography.
Real-world shadows are composed of two distinct parts:
- The Ambient Shadow: A softer, wider, and lighter shadow cast by the general lighting in the room.
- The Contact Shadow (Occlusion Shadow): A very dark, sharp, and narrow shadow located exactly where the product meets the floor.
To fix the floating effect, you must separate these elements, moving away from global layer styles and utilizing localized brush work, Gaussian blurs, and Multiply blend modes.
Method A: The Quick Fix (Detaching the Drop Shadow)
If you are on a tight deadline and need a fast solution, you can actually hack the default Drop Shadow effect by converting it into pixel data.
- Apply a basic Drop Shadow layer style to your product.
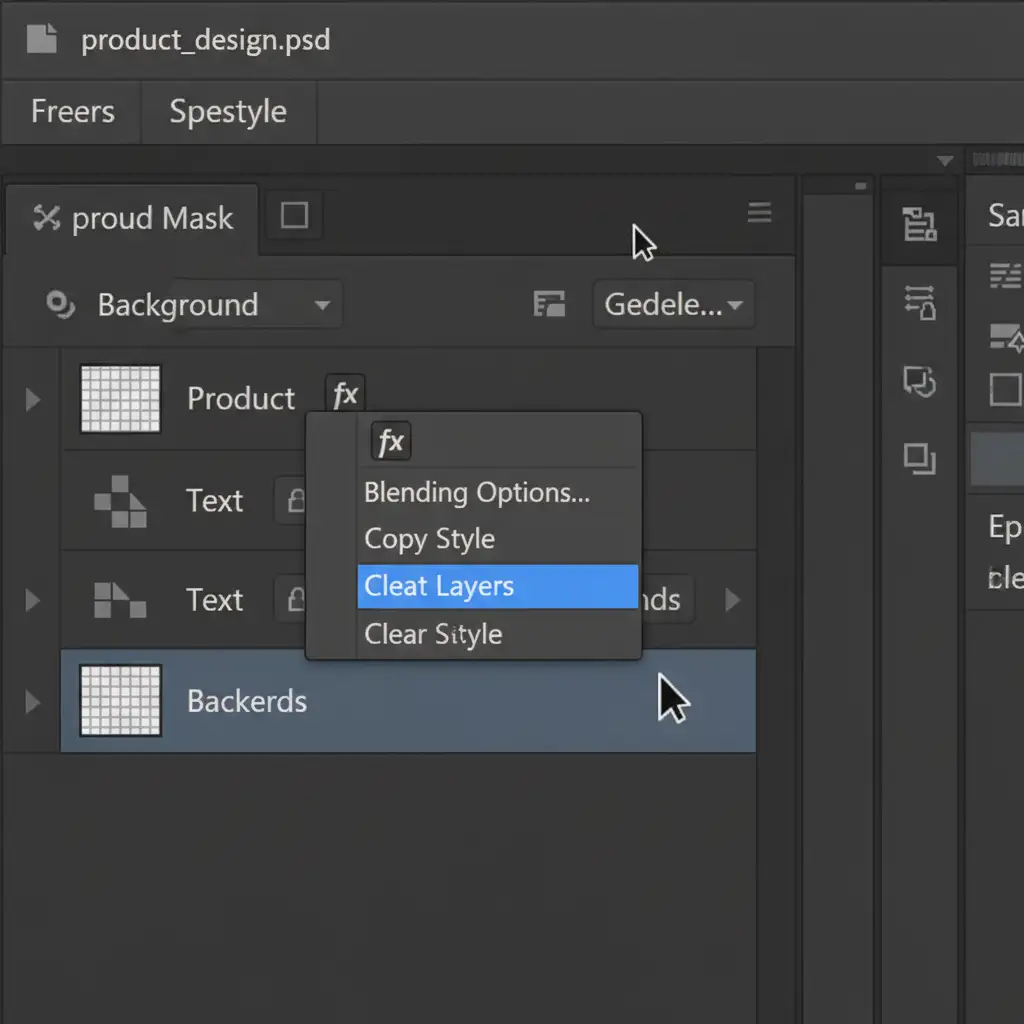
- In the Layers panel, right-click the ‘fx’ icon next to your layer.
- Scroll down and select Create Layer. This detaches the shadow from the layer style, turning it into a standard pixel layer beneath your product.
- Select the newly created shadow layer and press Ctrl+T (Free Transform).
- Hold Shift (or manipulate the bounding box depending on your Photoshop version) to squash the shadow vertically, positioning it directly under the object’s base to ground it.
Method B: The Pro Workaround (Painting Multi-Layer Shadows)
For high-end e-commerce retouching, manual shadow creation is the industry standard. This method involves painting the ambient shadow and the contact shadow on two separate layers.
Step 1: Create the Contact Shadow
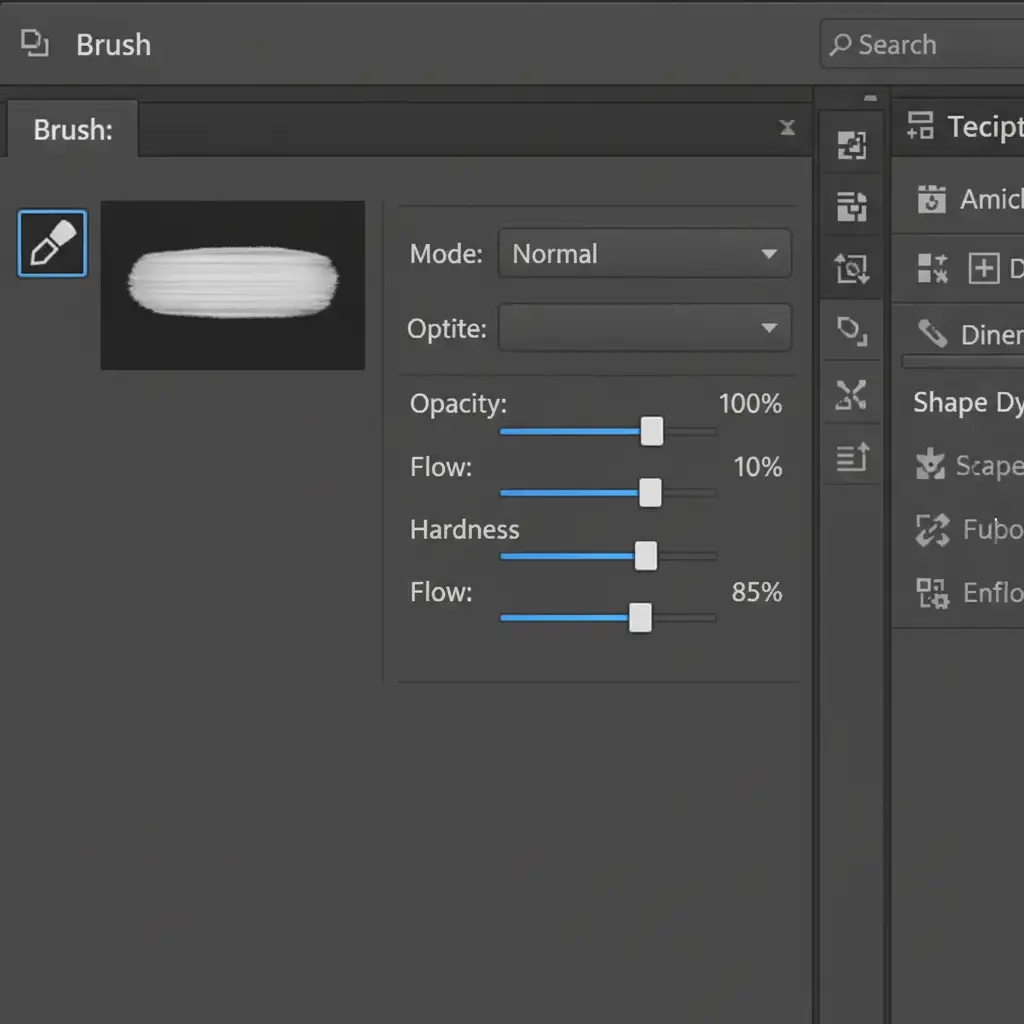
Create a new blank layer beneath your product. Select the Brush Tool with a black foreground color. Paint a hard, thin black line exactly where the product touches the ground.
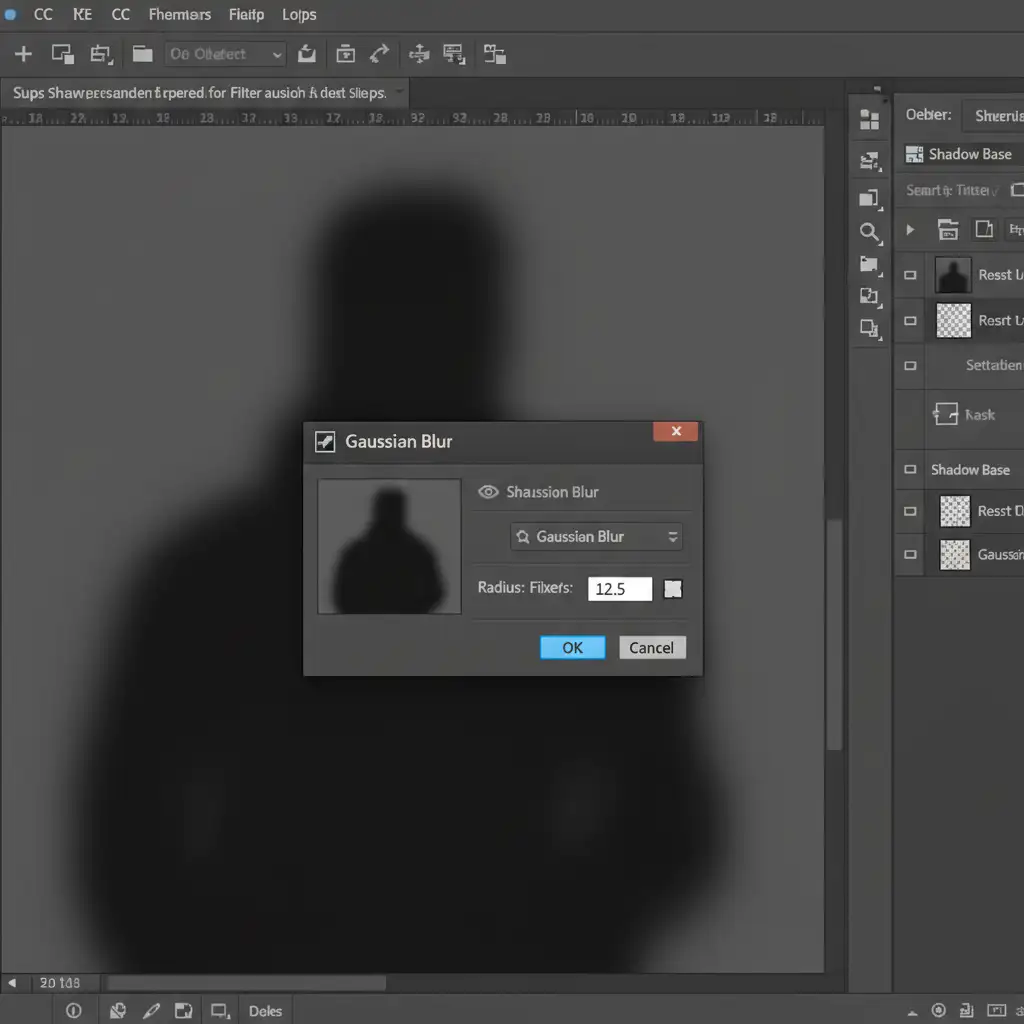
- Apply a 2px Gaussian blur to slightly soften the harsh edge.
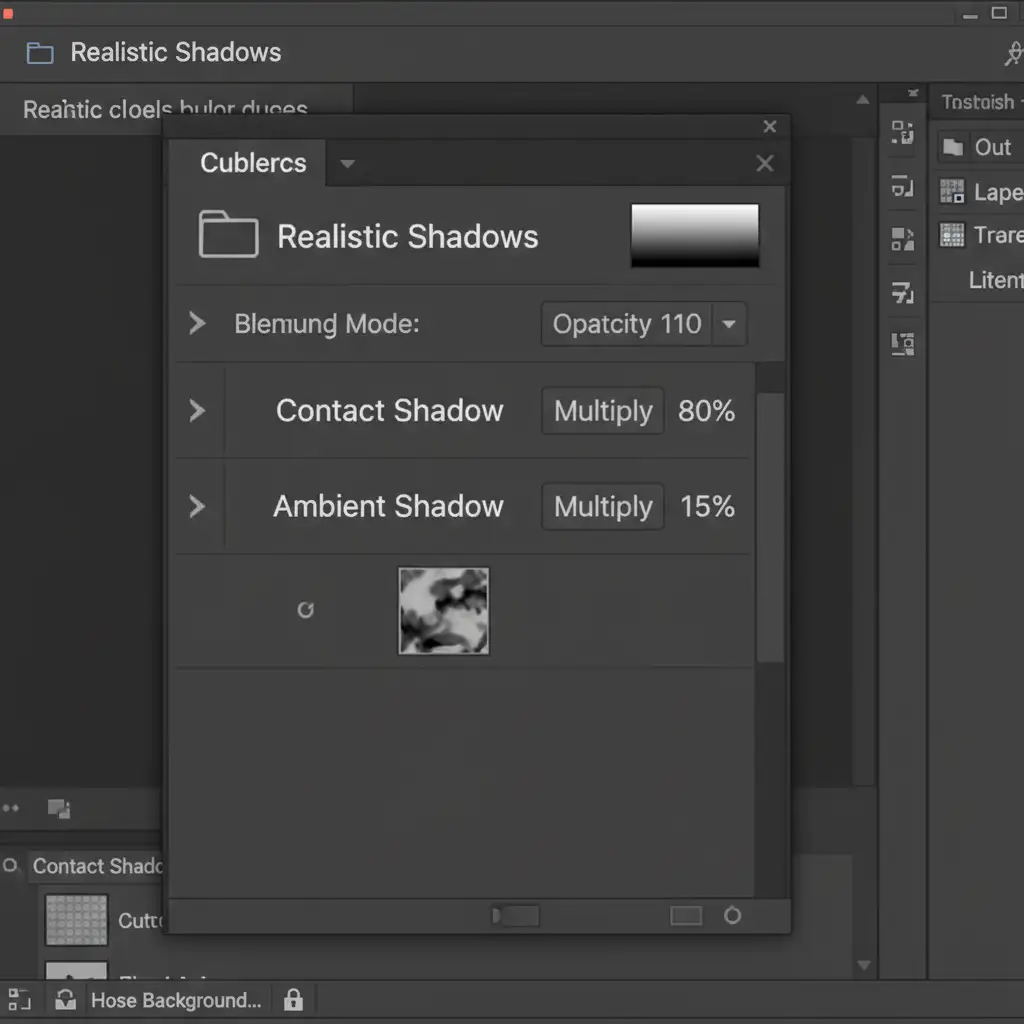
- Set the layer’s blend mode to Multiply and reduce the Opacity to 80 percent.
Step 2: Create the Ambient Shadow
Create a second layer beneath the contact shadow layer. Using a softer, larger brush, paint a wider black stroke under and slightly around the base of the product.
- Apply a 15px Gaussian blur.
- Set the blend mode to Multiply and drop the Opacity to 15 percent.
Method C: The Technical Deep-Dive (Smart Objects & Path Blurs)
If you want ultimate control and non-destructive editing, this advanced workflow utilizes vector shapes and directional blurs.
1. Draw the Base Shape
Select the Ellipse Tool and draw a black oval directly under the base of your object.
2. Convert to Smart Object
Right-click the shape layer and select Convert to Smart Object. This is crucial for non-destructive editing, allowing you to adjust your blur settings later without losing quality.
3. Apply Directional Blurs
Go to Filter > Blur Gallery > Path Blur. Use the arrow to dictate the direction of the light falloff (e.g., pulling the shadow slightly to the back right). Next, go to Filter > Blur > Gaussian Blur and apply a soft blur to feather the edges of the shape.
4. Mask the Falloff
Group your shadow layers (Ctrl+G). Add a Layer Mask to the group. Select the Gradient Tool, choose a soft black-to-white gradient, and drag it across the mask to naturally fade the shadow out into the background, perfectly mimicking light dissipation.
Scale Your Shadow Work with Image Work India & Cloud Retouch
Mastering the Contact Shadow vs Drop Shadow Photoshop workflow is essential for creating high-end imagery. However, manually painting occlusion shadows, adjusting Gaussian blurs, and tweaking Multiply blend modes takes time—time you don’t have when processing thousands of SKUs for a seasonal e-commerce launch.
If you are struggling to make your product catalogs look natural at scale, let the experts handle it. Image Work India and Cloud Retouch specialize in high-volume, professional product photo retouching. From flawless background removals to photorealistic multi-layer shadow creation, our dedicated editing teams ensure your products never “float” again.
Stop losing conversions to amateur drop shadows. Partner with Image Work India and Cloud Retouch today to elevate your e-commerce imagery and focus on what you do best: growing your business.


