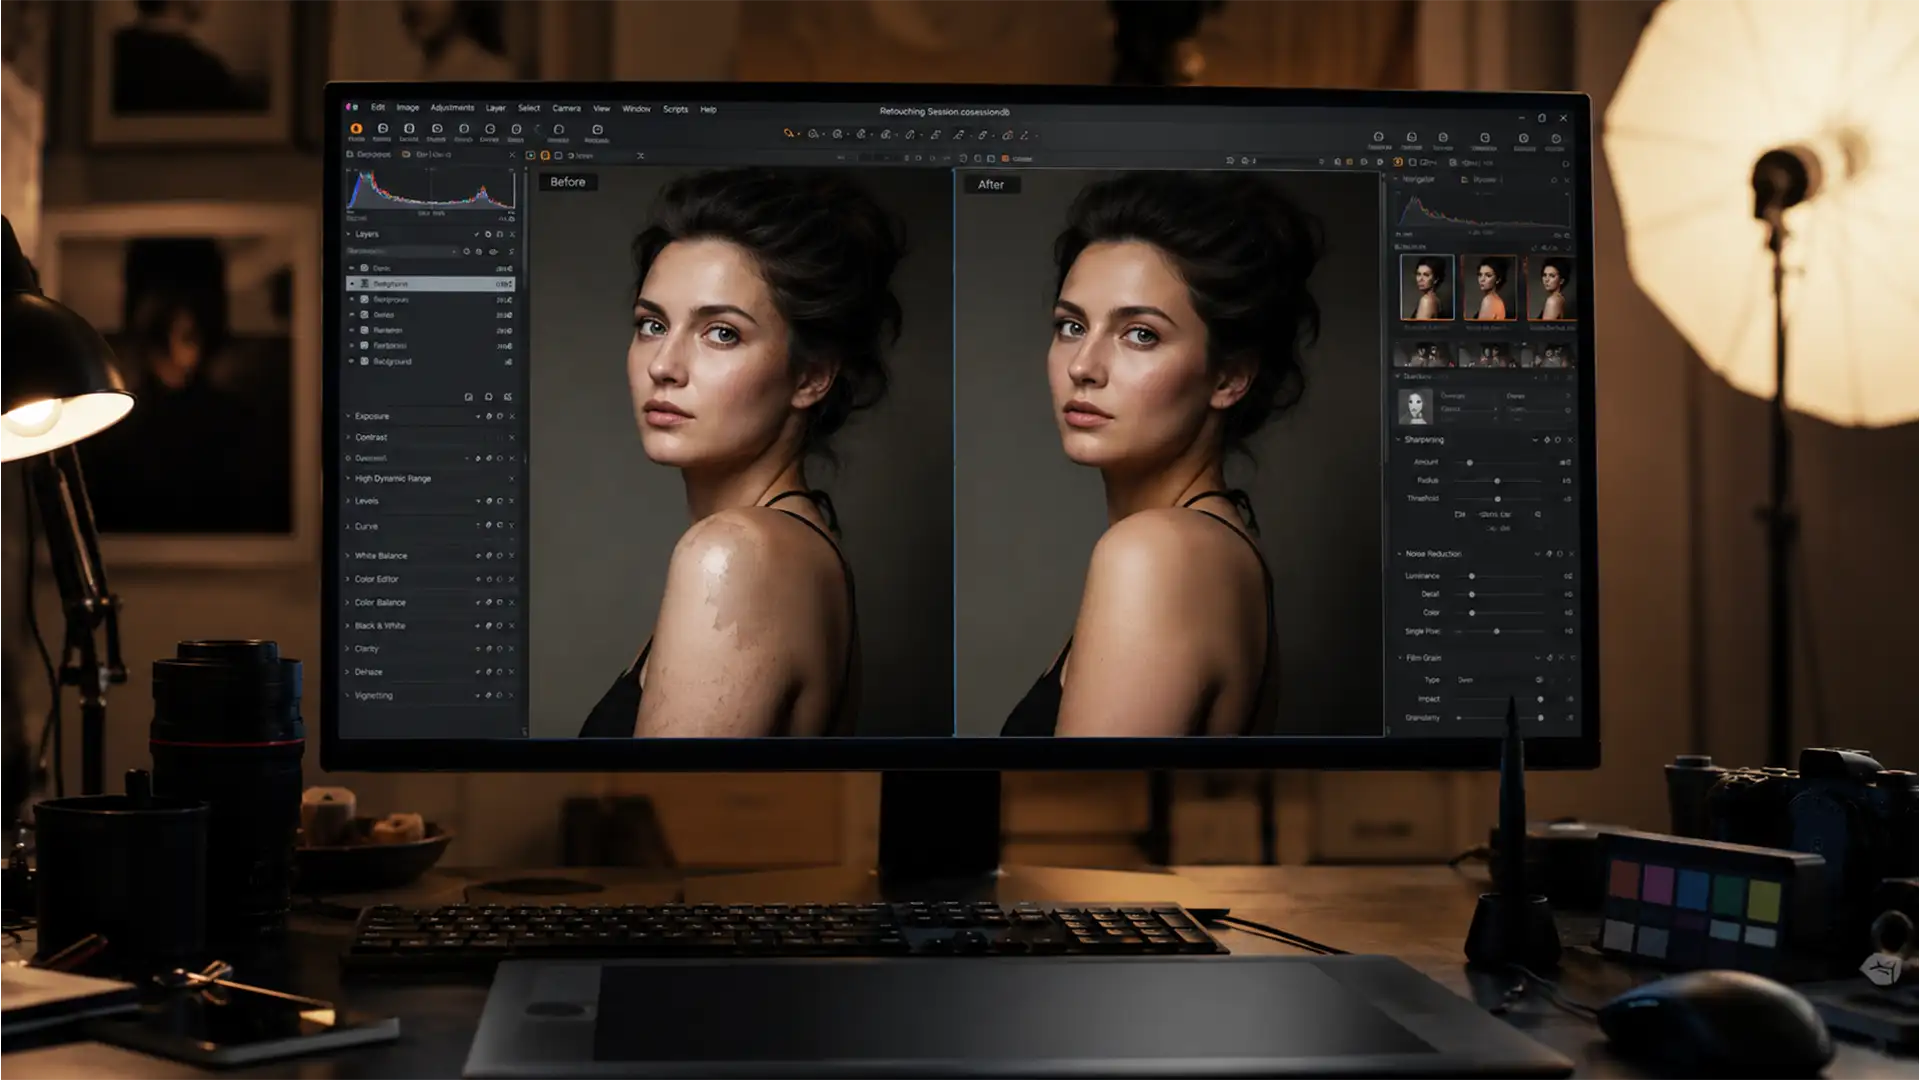
You just used Photoshop’s Generative Fill to extend a portrait or replace a subject’s arm, but instead of a seamless edit, you are left with a muddy, plasticky, or gray patch of skin that completely ruins the image. If you are trying to fix generative fill skin tone mismatch issues, you are not alone.
Since the introduction of Adobe Firefly in Photoshop v25.0+, editors have struggled with AI-generated skin that fails to match the original subject’s ambient lighting, melanin levels, or complex undertones.
Relying on the AI’s default output is not enough for commercial-grade photography. In this guide, we will walk you through the professional workflows—from prompt engineering to advanced color grading—required to seamlessly blend AI-generated skin with your original photography.
Why Does Adobe Firefly Struggle with Skin Tones?
The root of the problem lies in the AI’s training data. Adobe Firefly generally defaults to neutral, flat studio lighting when generating human features. If your original portrait features dramatic cinematic lighting, warm golden hour sun, or deep, rich skin undertones, the AI will almost always output a desaturated, mismatched texture.
Fixing this requires manual intervention. You cannot just click “Generate” again; you need to apply professional retouching techniques like clipping masks, luminosity adjustments, and color blend modes to bridge the gap between the raw AI output and reality.
3 Professional Methods to Fix Generative Fill Skin Tone Mismatch
Depending on the severity of the mismatch and your deadline, there are three distinct ways to correct muddy AI skin tones.
Method 1: The Quick Fix (Clipping Masks & Neural Filters)
When the structural generation of the skin is good but the color grading is slightly off, you can use Photoshop’s built-in AI harmonization tools paired with adjustment layers.
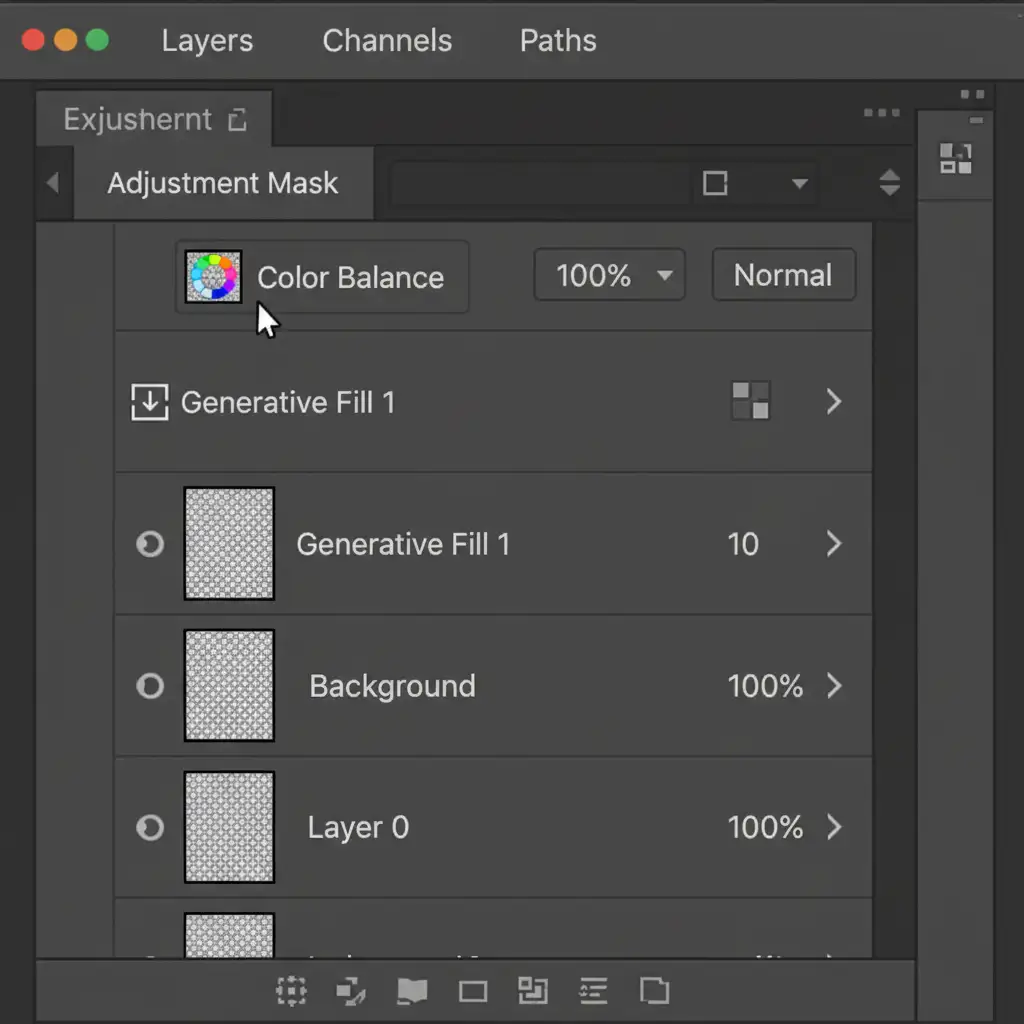
- Target the AI Layer: Select your Generative Fill layer in the Layers panel.
- Apply Color Balance: Create a new Color Balance adjustment layer directly above it.
- Clip the Adjustment: Hold Alt (Windows) or Option (Mac) and click the line between the Color Balance layer and the Generative Fill layer. This creates a clipping mask, ensuring your color adjustments only affect the AI-generated skin and not the entire image.
- Match the Tones: Adjust the Midtones and Highlights sliders to inject the missing warmth or coolness back into the AI skin.
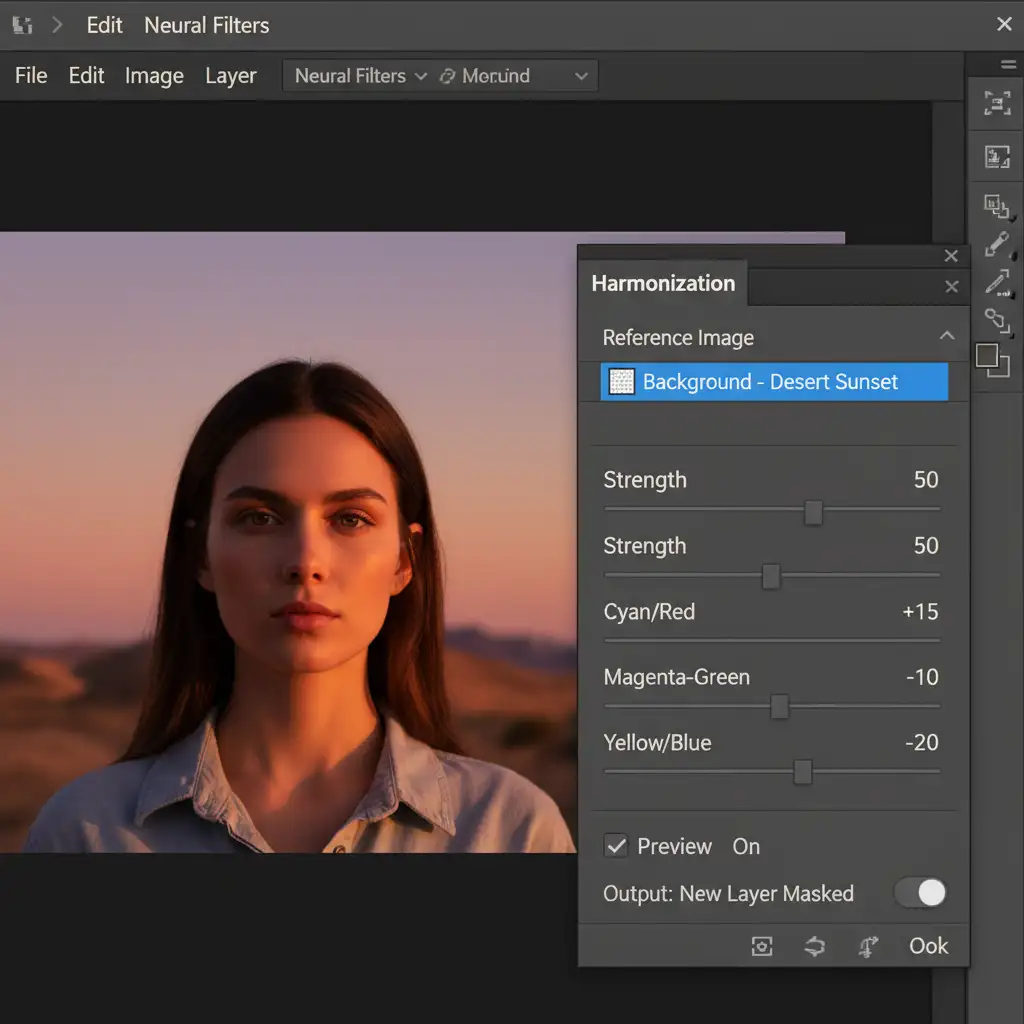
- Harmonize: For a final polish, merge the AI layer and run Filter > Neural Filters > Harmonization. Select your original background/subject layer as the reference to automatically sync the color palettes.
Method 2: The Pro Workaround (Color Layers & Luminosity)
For high-end retouching, you need absolute control. This method borrows logic from frequency separation, allowing you to fix the color and luminosity of the AI skin independently without destroying the generated texture.
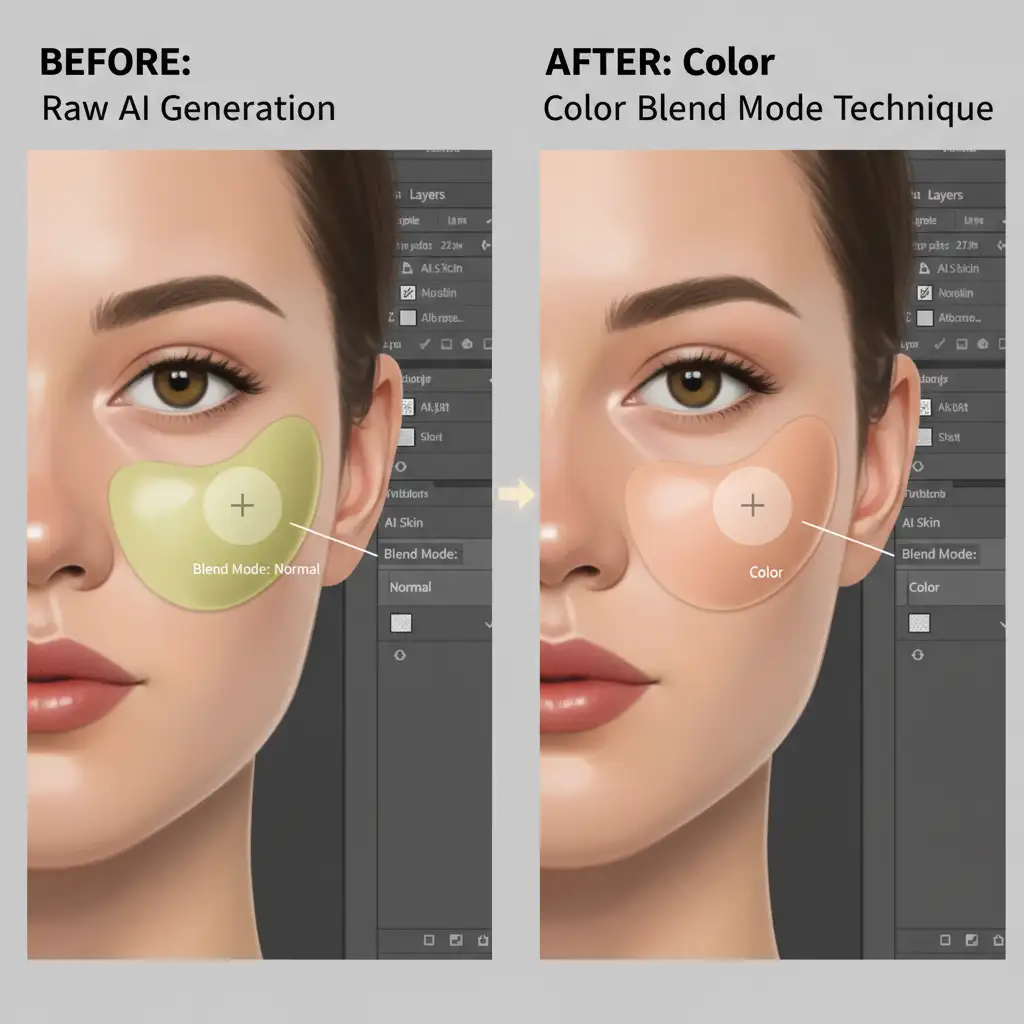
- Create a Blank Layer: Add a new blank layer above your Generative Fill layer and clip it (Alt/Option-click).
- Change the Blend Mode: Set this new layer’s blend mode to Color.
- Sample and Paint: Select the Brush tool, set the opacity to 10-15%, and hold Alt/Option to sample the healthy, accurate skin tone from your original subject. Gently paint over the mismatched AI skin. Because the blend mode is set to Color, it will change the muddy hue without flattening the skin texture.
- Fix the Luminosity: If the AI skin is too dark or too light, create a Curves adjustment layer, clip it as well, and adjust the midpoint to match the exact brightness of the original photo.
Method 3: The Technical Deep-Dive (Prompt Engineering & Reference Images)
The best way to fix a problem is to prevent it from happening in the first place. With recent updates to Photoshop, prompt engineering has become a critical skill for retouchers.
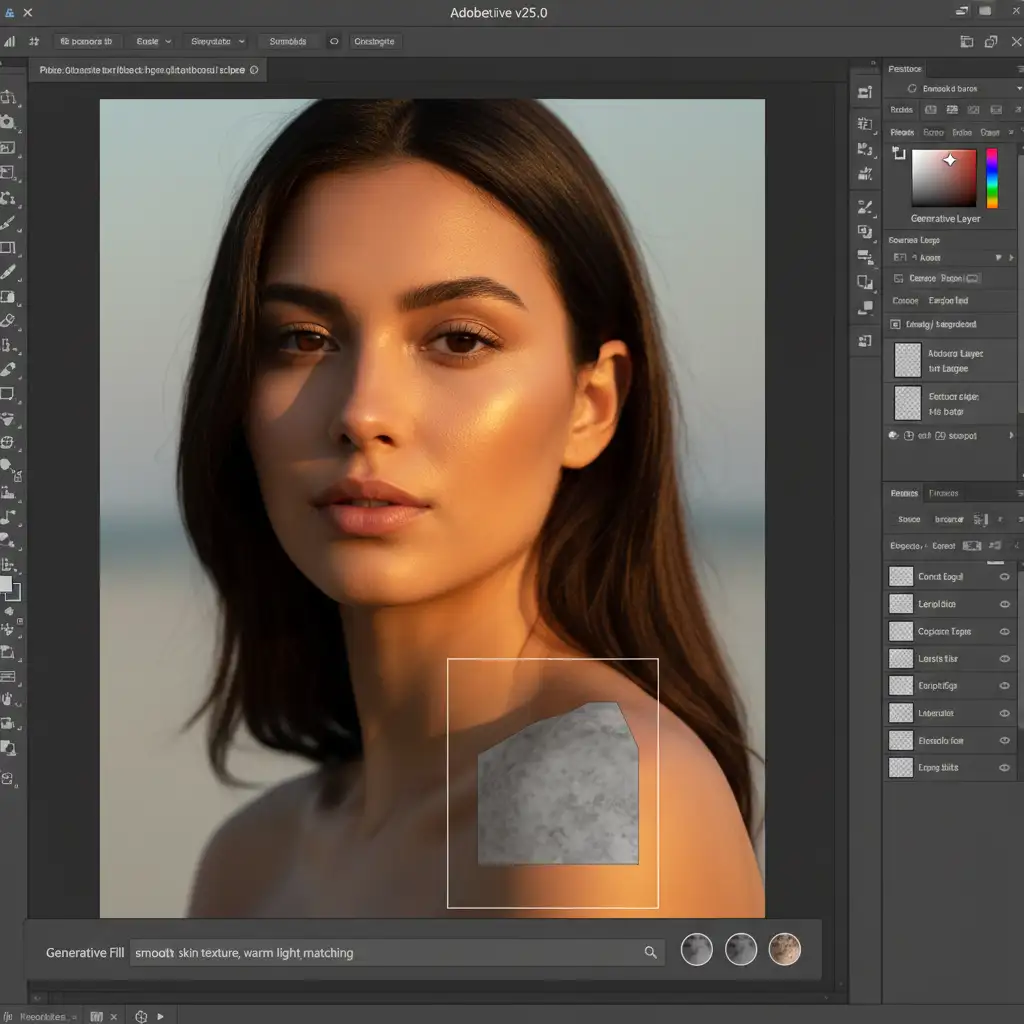
- Stop Leaving Prompts Blank: If you leave the Generative Fill prompt empty, Firefly guesses the lighting. Instead, use highly descriptive lighting and texture terms: “golden hour skin tone, warm undertones, detailed skin pores, matched studio lighting.”
- Utilize the Reference Image Tool: In the latest Photoshop beta and v25.0+ releases, the Generative Fill taskbar includes a “Reference Image” icon. Click this and sample the original portrait before generating. This forces Firefly to use your subject’s actual skin tone and lighting as the baseline.
- Adjust Variation Settings: Tweak the internal Firefly variation settings to prioritize structure over style, ensuring the anatomical generation is correct before you apply manual color grading.
When AI Fails: The Value of High-End Retouching
While AI tools like Generative Fill are incredible for speeding up basic workflows, they still lack the nuanced understanding of light, shadow, and human anatomy required for high-end commercial imagery. Fixing muddy skin tones, rebuilding complex textures, and executing flawless color grading still requires a trained human eye.
If you are spending hours trying to fix AI mistakes, or if you have a bulk catalog of images that require absolute perfection, it is time to bring in the experts.
Image Work India and Cloud Retouch specialize in high-end commercial retouching, clipping path services, and advanced color correction. We deliver flawless, natural-looking results that automated AI simply cannot achieve. Stop wrestling with mismatched skin tones and let our professional team elevate your photography. Contact us today to learn how we can streamline your post-production workflow.


