You just generated the perfect extension for a portrait using Adobe Photoshop v25.x, but there’s a glaring problem: the AI-generated skin looks dead. If you are struggling to fix Photoshop Generative Fill skin tone mismatch, you aren’t alone.
While the Firefly Image 3 model is incredible at structural generation, it frequently miscalculates subsurface scattering and ambient light reflection on human skin. The result is a desaturated, muddy, or grayish average tone that ruins your professional portrait. Bridging the color data gap between your source pixels and synthesized pixels requires manual intervention.
In this guide, we will break down three professional workflows to perfectly color grade and blend your AI-generated skin tones.
Why Does Firefly AI Create Muddy Skin Tones?
Generative Fill lacks the environmental lighting context of your original photograph. When generating human skin, the AI often defaults to a “safe” average tone rather than calculating complex light interactions like bounce light or subsurface scattering. This leaves you with a flat, grayish patch of skin that clearly looks artificial next to your original, vibrant photography.
To fix this, we need to rely on advanced color matching, Layer Masking, and texture isolation.
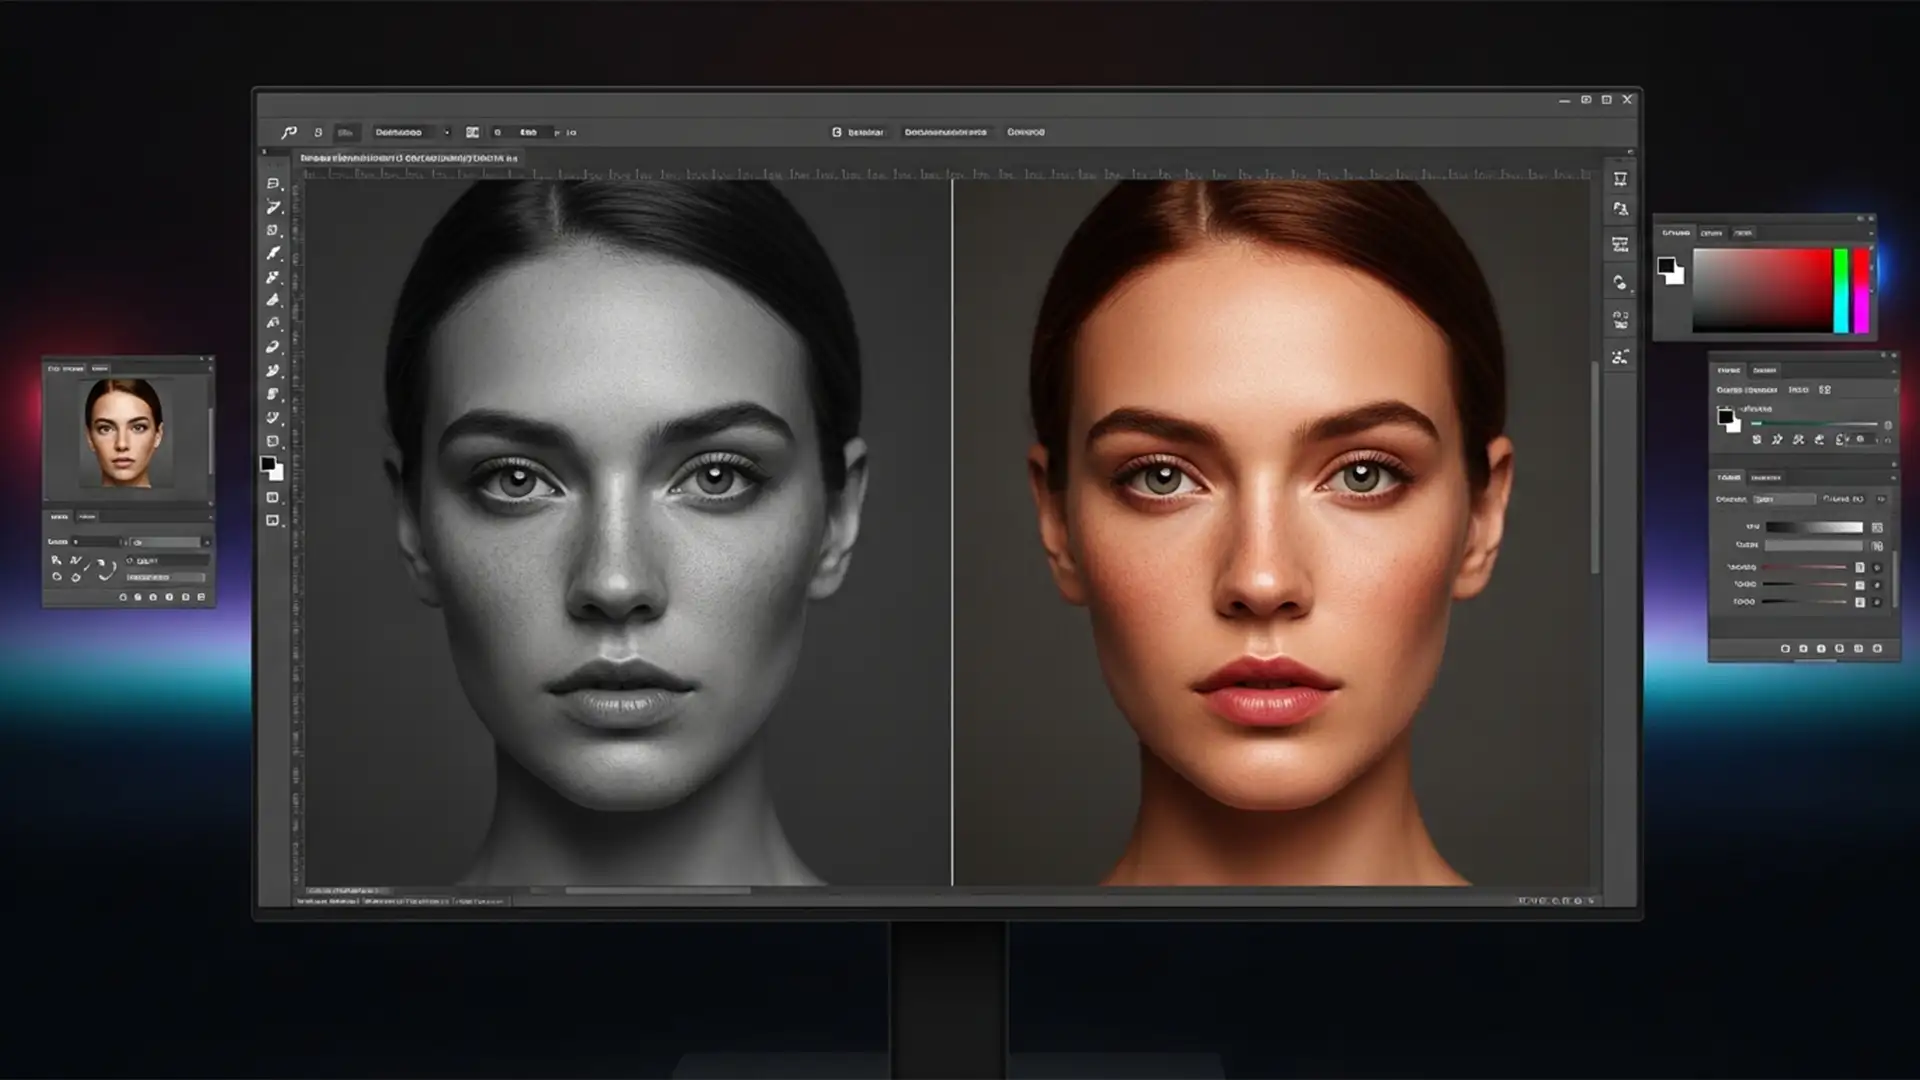
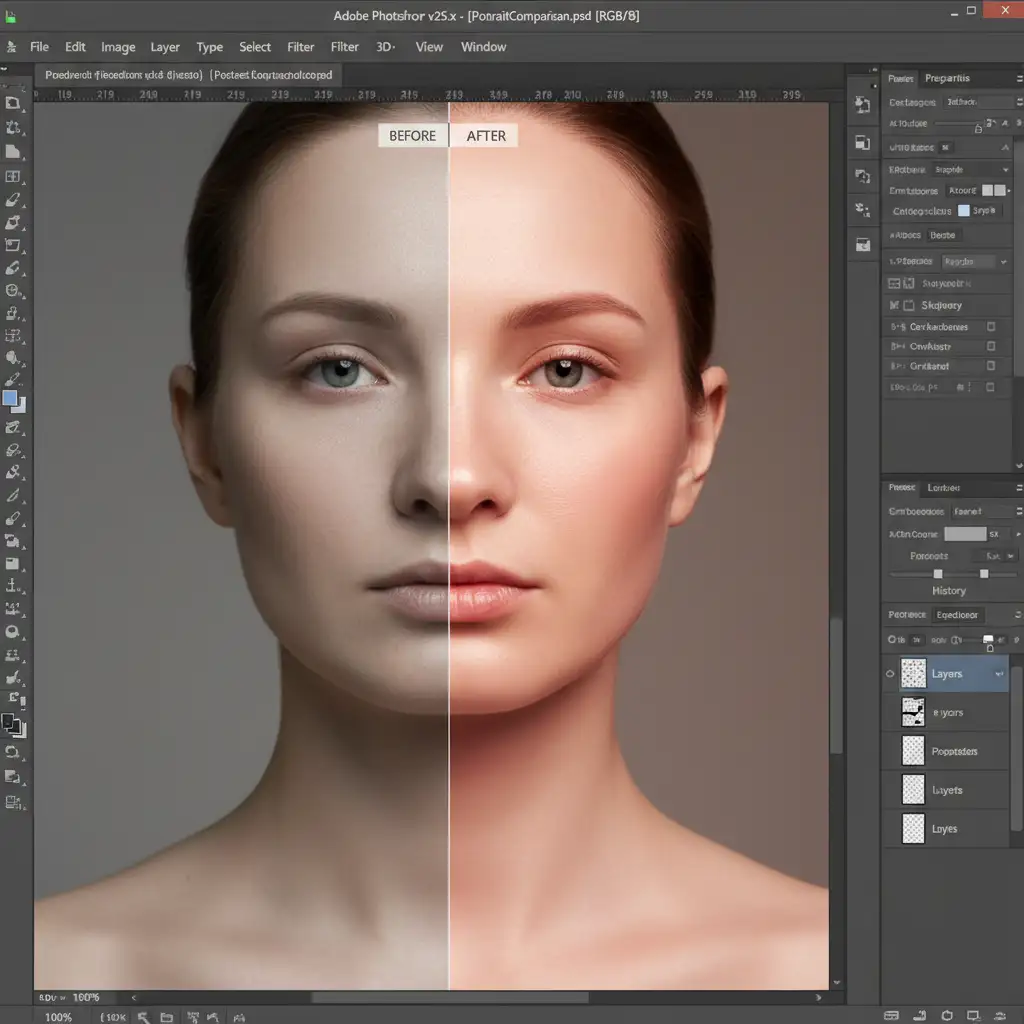
[Image Placeholder: Split-screen comparison showing muddy AI skin on the left and corrected, vibrant skin on the right.] Alt-text: Split-screen comparison demonstrating how to fix Photoshop Generative Fill skin tone mismatch on a portrait.
Visual Asset Prompt
Generate Visual
High-fidelity technical screenshot showing a split-screen UI comparison in Photoshop v25.x. On the left, an AI-generated portrait extension with muddy, desaturated, grayish skin. On the right, the corrected version with vibrant, matching skin tones demonstrating proper subsurface scattering and ambient light reflection.
3 Methods to Fix Photoshop Generative Fill Skin Tone Mismatch
Depending on the severity of the mismatch and your required turnaround time, you can choose from a quick automated fix to a highly technical manual approach.
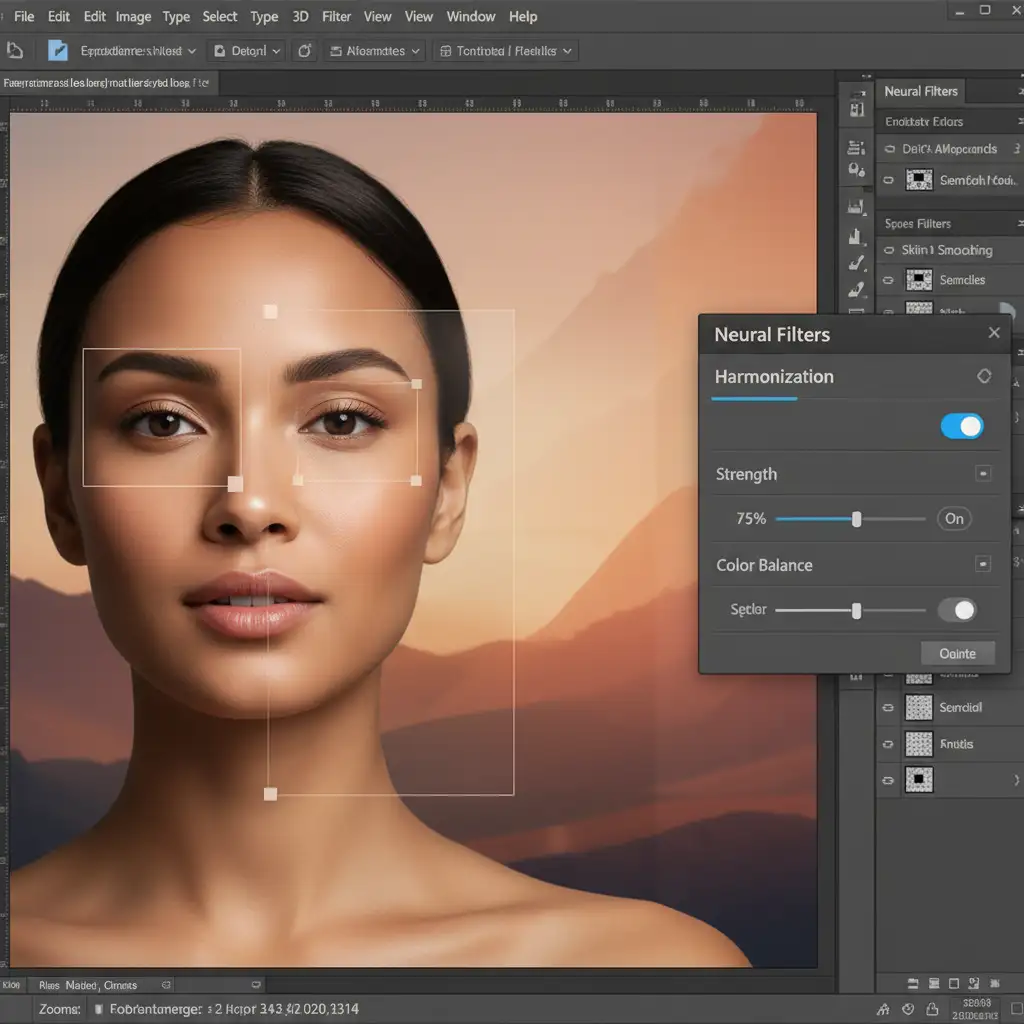
Method 1: The Quick Fix Using the Harmonization Neural Filter
If you need a rapid solution, Adobe’s built-in neural filters can do the heavy lifting by automatically matching the color palette of your AI layer to your original image.
- Select your Generative layer and your original background layer. Press Ctrl+Alt+Shift+E (Windows) or Cmd+Option+Shift+E (Mac) to merge a copy of your layers.
- Navigate to Filter > Neural Filters in the top menu.
- Toggle on the Harmonization Neural Filter.
- In the filter settings, select your original background layer as the reference image.
- Adjust the Strength, Cyan/Red, Magenta/Green, and Yellow/Blue sliders to fine-tune the AI skin tone until it blends seamlessly. Output as a new layer.
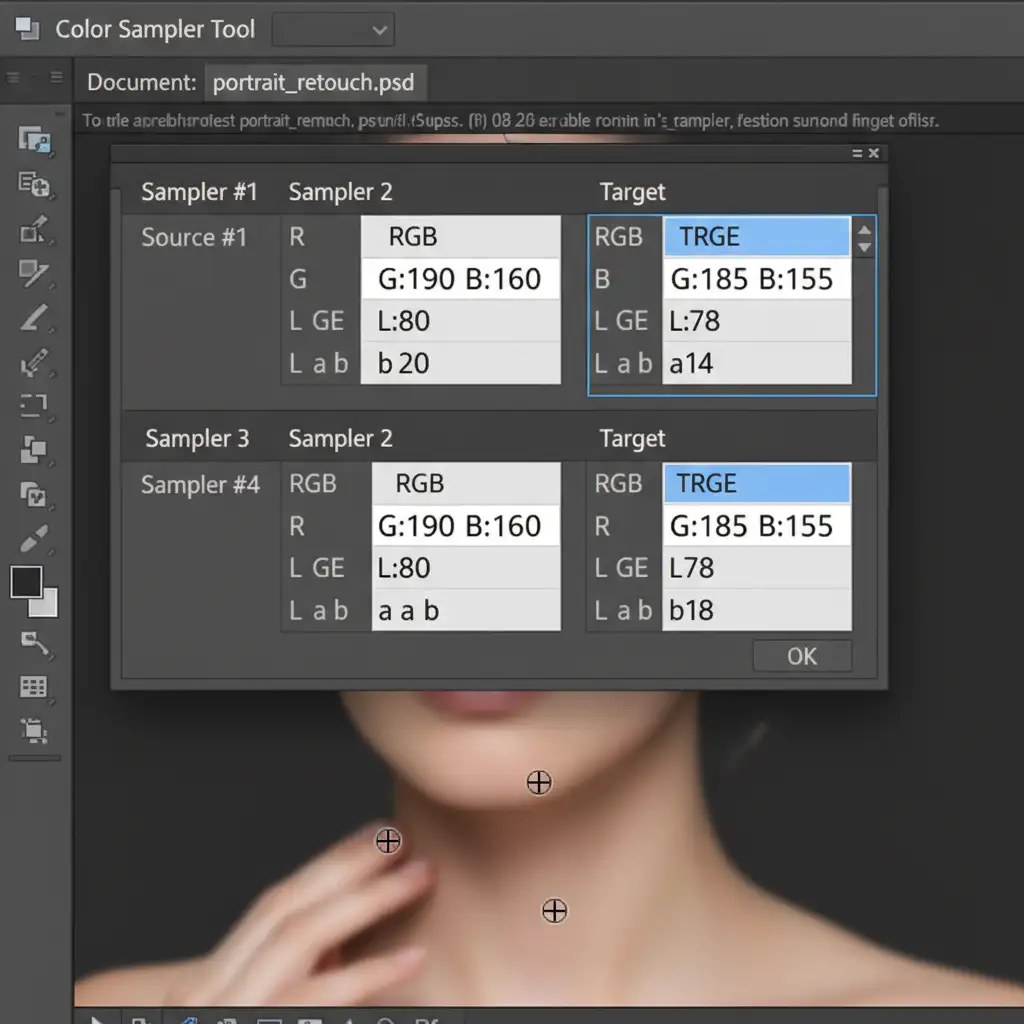
Method 2: The Pro Workaround with RGB Curves and the Color Sampler Tool
For precise control, especially when dealing with the LAB Color Space or strict RGB values, manual color matching is the industry standard.
- Select the Color Sampler Tool (nested under the Eyedropper Tool).
- Place Point #1 on the original, healthy skin (your target color). Place Point #2 on the muddy AI-generated skin.
- Create an RGB Curves Adjustment Layer.
- Turn this into a Clipping Mask by holding Alt (Option) and clicking between the Curves layer and your Generative layer, ensuring your color adjustments only affect the AI pixels.
- Open your Info Panel. Look at the RGB values for your two sample points.
- In your Curves properties, select the Red channel. Click the on-image adjustment tool, click on the AI skin, and drag the curve until the Red value of Point #2 matches Point #1. Repeat this for the Green and Blue channels.
- Change the blending mode of the Curves layer to Color to preserve the AI’s luminosity while fixing the hue.
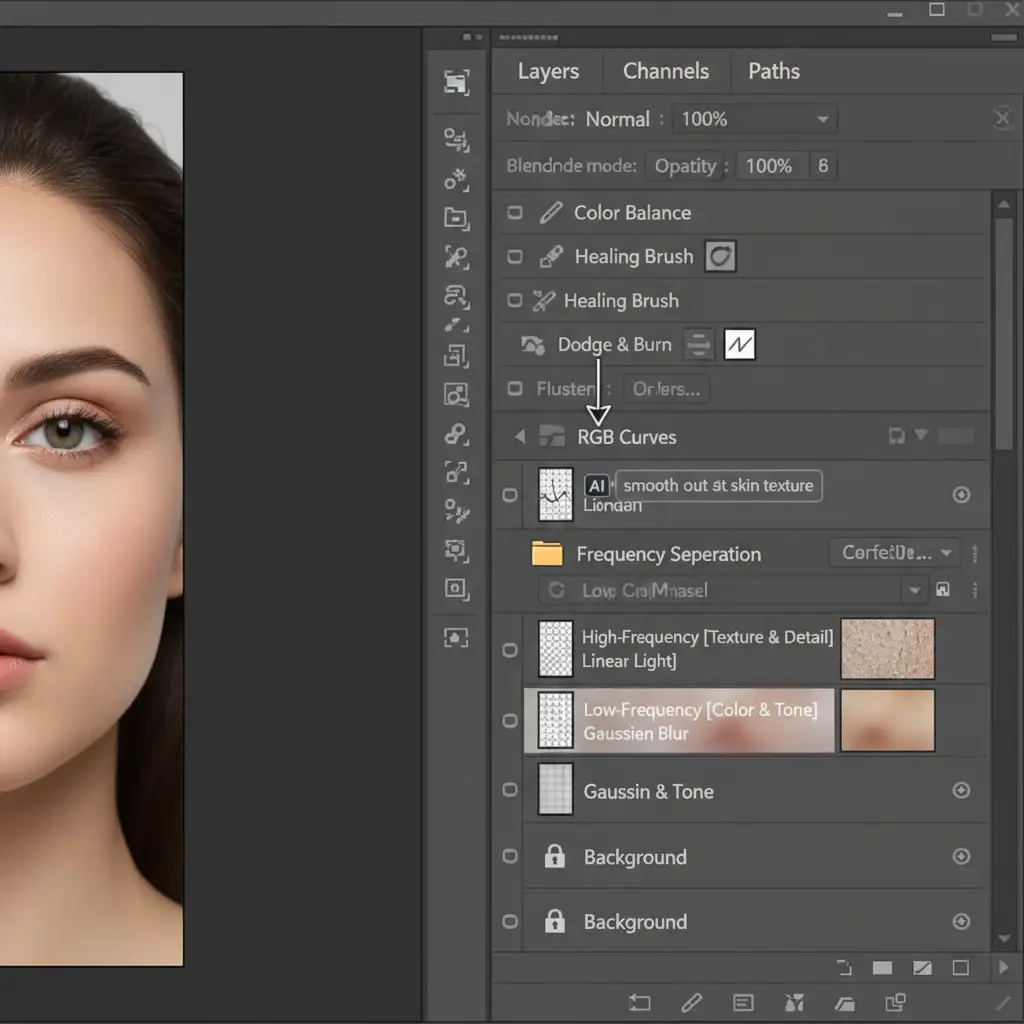
Method 3: The Technical Deep-Dive (Prompt Engineering & Frequency Separation)
When dealing with high-end commercial retouching, you must preserve skin texture while manipulating color. This method combines proactive prompt engineering with a 16-bit Frequency Separation workflow.
Step 1: Guide the AI with Context Instead of leaving the prompt blank, give Firefly lighting context. Use prompts like “warm studio lighting, golden hour skin, subsurface scattering” to force the AI to generate richer base tones.
Step 2: Frequency Separation Once the generation is complete, you need to separate the texture from the color.
- Run your standard Frequency Separation action (creating a High-Frequency texture layer and a Low-Frequency color layer).
- Select the Low-Frequency (Color) layer.
- Select the Mixer Brush Tool. Set it to a clean brush, low wetness (around 10-15%), and low flow.
- Sample the healthy skin tone from your original image.
- Gently paint over the muddy AI-generated skin. Because you are working on the low-frequency layer, you will inject healthy, vibrant color into the AI area without destroying the high-frequency pores and skin texture generated by Firefly AI.
Scale Your Portrait Editing with Image Work India
Learning how to fix Photoshop Generative Fill skin tone mismatch is essential for occasional edits, but executing these complex LAB color corrections, clipping masks, and frequency separation techniques on hundreds of photos is incredibly time-consuming.
Struggling with inconsistent AI edits for your high-volume portrait studio? Let the expert retouchers at Image Work India and Cloud Retouch handle your images. Our dedicated team provides pixel-perfect, human-guided retouching and color-matching services that AI simply cannot replicate.
Focus on shooting your next campaign, and let us deliver flawless, production-ready portraits. Contact Image Work India today for a custom retouching quote!


