
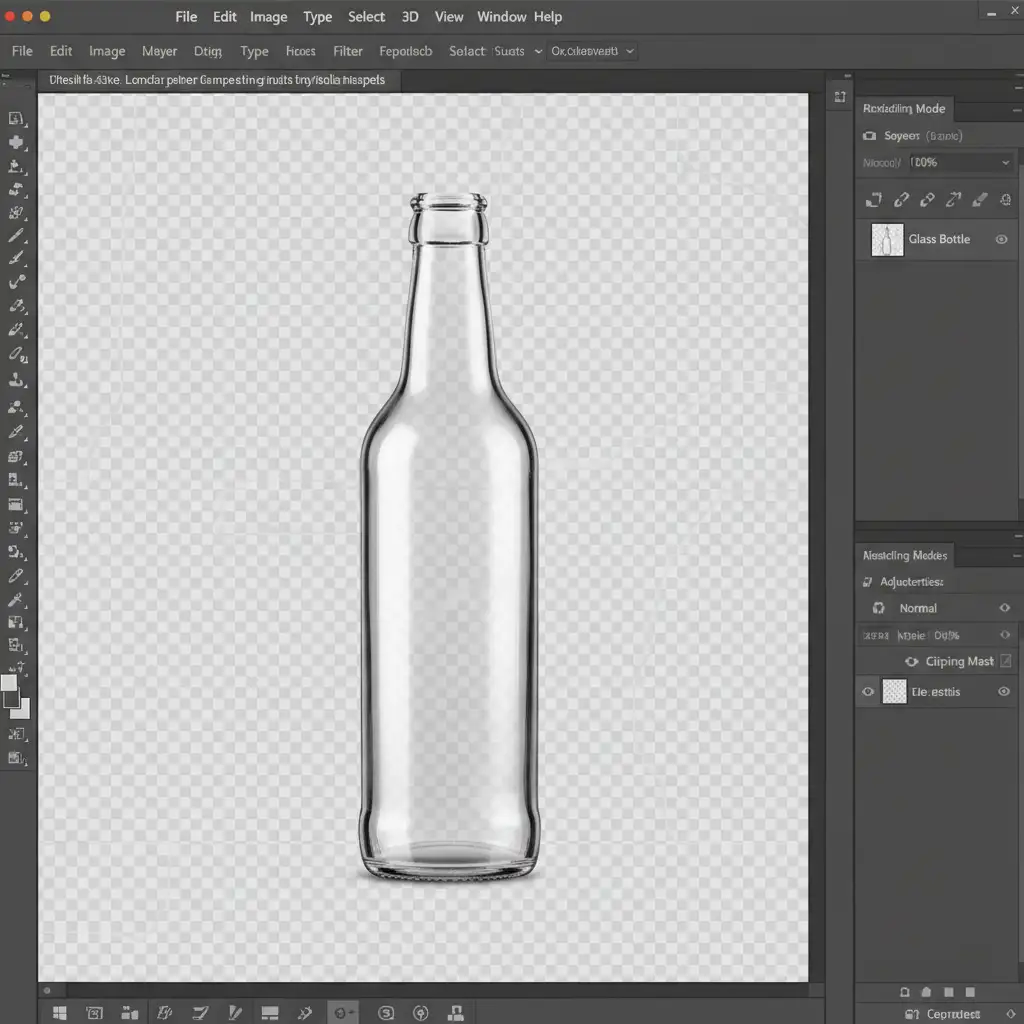
If you have ever tried adding a shadow to a transparent object in Photoshop v24.x or v25.x, you already know the frustration. You apply a standard drop shadow layer style, and suddenly, your elegant glassware looks like a cheap, floating sticker.
Why? Because standard drop shadows block light entirely. They are solid and opaque, completely ignoring the complex physics of light transmission and refraction. Real glass does not just block light; it bends it, creating beautiful, focused bright spots known as caustics.
In this guide, we will show you exactly how to create realistic contact shadows for glassware that look professionally photographed, moving far beyond the limitations of basic layer styles.
The Problem with Standard Drop Shadows on Glass
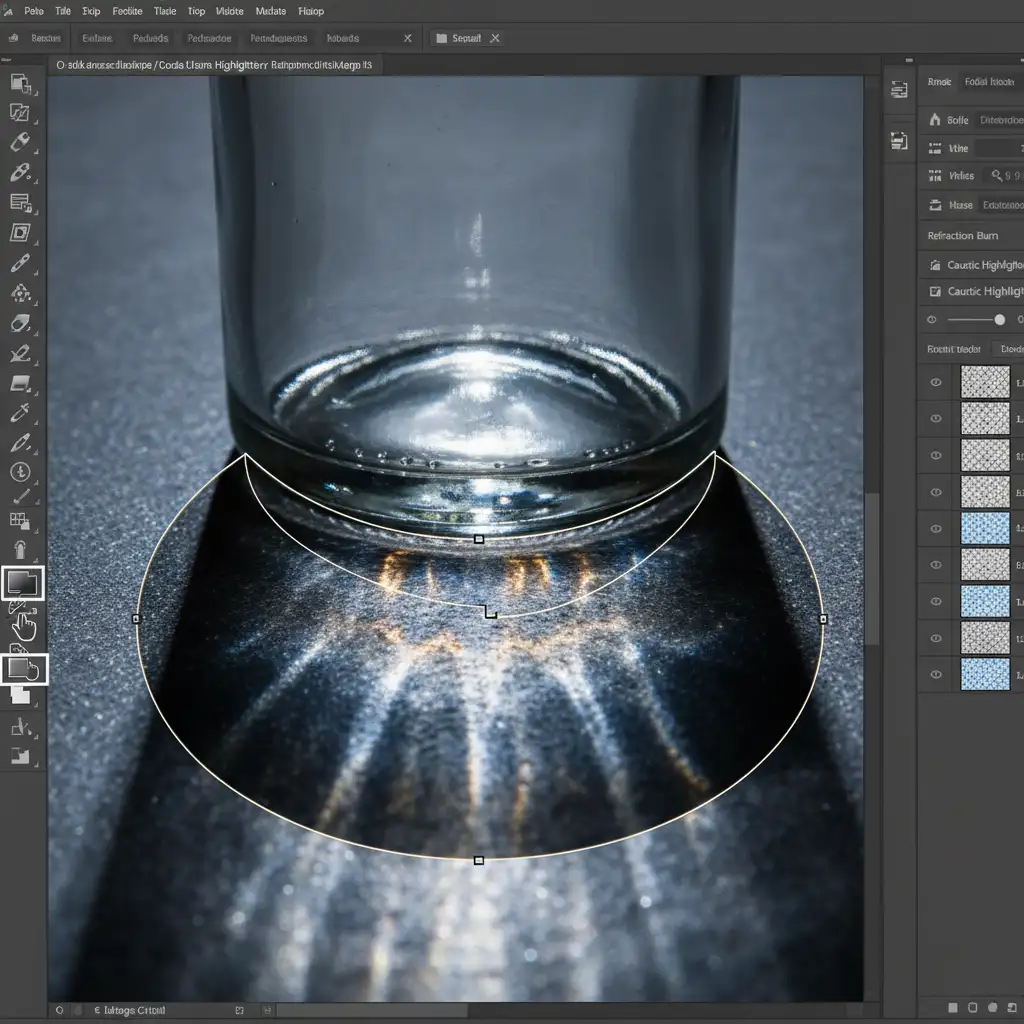
When photographing transparent materials, light passes through the curved surfaces. This creates a phenomenon called caustics—a pattern where light focuses into bright, luminous spots surrounded by darker, structural edges.
Using a native drop shadow in Photoshop ignores this light transmission. To simulate reality, we must manually recreate the optical physics of refraction using specific blending modes, layer masking, and advanced selection techniques.
3 Methods for Creating Realistic Contact Shadows for Glassware
Depending on your timeline and the required level of realism, there are three primary ways to tackle glass shadows in Photoshop.
Method A: The Quick Fix (Reflective Shadow)
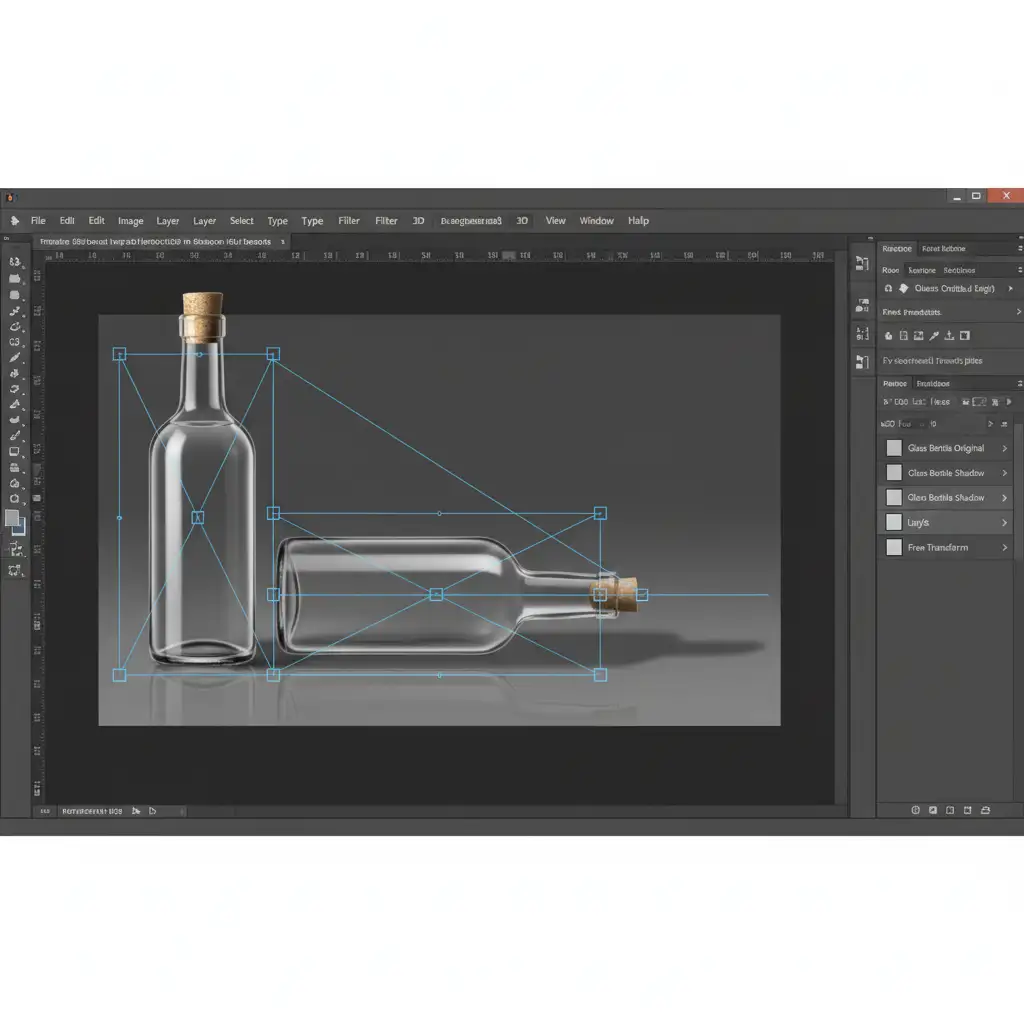
If you need a fast, acceptable shadow for a basic e-commerce layout, duplicating and distorting the product is your best starting point.
- Duplicate your original isolated glass layer.
- Flip the duplicated layer vertically.
- Use Free Transform (specifically the Perspective tool) to pull the top corners outward and lay the shadow flat against your background.
- Change the layer’s blending mode to Multiply and reduce the Opacity to around 40%.
- Apply a 5px Gaussian Blur to soften the edges, mimicking how light scatters as it moves away from the object.
Method B: The Pro Workaround (Simulating Caustics)
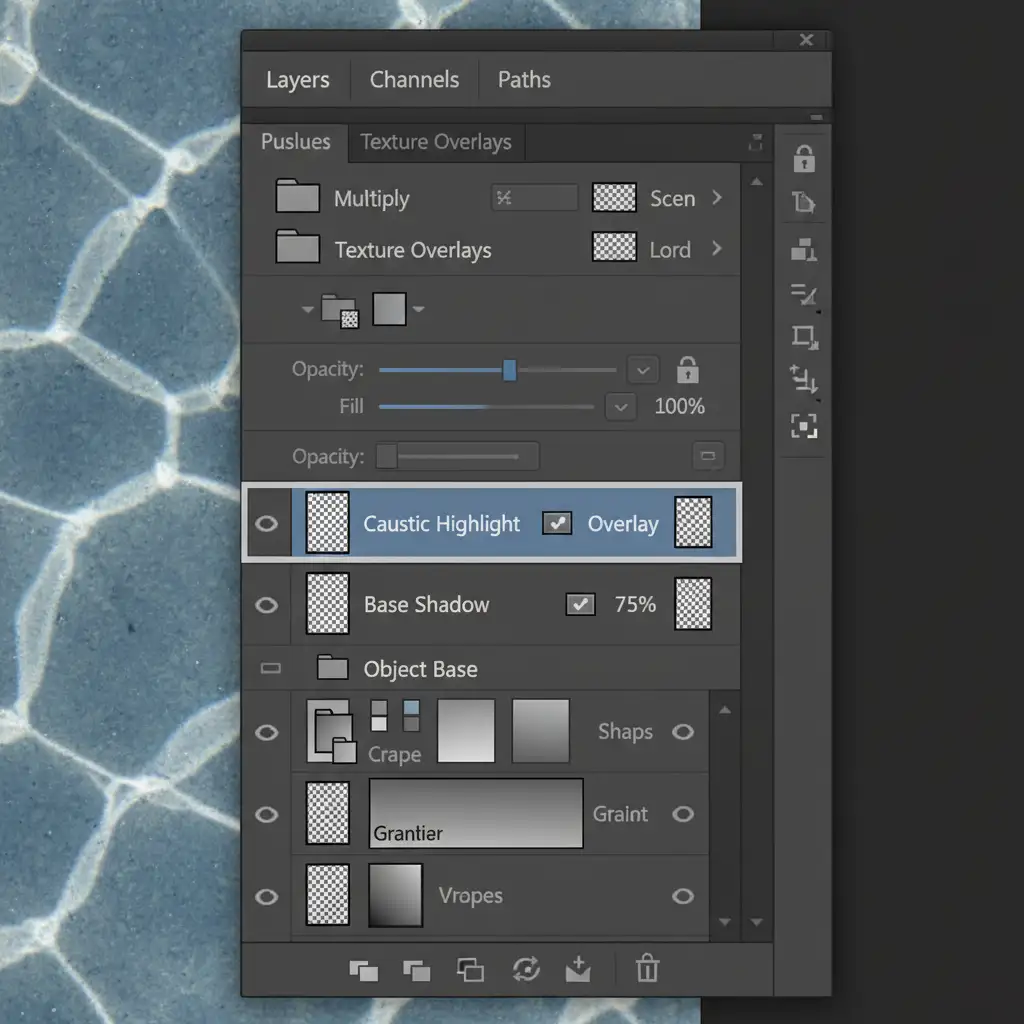
For a truly professional look, you must simulate the focused light passing through the glass. This involves building a custom caustic shadow using Smart Objects and precise shape layers.
- Draw a dark, structural base shadow using the Pen Tool. Convert it to a Smart Object so you can edit filters non-destructively, and set it to the Multiply blending mode.
- Inside that shadow, create a slightly smaller white shape. This represents the light passing through the glass base.
- Apply a heavy Gaussian Blur to the white shape to feather the edges.
- Set this white layer’s blending mode to Overlay. This forces the bright white to interact with the dark base, creating a luminous, realistic caustic effect.
To refine this further, use the Dodge and Burn tools on a neutral gray layer (set to Overlay) to manually paint in the subtle high-contrast areas where the glass physically touches the surface.
Method C: The Technical Deep-Dive (Channel Extraction)
The most accurate way to get realistic contact shadows for glassware is to extract the natural shadow directly from the original raw studio photograph.
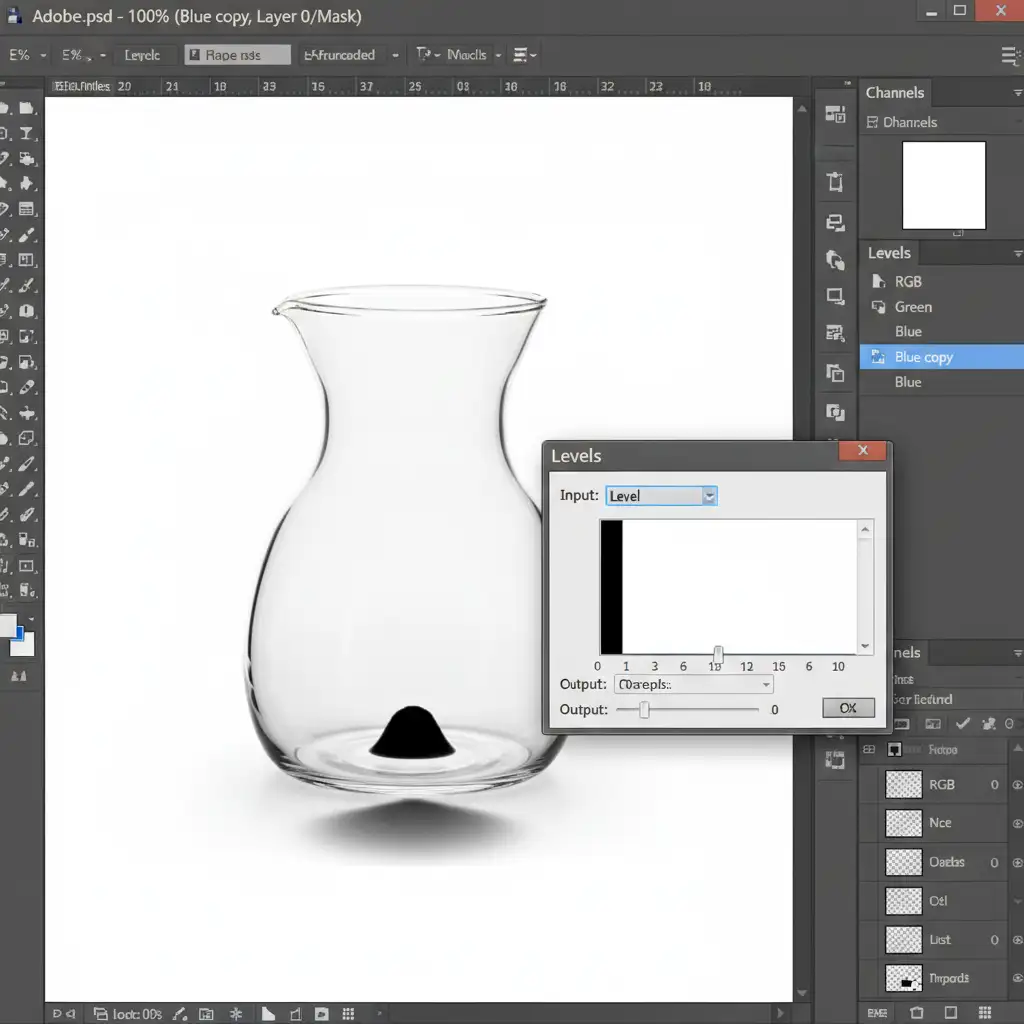
- Open the original image and navigate to the Channels panel.
- Click through the Red, Green, and Blue channels to find the one with the most contrast between the shadow and the background.
- Duplicate that high-contrast channel.
- Press Ctrl+L (or Cmd+L) to open Levels. Crush the blacks and push the whites until the shadow is clearly isolated from the background.
- Ctrl-click (or Cmd-click) the duplicated channel thumbnail to load it as a selection.
- Invert the selection, return to your Layers panel, and fill the selection with a dark color on a new layer.
Perfecting the Contact Point and Liquid Refraction
Even extracted shadows need manual cleanup. Use a soft black brush set to 10% flow to gently darken the exact contact shadow—the tiny, dense area directly under the glass base where no ambient light reaches.
If the glass contains colored liquid (like whiskey or perfume), the shadow should reflect that color. Create a Gradient Map matching the liquid’s tones, and apply it as a clipping mask to your extracted shadow layer. This ensures the shadow perfectly mimics colored liquid refraction.
Scale Your E-Commerce Imagery with Image Work India
Mastering realistic contact shadows for glassware requires a deep understanding of optical physics, blending modes, and advanced Photoshop techniques. While Method C yields flawless results, extracting and painting caustics manually takes a significant amount of time—time you likely do not have when processing hundreds of product photos for an e-commerce catalog.
Save hours of tedious manual shadow painting. Hire the experts at Image Work India and Cloud Retouch. Our professional shadow creation service specializes in high-volume, flawless glass shadow creation. Whether you need natural shadow extraction, custom caustic painting, or precise clipping paths, our team ensures your transparent products look grounded, realistic, and ready to convert.
Contact Image Work India today to elevate your product photography with perfect refractive shadows.


